Love this? Save it for later!
Share the inspiration with your friends
I was standing in the checkout line at the grocery store last June, holding a bag of sugar cookies and feeling completely uninspired. The woman behind me—a retired baker named Carol who I’d only ever exchanged nods with—leaned over and peered into my cart. “You’re not bringing those to a barbecue, are you?” she asked, not unkindly. Before I could defend my last-minute decision, she was telling me about a dessert her granddaughter requested every Fourth of July. She described it with her hands, painting a picture of a giant cookie covered in cream cheese clouds and bright berries. Honestly, I forgot about my own groceries for a minute. Carol didn’t give me a written recipe. She just told me how to make it, right there between the produce and the dairy aisle.
I scribbled her instructions on a receipt with a pen I borrowed from the cashier. The first time I made it, I used way too much sugar in the crust and the cream cheese layer was lumpy. But the second time? Something clicked. The way the blueberries and strawberries sat against the white cream cheese frosting—it looked like a flag, but it tasted like summer. That’s the thing about this Patriotic Star-Spangled Fruit Pizza. It’s not complicated, but it feels special. You know that feeling when you bring a dish to a party and people actually stop talking for a second? That’s this recipe. Maybe you’ve been there, scrambling for a dessert that looks impressive without requiring a pastry degree. This is it.
I keep making it because it’s the kind of recipe that lets you relax at your own party. You don’t have to assemble it at the last minute. You don’t need a kitchen torch or a stand mixer. It’s just a sugar cookie crust, a tangy cream cheese layer, and fresh fruit arranged however you like. Carol would probably laugh at how much I’ve tweaked her original idea, but I think she’d approve. The recipe arrived through a conversation, not a cookbook, and that’s exactly why it stuck with me.
Why You’ll Love This Patriotic Star-Spangled Fruit Pizza
Let me tell you why this particular dessert keeps showing up at my family’s celebrations year after year. It’s not just because it’s pretty—though it is, honestly, stunning on a table. It’s because it delivers on every level without making you sweat.
- Quick & Easy: Comes together in under 30 minutes of active time. The crust bakes in about 15 minutes, and the rest is just spreading and arranging. Perfect for busy weeknights or last-minute holiday plans.
- Simple Ingredients: No fancy grocery trips needed. Butter, sugar, flour, cream cheese, powdered sugar, vanilla, and fresh berries. You likely already have most of this in your kitchen.
- Perfect for Celebrations: Great for Memorial Day, Fourth of July, Labor Day, or any red, white, and blue occasion. It also works beautifully for baby showers and birthday parties with a color theme.
- Crowd-Pleaser: Always gets rave reviews from kids and adults alike. The cookie base appeals to everyone, and the fresh fruit makes it feel lighter than traditional pies or cakes.
- Unbelievably Delicious: The texture combo is next-level comfort food. You get a buttery, slightly crisp crust, a smooth and tangy cream cheese layer, and juicy, sweet fruit on top. Every bite has a little something different.
What makes this version different from the rest? It’s the ratio. I spent three batches getting the crust-to-topping balance exactly right. The cream cheese layer isn’t too thick or too thin—it’s just enough to hold the fruit without overwhelming the cookie. And the fruit arrangement? I’ll show you a trick to make the stars look like actual stars, not blobs. This isn’t just another fruit pizza. It’s the one that makes people ask for the recipe before they finish their first slice.
This recipe is the kind that makes you close your eyes after the first bite. It’s comfort food reimagined—fresher, faster, but with the same soul-soothing satisfaction. Perfect for impressing guests without stress, or turning a simple barbecue into something memorable.
What Ingredients You Will Need
This recipe uses simple, wholesome ingredients to deliver bold flavor and satisfying texture without the fuss. Most of these are pantry staples, which makes this dessert incredibly accessible. Here’s what you’ll need and why each ingredient matters.
For the Sugar Cookie Crust:
- 1/2 cup unsalted butter, softened (I prefer Land O’Lakes for consistent baking results)
- 3/4 cup granulated sugar
- 1 large egg, room temperature (cold egg will make the dough stiff and hard to press)
- 1 teaspoon vanilla extract (pure vanilla, not imitation, for deeper flavor)
- 1 1/2 cups all-purpose flour (spoon and level it—don’t scoop directly from the bag)
- 1/2 teaspoon baking powder
- 1/4 teaspoon salt
For the Cream Cheese Topping:
- 8 ounces cream cheese, softened (full-fat works best for texture; Neufchâtel is okay too)
- 1/2 cup powdered sugar (sift it if it’s lumpy—nobody wants gritty frosting)
- 1 teaspoon vanilla extract
- 1 tablespoon milk or heavy cream (adds spreadability; use dairy-free milk if needed)
For the Fruit Topping:
- 1 cup fresh strawberries, hulled and sliced (look for bright red, firm berries)
- 1 cup fresh blueberries (smaller berries are sweeter and arrange more easily)
- 1/2 cup fresh raspberries (optional, but adds nice texture variation)
- Optional: 1 tablespoon apricot jam mixed with 1 teaspoon water for a shiny glaze (I skip this if I’m in a hurry)
Ingredient Tips: For the best texture, make sure your butter and cream cheese are truly softened—leave them on the counter for about 45 minutes. If you’re in a rush, cut them into small cubes and let them sit for 15 minutes. I’ve tried this with reduced-fat cream cheese, and honestly, the topping doesn’t set up as nicely. Stick with full-fat for that perfect sliceable consistency.
Substitution Guidance: Use a gluten-free all-purpose flour blend (like Bob’s Red Mill 1-to-1) for a gluten-free version. For a dairy-free option, use vegan butter and dairy-free cream cheese—just note the crust will be slightly less tender. If strawberries aren’t in season, use frozen and thawed berries, but pat them dry with paper towels to prevent bleeding onto the cream cheese layer.
Equipment Needed
You don’t need a professional bakery setup for this. Here’s what you’ll actually use:
- 12-inch round pizza pan or a large baking sheet (a rimmed cookie sheet works too)
- Parchment paper (non-negotiable for easy removal and cleanup)
- Electric hand mixer or stand mixer (you can mix by hand, but your arm will thank you for using a mixer)
- Rolling pin (optional—you can press the dough with your hands)
- Spatula or offset spatula (for spreading the cream cheese layer evenly)
- Sharp knife or pizza cutter (for slicing the finished pizza cleanly)
- Cooling rack (speeds up cooling so you can add the topping sooner)
If you don’t have a pizza pan, a 9×13-inch baking sheet works fine—just press the dough into a rectangle instead of a circle. I’ve used both, and honestly, the rectangle version is easier to slice into squares for a crowd. For the cream cheese layer, a butter knife works in a pinch, but an offset spatula gives you that smooth, professional finish. My first time, I used the back of a spoon, and it was lumpy. Learn from my mistake.
Preparation Method
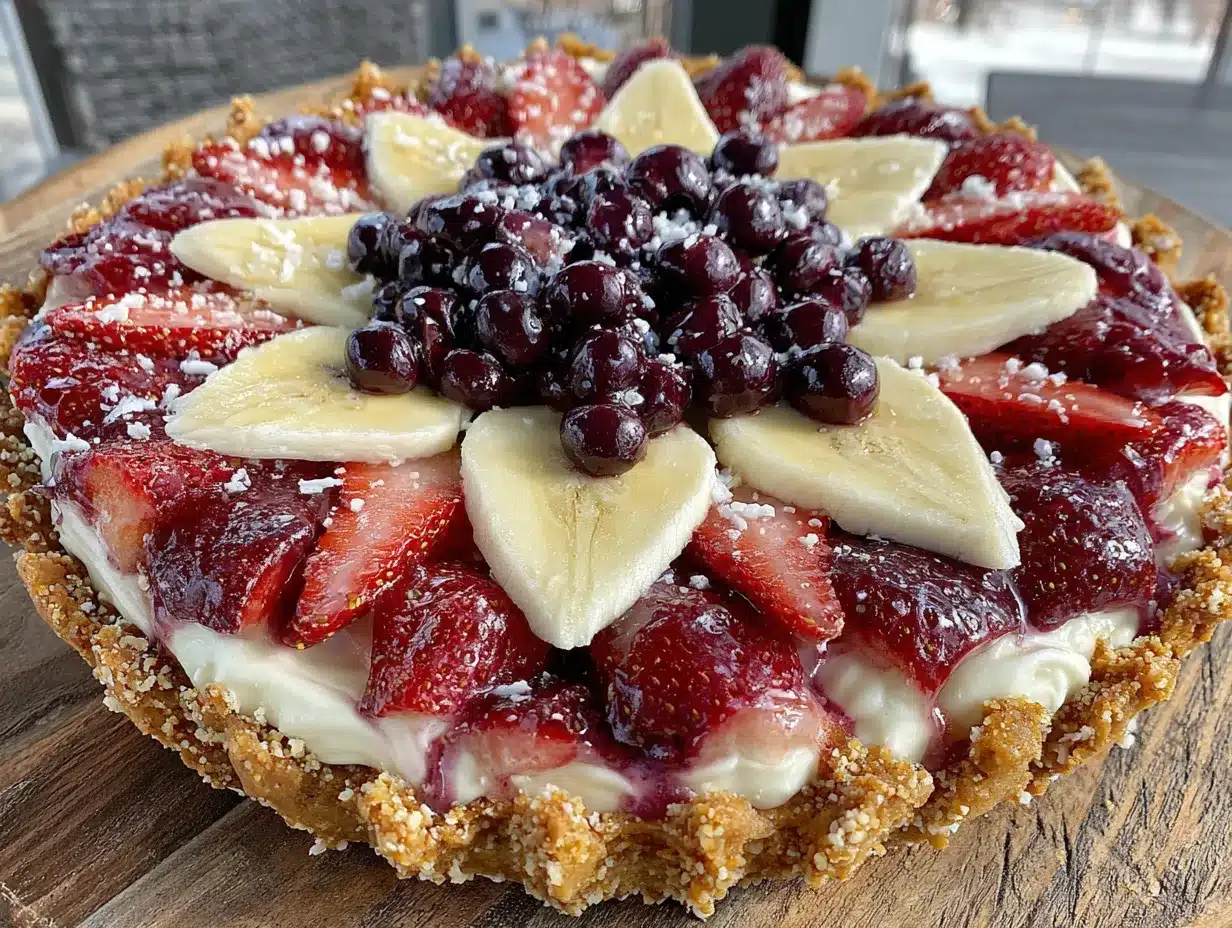
Let’s walk through this step by step. I’ve included all the little details I wish someone had told me the first time.
- Preheat and Prep: Preheat your oven to 350°F (175°C). Line your pizza pan or baking sheet with parchment paper. If you don’t have parchment, lightly grease the pan with butter or cooking spray. The parchment makes lifting the whole cookie out so much easier.
- Make the Cookie Dough: In a large bowl, beat the softened butter and granulated sugar together until light and fluffy—about 2-3 minutes with a hand mixer on medium speed. You’re looking for a pale, creamy texture. Scrape down the sides of the bowl. Add the egg and vanilla extract, then beat until fully combined. The mixture might look slightly curdled at this point; that’s normal.
- Add the Dry Ingredients: In a separate bowl, whisk together the flour, baking powder, and salt. Gradually add the dry mixture to the wet mixture, mixing on low speed until just combined. Stop as soon as you don’t see any more flour streaks. Overmixing will make the crust tough. The dough will be soft and slightly sticky—that’s exactly what you want.
- Press the Crust: Transfer the dough onto your prepared pan. Using your hands or a rolling pin (lightly dusted with flour), press the dough into an even 12-inch circle or rectangle about 1/4-inch thick. Make sure the thickness is consistent, especially at the edges, so it bakes evenly. If the dough sticks to your fingers, lightly dust them with flour.
- Bake the Crust: Bake for 12-15 minutes, or until the edges are lightly golden and the center looks set. The center should not be brown—just pale and slightly firm to the touch. A common mistake is overbaking, which makes the crust hard instead of tender. Let the crust cool on the pan for 10 minutes, then transfer to a cooling rack. Cool completely before adding the topping. This usually takes about 30 minutes. Don’t rush this step, or your cream cheese layer will melt into a mess.
- Make the Cream Cheese Layer: While the crust cools, beat the softened cream cheese with an electric mixer until smooth and creamy—about 1 minute. Add the powdered sugar, vanilla extract, and milk. Beat on medium speed until everything is combined and the mixture is light and fluffy. Scrape the bowl once more to ensure no lumps remain. If the mixture seems too thick to spread, add another teaspoon of milk.
- Assemble the Pizza: Once the crust is completely cool, spread the cream cheese mixture evenly over the surface using your spatula. Leave a small border around the edge if you want the crust to show—it looks nice, but it’s not required.
- Arrange the Fruit: Now for the fun part. For a star-spangled look, arrange the blueberries in a cluster in the upper left corner to form a blue field. Use the sliced strawberries to create red stripes across the pizza, leaving white stripes of cream cheese visible between them. You can use raspberries to fill in gaps or add extra stars. Press the fruit gently into the cream cheese layer so it stays put when you slice. Take your time with this—it’s what makes the dessert look impressive.
- Chill and Serve: Refrigerate the assembled fruit pizza for at least 30 minutes before slicing. This helps the cream cheese layer set and makes cleaner cuts. When ready to serve, use a sharp knife or pizza cutter to slice into wedges or squares. Wipe the blade clean between cuts for the neatest slices.
Cooking Tips & Techniques
I’ve made this recipe about a dozen times now, and I’ve collected a few tricks that make a real difference. Here’s what I’ve learned the hard way so you don’t have to.
Don’t overwork the dough. The first time I made this, I kept kneading the dough because it felt too sticky. The crust came out tough and almost cracker-like. Mix until the flour just disappears, then stop. The dough will be soft, but that’s what gives you a tender, melt-in-your-mouth crust.
Patience with cooling is everything. I know it’s tempting to spread the cream cheese on a warm crust. I tried it once. The cream cheese turned into a runny, buttery mess that soaked into the cookie. The crust never crisped back up. Let it cool completely—at least 30 minutes on a wire rack. If you’re in a hurry, pop the crust in the fridge for 15 minutes after it’s cooled on the counter.
Fruit placement matters for presentation. If you just scatter the berries randomly, it still tastes great, but it won’t have that wow factor. Take two extra minutes to arrange the blueberries in a neat cluster and line up the strawberry slices. I use the tip of a knife to nudge each piece into place. It’s a small effort that makes people think you spent hours on this.
Avoid watery fruit. If your strawberries are very ripe, they might release juice onto the cream cheese layer. Slice them and let them sit on a paper towel for a few minutes to absorb excess moisture. Same goes for frozen berries—thaw them completely and pat them dry. Otherwise, you’ll end up with pink streaks in your white cream cheese layer. It still tastes fine, but it’s not as pretty.
Timing strategy for parties. You can bake the crust up to two days ahead and store it in an airtight container at room temperature. The cream cheese layer can be made a day ahead and refrigerated. Assemble everything the morning of your event, refrigerate, and pull it out 15 minutes before serving. This way, you’re not scrambling on the day of the barbecue.
Variations & Adaptations
One of the best things about this recipe is how flexible it is. Here are some variations I’ve tried and loved.
Berry Mix Variations: Swap the strawberries and blueberries for any combination you like. Blackberries, raspberries, and sliced kiwi create a beautiful rainbow effect. For a fall version, try sliced apples and pears with a sprinkle of cinnamon on top. The cream cheese layer pairs well with almost any fruit.
Chocolate Twist: Add 1/4 cup mini chocolate chips to the cookie dough before pressing it into the pan. Then, drizzle melted dark chocolate over the finished fruit pizza. The combination of chocolate, cream cheese, and berries is absolutely addictive. I made this version for a Memorial Day party, and it disappeared faster than the original.
Individual Mini Pizzas: Instead of one large pizza, divide the dough into 6-8 smaller rounds. Bake for 8-10 minutes instead of 12-15. These are perfect for kids or for portion control at a buffet. You can let everyone top their own mini pizza, which is always a hit at parties.
Dairy-Free Adaptation: Use vegan butter (I like Miyoko’s) and dairy-free cream cheese (Kite Hill works well). The crust will be slightly more crumbly, but the flavor is still excellent. Add an extra tablespoon of flour to the dough to help with structure.
Low-Sugar Option: Reduce the sugar in the crust to 1/2 cup and use a sugar substitute like monk fruit sweetener in the cream cheese layer. The fruit provides natural sweetness, so you won’t miss the extra sugar. This version is great for anyone watching their sugar intake.
Serving & Storage Suggestions
This fruit pizza is best served cold or at room temperature—never warm. The contrast between the cool cream cheese layer and the juicy berries is what makes it so refreshing on a hot summer day. I typically pull it out of the fridge about 15 minutes before serving to take the chill off slightly.
Presentation Tips: Slide the parchment paper onto a large wooden cutting board or a white platter for a beautiful presentation. The red, white, and blue colors pop against a neutral background. Garnish with a few fresh mint leaves around the edges for a pop of green. If you’re serving a crowd, slice the pizza into small wedges or squares—this dessert is rich, so smaller portions work well.
Storage Instructions: Cover any leftovers loosely with plastic wrap or transfer to an airtight container. Store in the refrigerator for up to 3 days. The crust will soften slightly over time as it absorbs moisture from the fruit, but it’s still delicious. I actually like it better on day two when the flavors have melded together.
Reheating: This is not a reheated dessert. Serve it cold or at room temperature. If you have leftover crust without the topping, you can reheat it in a 300°F oven for 5 minutes to crisp it back up.
Freezing: You can freeze the baked, cooled crust (without topping) for up to 2 months. Wrap it tightly in plastic wrap and then foil. Thaw at room temperature, then add the cream cheese and fruit fresh. The assembled pizza does not freeze well—the berries become mushy when thawed.
Flavor Development: The cream cheese layer absorbs the berry juices over time, creating a beautiful pink tint in some areas. The cookie crust softens slightly, becoming almost like a shortbread. If you can resist eating it all immediately, let it sit in the fridge for 2-3 hours before serving for the best texture.
Nutritional Information & Benefits
Here’s an approximate nutritional breakdown per serving (based on 12 servings):
- Calories: 285
- Total Fat: 16g
- Saturated Fat: 10g
- Cholesterol: 55mg
- Sodium: 180mg
- Total Carbohydrates: 32g
- Dietary Fiber: 2g
- Sugars: 19g
- Protein: 4g
Health Benefits: This dessert isn’t health food, but it does have some redeeming qualities. Blueberries and strawberries are packed with antioxidants, vitamin C, and fiber. The cream cheese provides a small amount of calcium and protein. Compared to a slice of frosted cake or a heavy pie, this fruit pizza is lighter and incorporates fresh fruit, which adds nutritional value.
Dietary Considerations: This recipe contains gluten, dairy, and eggs. For a gluten-free version, use a 1-to-1 gluten-free flour blend. For a dairy-free version, use vegan butter and dairy-free cream cheese. For a lower-sugar option, reduce the sugar in the crust and use a sugar substitute in the topping. Always check your ingredient labels if cooking for someone with allergies.
Personal Wellness Perspective: I believe in balance. This dessert is a celebration food—it’s meant to be enjoyed without guilt. The fresh fruit adds brightness and nutrition, and the portion size is easy to control. One slice satisfies that sweet craving without sending you into a sugar coma. That’s a win in my book.
FAQs
Can I make this fruit pizza ahead of time?
Yes, absolutely. You can bake the crust up to 2 days ahead and store it in an airtight container at room temperature. The cream cheese layer can be made a day ahead and refrigerated. Assemble the pizza with the fruit the morning of your event, then refrigerate until serving. This keeps the fruit fresh and the crust crisp.
Can I use frozen fruit instead of fresh?
You can, but you need to thaw and drain it thoroughly. Frozen berries release a lot of liquid as they thaw, which can make the cream cheese layer watery and turn it pink. Pat the berries dry with paper towels before arranging them on the pizza. Fresh fruit gives the best texture and presentation, though.
Why did my crust turn out hard?
This usually happens for two reasons: overmixing the dough or overbaking it. Mix the dough only until the flour disappears, and bake just until the edges are lightly golden—about 12-15 minutes. The center should still be pale and slightly soft. It will firm up as it cools. If you pressed the dough too thin, it can also become crispy.
Can I use a different type of cookie as the base?
You can, but it will change the texture. A graham cracker crust works in a pinch—just press it into the pan and bake for 8 minutes. A shortbread crust is also delicious, but it’s richer and more crumbly. I prefer the sugar cookie crust because it’s sturdy enough to hold the toppings without falling apart when you slice it.
How do I get clean slices without messing up the fruit?
Use a very sharp knife or a pizza cutter, and wipe the blade clean between each cut. Chilling the pizza for at least 30 minutes before slicing helps the cream cheese layer set, making cleaner cuts possible. If you’re using a knife, use a sawing motion rather than pressing straight down. A pizza cutter works beautifully for this.
Conclusion
This Patriotic Star-Spangled Fruit Pizza is more than just a pretty dessert. It’s the recipe that lets you show up to the barbecue with something homemade, impressive, and genuinely delicious—without spending all day in the kitchen. The buttery cookie crust, the tangy cream cheese layer, and the fresh, juicy berries come together in a way that feels both indulgent and refreshing. It’s the kind of dessert that makes people pause, take a photo, and then go back for seconds.
I love this recipe because it’s forgiving. You don’t need to be a pastry chef to nail it. The fruit arrangement can be as precise or as casual as you want. You can swap in whatever berries look best at the store. You can make it ahead and relax while your guests enjoy it. It’s a recipe that works with your life, not against it.
So go ahead and give it a try. Customize it with your favorite fruits, add a chocolate drizzle if you’re feeling fancy, or keep it classic with the red, white, and blue. I’d love to hear how it turns out for you. Drop a comment below and let me know what variations you tried, or share a photo of your creation. Happy cooking, and here’s to a summer full of good food and good company!
Pin This Recipe!
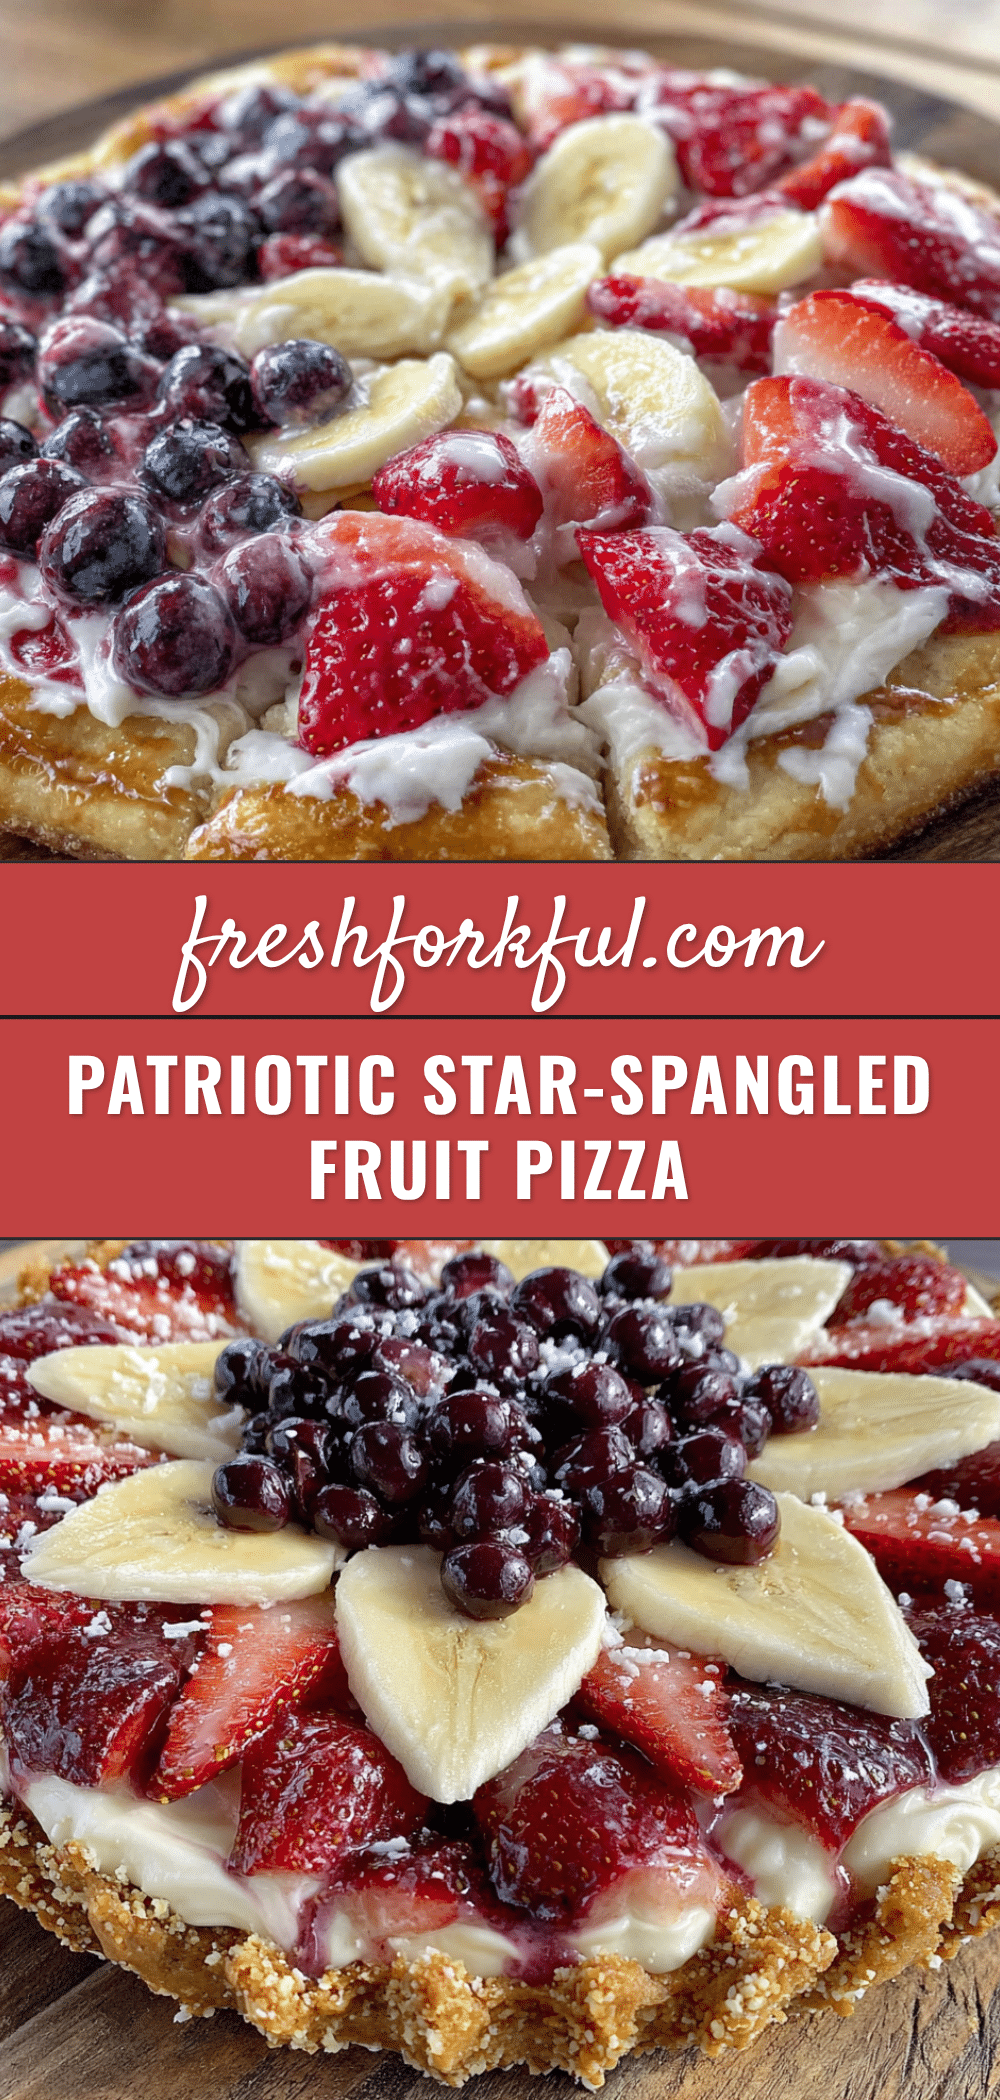
Patriotic Star-Spangled Fruit Pizza

A stunning and easy 4th of July dessert featuring a sugar cookie crust, tangy cream cheese layer, and fresh berries arranged like a flag. Perfect for celebrations without the stress.
- Prep Time: 20 minutes
- Cook Time: 15 minutes
- Total Time: 1 hour 5 minutes (includes cooling and chilling)
- Yield: 12 servings 1x
- Category: Dessert
- Cuisine: American
Ingredients
- 1/2 cup unsalted butter, softened
- 3/4 cup granulated sugar
- 1 large egg, room temperature
- 1 teaspoon vanilla extract
- 1 1/2 cups all-purpose flour
- 1/2 teaspoon baking powder
- 1/4 teaspoon salt
- 8 ounces cream cheese, softened
- 1/2 cup powdered sugar
- 1 teaspoon vanilla extract
- 1 tablespoon milk or heavy cream
- 1 cup fresh strawberries, hulled and sliced
- 1 cup fresh blueberries
- 1/2 cup fresh raspberries (optional)
- 1 tablespoon apricot jam mixed with 1 teaspoon water (optional, for glaze)
Instructions
- Preheat oven to 350°F (175°C). Line a 12-inch pizza pan or baking sheet with parchment paper.
- In a large bowl, beat softened butter and granulated sugar until light and fluffy, about 2-3 minutes. Add egg and vanilla extract; beat until combined.
- In a separate bowl, whisk together flour, baking powder, and salt. Gradually add to wet mixture, mixing on low until just combined. Dough will be soft and slightly sticky.
- Transfer dough to prepared pan. Press into an even 12-inch circle or rectangle about 1/4-inch thick. Lightly dust hands with flour if sticky.
- Bake for 12-15 minutes, until edges are lightly golden and center is set but pale. Cool on pan for 10 minutes, then transfer to a wire rack to cool completely (about 30 minutes).
- While crust cools, beat softened cream cheese until smooth. Add powdered sugar, vanilla extract, and milk; beat until light and fluffy.
- Spread cream cheese mixture evenly over cooled crust, leaving a small border if desired.
- Arrange blueberries in a cluster in the upper left corner for a blue field. Use sliced strawberries to create red stripes, leaving white cream cheese stripes between them. Press fruit gently into cream cheese.
- Refrigerate assembled pizza for at least 30 minutes before slicing. Use a sharp knife or pizza cutter to slice into wedges or squares, wiping blade clean between cuts.
Notes
For best results, ensure butter and cream cheese are truly softened. Cool crust completely before adding cream cheese to prevent melting. Pat fruit dry to avoid bleeding. Crust can be baked up to 2 days ahead; cream cheese layer can be made a day ahead. Assemble day of serving.
Nutrition
- Serving Size: 1 slice (1/12 of piz
- Calories: 285
- Sugar: 19
- Sodium: 180
- Fat: 16
- Saturated Fat: 10
- Carbohydrates: 32
- Fiber: 2
- Protein: 4
Keywords: fruit pizza, 4th of July dessert, patriotic dessert, sugar cookie crust, cream cheese fruit pizza, easy summer dessert


