Love this? Save it for later!
Share the inspiration with your friends
I had sworn off Halloween punch for years. Honestly, I thought it was a cop-out—a way for hosts to avoid actually making a proper drink while hiding behind a few gummy worms and some dry ice. Every party I went to seemed to have the same neon-green, artificially flavored vat of sugar water, and I just couldn’t get on board. Then my friend Jenna threw her annual costume party last October, and I found myself standing in her kitchen, cup in hand, staring at this beautiful, creamy orange concoction she called “Spooky Orange Vanilla Halloween Punch.” I took a sip to be polite. Then I took another because I actually wanted to. And another. By the time I left, I had asked for the recipe twice and texted myself a photo of the ingredients list. Let me tell you, I was embarrassed—and hooked.
That night changed everything for me. I realized I had been judging an entire category of party drinks based on the worst examples. This punch wasn’t just a sugary mess. It was balanced, creamy, and had this unexpected warmth from the vanilla that made it feel almost cozy. The orange flavor was bright and natural, not that fake, tangy stuff you get from powdered mixes. And the color? It was the perfect shade of Halloween orange, like a creamscicle had been transformed into a party drink. I went home that night and immediately started tweaking the recipe, because that’s what I do—I can’t leave a good thing alone.
So here we are. This Spooky Orange Vanilla Halloween Punch is the result of my conversion from punch-hater to punch-advocate. It’s the drink I now bring to every Halloween gathering, and people always ask for the recipe. Maybe you’ve been in my shoes, rolling your eyes at yet another punch bowl at a party. I get it. But this one is different. This one might just change your mind too.
Why You’ll Love This Recipe
This isn’t just another Halloween punch. It’s a carefully crafted drink that balances flavor, texture, and presentation in a way that feels special without being complicated. Here’s why it stands out:
- Quick & Easy: Comes together in under 10 minutes with no cooking required. Just mix, garnish, and serve.
- Simple Ingredients: You likely already have most of these in your pantry. No weird syrups or hard-to-find mixers.
- Perfect for Halloween Parties: The spooky presentation and creamy orange color make it a showstopper on any dessert or drink table.
- Crowd-Pleaser: Both kids and adults love this. It’s sweet but not cloying, creamy but not heavy.
- Unbelievably Delicious: The combination of orange and vanilla is classic for a reason. It tastes like a liquid creamsicle with a Halloween twist.
What makes this recipe different from the rest is the balance. Most Halloween punches go overboard on the sugar or rely on artificial flavors. This one uses real orange juice and vanilla extract to create a natural, satisfying sweetness. The secret is in the ratio—enough creaminess to feel indulgent, but enough citrus to keep it bright and refreshing. I tested this at three different parties before I got the proportions just right. Trust me, it was worth the effort.
This is the kind of drink that makes you close your eyes after the first sip. It’s comfort in a cup—familiar but unexpected, simple but memorable. Perfect for impressing your guests without spending hours in the kitchen, or for turning a casual Halloween gathering into something your friends will talk about all year.
What Ingredients You Will Need
This recipe uses simple, wholesome ingredients to deliver bold flavor and satisfying texture without the fuss. Most of these are pantry staples or easy to find at any grocery store, especially around Halloween when orange-flavored everything is in season.
For the Punch Base
- 4 cups orange juice, chilled (fresh-squeezed or high-quality store-bought; I prefer Tropicana or Simply Orange for consistent flavor)
- 2 cups vanilla ice cream, softened slightly (use a good quality brand like Häagen-Dazs or Breyers for the creamiest texture)
- 1 cup milk, whole or 2% (whole milk gives a richer result, but 2% works fine too)
- 1 teaspoon vanilla extract (pure extract, not imitation—it makes a difference in depth of flavor)
- 1/4 cup powdered sugar (optional, adjust based on sweetness of your orange juice)
- 2 cups ginger ale or lemon-lime soda, chilled (for fizz; Sprite or 7Up work well, or use ginger ale for a slightly spicier kick)
For the Spooky Garnish
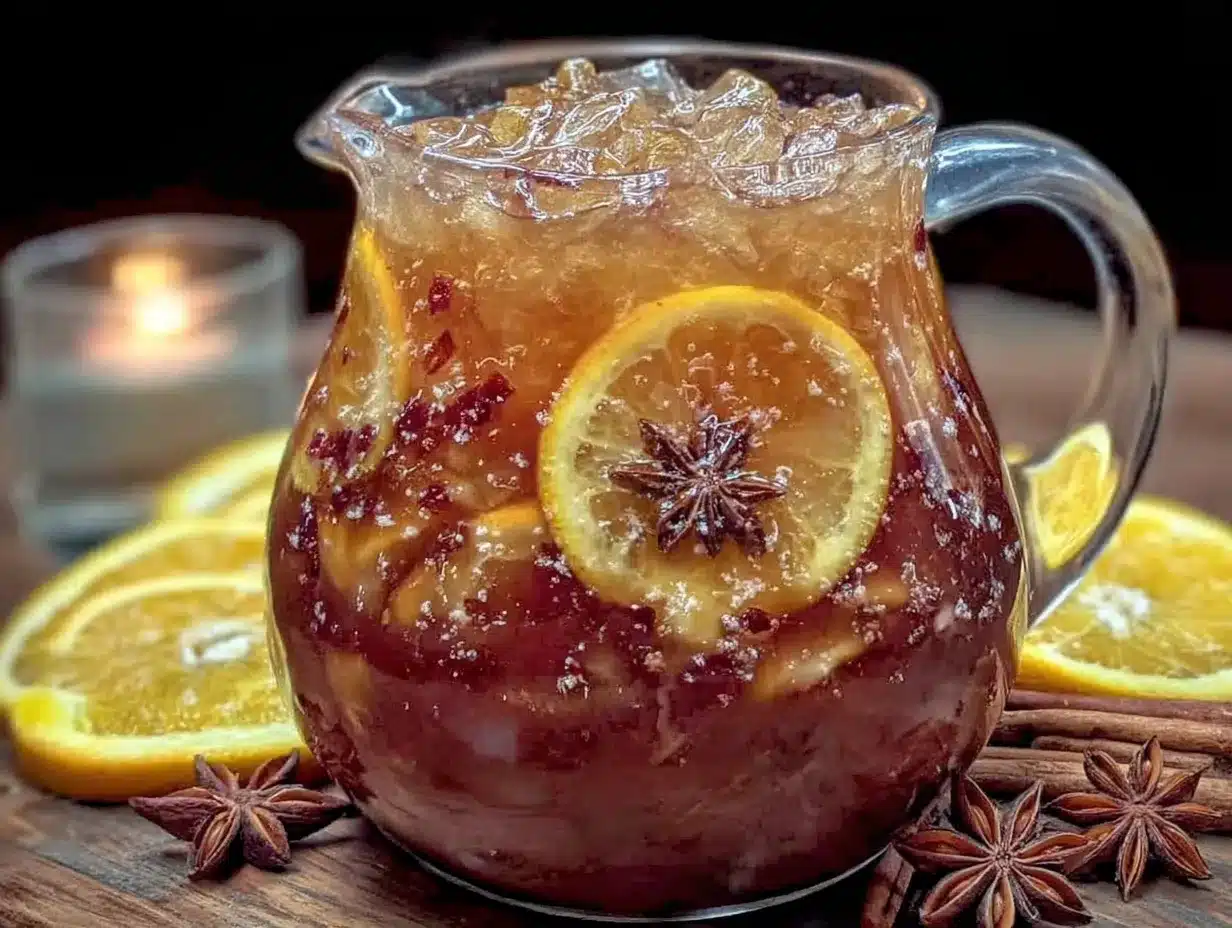
- 1 cup vanilla ice cream, scooped into small balls (float these on top for a “ghostly” effect)
- Black gel food coloring (for drawing spooky faces on the ice cream balls)
- Orange and black sprinkles (for rimming glasses)
- Gummy worms or spiders (for an extra creepy touch)
- Dry ice, optional (for a fog effect—handle with care and follow safety instructions)
Ingredient Selection Tips: For the best flavor, use orange juice that’s not from concentrate. The natural sweetness and acidity are more balanced. If you’re using a sweeter orange juice, you can skip the powdered sugar entirely. For the vanilla ice cream, avoid “light” or “low-fat” versions—they tend to separate when mixed into the punch and create a watery texture. Full-fat is the way to go here.
Substitution Guidance: Need a dairy-free version? Use full-fat coconut milk ice cream and oat milk for the milk. The coconut flavor actually pairs beautifully with the orange. For a lower-sugar option, use unsweetened orange juice and a sugar-free vanilla ice cream. Just note that the texture might be slightly less creamy. If you can’t find ginger ale, any clear soda works—even sparkling water with a splash of simple syrup will do in a pinch.
Equipment Needed
You don’t need anything fancy for this recipe, which is part of its charm. Here’s what you’ll need:
- Large punch bowl or beverage dispenser (a clear glass one shows off the beautiful orange color)
- Whisk or hand mixer (for blending the ice cream into the juice smoothly)
- Small bowl (for rimming glasses with sprinkles)
- Ladle (for serving)
- Ice cream scoop (for making the ghostly ice cream balls)
- Piping bag or small squeeze bottle (for drawing faces on the ice cream with food coloring)
- Glasses or cups (clear plastic cups work great for parties)
If you don’t have a punch bowl, a large pitcher works just fine. I’ve even used a clean plastic cauldron from the Halloween store before—it looked amazing and was surprisingly easy to clean. For the dry ice effect, make sure you have tongs and gloves to handle it safely. I learned that one the hard way after a minor frostbite scare. Not fun.
Preparation Method
This punch comes together in minutes, but the order matters for the best texture and presentation. Follow these steps carefully, and you’ll have a spooky masterpiece ready in no time.
- Rim your glasses (optional but impressive): Pour a thin layer of orange juice onto a small plate. On another plate, spread a layer of orange and black sprinkles. Dip the rim of each glass into the juice, then into the sprinkles. Set aside to dry while you prepare the punch. This takes about 2 minutes and makes the presentation look professional.
- Make the ghostly ice cream balls: Using your ice cream scoop, scoop out small, round balls of vanilla ice cream onto a parchment-lined baking sheet. You want about 12-15 small balls, each about 1 inch in diameter. Place the tray in the freezer for at least 15 minutes to firm up. This step is crucial—if they’re too soft, they’ll melt into the punch instead of floating on top.
- Blend the base: In your punch bowl, combine the chilled orange juice, softened vanilla ice cream, milk, and vanilla extract. Whisk vigorously until the ice cream is fully incorporated and the mixture is smooth and creamy. If you’re using a hand mixer, use the lowest setting to avoid creating too much foam. This should take about 2-3 minutes. Taste it here—if you want it sweeter, add the powdered sugar a tablespoon at a time until it’s right.
- Add the fizz: Just before serving, gently pour in the chilled ginger ale or lemon-lime soda. Stir slowly with a ladle to combine. You don’t want to stir too vigorously or you’ll lose the carbonation. The fizz is what makes this punch feel festive and light.
- Prepare the spooky faces: Remove the frozen ice cream balls from the freezer. Using a toothpick or a small squeeze bottle with black gel food coloring, draw tiny ghost faces on each ball. Simple dots for eyes and a wobbly “O” for a mouth work best. Don’t worry about perfection—the slightly messy look is actually creepier and more Halloween-appropriate.
- Assemble and serve: Gently float the ghostly ice cream balls on top of the punch. Add gummy worms or spiders crawling over the rim of the bowl or glasses. If you’re using dry ice, add it now following the safety instructions on the package. Ladle the punch into your prepared glasses, making sure each serving gets at least one ice cream ghost.
Pro tip: The punch will separate slightly if it sits too long, so give it a gentle stir every 20-30 minutes. The ice cream balls will start to melt after about 45 minutes, so plan to serve this within the first hour for the best presentation. If you’re making this for a longer party, keep a backup batch of frozen ice cream balls in the freezer and refresh the punch as needed.
Cooking Tips & Techniques
I’ve made this punch at least a dozen times, and I’ve learned a few things the hard way. Here are my best tips for getting it right every time:
Chill everything first. This is the most important tip I can give you. If your orange juice, milk, and soda aren’t thoroughly chilled, the ice cream will melt too quickly and you’ll end up with a watery, sad punch. I put all my liquid ingredients in the fridge the night before. For the glasses, I even chill them for 10 minutes before rimming—it helps the sprinkles stick better.
Don’t skip the softening step. When the recipe says “softened slightly” for the ice cream, I mean it should be at the consistency of thick yogurt. If it’s rock hard, you’ll struggle to whisk it in and end up with lumps. If it’s too soft, it’ll just turn into liquid. Let it sit on the counter for about 10-15 minutes before you start. That sweet spot makes all the difference.
Watch the carbonation. I once added the ginger ale too early and stirred too enthusiastically. The result was a punch that looked like a science experiment gone wrong—all foam and no fizz. Add the soda at the very last minute and stir gently. Your guests will thank you.
My biggest failure: The first time I made this, I forgot to freeze the ice cream balls before adding them to the punch. They dissolved into a milky mess within minutes, and my “spooky ghosts” looked more like sad little puddles. I had to scoop them out and start over. Now I always set a timer to remind myself to freeze them. Learn from my mistake!
Multitasking strategy: While the ice cream balls are freezing, use that time to rim your glasses and prep your garnishes. This way, everything is ready to go when the punch is assembled. I also like to lay out all my ingredients on the counter before I start—it makes the process feel smoother and less chaotic, especially if you’re hosting a party and have a million other things to do.
Variations & Adaptations
One of the best things about this punch is how easily it adapts to different tastes and dietary needs. Here are some variations I’ve tried and loved:
Adult Version
Add 1 cup of vanilla vodka or orange liqueur (like Triple Sec or Grand Marnier) to the base before adding the soda. The alcohol pairs beautifully with the orange and vanilla flavors. I made this version for a grown-up Halloween party and it was gone in 20 minutes. Just make sure to label it clearly so kids don’t accidentally grab it.
Dairy-Free Version
Use full-fat coconut milk ice cream and oat milk instead of the dairy versions. The coconut adds a subtle tropical note that actually works really well with the orange. I tested this for a friend with lactose intolerance, and she said it was even better than the original. The texture is slightly thinner but still creamy enough to feel indulgent.
Blood Orange Twist
Replace half the regular orange juice with blood orange juice for a deeper, more complex flavor and a dramatic dark red-orange color. It looks especially spooky when served in clear glasses. I discovered this by accident when I grabbed the wrong carton at the store, and it was a happy mistake.
Sparkling Version
For a lighter, less creamy punch, skip the ice cream and milk entirely. Use 4 cups orange juice, 2 cups sparkling water, and 1 teaspoon vanilla extract. Sweeten with honey or agave to taste. This version is more like a spooky soda and is perfect for guests who don’t like creamy drinks.
Pumpkin Spice Variation
Add 1/4 cup pumpkin puree and 1 teaspoon pumpkin pie spice to the base. Whisk thoroughly to combine. The pumpkin adds a lovely autumnal flavor and gives the punch a slightly thicker, more luxurious texture. I made this for a Thanksgiving potluck and it was a hit.
Serving & Storage Suggestions
This punch is best served immediately after assembly, but with a few tricks, you can make it work for longer events.
Serving Temperature: Serve the punch well-chilled but not icy. If it’s too cold, the flavors will be muted. I aim for about 40°F, which is right between fridge-cold and ice-cold. The ice cream balls will start to melt after about 45 minutes, so plan to serve this within the first hour for the best presentation.
Presentation Ideas: For a truly spooky look, serve the punch in a clear glass punch bowl with dry ice fog rolling over the top. Arrange gummy worms crawling up the sides of the bowl. For individual servings, use small mason jars or plastic cauldrons with the ghostly ice cream ball floating on top. I like to add a few drops of orange food coloring to the rimming sprinkles for extra Halloween flair.
Complementary Dishes: This punch pairs beautifully with savory appetizers like mini pumpkin-shaped cheese balls, spiderweb hummus with veggie sticks, or mummy hot dogs. For dessert, serve it alongside pumpkin cupcakes or chocolate-dipped pretzel “broomsticks.” The creamy, sweet punch balances out salty and savory snacks perfectly.
Storage Instructions: The punch base (without the soda and ice cream balls) can be made up to 24 hours in advance and stored in the refrigerator. When you’re ready to serve, just add the soda and frozen ice cream balls. Leftover punch (without the ice cream balls) can be stored in an airtight container in the fridge for up to 2 days. The texture will be thinner, but the flavor will still be good. Give it a good stir before serving leftovers.
Reheating Note: This is a cold punch, so no reheating needed! If it’s been sitting out for a while and has warmed up, just add a few ice cubes or more frozen ice cream balls to chill it back down.
Nutritional Information & Benefits
While this is definitely a treat rather than a health drink, there are a few surprising benefits hidden in that spooky cup:
- Vitamin C Boost: Orange juice is packed with vitamin C, which supports immune health—perfect for the cold and flu season that coincides with Halloween.
- Calcium from Dairy: The milk and ice cream provide calcium for bone health. Using whole milk adds about 150mg of calcium per serving.
- Antioxidants: Vanilla extract contains small amounts of antioxidants, and orange juice provides flavonoids that support heart health.
Estimated Nutritional Values (per 8 oz serving, without garnishes):
| Nutrient | Amount |
|---|---|
| Calories | 180 |
| Total Fat | 6g |
| Saturated Fat | 4g |
| Carbohydrates | 28g |
| Sugar | 24g |
| Protein | 3g |
| Vitamin C | 60% DV |
| Calcium | 10% DV |
Dietary Considerations: This recipe is vegetarian and can be made gluten-free by ensuring your ice cream and soda are certified gluten-free. For dairy-free and vegan options, see the variations section. It contains dairy and may contain gluten depending on your garnishes.
I personally love that this punch feels indulgent but isn’t loaded with artificial ingredients. It’s the kind of treat you can feel good about serving to your family—even if it does have a few ghostly faces staring back at you.
Conclusion
So there you have it—my conversion story, complete with all the trial and error that got me here. This Spooky Orange Vanilla Halloween Punch is more than just a drink. It’s proof that sometimes the things we think we hate just haven’t been done right yet. It’s creamy, refreshing, spooky, and surprisingly simple to put together. Whether you’re hosting a costume party, a family movie night, or just want to surprise your kids with something fun, this punch delivers.
I encourage you to make this recipe your own. Add more gummy worms if that’s your thing. Experiment with different soda flavors. Try the adult version and see if it becomes your new party staple. The beauty of a recipe like this is that it’s a starting point, not a rigid rulebook.
I’d love to hear how it turns out for you. Drop a comment below and let me know what variations you tried, or tag me in your Halloween party photos. Honestly, seeing other people enjoy this punch never gets old for me. It’s like being part of a secret club of people who used to hate punch but now can’t get enough of it. Welcome to the club!
Frequently Asked Questions
Can I make this punch ahead of time?
Yes! You can prepare the base (orange juice, milk, vanilla extract, and softened ice cream) up to 24 hours in advance. Store it in the refrigerator in an airtight container. When you’re ready to serve, just add the chilled soda and frozen ice cream balls. The punch will be slightly thicker after sitting, so give it a good whisk before adding the soda.
How do I make the dry ice effect safely?
Always handle dry ice with gloves or tongs—never touch it with bare skin. Add small chunks (about the size of a golf ball) to the punch just before serving. The fog will sink and roll over the sides of the bowl, creating a dramatic effect. Never seal dry ice in an airtight container, and don’t let anyone ingest it. Keep it away from children and pets. The fog effect lasts about 10-15 minutes per piece.
Can I use frozen orange juice concentrate instead of fresh?
You can, but I don’t recommend it. Frozen concentrate tends to have a more artificial flavor and a higher sugar content that can make the punch overly sweet. If you’re in a pinch, dilute the concentrate with half the recommended water and taste it before adding the powdered sugar. You might find you don’t need any extra sweetener at all.
What’s the best way to draw faces on the ice cream balls?
Use a toothpick dipped in black gel food coloring for the most control. The gel is thicker than liquid food coloring, so it won’t run or drip on the ice cream. If you’re making a large batch, a small squeeze bottle with a fine tip works great. Practice on a piece of parchment paper first to get the hang of it. Remember, the faces don’t need to be perfect—imperfect, wobbly ghosts are actually creepier and more Halloween-appropriate.
How can I make this punch less sweet?
Use unsweetened orange juice and skip the powdered sugar entirely. You can also use a sugar-free vanilla ice cream and diet ginger ale or sparkling water instead of regular soda. The vanilla extract will still provide plenty of flavor, and the natural sweetness of the orange juice will shine through without being cloying. If it’s still too sweet, add a squeeze of fresh lemon juice to balance it out.
Pin This Recipe!
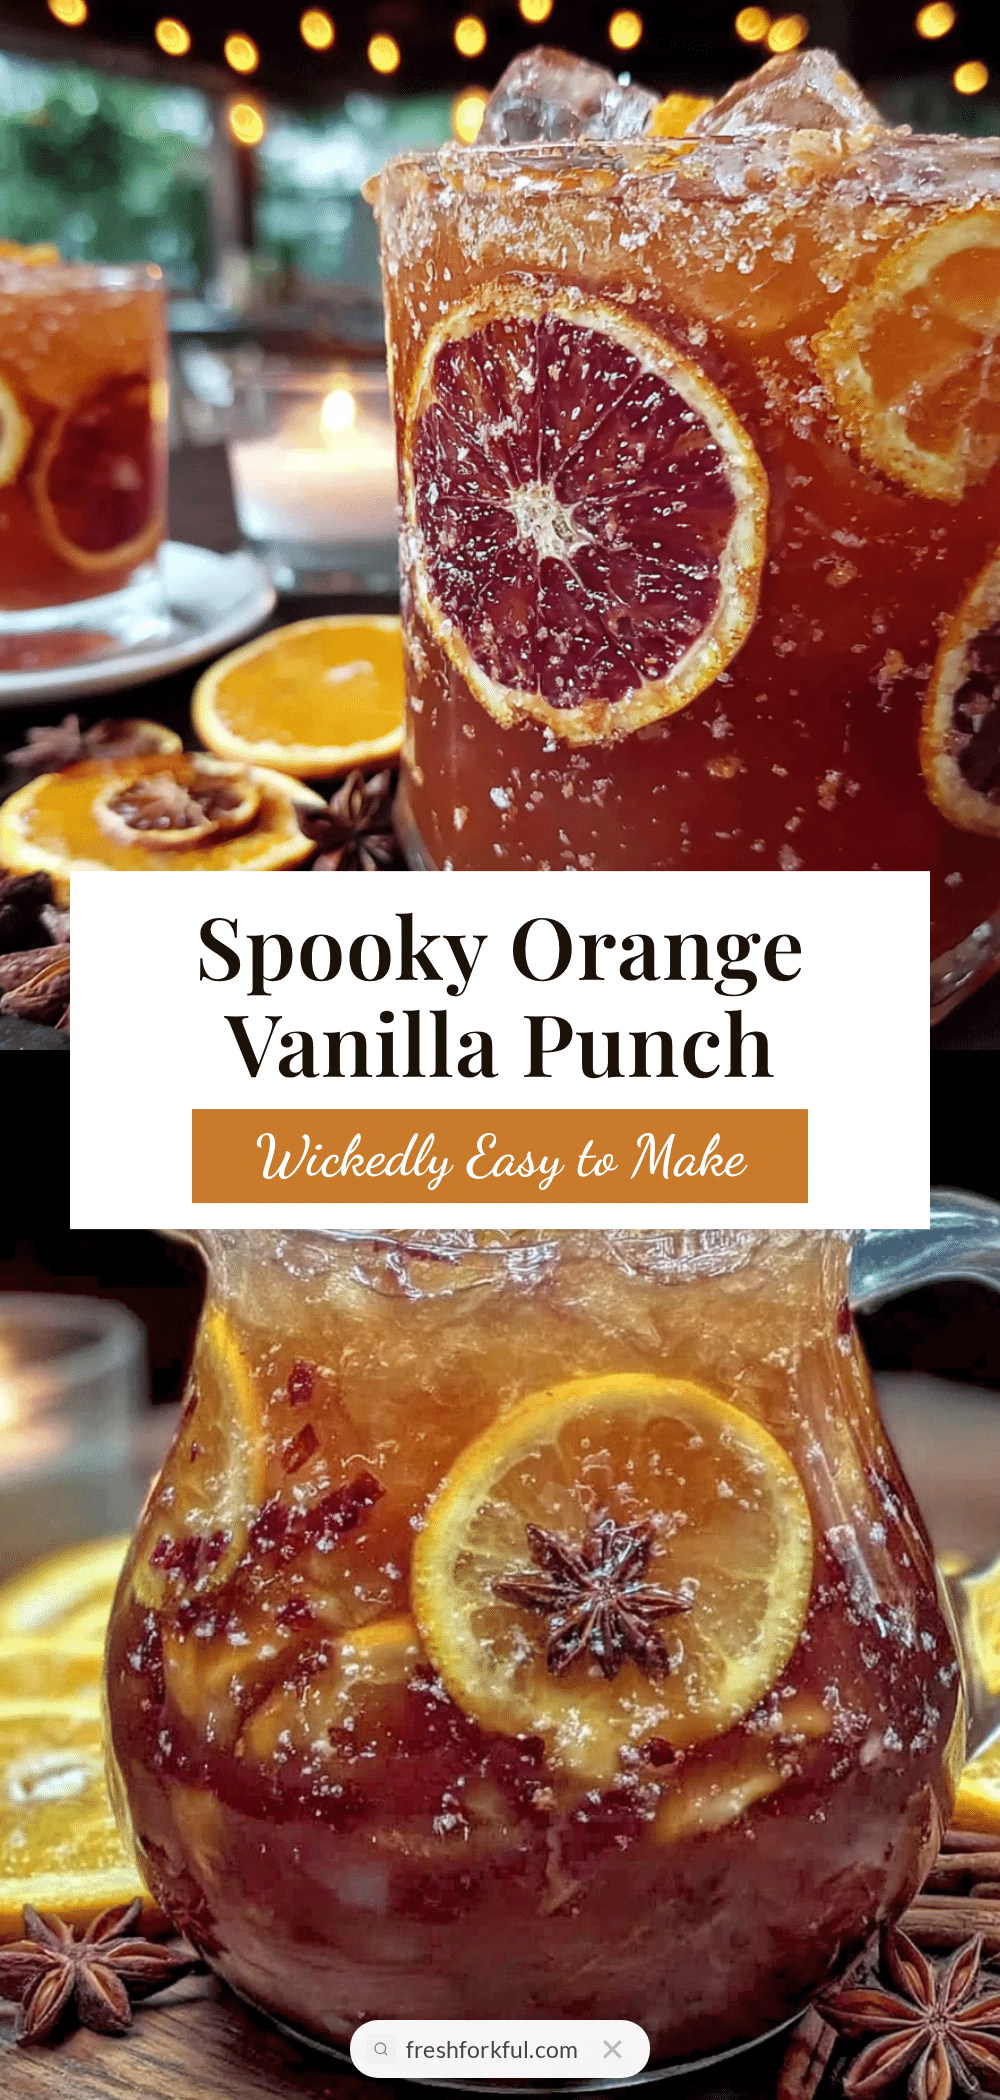
Spooky Orange Vanilla Halloween Punch – Easy Party Recipe
This creamy, balanced Halloween punch combines bright orange juice with rich vanilla ice cream for a spooky, crowd-pleasing drink that comes together in under 10 minutes. Perfect for parties, it features ghostly ice cream balls and optional dry ice for a dramatic effect.
- Prep Time: 10 minutes
- Cook Time: 0 minutes
- Total Time: 10 minutes
- Yield: 8 servings 1x
- Category: Beverage
- Cuisine: American
Ingredients
- 4 cups orange juice, chilled
- 2 cups vanilla ice cream, softened slightly
- 1 cup milk, whole or 2%
- 1 teaspoon vanilla extract
- 1/4 cup powdered sugar (optional, adjust based on sweetness of orange juice)
- 2 cups ginger ale or lemon-lime soda, chilled
- 1 cup vanilla ice cream, scooped into small balls (for garnish)
- Black gel food coloring (for drawing faces on ice cream balls)
- Orange and black sprinkles (for rimming glasses)
- Gummy worms or spiders (for garnish)
- Dry ice, optional (for fog effect)
Instructions
- Rim your glasses (optional but impressive): Pour a thin layer of orange juice onto a small plate. On another plate, spread a layer of orange and black sprinkles. Dip the rim of each glass into the juice, then into the sprinkles. Set aside to dry while you prepare the punch.
- Make the ghostly ice cream balls: Using your ice cream scoop, scoop out small, round balls of vanilla ice cream onto a parchment-lined baking sheet. You want about 12-15 small balls, each about 1 inch in diameter. Place the tray in the freezer for at least 15 minutes to firm up.
- Blend the base: In your punch bowl, combine the chilled orange juice, softened vanilla ice cream, milk, and vanilla extract. Whisk vigorously until the ice cream is fully incorporated and the mixture is smooth and creamy. If using a hand mixer, use the lowest setting to avoid too much foam. Taste and add powdered sugar if desired.
- Add the fizz: Just before serving, gently pour in the chilled ginger ale or lemon-lime soda. Stir slowly with a ladle to combine. Do not stir too vigorously to preserve carbonation.
- Prepare the spooky faces: Remove the frozen ice cream balls from the freezer. Using a toothpick or small squeeze bottle with black gel food coloring, draw tiny ghost faces on each ball (dots for eyes and a wobbly ‘O’ for mouth).
- Assemble and serve: Gently float the ghostly ice cream balls on top of the punch. Add gummy worms or spiders crawling over the rim of the bowl or glasses. If using dry ice, add it now following safety instructions. Ladle the punch into prepared glasses, ensuring each serving gets at least one ice cream ghost.
Notes
Chill all liquid ingredients thoroughly before starting. Soften ice cream to thick yogurt consistency for easy blending. Add soda at the last minute and stir gently to preserve fizz. Freeze ice cream balls for at least 15 minutes before adding to punch to prevent melting. The punch will separate slightly if it sits too long; stir every 20-30 minutes. Ice cream balls start to melt after about 45 minutes, so plan to serve within the first hour. For a longer party, keep a backup batch of frozen ice cream balls in the freezer.
Nutrition
- Serving Size: 8 oz
- Calories: 180
- Sugar: 24
- Sodium: 50
- Fat: 6
- Saturated Fat: 4
- Carbohydrates: 28
- Protein: 3
Keywords: Halloween punch, orange vanilla punch, spooky punch, party punch, Halloween drink, creamy punch, ghost punch


