Love this? Save it for later!
Share the inspiration with your friends
Marta wasn’t trying to impress anyone. I’d stopped by her place to borrow a garden rake—she’d promised me she had an extra—and the smell hit me before she even opened the screen door. That warm, buttery, banana-soaked scent that makes your brain stop mid-thought. “Oh, that’s just banana bread,” she said, waving her hand like it was nothing. Like I hadn’t just been ambushed by the most comforting smell on the planet.
She led me into her kitchen, and there it was—cooling on a wire rack, golden-brown on top, cracked right down the middle in that way that tells you it’s going to be good. The bowl was still sitting on the counter, a wooden spoon resting in it, a few smears of batter clinging to the sides. One bowl. That’s all she’d used. No stand mixer, no hand mixer, not even a whisk—just that spoon and a bowl. I mean, honestly, it felt almost unfair how easy she made it look.
I grabbed the rake, but I didn’t leave. We stood there talking while she sliced off a piece, still warm, and handed it to me on a napkin. That first bite—soft, tender, with those little pockets of melted banana—I knew I wasn’t going to forget it. Marta shrugged and said it was just something she threw together when her bananas got too spotty. “No big deal,” she said. But it was. And now, every time I see bananas turning brown on my counter, I think of that afternoon and that ridiculous, perfect loaf.
Why You’ll Love This Recipe
Let me tell you why this banana bread has earned a permanent spot in my kitchen. I’ve tested a dozen versions over the years—some were too dry, some were too dense, some required washing every appliance I own. This one? It’s the Goldilocks of banana breads, and it came from someone who wasn’t even trying to be impressive.
- One Bowl, No Mixer: You read that right. One bowl. One spoon. That’s it. Less cleanup means more time actually enjoying that first warm slice.
- Simple Ingredients: No buttermilk, no sour cream, no weird specialty flours. You probably have everything already—bananas, butter, sugar, eggs, flour, baking soda, salt. That’s the whole list.
- Perfect for Cozy Mornings: This is the kind of bread you bake on a rainy Sunday or a lazy Saturday when you want the house to smell like comfort. It fills your kitchen with warmth without filling your sink with dishes.
- Crowd-Pleaser: I’ve brought this to brunches, book club meetings, and neighbor drop-offs. It disappears every single time. Kids love it, adults love it, and nobody believes it only took one bowl.
- Unbelievably Tender: The texture is what gets me every time. It’s moist without being gummy, tender without being crumbly. That crackly top crust gives way to a soft, almost velvety crumb. Marta’s secret? Overripe bananas and a light hand with the mixing.
What makes this different from every other banana bread recipe out there is the simplicity. It’s not trying to be fancy or reinvent the wheel. It’s just really, really good, and it knows it doesn’t need to show off. If you’ve been burned by dry banana bread or complicated recipes that promise the world and deliver a brick, this one will restore your faith.
What Ingredients You Will Need
This recipe uses the kind of ingredients you probably already have hanging around your kitchen. There’s nothing fussy here—just honest, simple stuff that works together to create something magical. Let me walk you through each one and why it matters.
For the Banana Bread
- 3 large ripe bananas, mashed (about 1 ½ cups / 360 ml) — The riper, the better. We’re talking spotty, almost-black skins. That’s where the sweetness and moisture live. I’ve made this with yellow bananas in a pinch, and it works, but the flavor just isn’t the same. Let them get ugly. Trust me.
- ⅓ cup (75 g) unsalted butter, melted — I use salted butter sometimes if that’s all I have, and it’s fine—just cut the added salt in half. Melted butter gives the bread that rich, tender crumb. Let it cool slightly before mixing so it doesn’t cook the eggs.
- ¾ cup (150 g) granulated sugar — Regular white sugar works beautifully. You could swap in coconut sugar for a deeper flavor, but it will make the bread a little denser. I’ve also used light brown sugar when I wanted that molasses-y warmth, and honestly, that might be my favorite version.
- 1 large egg, room temperature — Room temperature matters here. A cold egg will seize the melted butter and give you a lumpy batter. Just set it out on the counter while you mash your bananas.
- 1 teaspoon vanilla extract — Pure vanilla if you’ve got it, imitation if that’s what’s in your pantry. It rounds out the banana flavor and makes everything taste more, well, baked.
- 1 ½ cups (190 g) all-purpose flour — Spoon and level it. Scooping directly with the measuring cup packs the flour and gives you dry, dense bread. I use Gold Medal or King Arthur—both work perfectly.
- 1 teaspoon baking soda — This is your leavener. Make sure it’s fresh. If you can’t remember when you bought it, do the test: drop a little into vinegar. If it fizzes vigorously, you’re good.
- ½ teaspoon salt — Fine sea salt or table salt. Don’t skip it—salt makes the sweetness sing and balances the banana flavor.
Optional Add-Ins
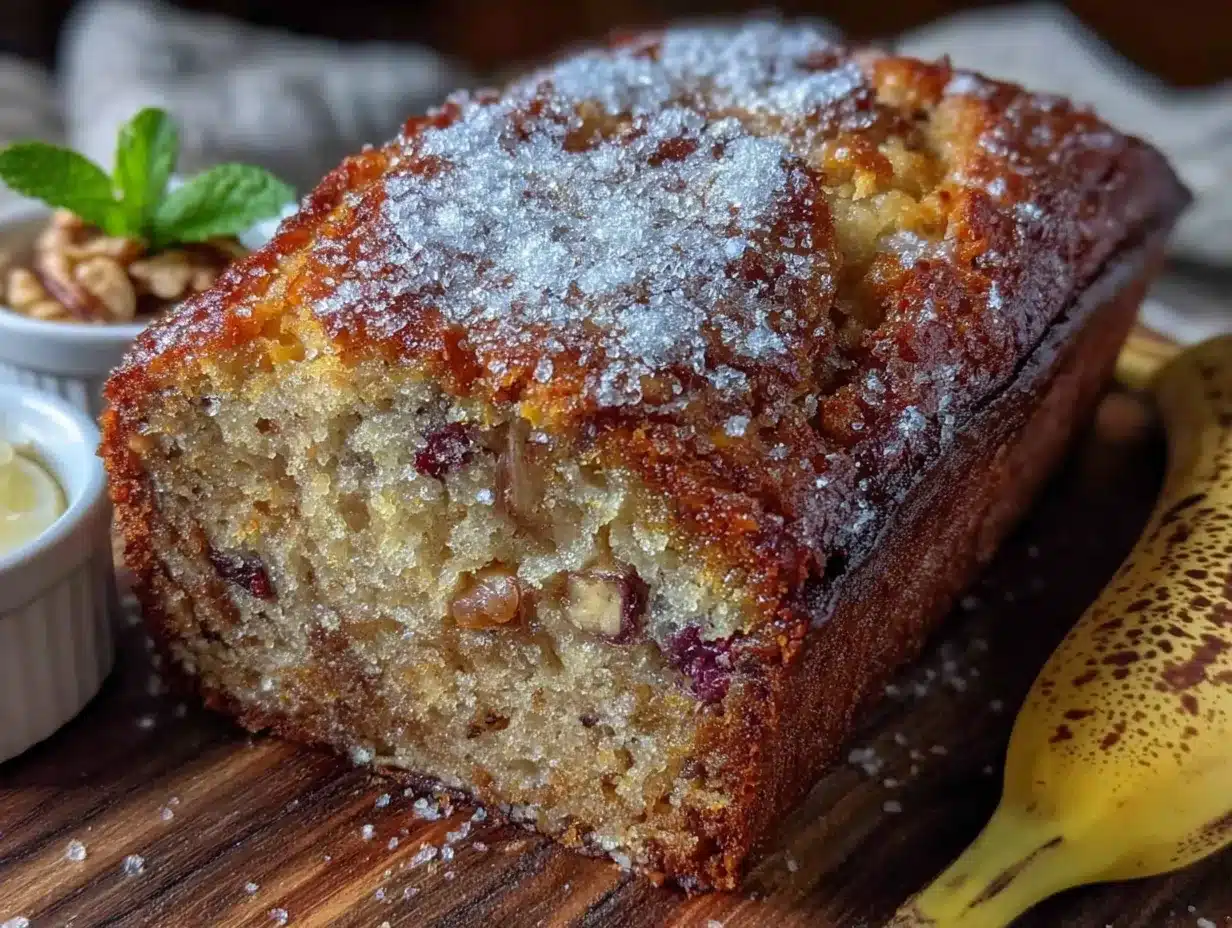
- ½ cup (60 g) chopped walnuts or pecans — Toast them first for extra flavor. I toss them in a dry pan for 3-4 minutes while I’m mashing bananas.
- ½ cup (90 g) chocolate chips — Semi-sweet or dark. I’ve used milk chocolate in a pinch, but it makes the bread very sweet. Semi-sweet is the sweet spot.
- 1 teaspoon cinnamon — Adds warmth and makes the kitchen smell even better. I add this to the flour mixture when I want a cozier vibe.
Equipment Needed
The beauty of this recipe is how little equipment it demands. You don’t need a fancy kitchen to pull this off—just a few basics that you probably already own.
- One large mixing bowl — Any bowl will do. I use a ceramic one that belonged to my grandmother, but a glass or stainless steel bowl works just as well. Just make sure it’s big enough to mix everything without splashing.
- A wooden spoon or sturdy spatula — This is your “mixer.” A wooden spoon gives you good leverage for mashing and mixing. A silicone spatula works too, especially for scraping the sides.
- A 9×5-inch (23×13 cm) loaf pan — Standard size. If you use an 8×4-inch pan, your bread will be taller and可能需要 bake a few minutes longer. If you use a 9-inch round cake pan, reduce the bake time by about 10 minutes.
- Parchment paper or butter for greasing — Parchment paper makes lifting the bread out so easy. I cut a strip that hangs over the long sides like handles. Butter and flour work too—just be thorough.
- Cooling rack — Not strictly necessary, but it prevents the bottom from getting soggy. If you don’t have one, let the bread cool in the pan for 10 minutes, then transfer it to a plate.
- Measuring cups and spoons — For accuracy. I’ve eyeballed it before, and it wasn’t terrible, but the measurements give you consistent results every time.
If you don’t have a loaf pan, you can bake this in a muffin tin—just reduce the time to 18-22 minutes. Mini loaves work too, but check them at 25 minutes. The recipe is forgiving like that.
Preparation Method
Alright, let’s make some banana bread. This is the part where I walk you through every step so you feel confident, even if you’ve never baked a loaf in your life. Take your time, and remember—if Marta can do it while chatting about her tomato plants, you can absolutely do this.
- Preheat your oven to 350°F (175°C). Get this going first so it’s ready when you are. Position the rack in the middle of the oven—too low and the bottom burns, too high and the top browns before the middle is done.
- Prepare your loaf pan. Grease it with butter or line it with parchment paper. I like to leave an overhang on the two long sides—it makes lifting the bread out so much easier. If you’re using parchment, spray the pan lightly first so the paper sticks in place.
- Mash your bananas. Peel them and drop them into your mixing bowl. Use a fork or a potato masher—I prefer a fork because I like a few small chunks left for texture. Mash until they’re mostly smooth with a few lumps. You should have about 1 ½ cups (360 ml) of mashed banana. If your bananas were huge and you have more, that’s fine—just don’t go over 2 cups or the bread will be too dense.
- Add the melted butter and sugar. Pour the slightly cooled melted butter over the bananas, then add the sugar. Stir with your wooden spoon until everything is combined. It will look a little grainy—that’s normal. The sugar needs to dissolve a bit in the moisture.
- Add the egg and vanilla. Crack the egg into a small bowl first (just in case of shells), then add it to the banana mixture. Pour in the vanilla. Stir until the egg is fully incorporated. You want a smooth, uniform batter at this point—no streaks of egg white.
- Mix the dry ingredients separately. In a small bowl, whisk together the flour, baking soda, and salt. If you’re using cinnamon or other spices, whisk them in here. This step ensures the baking soda is evenly distributed so your bread rises evenly. I learned this the hard way after biting into a pocket of baking soda—trust me, it’s worth the extra bowl.
- Add the dry ingredients to the wet. Dump the flour mixture over the banana mixture. Here’s the most important part: gently fold. Use a light hand and stir just until you don’t see any more streaks of flour. Overmixing develops the gluten and makes your bread tough. A few lumps are fine—better than tough bread. I usually stop at about 12-15 strokes.
- Fold in any add-ins. If you’re using nuts, chocolate chips, or both, sprinkle them over the batter and fold them in with a few gentle strokes. Don’t overmix—just until they’re distributed.
- Pour the batter into the prepared pan. Use your spatula to scrape every last bit out of the bowl. Spread the batter evenly—it will be thick. Give the pan a couple of gentle taps on the counter to release any air bubbles.
- Bake for 50-60 minutes. Start checking at 50 minutes. Your bread is done when a toothpick inserted into the center comes out clean or with just a few moist crumbs. The top should be deep golden brown and cracked. If the top is browning too fast but the middle isn’t done, tent loosely with foil for the last 10-15 minutes.
- Cool in the pan for 10 minutes. Set the pan on a cooling rack. This resting time lets the bread firm up so it doesn’t fall apart when you remove it.
- Remove from the pan and cool completely. Lift the bread out using the parchment handles (or invert it onto the rack). Let it cool completely before slicing—about 1 hour. I know it’s hard to wait, but slicing too early makes the bread gummy. If you absolutely can’t wait, the ends are usually firm enough to steal a piece.
Cooking Tips & Techniques
I’ve made this banana bread at least two dozen times, and I’ve picked up a few tricks along the way. Some came from happy accidents, others from outright failures. Let me share them so you can skip the mistakes and go straight to the good stuff.
Use a kitchen scale for the flour. I know, I know—extra equipment. But flour is notoriously easy to overmeasure with cups. One cup of flour can weigh anywhere from 120 to 150 grams depending on how you scoop it. A scale takes the guesswork out. If you don’t have one, spoon the flour into your measuring cup and level it off with a knife. Don’t scoop—that packs the flour and gives you dry bread.
Don’t overmix the batter. This is the number one mistake I see in banana bread recipes. Once the flour hits the wet ingredients, gluten starts forming. Stir too much and you’ll have a tough, dense loaf. I count my strokes—12 to 15 gentle folds, max. Lumps are your friends here.
Check your baking soda’s freshness. I once made a loaf that came out flat and sad. Turned out my baking soda was ancient. If your bread doesn’t rise properly, that’s usually the culprit. Fresh baking soda should fizz immediately when you drop a pinch into vinegar.
Let the bread cool completely. This is the hardest tip to follow because the smell is unbearable. But slicing warm banana bread is a recipe for a crumbly mess. The starches need time to set. I’ve ruined more than one loaf by being impatient. Let it cool for at least an hour on the rack.
Toast leftover slices. Day-old banana bread is excellent when toasted. Pop a slice in the toaster or a dry skillet until the edges are crispy and the center is warm. Spread a little butter on it—absolute heaven. This is my favorite way to eat it, honestly.
Variations & Adaptations
This recipe is a fantastic base for experimentation. I’ve tried several variations, and most of them turned out great. Here are some of my favorites.
Gluten-Free Banana Bread
Swap the all-purpose flour for a 1:1 gluten-free baking flour blend. I’ve used Bob’s Red Mill and King Arthur with good results. The texture will be slightly more tender and a little crumblier, but the flavor is spot on. Add an extra tablespoon of flour if the batter seems too loose.
Vegan Banana Bread
Replace the butter with melted coconut oil or a neutral vegetable oil. Use a flax egg (1 tablespoon ground flaxseed mixed with 3 tablespoons water, let sit for 5 minutes) instead of the chicken egg. The bread will be a bit denser but still delicious. I’ve made this for vegan friends and they didn’t miss a thing.
Chocolate Swirl Banana Bread
Melt ¼ cup (60 g) of semi-sweet chocolate chips and swirl it into the batter just before baking. Use a knife to create a marbled effect. The chocolate adds richness and makes it feel like a dessert. I did this for a potluck and it was the first thing to disappear.
Spiced Banana Bread
Add 1 teaspoon cinnamon, ½ teaspoon nutmeg, and ¼ teaspoon cloves to the flour mixture. This gives the bread a warm, holiday-like flavor. It’s perfect for fall or winter mornings with a cup of coffee.
Nut-Free Version
Simply skip the nuts or replace them with sunflower seeds or pumpkin seeds for crunch. I’ve also used dried cranberries or chopped dates for a different texture and sweetness.
Serving & Storage Suggestions
This banana bread is versatile enough for breakfast, snack, or dessert. Here’s how I like to serve it and keep it fresh.
Serving suggestions: Slice it thick and serve it plain—it really doesn’t need anything. But if you want to gild the lily, try it warm with a pat of salted butter melting into the crumb. A drizzle of honey or a smear of cream cheese frosting turns it into a full-on dessert. For breakfast, I love it alongside a fried egg and some fresh fruit.
Storage: Keep the bread wrapped tightly in plastic wrap or aluminum foil at room temperature for up to 4 days. The moisture from the bananas keeps it soft. If your kitchen is very warm, you can refrigerate it, but it will dry out a bit faster. I usually wrap it in foil and keep it in a bread box.
Freezing instructions: This bread freezes beautifully. Wrap the cooled loaf (or individual slices) tightly in plastic wrap, then in foil. Freeze for up to 3 months. To thaw, leave it on the counter for a few hours or pop a slice in the toaster straight from the freezer. I always keep a loaf in the freezer for unexpected guests or lazy Sunday mornings.
Reheating: The microwave works in a pinch—10-15 seconds per slice. But the toaster or a 350°F oven for 5-7 minutes gives you that crispy exterior and warm, soft center. It’s worth the extra minute.
One thing I’ve noticed—the flavor actually improves after a day. The banana flavor deepens and the texture becomes even more tender. So don’t be sad if you have leftovers. Day-two banana bread is a gift.
Nutritional Information & Benefits
Let’s be real—banana bread is a treat. But it does have some redeeming qualities, especially when you make it at home with real ingredients.
Estimated nutritional values per slice (1/12 of loaf, without add-ins):
- Calories: 195
- Fat: 7g
- Carbohydrates: 31g
- Fiber: 1g
- Sugar: 16g
- Protein: 3g
Health highlights: Bananas are a good source of potassium, vitamin B6, and vitamin C. They also provide natural sweetness, which means you can use less refined sugar than in many other baked goods. The fiber content is modest, but every bit helps. Using whole wheat pastry flour instead of all-purpose would bump up the fiber and add a nice nutty flavor.
Dietary considerations: This recipe contains gluten, dairy, and eggs. But as I mentioned above, it adapts well to gluten-free and vegan versions. It’s also relatively low in added sugar compared to many dessert breads—only ¾ cup for the whole loaf. You can reduce it to ½ cup if your bananas are very ripe and sweet.
I’m not a nutritionist, and I don’t pretend this is health food. But I do believe that homemade treats made with simple, recognizable ingredients are a perfectly reasonable part of a balanced diet. A slice of this bread with a cup of tea feels nourishing in a way that a packaged snack never does.
Conclusion
This banana bread is proof that you don’t need fancy equipment, complicated techniques, or a long list of ingredients to make something truly memorable. It came from a friend who wasn’t trying to impress me, and that’s exactly why it stuck. It’s humble, honest, and absolutely delicious.
I hope you give it a try—maybe this weekend, when your bananas are getting spotty and you’re craving something warm from the oven. Mash them up in one bowl, stir everything together with a wooden spoon, and let your kitchen fill with that incredible smell. It’s comfort food at its simplest and best.
And when you make it—because I believe you will—come back and tell me how it went. Did you add chocolate chips? Did you toast it with butter? Did you have to hide it from your family so you could get a slice? I’d love to hear your stories. Leave a comment below, share a photo, or tag me on social media. Happy baking, friend.
Frequently Asked Questions
Can I use frozen bananas for this recipe?
Absolutely. Thaw them completely first—the excess liquid will separate. Pour off the liquid (or stir it back in if you want a more intense banana flavor—I usually pour it off to avoid a soggy bread). Mash them as usual. Frozen bananas are actually more flavorful because the freezing process concentrates their sugars.
Why did my banana bread sink in the middle?
This usually happens for one of three reasons: the batter was overmixed (which develops too much gluten), the bread was underbaked (check with a toothpick next time), or the oven temperature was too low. Make sure your oven is properly preheated and resist the urge to open the door during the first 30 minutes of baking.
Can I make this into muffins instead of a loaf?
Yes! Grease a 12-cup muffin tin or line it with paper liners. Divide the batter evenly among the cups—fill them about ¾ full. Bake at 350°F (175°C) for 18-22 minutes, or until a toothpick comes out clean. You’ll get about 12 muffins. They freeze beautifully too.
How do I know when the bananas are ripe enough?
Look for peels that are heavily spotted with brown or almost completely black. The bananas should feel soft when you squeeze them gently. If they’re still yellow or have just a few spots, they’re not ready. You can speed up ripening by placing them in a paper bag with an apple overnight.
Can I reduce the sugar in this recipe?
You can reduce it to ½ cup (100 g) without affecting the texture too much, especially if your bananas are very ripe and sweet. Going lower than that might make the bread less tender and slightly less sweet. I’ve made it with ⅓ cup before, and it was still good—just more like a breakfast bread than a treat.
Pin This Recipe!
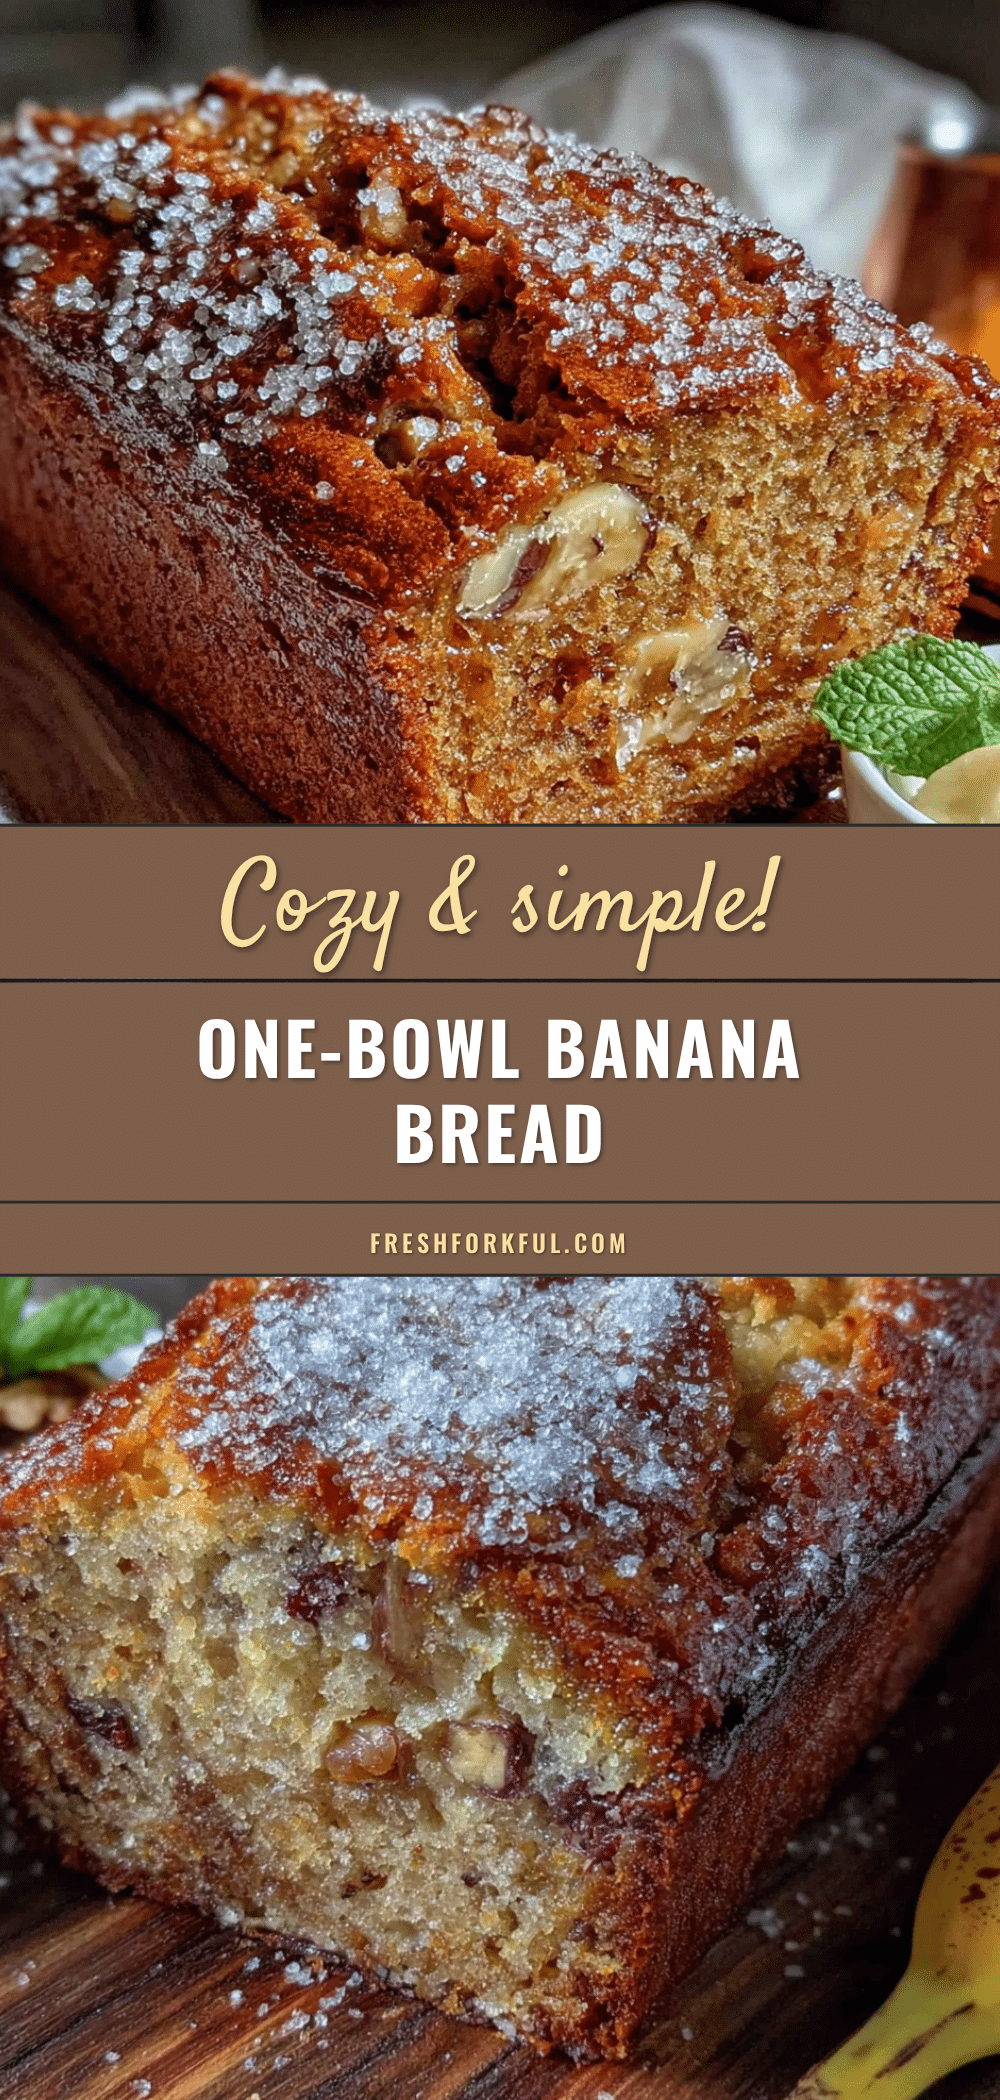
Perfect Cozy One-Bowl Banana Bread (No Mixer Needed)
This one-bowl banana bread requires no mixer and uses simple ingredients for a tender, moist loaf with a crackly top. Perfect for cozy mornings and guaranteed to disappear quickly.
- Prep Time: 15 minutes
- Cook Time: 55 minutes
- Total Time: 1 hour 10 minutes
- Yield: 12 servings 1x
- Category: Dessert
- Cuisine: American
Ingredients
- 3 large ripe bananas, mashed (about 1 ½ cups / 360 ml)
- ⅓ cup (75 g) unsalted butter, melted
- ¾ cup (150 g) granulated sugar
- 1 large egg, room temperature
- 1 teaspoon vanilla extract
- 1 ½ cups (190 g) all-purpose flour
- 1 teaspoon baking soda
- ½ teaspoon salt
- ½ cup (60 g) chopped walnuts or pecans (optional)
- ½ cup (90 g) chocolate chips (optional)
- 1 teaspoon cinnamon (optional)
Instructions
- Preheat your oven to 350°F (175°C). Position the rack in the middle of the oven.
- Prepare your loaf pan: grease it with butter or line it with parchment paper, leaving an overhang on the two long sides.
- Mash the bananas in a large mixing bowl with a fork until mostly smooth with a few small lumps (about 1 ½ cups).
- Add the melted butter and sugar to the bananas. Stir with a wooden spoon until combined.
- Add the egg and vanilla extract. Stir until fully incorporated and smooth.
- In a small bowl, whisk together the flour, baking soda, and salt (plus cinnamon if using).
- Add the dry ingredients to the wet ingredients. Gently fold with a light hand just until no streaks of flour remain (12-15 strokes). Do not overmix.
- If using, fold in nuts or chocolate chips with a few gentle strokes.
- Pour the batter into the prepared loaf pan and spread evenly. Tap the pan gently on the counter to release air bubbles.
- Bake for 50-60 minutes, until a toothpick inserted in the center comes out clean or with a few moist crumbs. If browning too fast, tent loosely with foil for the last 10-15 minutes.
- Cool in the pan for 10 minutes on a cooling rack.
- Remove from the pan using parchment handles (or invert) and cool completely on the rack before slicing (about 1 hour).
Notes
Use overripe (spotty or black) bananas for best sweetness and moisture. Do not overmix the batter to avoid tough bread. Let the bread cool completely before slicing to prevent a gummy texture. Day-old bread tastes even better and can be toasted.
Nutrition
- Serving Size: 1 slice (1/12 of loa
- Calories: 195
- Sugar: 16
- Sodium: 220
- Fat: 7
- Saturated Fat: 4
- Carbohydrates: 31
- Fiber: 1
- Protein: 3
Keywords: banana bread, one bowl, no mixer, easy banana bread, moist banana bread, comfort food


