Love this? Save it for later!
Share the inspiration with your friends
I’m not supposed to play favorites with recipes, but some dishes just earn their spot in the rotation without even trying. Sheet pan nachos are one of those happy accidents that started as a “what’s in the pantry” desperation move and turned into the most-requested dish for every game day, birthday, and casual hangout I’ve hosted since. The first time I made them, I honestly thought I was cutting corners—layering chips on a sheet pan instead of fussing with individual plates seemed almost too simple to work.
But here’s the thing about nachos: they’re only as good as their architecture. Too many toppings and the chips get soggy. Too few and you’re left with sad, bare chips at the bottom of the pile. That first sheet pan attempt? Let me tell you, it was a learning curve. I piled everything on at once, forgot to layer the cheese in the middle, and ended up with a sad mountain of lukewarm chips and cold toppings. My friend Jen still teases me about that Tuesday night disaster.
I spent the next few weekends experimenting—testing different cheese blends, figuring out the perfect oven temperature, and learning the hard way that pre-shredded cheese has its limits when it comes to melting. What I landed on is this: a method that guarantees every single chip gets some love. The cheese melts into every crevice, the toppings stay crisp, and the whole thing comes together on one pan with minimal cleanup. That’s the kind of win I can get behind.
Maybe you’ve had your own nacho mishaps—soggy chips, uneven toppings, or that moment when someone grabs the chip with all the good stuff and leaves you with the plain ones. This recipe solves all of that. It’s the kind of dish that makes people linger around the kitchen island, grabbing handfuls and talking over each other. And honestly? That’s exactly what food should do.
Why You’ll Love This Recipe
These sheet pan loaded nachos aren’t just another appetizer recipe. They’re the result of trial and error, a few burnt fingers, and one very patient group of friends who taste-tested about six different versions before I called it done. Here’s what makes them stand out:
- Ready in Under 30 Minutes : From fridge to table in about 25 minutes flat. Perfect for those moments when people show up early and you need something fast.
- Minimal Cleanup : One sheet pan, one cutting board, one bowl. No piles of dishes hiding in the sink while you’re trying to enjoy the party.
- Fully Customizable : This recipe works for vegetarians, meat-lovers, picky kids, and adventurous eaters all at the same time. Just set up a topping bar and let everyone build their own section of the pan.
- Crowd-Tested and Approved : I’ve served these at Super Bowl parties, birthday dinners, and casual Tuesday night hangs. Every single time, the pan comes back empty.
- Perfectly Even Toppings : The layering method ensures no chip gets left behind. Every bite has cheese, protein, and that perfect crunch.
What really sets this recipe apart is the double-layer technique. Most recipes just dump everything on top and hope for the best. I’ve learned to layer chips, cheese, and toppings in two distinct rounds so the bottom chips stay crunchy while the top gets gloriously melty. It’s a small tweak that makes a huge difference—the kind of trick you only learn after making nachos about twenty times.
This is the recipe that made my brother-in-law, a self-proclaimed nacho snob, ask for the recipe. Twice. It’s comfort food at its most shareable—crispy, cheesy, and loaded with all the good stuff. No fuss, no stress, just really good nachos.
What Ingredients You Will Need
This recipe uses simple, easy-to-find ingredients that come together to create something truly satisfying. Most of these are pantry staples for me now, and I bet you already have many of them on hand.
For the Base Layer
- 1 large bag (13-16 ounces) restaurant-style tortilla chips – I prefer Juanita’s or On the Border for their sturdy texture that holds up to toppings without breaking
- 3 cups shredded Mexican blend cheese (about 12 ounces) – shredding from a block melts much smoother than pre-shredded bags, which have anti-caking agents
- 1 cup shredded sharp cheddar cheese (about 4 ounces) – adds that deep, tangy flavor that makes nachos taste indulgent
For the Protein
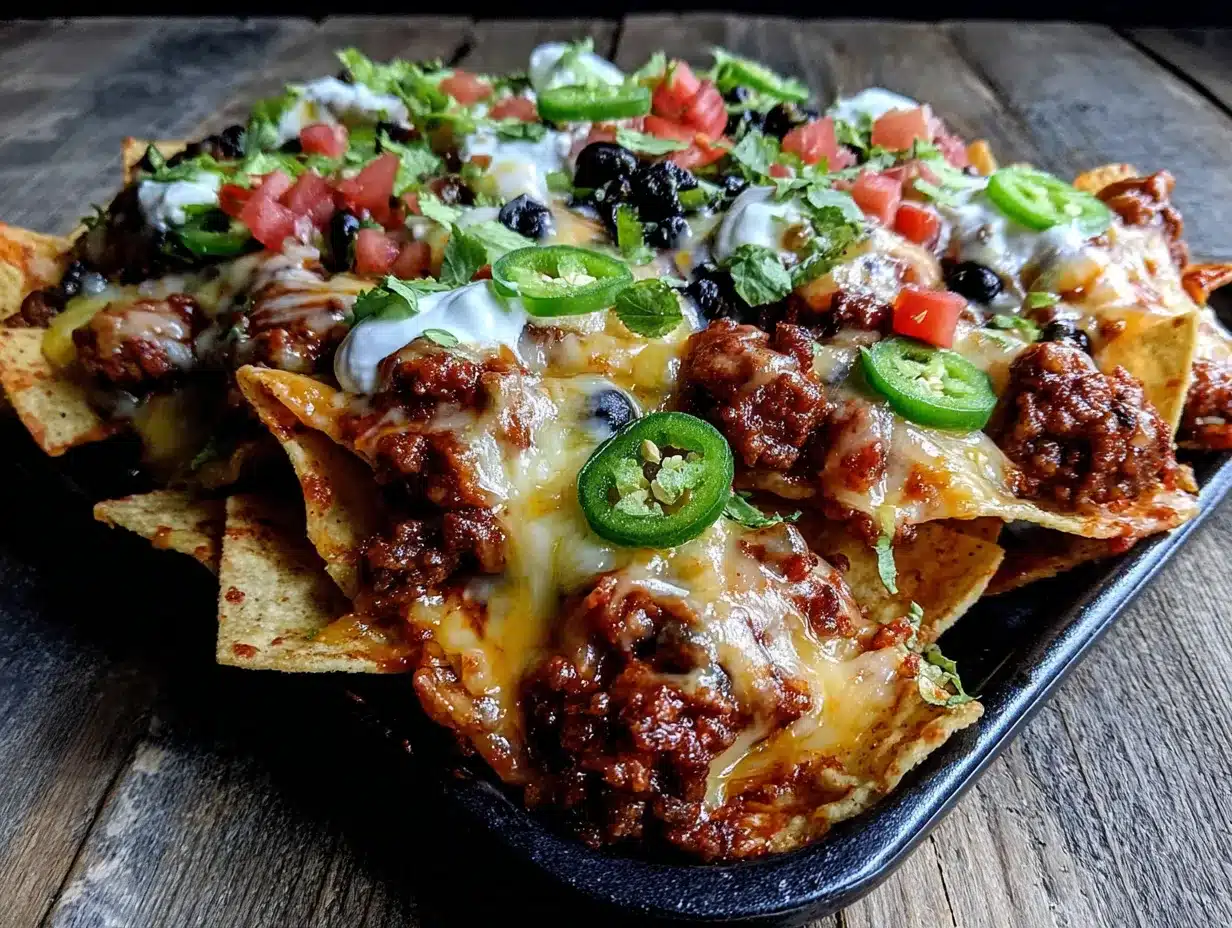
- 1 pound ground beef (80/20 blend works best) – or substitute with shredded chicken, ground turkey, or black beans for a vegetarian version
- 1 packet taco seasoning (or 3 tablespoons homemade blend) – I like McCormick for consistency, but making your own with chili powder, cumin, and paprika is easy too
- 1/4 cup water – helps the seasoning distribute evenly
For the Toppings
- 1 (15-ounce) can black beans, drained and rinsed – adds fiber and heartiness without overpowering the other flavors
- 1 cup canned corn, drained – fire-roasted corn adds a smoky sweetness if you can find it
- 1 medium jalapeño, thinly sliced (seeds removed for less heat) – or use pickled jalapeños for a tangier kick
- 1 medium tomato, diced – Roma tomatoes work well because they’re less watery
- 1/2 cup sliced black olives (optional) – my husband insists on these, but I leave them off half the pan for the non-olive crowd
- 1/4 cup chopped fresh cilantro – for that fresh finish right before serving
- 1/2 cup sour cream – for drizzling or dolloping on top
- 1/2 cup salsa or pico de gallo – homemade or store-bought, whatever you have
- 1 avocado, diced – or guacamole if you’re feeling fancy
- 1 lime, cut into wedges – a squeeze of lime right before eating brightens everything up
Ingredient Selection Tip : For the best texture, look for thick, sturdy chips that can hold up to the weight of the toppings. Thin restaurant-style chips are fine for dipping but will break under the weight of cheese and beef. And please—shred your own cheese. I know it’s an extra step, but the difference in meltability is night and day. Pre-shredded cheese contains cellulose and starches that prevent it from melting into that gooey, stretchy goodness we all crave.
Equipment Needed
You don’t need much fancy equipment for this recipe, which is part of its charm. Here’s what I use:
- Half-sheet pan (18×13 inches) – the standard size that fits in most home ovens. If you only have a smaller pan, just use two pans or work in batches.
- Large skillet – for browning the ground beef. Cast iron works beautifully, but any non-stick or stainless steel pan will do.
- Cutting board and sharp knife – for prepping all those fresh toppings
- Measuring cups and spoons – though honestly, nachos are forgiving enough that you can eyebit most things
- Aluminum foil or parchment paper – lining the pan makes cleanup even easier, though I’ve gone without in a pinch
- Spatula or tongs – for serving, though hands work just fine at a casual gathering
If you don’t have a half-sheet pan, a large rimmed baking sheet works perfectly. The key is having raised edges to catch any melting cheese that tries to escape. I learned this the hard way when a batch of cheese dripped onto the bottom of my oven and smoked up the whole kitchen. Not my finest moment.
Preparation Method
Let me walk you through this step by step. Trust me on the layering—it makes all the difference.
- Preheat your oven to 400°F (200°C). Position the rack in the middle of the oven. While it’s heating, line your sheet pan with aluminum foil or parchment paper for easy cleanup.
- Cook the ground beef. Heat a large skillet over medium-high heat. Add the ground beef and break it apart with a wooden spoon. Cook for 6-8 minutes, stirring occasionally, until browned and no longer pink. Drain off any excess grease—you want the beef to be moist but not swimming in fat. Reduce heat to low, add the taco seasoning and 1/4 cup water, and stir until the seasoning is fully dissolved. Let it simmer for 2-3 minutes until the liquid thickens slightly. Set aside.
- Build the first layer of chips. Spread half the tortilla chips in an even layer across the sheet pan. Don’t worry about making them perfect—just aim for a single layer with minimal overlapping. You want every chip to have contact with the pan so it gets crispy.
- Add the first cheese layer. Sprinkle half of the Mexican blend cheese and half of the cheddar evenly over the first layer of chips. This middle layer of cheese is the secret to nachos that hold together—it acts like glue for the toppings above and below.
- Add the second layer of chips. Arrange the remaining chips on top, again in a relatively even layer. Try to position them so they cover any gaps from the first layer. This ensures every chip gets some cheese and toppings.
- Distribute the toppings. Spoon the seasoned ground beef evenly over the top layer of chips. Follow with the black beans and corn, scattering them so every section of the pan gets some. Tuck the jalapeño slices in around the beef—this way, people who want extra heat can pick them out, and those who don’t can avoid them.
- Add the final cheese layer. Sprinkle the remaining Mexican blend and cheddar cheeses over everything. Don’t be shy here—this top layer is what creates that beautiful, golden, bubbly crust. Make sure you cover the edges of the chips, which tend to dry out without cheese protection.
- Bake for 10-12 minutes. Place the pan in the preheated oven and bake until the cheese is fully melted and starting to bubble around the edges. The chips should be lightly golden on the edges but not burnt. Keep an eye on it after 10 minutes—ovens vary, and you want gooey, not scorched.
- Add fresh toppings. Remove the pan from the oven and let it rest for 2 minutes. This brief cooling period prevents the fresh toppings from wilting immediately. Then scatter the diced tomato, sliced black olives (if using), and fresh cilantro over the top. Dollop with sour cream and salsa or pico de gallo. Add the diced avocado or guacamole last so it stays fresh and vibrant.
- Squeeze lime and serve. Give the whole pan a generous squeeze of fresh lime juice. Serve immediately, right on the sheet pan—that’s part of the charm. Provide small plates and let everyone dig in with their hands or forks, depending on how casual you’re feeling.
Visual Cue : The cheese should be completely melted with no dry spots, and the edges of the chips should look slightly toasted but not dark brown. If you see the cheese starting to brown in spots, that’s perfect—that’s the flavor zone.
Cooking Tips & Techniques
After making these nachos more times than I can count, I’ve collected a few tricks that make the process smoother and the results more consistent.
The Biggest Mistake I Made : The first time I made sheet pan nachos, I used pre-shredded cheese from a bag. It looked fine going into the oven, but it came out looking grainy and never fully melted. The anti-caking agents in bagged cheese prevent it from becoming that stretchy, gooey texture we all want. Block cheese, shredded by hand, melts like a dream. It takes an extra three minutes, and it’s absolutely worth it.
Timing Is Everything : Get all your toppings prepped before you start layering. Once that pan goes in the oven, you have exactly 10-12 minutes to dice the tomato, chop the cilantro, and slice the avocado. Having everything ready to go means you can serve the nachos piping hot with fresh toppings that haven’t had time to get sad and warm.
Don’t Overload the Pan : I know it’s tempting to pile on as much as possible, but too many toppings will weigh down the chips and make them soggy. Stick to the amounts listed, and if you’re feeding a big crowd, make two pans instead of one giant, sad, collapsed pile. Your guests will thank you.
The Edge Chip Problem : Chips on the edges of the pan tend to dry out because they’re not surrounded by as much cheese. I solve this by making sure the outer ring of chips gets extra cheese coverage. A little extra sprinkle around the edges before baking makes a huge difference.
Multitasking Strategy : While the beef is browning, prep all your fresh toppings. While the nachos are baking, set out plates and napkins and grab drinks for everyone. The whole process from start to finish takes about 25 minutes, and with a little planning, you’ll be sitting down with a plate of hot nachos while your guests are still taking off their coats.
Variations & Adaptations
One of the best things about this recipe is how flexible it is. Here are some of my favorite variations:
- Vegetarian Black Bean Nachos : Skip the ground beef and double up on black beans. Add a can of drained and rinsed pinto beans for extra protein. Roasted sweet potatoes or butternut squash cubes also work beautifully here—just toss them in olive oil and chili powder and roast at 400°F for 20 minutes before adding to the nachos.
- Chicken Tinga Nachos : Swap the ground beef for shredded chicken simmered in chipotle peppers in adobo sauce. Shredded rotisserie chicken works great in a pinch—just toss it with a little salsa and cumin before adding to the chips.
- Breakfast Nachos : Yes, this is a thing, and it’s glorious. Use the same base but top with scrambled eggs, crumbled bacon or chorizo, and a drizzle of crema. Perfect for brunch when you want something fun and shareable.
- Keto-Friendly Nachos : Replace tortilla chips with pork rinds or cheese crisps. Load up with extra meat, cheese, and guacamole. Skip the beans and corn to keep carbs low.
- Spicy Mango Nachos : Add diced mango and a drizzle of hot honey over the top before serving. The sweetness balances the heat from the jalapeños and creates a flavor combination that’s absolutely addictive.
I once made a version with leftover carnitas from a Sunday cooking session, and it was honestly better than the original. Don’t be afraid to experiment with whatever protein or vegetables you have hanging around in the fridge. Nachos are forgiving that way.
Serving & Storage Suggestions
These nachos are best served hot, straight from the oven, while the cheese is still stretchy and the chips are crunchy. I put the sheet pan right on the table with a stack of small plates and let everyone go to town. It’s casual, it’s fun, and it encourages that lovely communal grazing that makes gatherings feel special.
What to Serve Alongside : A simple side of Mexican street corn salad or a crisp green salad with lime vinaigrette balances out the richness. For drinks, cold beer (Mexican lagers like Modelo or Corona are perfect), margaritas, or even a bright, citrusy sparkling water work wonderfully.
Storage : Let’s be honest—leftover nachos are never quite the same. But if you have leftovers (unlikely, but possible), store them in an airtight container in the refrigerator for up to 2 days. The chips will soften, but the flavor will still be good.
Reheating : The best way to revive leftovers is in the oven or air fryer, not the microwave. Spread the nachos on a sheet pan and reheat at 350°F for 5-7 minutes until warmed through. The air fryer works even better—3 minutes at 350°F brings back some of the crunch. Add fresh toppings after reheating for the best experience.
Flavor Development : Interestingly, the flavors actually meld together overnight. The seasoned beef, beans, and cheese create a kind of nacho casserole situation that some people genuinely prefer. If you’re making these for a party, you can prep all the components a day ahead and assemble just before baking.
Nutritional Information & Benefits
| Nutrient | Amount Per Serving (approx. 1/8 of recipe) |
|---|---|
| Calories | 485 |
| Total Fat | 28g |
| Saturated Fat | 12g |
| Cholesterol | 65mg |
| Sodium | 890mg |
| Total Carbohydrates | 38g |
| Dietary Fiber | 6g |
| Sugars | 4g |
| Protein | 22g |
These nachos aren’t health food, but they do have some redeeming qualities. The black beans add fiber and plant-based protein, the avocado provides healthy monounsaturated fats, and the tomatoes and cilantro contribute vitamins A and C. If you’re watching your sodium, use low-sodium taco seasoning and rinse your canned beans thoroughly.
For a lighter version, swap the ground beef for ground turkey or chicken, use reduced-fat cheese, and load up on fresh vegetable toppings. You can also bake the chips directly on the pan without extra oil to keep things lighter. I’ve made this version for myself on a regular Tuesday and felt great about it.
Conclusion
These easy sheet pan loaded nachos have become my go-to for any occasion that calls for shared food and good company. They’re forgiving enough for a beginner cook, impressive enough for a party, and customizable enough to please just about anyone who shows up at your table.
What I love most about this recipe is how it brings people together. There’s something about a giant pan of nachos sitting in the middle of the table that makes conversation flow and laughter come easily. No fancy plating, no rigid etiquette—just good food and the people you want to share it with.
I’d love to hear how your nacho adventure goes. Did you try a fun variation? Did someone in your family claim they don’t like nachos and then eat half the pan? Drop a comment below and tell me about it. And if you make these for your next gathering, tag me in your photos—I genuinely get excited seeing these pans in other people’s kitchens.
Now go preheat that oven. Your crowd is waiting.
Frequently Asked Questions
Can I make these nachos ahead of time for a party?
You can prep all the components up to 24 hours in advance—cook the beef, shred the cheese, and chop the fresh toppings. Store everything separately in the fridge, then assemble and bake right before serving. Nachos are best fresh from the oven, so don’t assemble them too early or the chips will start to soften.
What’s the best way to keep nachos warm for a buffet?
If you’re serving these at a party where people will be grazing over time, keep the oven at the lowest setting (around 170°F) and pop the pan back in for a few minutes between rounds. Alternatively, you can make smaller batches throughout the event so there’s always a fresh, hot pan coming out.
Can I use a different type of cheese?
Absolutely. A blend of Monterey Jack, pepper jack, and sharp cheddar is my favorite combination. Monterey Jack melts beautifully, pepper jack adds a little kick, and cheddar brings that sharp flavor. Avoid using only mozzarella, which can be too stringy and mild for nachos.
How do I prevent the chips from getting soggy?
The double-layer method helps, but the real key is not overloading with wet toppings. Drain your beans and corn thoroughly, and add fresh tomatoes and salsa only after baking. If you’re using salsa or pico de gallo, serve it on the side so people can add it themselves rather than baking it on.
Can I make this recipe in an air fryer?
Yes, but you’ll need to work in smaller batches. Use an air fryer-safe pan or basket and layer the chips, cheese, and toppings as instructed. Cook at 350°F for 5-7 minutes, checking frequently since air fryers run hot. The result is extra-crispy chips with perfectly melted cheese—worth trying if you have the time and a large enough air fryer.
Pin This Recipe!
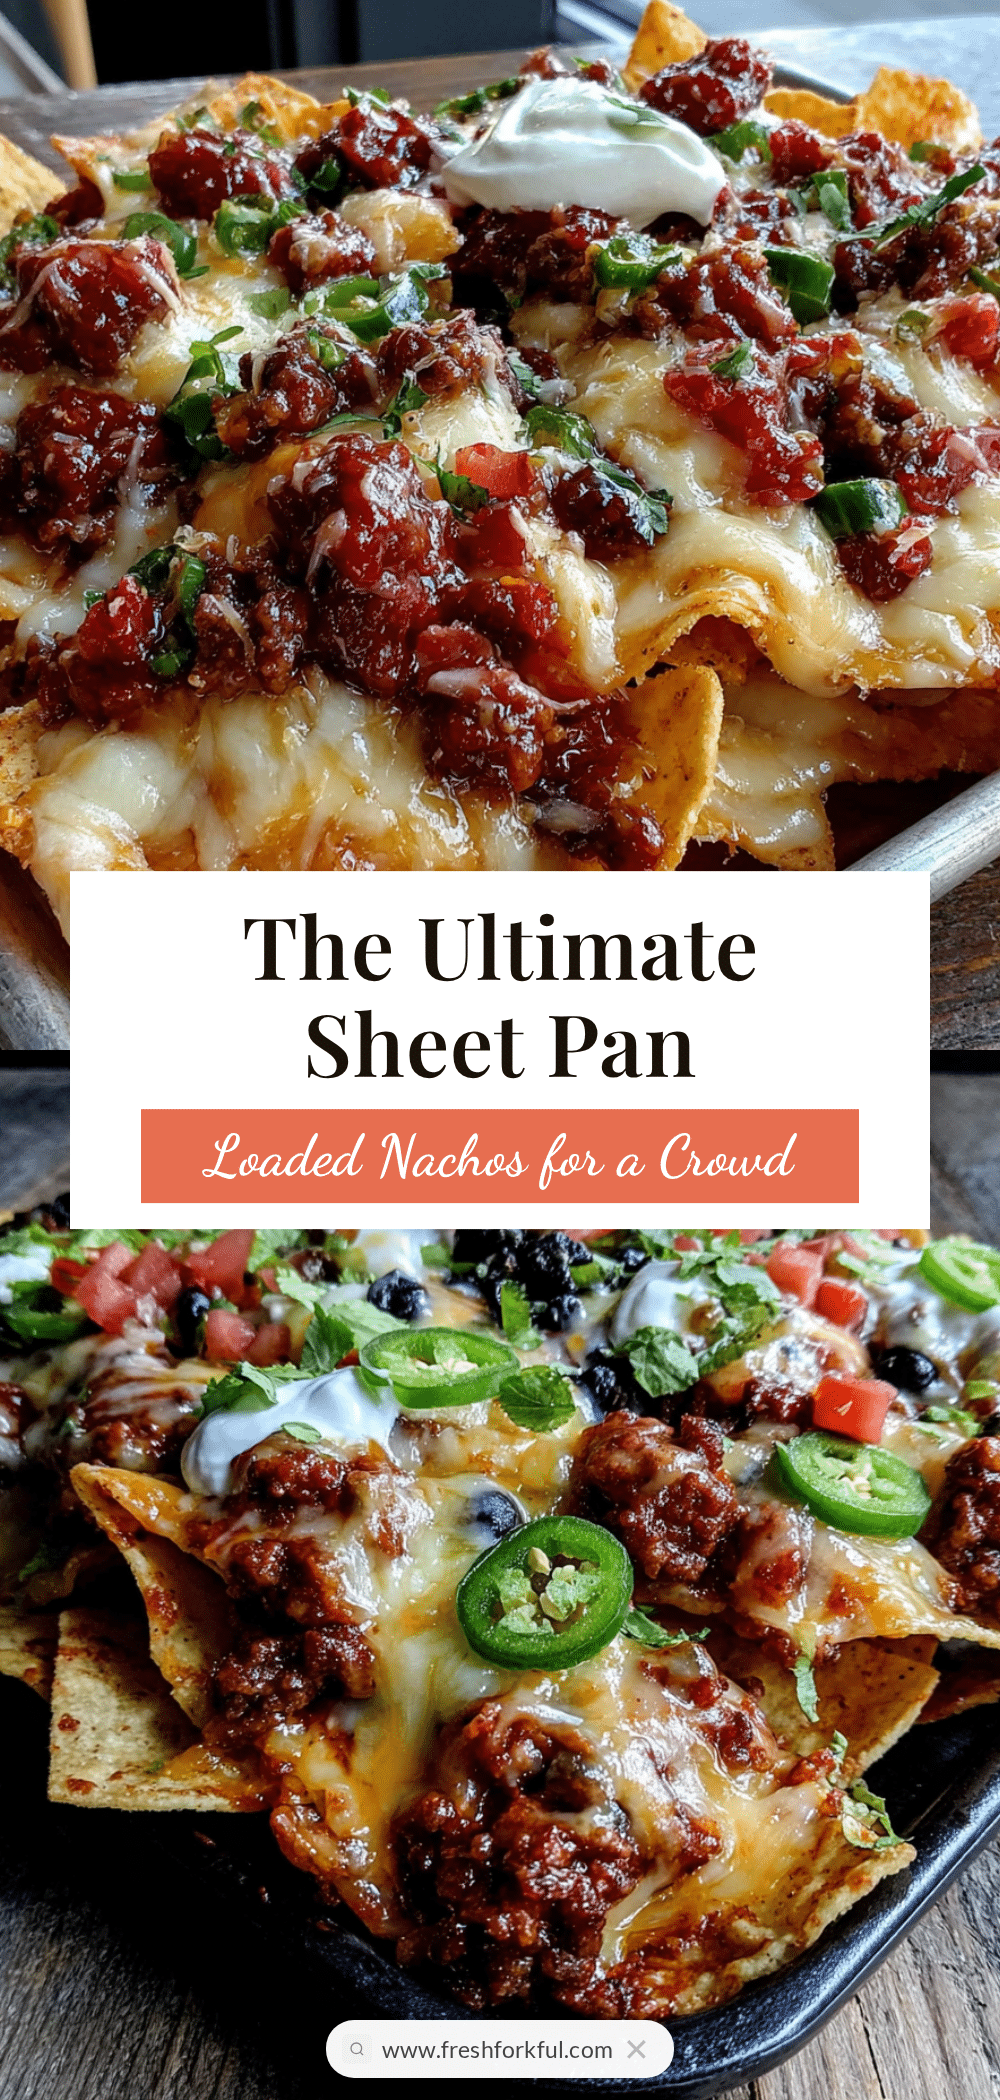
Easy Sheet Pan Loaded Nachos for a Crowd

These sheet pan loaded nachos are the ultimate crowd-pleaser, featuring a double-layer technique that ensures every chip gets perfectly melted cheese and toppings. Ready in under 30 minutes with minimal cleanup, this customizable recipe is perfect for game days, parties, and casual gatherings.
- Prep Time: 15 minutes
- Cook Time: 12 minutes
- Total Time: 27 minutes
- Yield: 8 servings 1x
- Category: Appetizer
- Cuisine: Mexican-American
Ingredients
- 1 large bag (13–16 ounces) restaurant-style tortilla chips
- 3 cups shredded Mexican blend cheese (about 12 ounces)
- 1 cup shredded sharp cheddar cheese (about 4 ounces)
- 1 pound ground beef (80/20 blend)
- 1 packet taco seasoning (or 3 tablespoons homemade blend)
- 1/4 cup water
- 1 (15-ounce) can black beans, drained and rinsed
- 1 cup canned corn, drained
- 1 medium jalapeño, thinly sliced (seeds removed for less heat)
- 1 medium tomato, diced
- 1/2 cup sliced black olives (optional)
- 1/4 cup chopped fresh cilantro
- 1/2 cup sour cream
- 1/2 cup salsa or pico de gallo
- 1 avocado, diced
- 1 lime, cut into wedges
Instructions
- Preheat your oven to 400°F (200°C). Position the rack in the middle of the oven. Line your sheet pan with aluminum foil or parchment paper for easy cleanup.
- Cook the ground beef. Heat a large skillet over medium-high heat. Add the ground beef and break it apart with a wooden spoon. Cook for 6-8 minutes, stirring occasionally, until browned and no longer pink. Drain off any excess grease. Reduce heat to low, add the taco seasoning and 1/4 cup water, and stir until the seasoning is fully dissolved. Let it simmer for 2-3 minutes until the liquid thickens slightly. Set aside.
- Build the first layer of chips. Spread half the tortilla chips in an even layer across the sheet pan. Aim for a single layer with minimal overlapping.
- Add the first cheese layer. Sprinkle half of the Mexican blend cheese and half of the cheddar evenly over the first layer of chips.
- Add the second layer of chips. Arrange the remaining chips on top, again in a relatively even layer, covering any gaps from the first layer.
- Distribute the toppings. Spoon the seasoned ground beef evenly over the top layer of chips. Follow with the black beans and corn, scattering them so every section gets some. Tuck the jalapeño slices in around the beef.
- Add the final cheese layer. Sprinkle the remaining Mexican blend and cheddar cheeses over everything, making sure to cover the edges of the chips.
- Bake for 10-12 minutes until the cheese is fully melted and starting to bubble around the edges. The chips should be lightly golden on the edges but not burnt.
- Add fresh toppings. Remove the pan from the oven and let it rest for 2 minutes. Then scatter the diced tomato, sliced black olives (if using), and fresh cilantro over the top. Dollop with sour cream and salsa or pico de gallo. Add the diced avocado or guacamole last.
- Squeeze lime and serve immediately, right on the sheet pan.
Notes
For best results, shred your own cheese from a block—pre-shredded cheese contains anti-caking agents that prevent smooth melting. The double-layer technique ensures every chip gets toppings. Don’t overload the pan; if feeding a big crowd, make two pans. For vegetarian version, skip the beef and double up on black beans. Leftovers can be stored in an airtight container in the refrigerator for up to 2 days; reheat in the oven or air fryer for best texture.
Nutrition
- Serving Size: 1/8 of recipe
- Calories: 485
- Sugar: 4
- Sodium: 890
- Fat: 28
- Saturated Fat: 12
- Carbohydrates: 38
- Fiber: 6
- Protein: 22
Keywords: sheet pan nachos, loaded nachos, easy nachos, game day appetizer, party food, ground beef nachos, vegetarian nachos


