Love this? Save it for later!
Share the inspiration with your friends
This was supposed to be a batch of roasted butternut squash soup. I had the squash cubed, the onions diced, and the garlic cloves peeled. But somewhere between answering a work email and helping my kid find a missing shoe, I completely forgot to take the pumpkin seeds out of the oven. They were supposed to toast for maybe eight minutes, just enough to get a little color before I tossed them into the soup. Instead, they sat in there for almost twenty minutes while I ran around like a crazy person. When I finally opened the oven, I was ready to toss the whole tray in the trash. But those seeds, honestly, they looked perfect. Golden brown, crispy, and smelling like a fall candle factory. I grabbed one while it was still hot, burned my finger, and let me tell you, that crunch was something else. I had accidentally created the best snack I’d made in weeks. The soup was fine, but those seeds? They became the star of the show. I’ve been making them on purpose ever since, and they’ve saved me more times than I can count on those crazy weeknights when dinner is running late and everyone is hangry. You know that feeling when you need something, anything, to tide people over fast?
Why You’ll Love This Recipe
Let’s be real for a second. Most people either burn their pumpkin seeds or end up with a batch that’s chewy and sad. I’ve been there, and it’s disappointing. After that accidental success in my kitchen, I tested this method over and over until I got it just right. Here is why this version works when others don’t:
- Quick & Easy: From prep to plate in under 25 minutes. That’s faster than ordering takeout.
- Simple Ingredients: You need pumpkin seeds, oil, and salt. That’s it. No fancy grocery trip required.
- Perfect for Weeknights: Great for keeping hungry kids busy while you finish dinner, or for topping a quick salad when you need something crunchy.
- Crowd-Pleaser: My neighbor Sarah, who claims she hates seeds, ate half a bowl last Halloween.
- Unbelievably Delicious: The texture is crispy all the way through, with that nutty, toasty flavor that makes you grab just one more handful.
What makes this different from every other seed recipe out there is the boiling step. I know, it sounds weird, but boiling the seeds first in salted water changes everything. It helps the salt penetrate the seed, not just sit on the shell, and it ensures they get crispy all the way through instead of staying chewy in the center. This isn’t just another snack recipe. It is the kind of thing that makes you wonder why you ever bought expensive bagged seeds from the store. Plus, it turns a messy kitchen project into something you actually look forward to eating.
What Ingredients You Will Need
This recipe uses simple, wholesome ingredients to deliver big flavor and satisfying crunch without the fuss. Most of these are probably already in your kitchen, especially if you’ve just carved a pumpkin.
- Fresh pumpkin seeds (about 1 cup, scooped straight from a pumpkin) — You want the seeds that are still coated in pumpkin guts. Don’t rinse them too early. The pulp actually helps protect the seeds during the boiling step.
- Water (enough to cover the seeds in a small pot) — Just regular tap water works fine.
- Sea salt (1 tablespoon for boiling, plus extra for sprinkling) — I prefer fine sea salt for the boiling step because it dissolves easily, then I finish with a sprinkle of flaky salt for texture. My favorite brand is Maldon for the finishing salt, but any brand works.
- Olive oil (1 tablespoon) — Use a good quality extra virgin olive oil if you have it. It adds a richer flavor than vegetable oil. You can also use melted butter or avocado oil if that’s what you have.
- Optional seasonings (garlic powder, smoked paprika, cayenne pepper) — These are totally optional, but I’ll share my favorite combos in the variations section.
When picking your pumpkin seeds, try to get them from a sugar pumpkin or a pie pumpkin if you can. The seeds are smaller and more tender than the ones from giant carving pumpkins. But honestly, I’ve used seeds from big jack-o’-lanterns too, and they turn out great. Just make sure you pick out any really tiny or shriveled seeds before you start. They burn faster than the bigger ones.
Equipment Needed
You don’t need much for this recipe, which is part of why I love it on busy nights. Here is what you will need:
- Small saucepan or pot — For boiling the seeds. A 2-quart pot works perfectly.
- Colander or strainer — For draining the seeds after boiling.
- Kitchen towel or paper towels — For drying the seeds. A clean dish towel works best because paper towels sometimes stick to the wet seeds.
- Baking sheet — A rimmed baking sheet is ideal so the seeds don’t roll off. I use a half-sheet pan.
- Parchment paper — Optional, but it makes cleanup a breeze. If you don’t have it, just grease the pan lightly.
- Mixing bowl — For tossing the seeds with oil and salt.
If you don’t have a colander, you can use a fine-mesh strainer. I once used a slotted spoon to scoop the seeds out of the water, and it worked fine, just took a little longer. Also, don’t skip the towel drying step. I learned the hard way that wet seeds steam instead of roast, and you end up with chewy, sad snacks.
Preparation Method
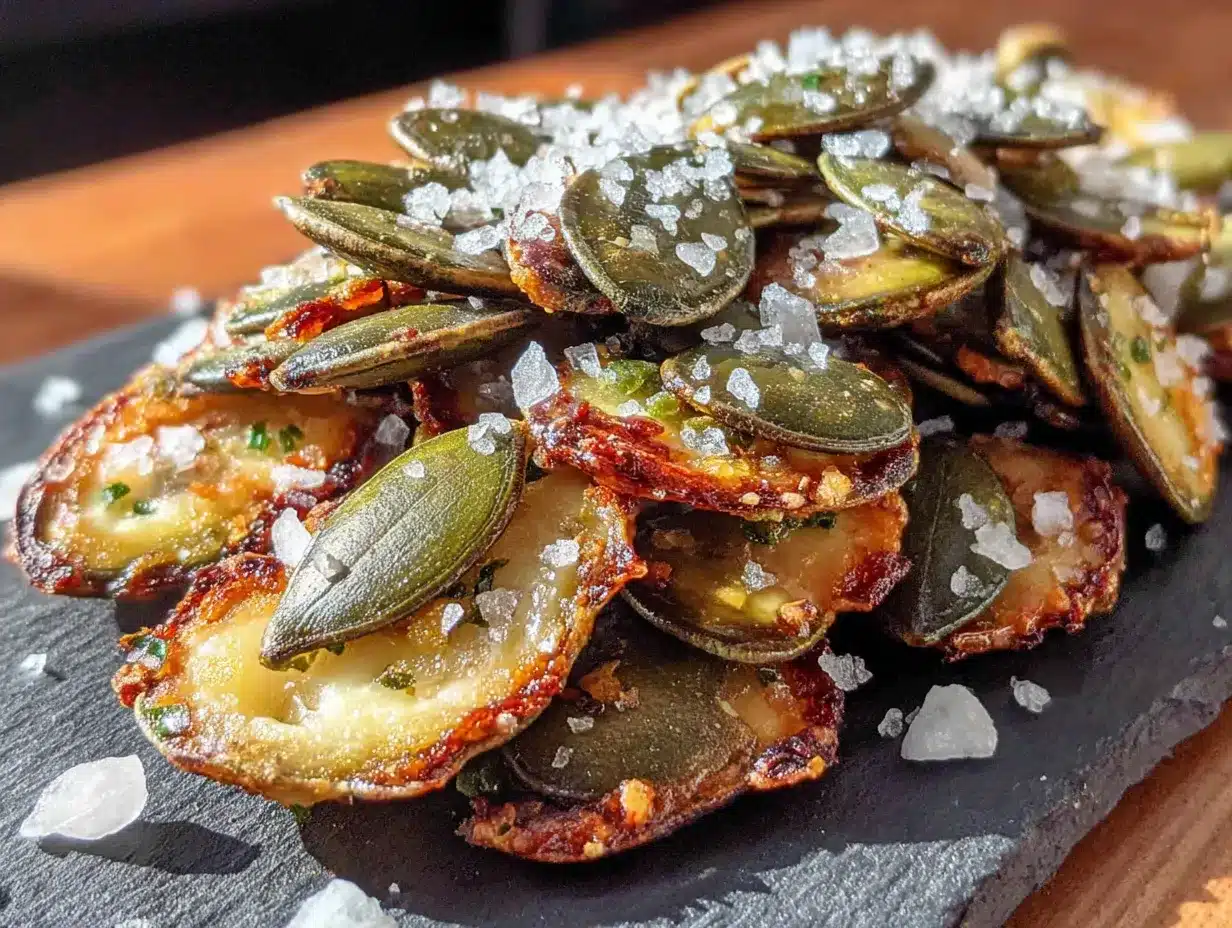
Follow these steps carefully, and you will have perfect crispy seeds every time. I’ve tested this method more times than I can count, so trust the process.
- Preheat your oven to 350°F (175°C). Give it a full 15 minutes to come to temperature. A cold oven will mess with the timing.
- Separate the seeds from the pumpkin pulp. Put the seeds and pulp in a colander and run cool water over them. Use your fingers to gently separate the seeds from the stringy bits. Don’t worry about getting every last piece of pulp off. A little bit left is fine and will come off during boiling.
- Bring a small pot of water to a boil. Add 1 tablespoon of sea salt to the water. Make sure the salt dissolves completely.
- Add the seeds to the boiling water. Let them boil for exactly 10 minutes. This step is crucial. The boiling softens the seed shells just enough that they crisp up perfectly in the oven. It also lets the salt get inside the seeds, not just on the outside. Set a timer. I’ve forgotten and let them go for 15 minutes, and they turned out a little mushy.
- Drain the seeds in a colander. Shake off as much water as you can. Then spread them out on a clean kitchen towel or a layer of paper towels. Pat them very dry. This is the most important step. Wet seeds steam. Dry seeds roast. Take an extra minute here to really get them dry.
- Transfer the dried seeds to a mixing bowl. Add 1 tablespoon of olive oil and a generous pinch of sea salt. Toss everything together until every seed is coated. The seeds should look glossy but not greasy.
- Spread the seeds in a single layer on your baking sheet. Make sure none of them are overlapping. If they are piled on top of each other, they will steam instead of roast. Use two baking sheets if you have a lot of seeds.
- Roast for 10 minutes. After 10 minutes, pull the pan out and give it a good shake. This helps the seeds toast evenly. Return the pan to the oven, but rotate it front to back for even heat distribution.
- Roast for another 5 to 10 minutes. Start checking at the 5-minute mark. The seeds are done when they are golden brown and smell nutty and toasty. They will continue to crisp up as they cool, so pull them out when they look just slightly lighter than you want. Overcooked seeds taste burnt and bitter.
- Let the seeds cool completely on the baking sheet. This takes about 10 to 15 minutes. Don’t skip this step. They need to cool to get that perfect crunch. If you eat them warm, they will seem a little soft.
Cooking Tips & Techniques
I have made more batches of bad pumpkin seeds than I care to admit. Here is what I learned from all those failures so you don’t have to repeat them.
Don’t skip the boil. I know it seems like an extra step, but it is the difference between crispy seeds and chewy seeds. The boiling water softens the seed shell and allows the salt to penetrate. Without it, the salt just sits on the outside and falls off when you eat them.
Dry them really well. This is where most people mess up. If your seeds are even a little bit damp when they go into the oven, they will steam instead of roast. I pat mine dry with a towel, then let them sit on the counter for five minutes before I toss them with oil. It makes a huge difference.
Watch the oven like a hawk. The line between perfectly toasted and burnt is about 90 seconds. Every oven runs a little different. My old oven would burn seeds at 350°F, so I had to drop the temperature to 325°F and add a few minutes. Get to know your oven before you walk away.
Use a rimmed baking sheet. I learned this one the hard way. Seeds are tiny and they roll. A rimmed sheet keeps them contained, and it makes shaking the pan much easier.
Let them cool completely. I know it’s tempting to dig in right away, but warm seeds are deceptive. They seem soft and a little chewy, but they crisp up as they cool. If you eat them warm, you might think you undercooked them. Give them 10 to 15 minutes on the pan, and you will be rewarded with that perfect crunch.
Variations & Adaptations
Once you master the basic recipe, you can change it up in so many ways. Here are some of my favorite variations that I’ve tested over the years.
Spicy Chili Lime Seeds: After tossing the seeds with oil, add 1 teaspoon of chili powder, 1/2 teaspoon of cumin, and the zest of one lime. Roast as directed, then squeeze a little fresh lime juice over the hot seeds when they come out of the oven. The tangy lime with the heat is addictive. I made these for a football party, and they disappeared in ten minutes.
Garlic Parmesan Seeds: Add 1 teaspoon of garlic powder and 2 tablespoons of finely grated Parmesan cheese to the oil mixture. Toss the seeds, then roast. When they come out of the oven, sprinkle another tablespoon of Parmesan on top while they are still hot. The cheese melts slightly and creates these little crispy bits that are incredible.
Sweet Cinnamon Sugar Seeds: Skip the salt and instead toss the seeds with 1 tablespoon of melted butter, 1 tablespoon of brown sugar, and 1 teaspoon of cinnamon. Roast at 325°F (165°C) for about 15 minutes, watching carefully because the sugar can burn fast. These are amazing on top of yogurt or oatmeal, or just eaten by the handful.
Everything Bagel Seeds: After tossing with oil, sprinkle the seeds with 1 tablespoon of everything bagel seasoning (poppy seeds, sesame seeds, garlic flakes, onion flakes, and salt). Roast as directed. These are incredible on salads or soups, or just as a snack.
Maple Cayenne Seeds: Mix 1 tablespoon of maple syrup with the oil, add 1/2 teaspoon of cayenne pepper, and toss with the seeds. Roast at 325°F (165°C) and watch carefully. The maple syrup caramelizes and creates a sweet-spicy coating that is dangerously good.
Serving & Storage Suggestions
These seeds are incredibly versatile. Here is how I use them in my kitchen.
Serving Temperature: Serve them at room temperature. They are best within a few hours of roasting, when they are at peak crunchiness. I usually put them out in a small bowl about 30 minutes before I want to serve them.
Ways to Use Them: Obviously, they are amazing as a snack on their own. But try sprinkling them over a bowl of butternut squash soup for a textural contrast. They are also fantastic on salads, especially fall salads with apples, dried cranberries, and goat cheese. I even crush them up and use them as a crust for chicken or fish. The nutty flavor works so well with savory dishes.
Storage Instructions: Store leftover seeds in an airtight container at room temperature. They will stay crispy for about 2 to 3 weeks. Do not put them in the refrigerator. The moisture in the fridge will make them soft and chewy. If they do lose their crunch, you can spread them on a baking sheet and re-crisp them in a 300°F (150°C) oven for about 5 minutes.
Freezer Instructions: You can freeze roasted seeds for up to 3 months. Let them cool completely, then transfer them to a freezer-safe bag or container. Squeeze out as much air as possible. When you want to eat them, let them come to room temperature on the counter. They might need a quick trip to the oven to re-crisp.
Flavor Development: Honestly, these seeds are best the day you make them. The salt stays on the surface better, and the crunch is at its peak. After a day or two, they are still good, but that first-day crunch is hard to beat.
Nutritional Information & Benefits
Pumpkin seeds are a nutritional powerhouse, which makes this snack feel a little less guilty. Here is the breakdown for a standard serving size of about 1/4 cup (28 grams) of roasted seeds.
| Nutrient | Amount per 1/4 cup |
|---|---|
| Calories | 180 |
| Protein | 9 grams |
| Fat | 15 grams (mostly healthy fats) |
| Carbohydrates | 4 grams |
| Fiber | 2 grams |
| Magnesium | 37% of Daily Value |
| Zinc | 23% of Daily Value |
Pumpkin seeds are one of the best natural sources of magnesium, which helps with sleep and muscle recovery. They are also packed with zinc, which is great for your immune system, especially during cold and flu season. The healthy fats and protein make them a satisfying snack that actually keeps you full. If you are watching your sodium, you can reduce the salt or use a salt substitute. This recipe is naturally gluten-free and low-carb, so it fits into most dietary patterns. Just keep an eye on portion sizes if you are counting calories, because they are easy to eat by the handful.
Conclusion
Look, I know it is just pumpkin seeds. But these easy oven-roasted pumpkin seeds with sea salt have become a staple in my kitchen for a reason. They are cheap, they are fast, and they turn something you would normally throw away into something you actually look forward to eating. That feels good. Plus, on a busy weeknight when dinner is running late and everyone is hungry, having a bowl of these on the counter can save the day. They keep little hands busy and big hands satisfied until the real meal is ready. I hope you give this method a try, especially that boiling step. It makes all the difference. And if you come up with a crazy flavor combination that works, I want to hear about it. Drop a comment below and tell me what you tried. I am always looking for new ideas. Happy roasting, and seriously, don’t skip the towel drying step.
Frequently Asked Questions
Can I use store-bought raw pumpkin seeds?
Yes, absolutely. If you are using store-bought raw pumpkin seeds (sometimes called pepitas), skip the cleaning step. Just boil them in salted water for 10 minutes, dry them well, and proceed with the recipe. The boiling step is still important for getting that crispy texture.
Why did my seeds turn out chewy?
Chewy seeds usually mean one of two things. Either you didn’t boil them long enough, or they were still wet when they went into the oven. Make sure you boil for the full 10 minutes and pat them very dry with a towel before roasting.
Can I roast seeds from any type of pumpkin?
Yes, you can use seeds from any pumpkin variety. Smaller sugar pumpkins produce more tender seeds, while large carving pumpkins have bigger, slightly tougher shells. Both work, but you might need to add a minute or two to the roasting time for bigger seeds.
How do I prevent the seeds from burning?
Watch them closely during the last 5 minutes of roasting. Every oven is different, so start checking early. The seeds should be golden brown and smell nutty. If they smell burnt or look dark brown, they have gone too far. Also, make sure your oven is at the correct temperature. An oven thermometer can help if your oven runs hot.
Can I make these in an air fryer?
Yes, you can. After boiling and drying the seeds, toss them with oil and salt. Air fry at 350°F (175°C) for 8 to 10 minutes, shaking the basket halfway through. Start checking at the 6-minute mark because air fryers cook faster than ovens. The results are just as crispy and delicious.
Pin This Recipe!
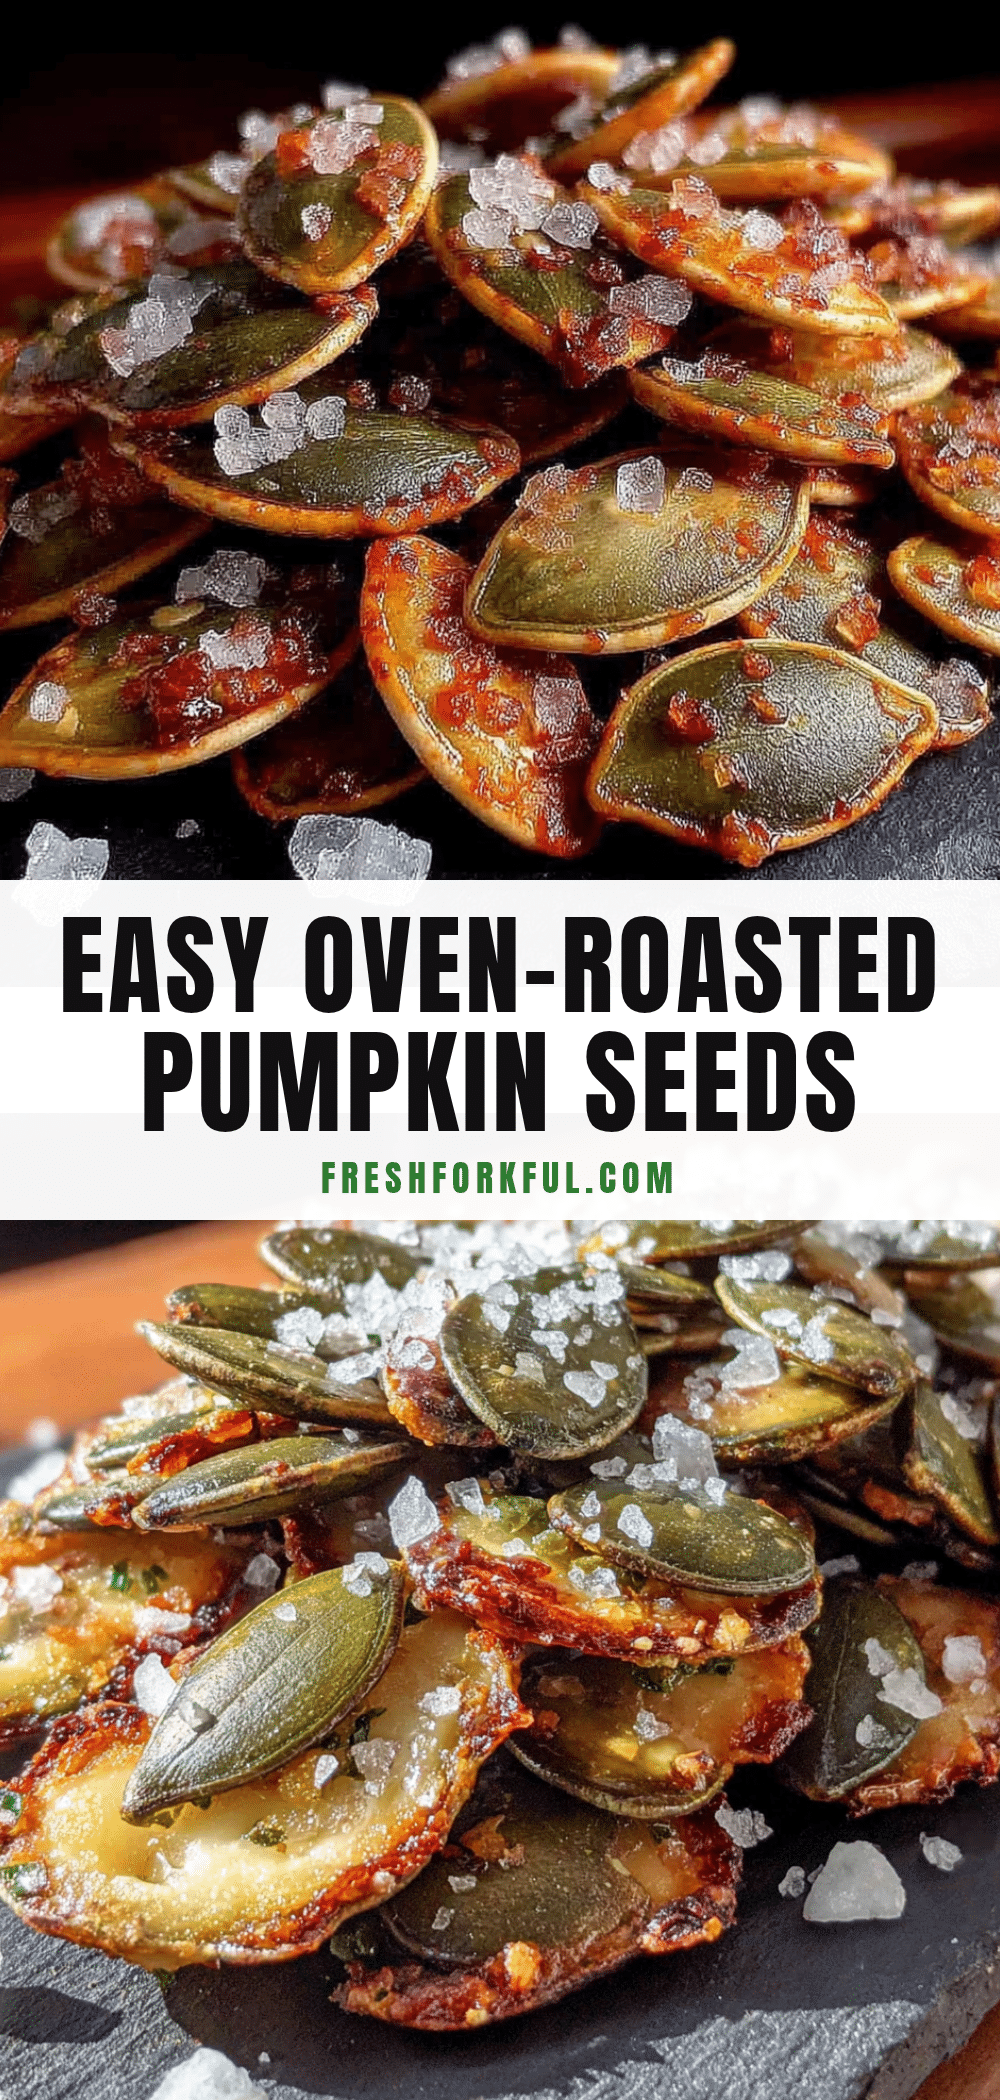
Easy Oven-Roasted Pumpkin Seeds with Sea Salt

Crispy, golden, and perfectly salted, these oven-roasted pumpkin seeds are the ultimate quick snack. A simple boiling step ensures they’re crunchy all the way through, not chewy.
- Prep Time: 15 minutes
- Cook Time: 15–20 minutes
- Total Time: 30–35 minutes
- Yield: 4 servings 1x
- Category: Snack
- Cuisine: American
Ingredients
- 1 cup fresh pumpkin seeds (from a pumpkin)
- Water (enough to cover seeds)
- 1 tablespoon sea salt (for boiling), plus extra for sprinkling
- 1 tablespoon olive oil (or melted butter/avocado oil)
- Optional: garlic powder, smoked paprika, cayenne pepper
Instructions
- Preheat oven to 350°F (175°C).
- Separate seeds from pumpkin pulp; rinse in a colander with cool water, removing most stringy bits.
- Bring a small pot of water to a boil; add 1 tablespoon sea salt and stir to dissolve.
- Add seeds to boiling water; boil for exactly 10 minutes.
- Drain seeds in a colander; spread on a clean kitchen towel or paper towels and pat very dry.
- Transfer dried seeds to a mixing bowl; add 1 tablespoon olive oil and a generous pinch of sea salt. Toss to coat.
- Spread seeds in a single layer on a rimmed baking sheet (lined with parchment paper if desired).
- Roast for 10 minutes; remove pan, shake, and rotate front to back.
- Roast for another 5–10 minutes, checking at 5 minutes, until golden brown and fragrant.
- Let seeds cool completely on the baking sheet (10–15 minutes) before serving.
Notes
Don’t skip the boiling step—it ensures crispy seeds. Dry seeds thoroughly before roasting to avoid steaming. Watch the oven closely during the last 5 minutes to prevent burning. Let seeds cool completely for maximum crunch.
Nutrition
- Serving Size: 1/4 cup (28 grams)
- Calories: 180
- Sodium: 200
- Fat: 15
- Saturated Fat: 2
- Carbohydrates: 4
- Fiber: 2
- Protein: 9
Keywords: pumpkin seeds, roasted pumpkin seeds, easy snack, fall recipe, healthy snack, gluten-free, low-carb


