Love this? Save it for later!
Share the inspiration with your friends
My six-year-old nephew, Leo, asked me why I couldn’t just skip the crust. We were standing in my kitchen, a bag of graham crackers on the counter, and I was explaining the importance of a good buttery base for these no-bake pumpkin cheesecake bites I had planned. He looked at me with that pure, unfiltered logic kids have. “But you’re just gonna smash it all together anyway,” he said. I started to explain why that wouldn’t work — that the crust gives structure, that you need that crunch. Then I stopped. He was holding a spoonful of the pumpkin filling I had just mixed, and he was absolutely right. The filling was thick enough to hold its own shape. I didn’t need the crust. I felt a little silly, honestly. I had been so focused on doing it the “right” way that I forgot the whole point was making something fun and easy for him to help with. So we tossed the graham crackers back in the pantry and rolled the filling into perfect little bites. They were better than any version I had made before. That’s the thing about cooking with kids — sometimes they see the simple path you’ve been walking right past. Maybe you’ve been there, overcomplicating a recipe when the answer was staring you right in the face. These cheesecake bites are proof that simple is often the smartest way to go.
Why You’ll Love This Recipe
Let me tell you why these no-bake pumpkin cheesecake bites have become a staple in my kitchen. First off, they are genuinely the easiest treat I have ever made with my kids. No oven, no stove, no complicated steps that make you want to pull your hair out. You just mix, roll, and chill. That’s it.
- Quick & Easy: From start to finish, these take about 15 minutes of active time. The hardest part is waiting for them to chill in the fridge.
- Simple Ingredients: You probably have most of these in your pantry right now. Cream cheese, pumpkin puree, spices, and a few other basics. No fancy grocery trips needed.
- Perfect for Fall: These are great for Halloween parties, Thanksgiving dessert tables, or just a cozy afternoon snack with the kids.
- Crowd-Pleaser: I have brought these to playdates and school events, and they disappear fast. Kids love them, and adults do too.
- Unbelievably Delicious: The texture is creamy and smooth, with that perfect pumpkin spice flavor. It feels like a treat, not a compromise.
What makes these different from every other pumpkin cheesecake recipe out there is the simplicity. I tested this recipe about four times before I got it just right. The first batch was too soft, the second was too sweet, the third was missing that pumpkin punch. But this version? It’s the one where everything clicks. The cream cheese gives it that tangy richness, the pumpkin puree keeps it moist, and the spices warm it up just right. It is comfort food reimagined — faster, easier, but with the same soul-soothing satisfaction. Perfect for impressing guests without stress, or turning a simple afternoon into something memorable with your kids.
What Ingredients You Will Need
This recipe uses simple, wholesome ingredients to deliver bold flavor and satisfying texture without the fuss. Most of these are pantry staples, especially if you bake during the fall season.
- 8 ounces cream cheese, softened to room temperature (I recommend Philadelphia for the creamiest texture)
- 1 cup pumpkin puree (not pumpkin pie filling — make sure it’s 100% pure pumpkin)
- 1/3 cup powdered sugar (adds sweetness without grittiness)
- 1 teaspoon vanilla extract (pure vanilla is best, but imitation works fine)
- 1 teaspoon pumpkin pie spice (or make your own with cinnamon, nutmeg, ginger, and cloves)
- 1/2 teaspoon ground cinnamon (for extra warmth)
- 1/4 teaspoon salt (balances the sweetness)
- 1 1/2 cups graham cracker crumbs (optional — Leo thinks you can skip these, but I like them for texture)
- 1/2 cup finely chopped pecans or walnuts (optional, for rolling)
- 1/4 cup shredded coconut (optional, for rolling)
For the cream cheese, let it sit on the counter for about 30 minutes before you start. Cold cream cheese makes lumpy filling, and nobody wants that. I like using Libby’s pumpkin puree because it’s consistently thick and not watery. If you use a different brand, just check the consistency — you want it to be thick, not runny. For the spices, I use McCormick pumpkin pie spice because it’s reliable, but you can mix your own if you prefer. The powdered sugar is key here — granulated sugar will leave your bites grainy. Trust me on this one. I learned that the hard way with my first test batch. If you want to make these gluten-free, use gluten-free graham crackers or just skip the crumbs entirely. The filling is naturally gluten-free on its own.
Equipment Needed
You don’t need much for these no-bake pumpkin cheesecake bites, which is part of the beauty. Here is what you will need:
- Large mixing bowl — any bowl will do, but a wide one makes mixing easier
- Electric hand mixer or stand mixer — you can mix by hand if you have strong arms, but a mixer makes it smooth and fast
- Rubber spatula — for scraping down the sides of the bowl
- Small cookie scoop or tablespoon — for portioning the filling evenly
- Baking sheet or large plate — lined with parchment paper to hold the bites while they chill
- Parchment paper — keeps the bites from sticking
- Shallow bowls — for holding the graham cracker crumbs, nuts, or coconut if you are using them
If you don’t have an electric mixer, you can use a wooden spoon and some elbow grease. Just make sure your cream cheese is really soft. I have done it that way before when my mixer was on the fritz, and it worked fine — just took a little longer. A cookie scoop is nice for even portions, but a regular tablespoon works just as well. I have used both, and honestly, the cookie scoop just makes it a little faster. Parchment paper is non-negotiable, though. Wax paper will stick, and aluminum foil is a mess. Trust me, I tried.
Preparation Method
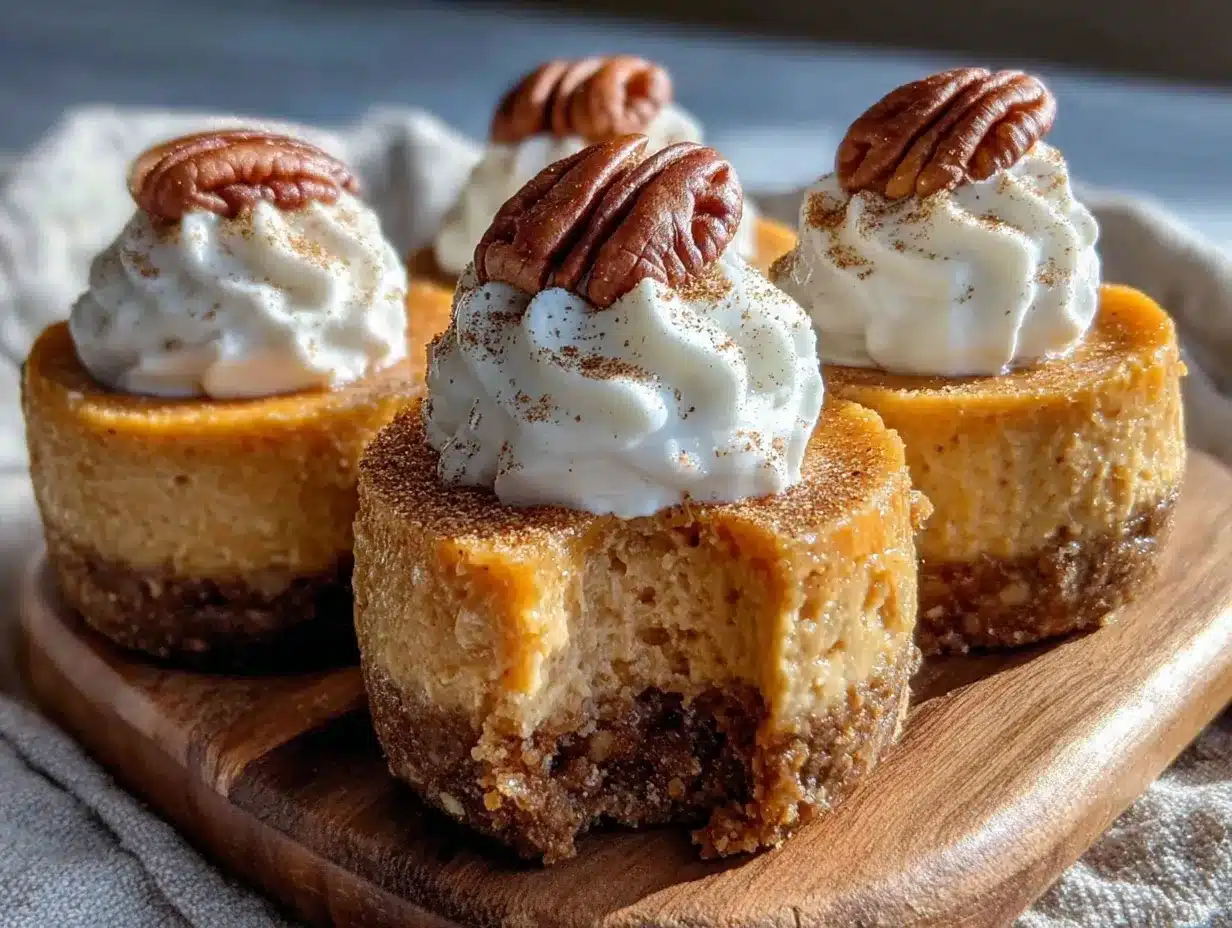
Alright, let’s get rolling — literally. Here is how to make these no-bake pumpkin cheesecake bites step by step.
- Soften the cream cheese: Take your cream cheese out of the fridge about 30 minutes before you start. Cut it into smaller cubes to speed things up. You want it soft enough that it gives when you press it with your finger.
- Beat the cream cheese: In your large mixing bowl, beat the softened cream cheese with an electric mixer on medium speed until it is smooth and creamy. About 1 to 2 minutes. Scrape down the sides of the bowl with your spatula.
- Add the pumpkin and sugar: Add the pumpkin puree, powdered sugar, vanilla extract, pumpkin pie spice, cinnamon, and salt to the bowl. Beat on low speed at first so the powdered sugar doesn’t fly everywhere, then increase to medium and beat until everything is well combined. The mixture should be smooth, thick, and a beautiful orange color. About 2 minutes.
- Chill the mixture: Cover the bowl with plastic wrap and place it in the refrigerator for at least 30 minutes. This step is important — it makes the mixture firm enough to roll into balls. I have skipped this before, and the bites were too soft to hold their shape. Learn from my mistake.
- Prepare your coatings: While the mixture chills, set up your coating stations. Put the graham cracker crumbs in one shallow bowl, the chopped nuts in another, and the shredded coconut in a third. If you are using only one coating, just use one bowl.
- Roll the bites: Once the mixture is firm, use your cookie scoop or a tablespoon to scoop out even portions. Roll each portion between your palms to form a smooth ball. The mixture should be slightly sticky but firm enough to hold its shape. If it is too sticky, pop it back in the fridge for another 10 minutes.
- Coat the bites: Roll each ball in your chosen coating until it is fully covered. Press gently so the coating sticks. Place the coated bites on your parchment-lined baking sheet or plate.
- Final chill: Place the baking sheet in the refrigerator and let the bites chill for at least 1 hour. This sets them completely and makes them firm and creamy. For best results, let them chill overnight.
- Serve: Take the bites out of the fridge about 5 minutes before serving. This lets them soften just a touch, which makes them extra creamy. They are ready to enjoy.
One thing I want to mention — if you are making these with kids, let them do the rolling and coating. It is messy and fun, and they feel so proud of what they made. My nephew Leo insisted on coating his bites in sprinkles, and honestly, they were delicious. Let them experiment.
Cooking Tips & Techniques
I have made these no-bake pumpkin cheesecake bites more times than I can count, and I have learned a few things along the way. Here are my best tips to make sure yours turn out perfect every time.
Don’t skip the chill time. I know it is tempting to rush through this step, especially when you are hungry or the kids are impatient. But the first chill makes the mixture firm enough to roll, and the second chill sets the bites so they hold their shape. I once tried to roll them after only 15 minutes in the fridge, and I ended up with a sticky mess on my hands. Literally. Give it the full 30 minutes.
Use room temperature ingredients. Cold cream cheese will give you lumpy filling, no matter how long you beat it. Let it sit out for at least 30 minutes. Same goes for the pumpkin puree — if it is straight from the fridge, it will stiffen the cream cheese back up. Let everything come to room temperature for the smoothest result.
Wet your hands slightly. If the mixture is sticking to your palms when you roll the bites, lightly wet your hands with cold water. This helps the mixture roll smoothly without sticking. Just don’t make them too wet, or the bites will get soggy.
Use a cookie scoop for even portions. This is not just about looks — even portions mean even chilling time. If some bites are bigger than others, the big ones might not set properly while the small ones get too firm. A cookie scoop makes it easy and fast.
Experiment with coatings. The graham cracker crumbs are classic, but I have tried crushed gingersnaps, crushed pretzels, and even crushed freeze-dried strawberries. Each one gives a different flavor and texture. My personal favorite is crushed gingersnaps — the ginger and molasses flavors pair beautifully with the pumpkin.
Variations & Adaptations
One of the best things about these no-bake pumpkin cheesecake bites is how easy they are to adapt. Here are a few ways I have customized them over the years.
Dairy-Free Version: Use dairy-free cream cheese, like the one from Kite Hill or Tofutti. Make sure it is softened to room temperature. The texture will be slightly different — a little softer — but the flavor is still fantastic. I made these for a friend who is lactose intolerant, and she couldn’t tell the difference.
Vegan Option: Follow the dairy-free version above, and use maple syrup instead of powdered sugar. The bites will be a little softer, so you might need to chill them longer. I have done this before, and they were a hit at a vegan potluck.
Low-Sugar Version: Use a sugar substitute like Swerve or monk fruit sweetener in place of the powdered sugar. The texture will be slightly different, but the flavor is still great. I have made these for my mom, who watches her sugar intake, and she loved them.
Chocolate Pumpkin Bites: Add 2 tablespoons of cocoa powder to the filling mixture before chilling. The chocolate and pumpkin combination is surprisingly good. I tried this on a whim one afternoon, and it became my husband’s favorite version.
Pumpkin Pie Bites: Instead of rolling the bites in crumbs, press them into a mini muffin tin lined with paper liners. Top each one with a dollop of whipped cream and a sprinkle of cinnamon. It looks like a mini pumpkin pie, and it is perfect for Thanksgiving dessert tables.
Spiced Up Version: Add a pinch of cayenne pepper or a dash of chili powder to the filling. The heat cuts through the sweetness and adds a surprising kick. I tried this after seeing a similar idea online, and it was surprisingly good. Just don’t add too much — a little goes a long way.
Serving & Storage Suggestions
These no-bake pumpkin cheesecake bites are best served cold, straight from the fridge. Let them sit at room temperature for about 5 minutes before serving, which allows them to soften slightly and become extra creamy. I like to arrange them on a nice platter, sometimes with a dusting of cinnamon on top or a drizzle of caramel sauce. They look beautiful and inviting.
For a fall-themed dessert table, I serve these alongside apple slices, a bowl of whipped cream, and some warm apple cider. They also pair wonderfully with a cup of hot coffee or a glass of cold milk — perfect for after-school snacks or holiday gatherings.
Storage Instructions: Store the bites in an airtight container in the refrigerator. They will stay fresh for up to 5 days. I have kept them for a full week before, and they were still good, though the texture started to soften slightly after day 5. If you are making them for a party, I recommend making them a day ahead — the flavors actually meld together and get better overnight.
Freezing Instructions: These freeze beautifully. Place the bites on a baking sheet lined with parchment paper and freeze until solid, about 2 hours. Then transfer them to a freezer-safe bag or container. They will keep for up to 3 months. When you are ready to eat them, let them thaw in the refrigerator for about 2 hours. Do not thaw them at room temperature, or they will get too soft. I have done this several times, and they taste just as good as fresh.
Reheating: These are meant to be eaten cold, so no reheating is needed. But if you want a slightly different texture, you can let them sit at room temperature for 15 minutes. They will be softer and creamier, almost like a mousse.
Nutritional Information & Benefits
Here is the approximate nutritional information for one no-bake pumpkin cheesecake bite (based on 20 bites, using graham cracker crumbs for coating).
- Calories: 95
- Fat: 6g
- Carbohydrates: 9g
- Fiber: 1g
- Sugar: 6g
- Protein: 2g
- Sodium: 85mg
These numbers are estimates and will vary based on the specific ingredients you use and the size of your bites.
Pumpkin is packed with vitamin A, which is great for eye health and immune function. It is also high in fiber, which helps with digestion and keeps you feeling full. The cream cheese adds calcium and protein, making these bites a more balanced treat than your typical candy or cookie. Plus, the spices — cinnamon, nutmeg, ginger — have anti-inflammatory properties and add warmth without extra sugar.
If you are watching your sugar intake, you can easily adjust the sweetness by using a sugar substitute or reducing the powdered sugar. For a lower-fat version, use reduced-fat cream cheese, though the texture will be slightly less creamy. These bites are naturally gluten-free if you skip the graham cracker crumbs, and they can be made dairy-free with simple substitutions. They are a great option for families with different dietary needs, because they are so easy to adapt.
Conclusion
These no-bake pumpkin cheesecake bites are more than just a recipe — they are a little moment of joy in the middle of a busy day. They are the treat you can make with your kids without stressing about the mess. They are the dessert that makes everyone at the party smile. And honestly, they are the kind of recipe that reminds me why I love cooking in the first place. It is not about perfection. It is about sharing something good with the people you love.
I hope you give these a try. Customize them however you like — add your favorite coating, adjust the spices, make them your own. That is the beauty of a simple recipe like this. It leaves room for your creativity. And if you do make them, I would love to hear about it. Leave a comment below and tell me how they turned out, or share a photo of your creation. Did your kids help? Did you try a fun new coating? Let me know. Happy cooking, and enjoy every bite.
Frequently Asked Questions
Can I use pumpkin pie filling instead of pumpkin puree?
I would not recommend it. Pumpkin pie filling is already sweetened and spiced, so it will throw off the balance of the recipe. The bites will be too sweet and the texture will be different. Stick with 100% pure pumpkin puree for the best results.
How long do these no-bake pumpkin cheesecake bites last?
They will stay fresh in the refrigerator for up to 5 days in an airtight container. You can also freeze them for up to 3 months. Just make sure they are fully set before freezing.
Can I make these without an electric mixer?
Yes, absolutely. Just make sure your cream cheese is very soft, and use a wooden spoon to mix everything together. It will take a little more elbow grease, but it works fine. I have done it before when my mixer was broken.
What can I use instead of graham cracker crumbs for coating?
There are so many options. Crushed gingersnaps, crushed pretzels, shredded coconut, finely chopped nuts, cocoa powder, or even sprinkles all work great. I have tried most of them, and each one gives a different flavor and texture.
Can I make these bites bigger or smaller?
Of course. Just adjust the chilling time accordingly. Smaller bites will set faster, and larger bites will need more time in the fridge. If you make them bigger, you might need to chill the mixture a little longer before rolling to make sure they hold their shape.
Pin This Recipe!
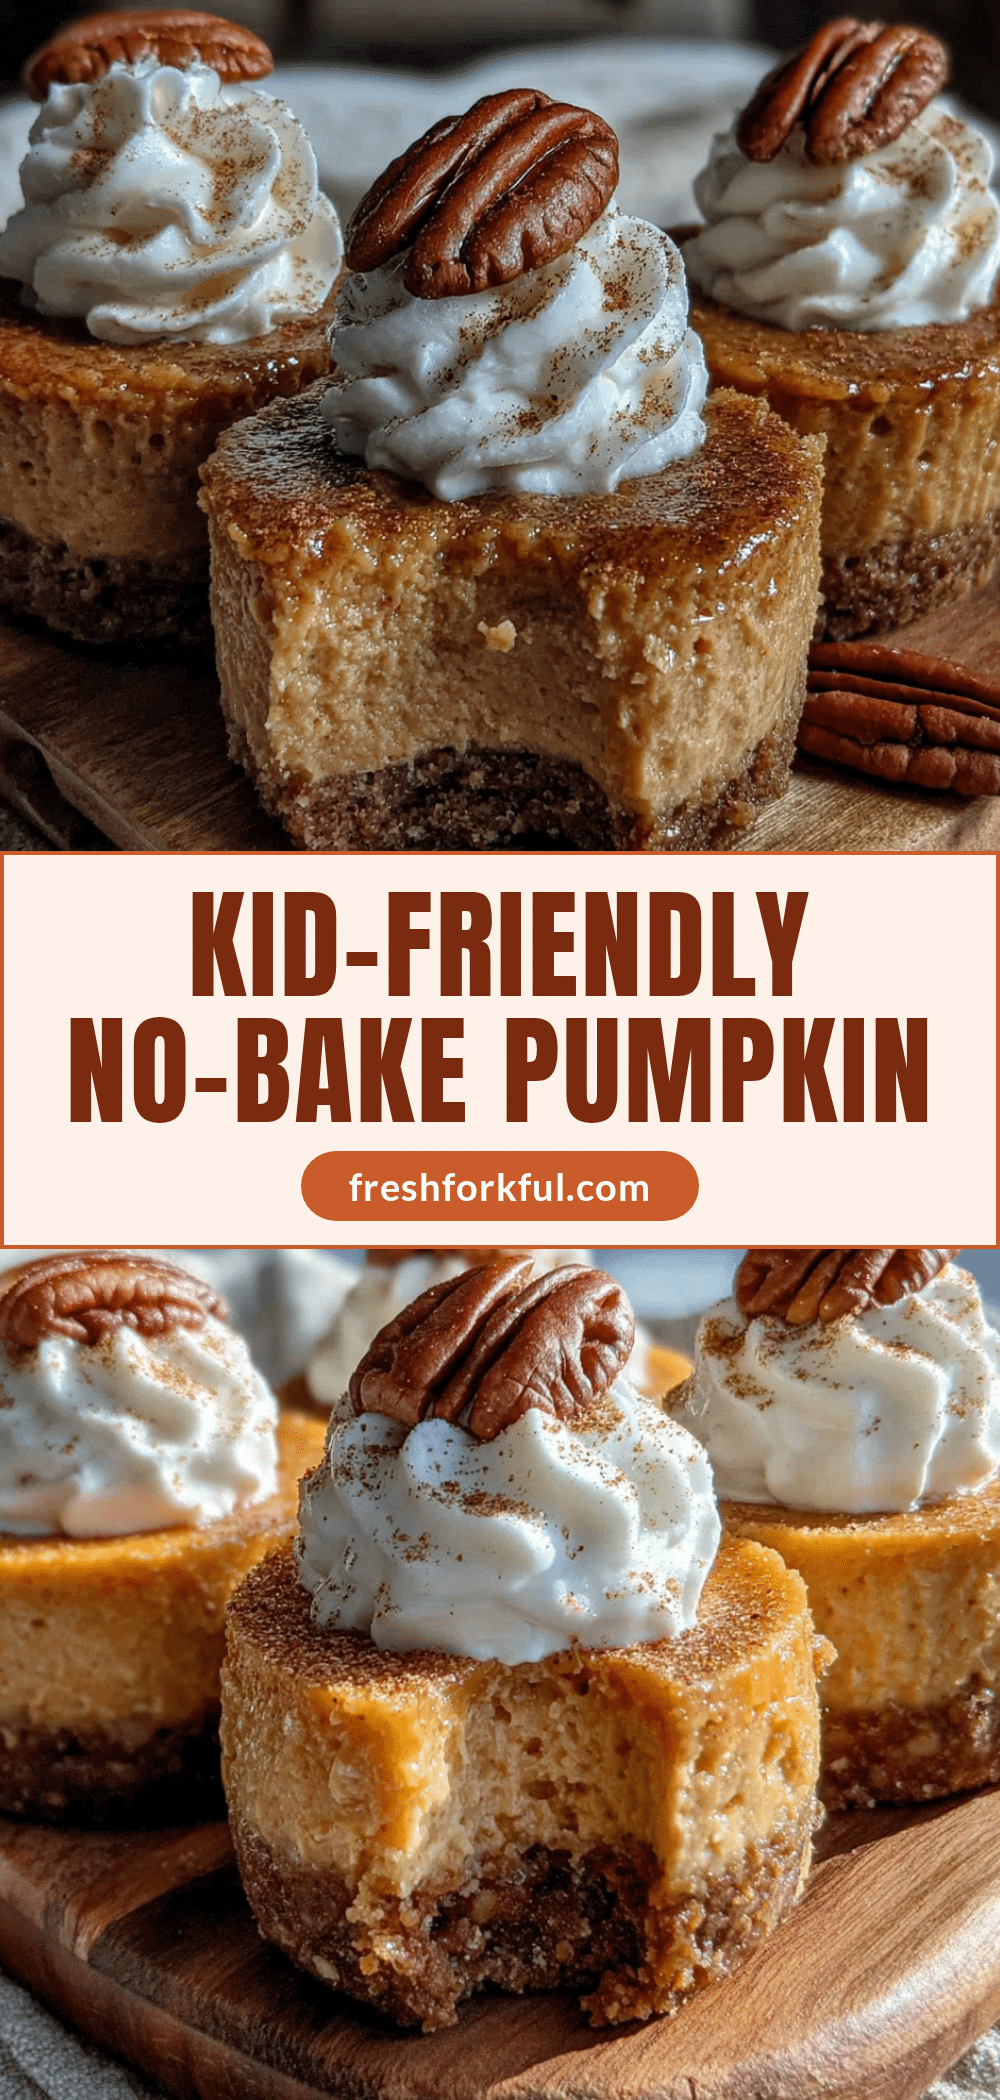
Easy No-Bake Pumpkin Cheesecake Bites: Kid-Friendly Treat
These no-bake pumpkin cheesecake bites are the easiest treat you can make with your kids. No oven, no stove, just mix, roll, and chill for a creamy, pumpkin-spiced delight that’s perfect for fall.
- Prep Time: 15 minutes
- Cook Time: 0 minutes
- Total Time: 1 hour 45 minutes (includes chilling)
- Yield: 20 bites 1x
- Category: Dessert
- Cuisine: American
Ingredients
- 8 ounces cream cheese, softened to room temperature
- 1 cup pumpkin puree (100% pure pumpkin)
- 1/3 cup powdered sugar
- 1 teaspoon vanilla extract
- 1 teaspoon pumpkin pie spice
- 1/2 teaspoon ground cinnamon
- 1/4 teaspoon salt
- 1 1/2 cups graham cracker crumbs (optional)
- 1/2 cup finely chopped pecans or walnuts (optional)
- 1/4 cup shredded coconut (optional)
Instructions
- Soften the cream cheese: Take your cream cheese out of the fridge about 30 minutes before you start. Cut it into smaller cubes to speed things up. You want it soft enough that it gives when you press it with your finger.
- Beat the cream cheese: In your large mixing bowl, beat the softened cream cheese with an electric mixer on medium speed until it is smooth and creamy. About 1 to 2 minutes. Scrape down the sides of the bowl with your spatula.
- Add the pumpkin and sugar: Add the pumpkin puree, powdered sugar, vanilla extract, pumpkin pie spice, cinnamon, and salt to the bowl. Beat on low speed at first so the powdered sugar doesn’t fly everywhere, then increase to medium and beat until everything is well combined. The mixture should be smooth, thick, and a beautiful orange color. About 2 minutes.
- Chill the mixture: Cover the bowl with plastic wrap and place it in the refrigerator for at least 30 minutes. This step is important — it makes the mixture firm enough to roll into balls.
- Prepare your coatings: While the mixture chills, set up your coating stations. Put the graham cracker crumbs in one shallow bowl, the chopped nuts in another, and the shredded coconut in a third. If you are using only one coating, just use one bowl.
- Roll the bites: Once the mixture is firm, use your cookie scoop or a tablespoon to scoop out even portions. Roll each portion between your palms to form a smooth ball. The mixture should be slightly sticky but firm enough to hold its shape. If it is too sticky, pop it back in the fridge for another 10 minutes.
- Coat the bites: Roll each ball in your chosen coating until it is fully covered. Press gently so the coating sticks. Place the coated bites on your parchment-lined baking sheet or plate.
- Final chill: Place the baking sheet in the refrigerator and let the bites chill for at least 1 hour. This sets them completely and makes them firm and creamy. For best results, let them chill overnight.
- Serve: Take the bites out of the fridge about 5 minutes before serving. This lets them soften just a touch, which makes them extra creamy. They are ready to enjoy.
Notes
Don’t skip the chill time. Use room temperature ingredients. Wet your hands slightly if the mixture sticks. Use a cookie scoop for even portions. Experiment with coatings like crushed gingersnaps, pretzels, or freeze-dried strawberries.
Nutrition
- Serving Size: 1 bite
- Calories: 95
- Sugar: 6
- Sodium: 85
- Fat: 6
- Saturated Fat: 3
- Carbohydrates: 9
- Fiber: 1
- Protein: 2
Keywords: no-bake pumpkin cheesecake bites, pumpkin cheesecake bites, no-bake pumpkin dessert, kid-friendly pumpkin treat, easy pumpkin cheesecake


