Love this? Save it for later!
Share the inspiration with your friends
This was supposed to be a straightforward pan-seared chicken dinner, nothing fancy—just some herbs and a quick sauce. But of course, I grabbed garlic powder instead of fresh garlic, the skillet was hotter than I thought, and I was already two phone calls deep into a work emergency. What came out was nothing like the plan—smoky, nutty, and crispier than I expected, with this irresistible brown butter garlic crust that honestly saved the whole night.
Let me tell you, I almost tossed it out. The edges looked a little too dark, and I was sure the garlic powder had overpowered the flavor. Yet, that first bite surprised me so much I had to pause. Juicy, tender chicken thighs wrapped in a crispy, buttery garlic shell? It was like the kitchen gods were messing with me only to gift me a new favorite recipe.
You know that feeling when a dish just stuns you even though it didn’t go as planned? Maybe you’ve been there, juggling too many things and ending up with something completely different—but better. This recipe stuck with me because it’s forgiving, quick, and honestly, it tastes like something you’d order at a restaurant but can whip up in your own kitchen without breaking a sweat. I keep making it, even in the middle of chaos, because it’s that kind of comfort food that never fails.
Why You’ll Love This Recipe
Honestly, I’ve tested tons of chicken thigh recipes, but these crispy garlic brown butter chicken thighs stand out for so many reasons. They’re perfect for anyone who loves that balance of crunchy skin with juicy, tender meat underneath. Here’s why this recipe has become a staple in my kitchen:
- Quick & Easy: Ready in about 30 minutes, it’s perfect for busy weeknights or throwing together when you forgot to plan dinner.
- Simple Ingredients: No fancy shopping required—you probably have everything in your pantry and fridge already.
- Perfect for Cozy Dinners: Whether it’s a casual family meal or a laid-back date night, this dish fits the bill.
- Crowd-Pleaser: I’ve never met a soul who didn’t appreciate the crispy skin and that deep, nutty brown butter garlic flavor.
- Unbelievably Delicious: The secret’s in the browned butter and the garlic that crisps up in just the right way—this combo takes the chicken from good to unforgettable.
What really makes this recipe different? It’s the technique of browning the butter separately and then finishing the chicken in it, which creates this rich, caramelized coating that’s both crispy and juicy. Plus, the garlic isn’t just thrown in; it’s toasted gently in the butter to bring out a mellow, aromatic flavor that’s just *chef’s kiss* perfect. It’s comfort food reimagined—simple, satisfying, and with that little twist that makes you want to close your eyes and savor every bite.
What Ingredients You Will Need
This recipe uses simple, wholesome ingredients to deliver bold flavor and that satisfying crispy texture without any fuss. Most of these are pantry staples, but a few tips on quality and substitutions will make this chicken shine.
- Chicken thighs, bone-in and skin-on (about 4 pieces, 1.5 lbs / 700 g): The skin is essential for crispiness, and bone-in keeps the meat juicy.
- Unsalted butter (4 tablespoons / 60 g): For the brown butter flavor; use high-quality for best results (I trust Plugrá or Kerrygold).
- Fresh garlic cloves (4, minced): Fresh is key here—don’t substitute with powder for this recipe, as the texture and flavor differ.
- Olive oil (2 tablespoons / 30 ml): Helps with searing the chicken skin crisp without burning the butter.
- Salt (1 teaspoon / 5 g) and freshly ground black pepper (½ teaspoon / 1 g): Seasoning for the chicken; feel free to add more to taste.
- Fresh thyme or rosemary sprigs (optional, 2-3 sprigs): Adds a subtle herbal aroma that complements the brown butter beautifully.
- Lemon juice (1 tablespoon / 15 ml): Brightens up the richness—optional but recommended for a fresh finish.
If you want to switch things up, you can try ghee instead of butter for a slightly nuttier flavor or swap the fresh herbs for dried Italian seasoning if that’s what you have on hand. For a dairy-free version, use a good-quality vegan butter or coconut oil, but keep in mind the flavor will shift a bit.
Equipment Needed
- Heavy skillet or cast-iron pan: A sturdy pan retains heat well and helps get that perfect crispy skin. I often use my Lodge cast iron; it’s budget-friendly and reliable.
- Tongs: For flipping the chicken without losing all that delicious crust.
- Sharp knife and cutting board: To mince garlic and prep herbs.
- Instant-read thermometer (optional): Great for checking the chicken’s internal temperature, aiming for 165°F / 74°C to keep it juicy but safe.
- Small bowl: To mix lemon juice and seasoning if you decide to add that fresh splash at the end.
Honestly, you don’t need fancy gadgets for this one. A decent pan and a good set of tongs will do wonders. If you’re careful about cleaning cast iron (dry it immediately and oil it lightly), it’ll last forever and improve with use. For those without cast iron, a heavy stainless steel skillet works well too, just watch the heat so the butter doesn’t burn.
Preparation Method
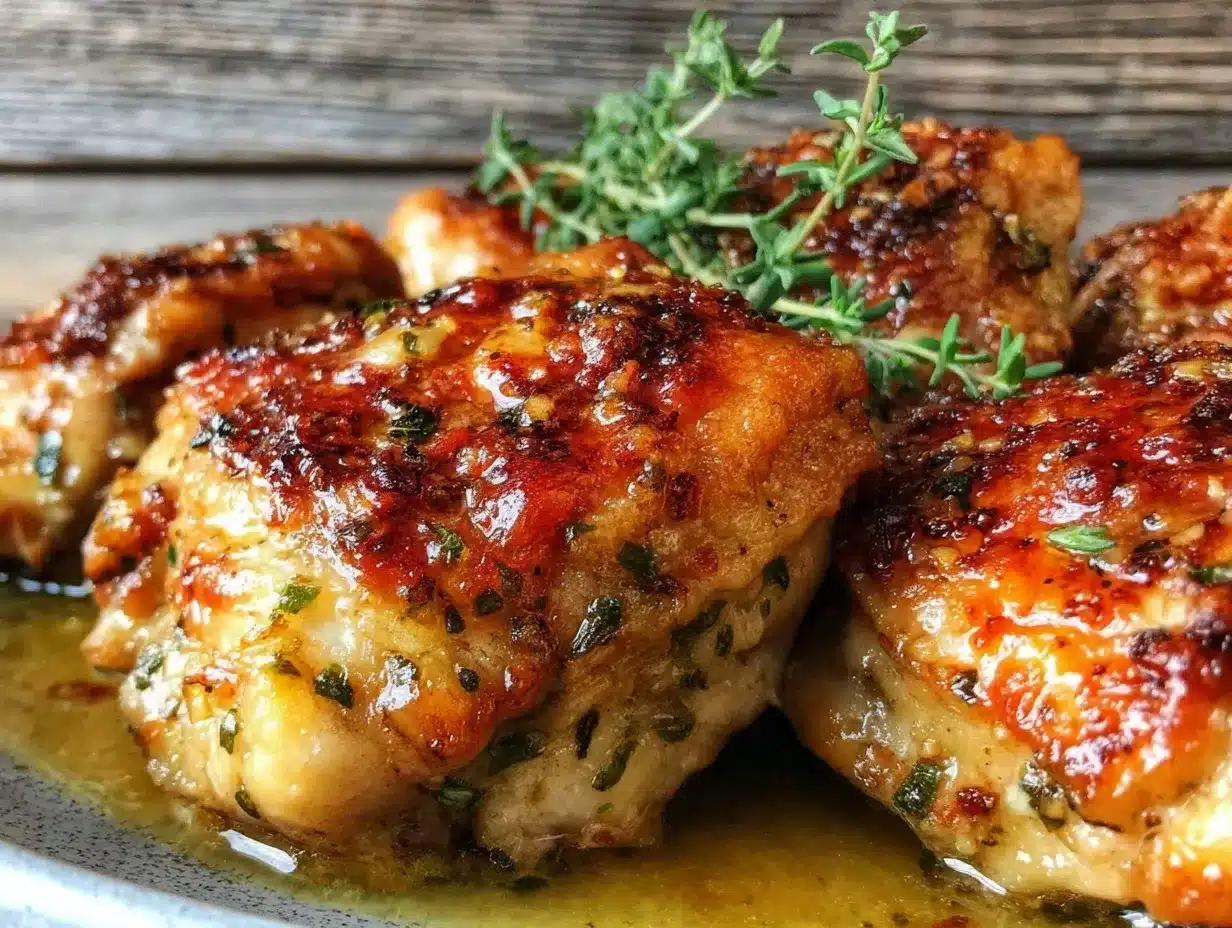
- Pat the chicken thighs dry: Use paper towels to remove excess moisture from the skin and meat—this step is crucial for crispiness. Season both sides generously with salt and pepper. (About 5 minutes)
- Heat olive oil in skillet over medium-high heat: Wait until shimmering but not smoking. Add chicken thighs skin-side down carefully, pressing them slightly to ensure even contact with the pan. (2-3 minutes)
- Cook skin-side until deep golden and crisp: This usually takes around 7-10 minutes. Don’t move them around too much; patience here pays off. You want a rich, dark crust but not burnt. (10 minutes)
- Flip chicken thighs over: Lower heat to medium. Cook the other side for 5 minutes. The chicken will start to release some juices—expect a nice sizzle. (5 minutes)
- Remove chicken and set aside: Place on a plate tented loosely with foil to keep warm while you prepare the brown butter garlic sauce. (2 minutes)
- Reduce heat to medium-low and add butter to the same skillet: Stir butter constantly as it melts and foams, watching carefully for it to turn golden brown with a nutty aroma—about 3-4 minutes. (4 minutes)
- Add minced garlic and herbs to the brown butter: Stir gently for about 1-2 minutes until the garlic is fragrant and lightly toasted but not burnt. (2 minutes)
- Return chicken thighs to skillet, skin side up: Spoon some of the brown butter garlic sauce over the tops. Let them cook in the sauce for 3-5 minutes to absorb flavor and finish cooking. (4 minutes)
- Optional step: Drizzle fresh lemon juice over the chicken for a bright finish. Taste and adjust seasoning if needed. (1 minute)
Throughout, keep an eye on your heat levels—too high and the butter burns; too low and the chicken won’t crisp up well. The smell of browned butter and toasted garlic is your best guide here. If you have an instant-read thermometer, check that the thickest part of the thighs reaches 165°F / 74°C for safe, juicy perfection.
Cooking Tips & Techniques
Let me share some hard-earned wisdom from my own crispy garlic brown butter chicken thigh adventures:
- Dry the chicken skin thoroughly: Moisture is the enemy of crispiness. Pat the thighs dry before seasoning to avoid soggy skin.
- Don’t rush the sear: Let the chicken sit undisturbed skin-side down until you get that golden crust. Flipping too soon tears the skin and ruins the texture.
- Watch the butter carefully: Brown butter can go from perfect to burnt in seconds. Stir constantly and remove from heat as soon as you see the golden color and smell that nutty aroma.
- Use fresh garlic, but add it late: Garlic burns quickly, so add it once the butter has browned and keep stirring gently.
- Multitasking tip: While the chicken sears, prep garlic and herbs so you can add them immediately when the butter is ready—this keeps the flavors vibrant.
- Checking doneness: If you don’t have a thermometer, pierce the thickest part of the chicken and check that juices run clear, not pink.
I’ve definitely burned my share of garlic and had limp chicken skin before figuring out these tricks. Trust me, it’s worth the patience and paying attention to those subtle smells and visuals—they’re your best tools for success.
Variations & Adaptations
- Spicy twist: Add a pinch of red pepper flakes into the brown butter along with garlic for a subtle heat that pairs beautifully with the richness.
- Herb swap: Try fresh sage or tarragon instead of thyme or rosemary for a different aromatic profile.
- Low-carb crust: Before searing, dust the chicken skin lightly with almond flour or crushed pork rinds for an extra crispy texture without carbs.
- Dairy-free option: Use coconut oil or vegan butter in place of butter, and skip the lemon if you want a milder flavor.
- Oven finish: After searing, transfer the skillet to a 400°F (200°C) oven for 10-12 minutes to finish cooking, especially if your thighs are extra thick.
Personally, I once tried a maple-balsamic glaze poured over the thighs after cooking for a sweet-savory contrast that was surprisingly addictive. It’s a nice way to switch things up if you want to impress guests with minimal extra effort.
Serving & Storage Suggestions
Serve these crispy garlic brown butter chicken thighs hot, straight from the pan, with a drizzle of the buttery garlic sauce spooned over the top. They pair wonderfully with simple sides like creamy mashed potatoes, sautéed green beans, or even a crisp arugula salad tossed with lemon vinaigrette.
For drinks, a chilled glass of Chardonnay or a light lager complements the richness nicely. If you’re looking for a non-alcoholic option, sparkling water with a splash of lemon keeps things fresh.
Store leftovers in an airtight container in the refrigerator for up to 3 days. Reheat gently in a skillet over medium-low heat to maintain the crisp skin—microwaving tends to make it soggy, so avoid that if you can. Flavors often deepen after a day, so leftovers can taste even better.
Nutritional Information & Benefits
Each serving of these chicken thighs provides approximately 350 calories, with around 25 grams of protein and 25 grams of fat, making it a satisfying, protein-rich meal. Using bone-in skin-on thighs adds flavor and moisture, while the garlic and fresh herbs offer antioxidants and anti-inflammatory benefits.
This recipe is naturally gluten-free and low in carbs, fitting well into paleo or keto lifestyles if you skip any starchy sides. The brown butter adds richness without needing heavy sauces, helping keep the ingredient list clean and simple.
From a wellness standpoint, garlic is known for its immune-boosting properties, and using fresh herbs instead of salt-heavy seasonings can aid heart health. So, you get indulgence and nutrition in one plate!
Conclusion
If you’re looking for a chicken recipe that’s quick but feels special, crispy garlic brown butter chicken thighs with tender juiciness should be your go-to. It’s forgiving, flavorful, and just downright satisfying—whether you’re cooking for yourself or a crowd. Customize it with your favorite herbs or spice it up a bit; the basic technique is solid and reliable.
Personally, this dish reminds me that sometimes the best food moments come from unexpected slips in the kitchen. So, don’t sweat the small stuff—embrace the process, and maybe you’ll discover a new favorite too.
Go on, give it a try, and let me know how your crispy garlic brown butter chicken thighs turn out in the comments below. Share your twists, questions, or the inevitable happy accidents you encounter—I’d love to hear all about it!
Frequently Asked Questions
- Can I use chicken breasts instead of thighs? You can, but thighs stay juicier and crisp better due to the skin and fat content. If using breasts, watch cooking time closely to avoid drying out.
- How do I prevent the garlic from burning? Add the minced garlic after the butter has browned and reduce heat to medium-low. Stir constantly and remove from heat if it starts to darken too fast.
- Is it necessary to use bone-in chicken? Bone-in is recommended for juiciness and flavor, but boneless skin-on thighs will work if that’s what you have.
- Can I make this recipe ahead of time? You can prep the chicken and seasoning in advance, but cook it fresh for best crispiness. Leftovers reheat well in a skillet.
- What sides pair best with this chicken? Mashed potatoes, roasted veggies, or a fresh green salad complement the rich flavors wonderfully.
For a similar crispy chicken experience with a garlicky twist, you might enjoy my crispy garlic chicken recipe. And if you want to try a comforting, buttery dish that’s just as simple, my brown butter salmon is a fantastic match.
Pin This Recipe!
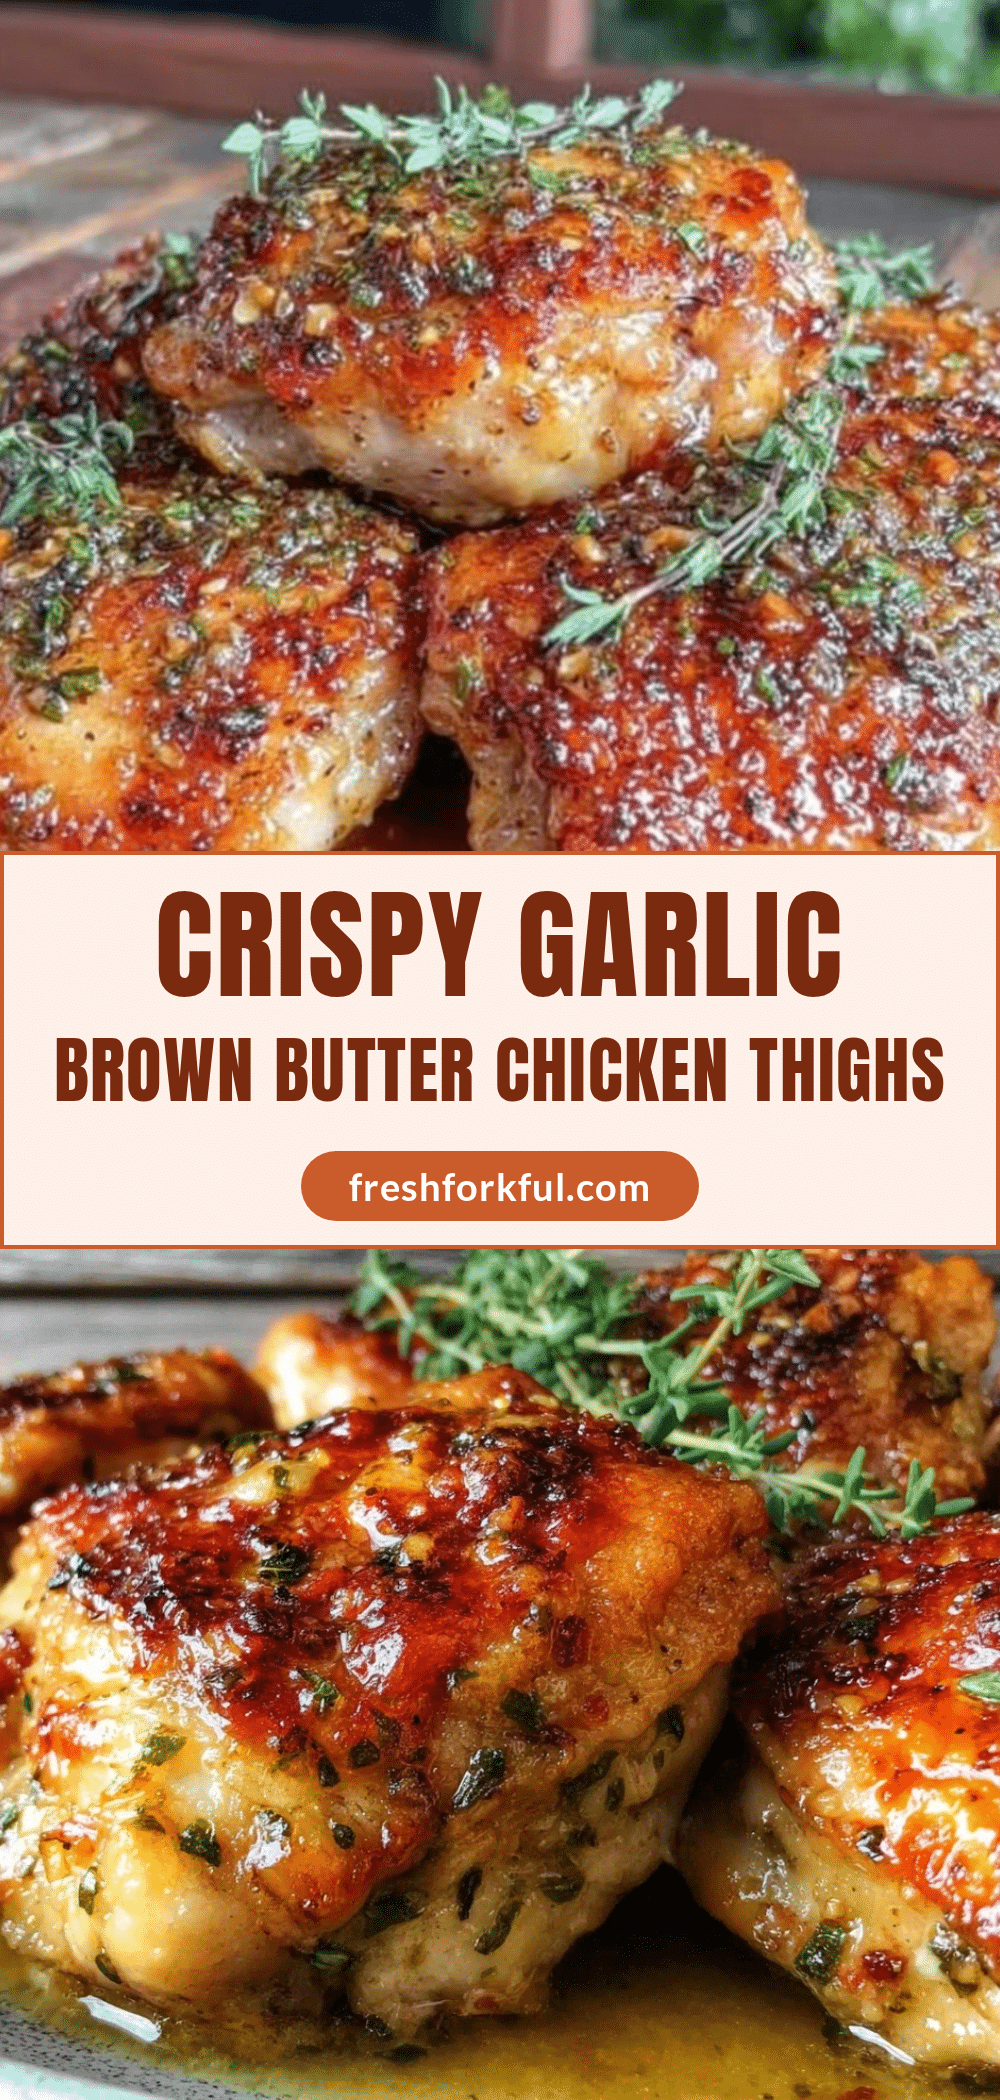
Crispy Garlic Brown Butter Chicken Thighs
A quick and easy recipe featuring juicy, tender chicken thighs with a crispy, nutty brown butter garlic crust that delivers restaurant-quality flavor at home.
- Prep Time: 10 minutes
- Cook Time: 20 minutes
- Total Time: 30 minutes
- Yield: 4 servings 1x
- Category: Main Course
- Cuisine: American
Ingredients
- 4 bone-in, skin-on chicken thighs (about 1.5 lbs / 700 g)
- 4 tablespoons unsalted butter (60 g)
- 4 fresh garlic cloves, minced
- 2 tablespoons olive oil (30 ml)
- 1 teaspoon salt (5 g)
- ½ teaspoon freshly ground black pepper (1 g)
- 2–3 sprigs fresh thyme or rosemary (optional)
- 1 tablespoon lemon juice (15 ml, optional)
Instructions
- Pat the chicken thighs dry with paper towels to remove excess moisture. Season both sides generously with salt and pepper. (About 5 minutes)
- Heat olive oil in a heavy skillet or cast-iron pan over medium-high heat until shimmering but not smoking. Add chicken thighs skin-side down carefully, pressing slightly for even contact. (2-3 minutes)
- Cook skin-side until deep golden and crisp, about 7-10 minutes. Avoid moving the chicken to develop a rich crust. (10 minutes)
- Flip chicken thighs over, reduce heat to medium, and cook the other side for 5 minutes until juices start to release. (5 minutes)
- Remove chicken and set aside on a plate tented loosely with foil to keep warm. (2 minutes)
- Reduce heat to medium-low and add butter to the same skillet. Stir constantly as it melts and foams until it turns golden brown with a nutty aroma, about 3-4 minutes. (4 minutes)
- Add minced garlic and herbs to the brown butter. Stir gently for 1-2 minutes until garlic is fragrant and lightly toasted but not burnt. (2 minutes)
- Return chicken thighs to skillet, skin side up. Spoon some brown butter garlic sauce over the tops. Let cook in the sauce for 3-5 minutes to absorb flavor and finish cooking. (4 minutes)
- Optional: Drizzle fresh lemon juice over the chicken for a bright finish. Taste and adjust seasoning if needed. (1 minute)
Notes
Pat chicken dry thoroughly for crisp skin. Do not rush searing; let the skin develop a deep golden crust. Stir butter constantly when browning to avoid burning. Add garlic after butter has browned to prevent burning. Use an instant-read thermometer to ensure chicken reaches 165°F (74°C). For dairy-free, substitute butter with vegan butter or coconut oil. Oven finish option: after searing, bake at 400°F (200°C) for 10-12 minutes for thicker thighs.
Nutrition
- Serving Size: 1 chicken thigh
- Calories: 350
- Sodium: 500
- Fat: 25
- Saturated Fat: 14
- Carbohydrates: 1
- Protein: 25
Keywords: chicken thighs, crispy chicken, brown butter, garlic chicken, easy dinner, pan-seared chicken, comfort food


