Love this? Save it for later!
Share the inspiration with your friends
The neighborhood brunch club was in six hours, and I’d completely forgotten. Everyone else would be bringing elaborate frittatas, homemade cinnamon rolls, and those fancy breakfast casseroles that take three hours to assemble. I had a bunch of spotty bananas on the counter, a half-empty jar of peanut butter, and about fifteen minutes before I needed to leave for my daughter’s soccer game. Honestly, I almost just grabbed a box of donuts from the gas station and called it a day.
But then I remembered these creamy peanut butter banana overnight oats I’d been tinkering with. I mean, “tinkering” is generous — I’d thrown some oats and milk in a jar the night before, added a spoonful of peanut butter, and hoped for the best. It wasn’t a recipe yet. It was a desperate experiment. I grabbed my biggest mixing bowl, doubled everything frantically, and prayed the texture would hold up. I even forgot to add the chia seeds — realized it halfway to the game. Let me tell you, I was not feeling confident.
Fast forward to the brunch table, where my sad little jar of overnight oats sat next to a beautiful quiche and some artfully arranged fruit platter. I almost hid it behind the coffee carafe. But someone tried it. Then someone else. Then the jar was empty and three people asked for the recipe. That’s the thing about creamy peanut butter banana overnight oats — they don’t look like much, but they deliver every single time. Maybe you’ve been there, showing up with something simple while everyone else went all out. This is the recipe that saves you in those moments. It’s been my go-to for every potluck, brunch, and lazy Sunday gathering since.
Why You’ll Love This Recipe
Let me be straight with you — I’ve tested overnight oats about a dozen different ways. Some turned out gluey. Some were bland. Some required ingredients I’d never buy again. These creamy peanut butter banana overnight oats are the version I actually make on repeat, and here’s why they work for hosting:
- No Cooking Required : You mix everything in a bowl the night before. That’s it. No standing over a stove, no complicated techniques. Perfect when you’re already juggling a dozen other things for your gathering.
- Scales Beautifully : Need to feed eight people? Double it. Twelve people? Triple it. The ratios hold up perfectly, and you can mix everything in one big container. No individual jars required unless you want to get fancy.
- Budget-Friendly Ingredients : Oats, peanut butter, bananas, milk — these are pantry staples. You’re not hunting down specialty items or spending forty dollars on ingredients. Your wallet will thank you.
- Make-Ahead Magic : This is the breakfast that lets you sleep in while your guests help themselves. Set it out with some toppings, and you’re the host who thought of everything.
- Crowd-Pleasing Flavor : It’s sweet but not too sweet. Creamy but not heavy. The peanut butter and banana combo is universally loved — I’ve yet to meet someone who didn’t go back for seconds.
What makes this recipe different from all the other overnight oats out there? It’s the texture. Most recipes turn into a solid block of oats that you have to chisel apart. This one stays creamy, almost pudding-like, because of the banana. The mashed banana acts as a natural sweetener and thickener, so you don’t need loads of sugar or weird additives. It’s comfort food that happens to be good for you — the kind of breakfast that makes you close your eyes after the first bite and forget you’re eating something healthy.
What Ingredients You Will Need
This recipe uses simple, wholesome ingredients to deliver bold flavor and satisfying texture without the fuss. Most of these are probably in your kitchen right now, which is exactly the point when you’re hosting.
For the Base Oats
- Rolled Oats : 2 cups (180g). Not quick oats, not steel-cut — rolled oats are the sweet spot. They soften overnight without turning to mush. I prefer Bob’s Red Mill or Quaker Old-Fashioned. Quick oats will give you a gluey texture, so stick with rolled if you can.
- Milk : 2 cups (480ml). Whole milk makes it creamiest, but oat milk or almond milk work great too. I’ve used 2% and it’s fine, just slightly less luxurious. If you’re dairy-free, go with oat milk for the closest texture.
- Plain Greek Yogurt : 1 cup (240g). This is the secret to the creamy texture. The yogurt adds tanginess and protein, plus it helps the oats soften perfectly. I use Fage 2% for the best balance. Skip flavored yogurts — they add too much sugar and weird flavors.
- Chia Seeds : 2 tablespoons (20g). These little guys are optional but highly recommended. They thicken the oats naturally and add omega-3s. If you forget them like I did that first time, the oats will be slightly looser but still delicious.
- Pure Maple Syrup : 3 tablespoons (60ml). Honey works too, but maple syrup has a cleaner sweetness that doesn’t overpower the banana. Use the real stuff, not pancake syrup. Trust me on this one.
- Vanilla Extract : 1 teaspoon (5ml). Pure vanilla, not imitation. It rounds out all the flavors and makes everything taste more “baked” even though nothing is baked.
- Salt : A pinch. Sounds weird in sweet oats, but it balances the flavors and makes the peanut butter pop. Don’t skip it.
For the Peanut Butter Banana Layer
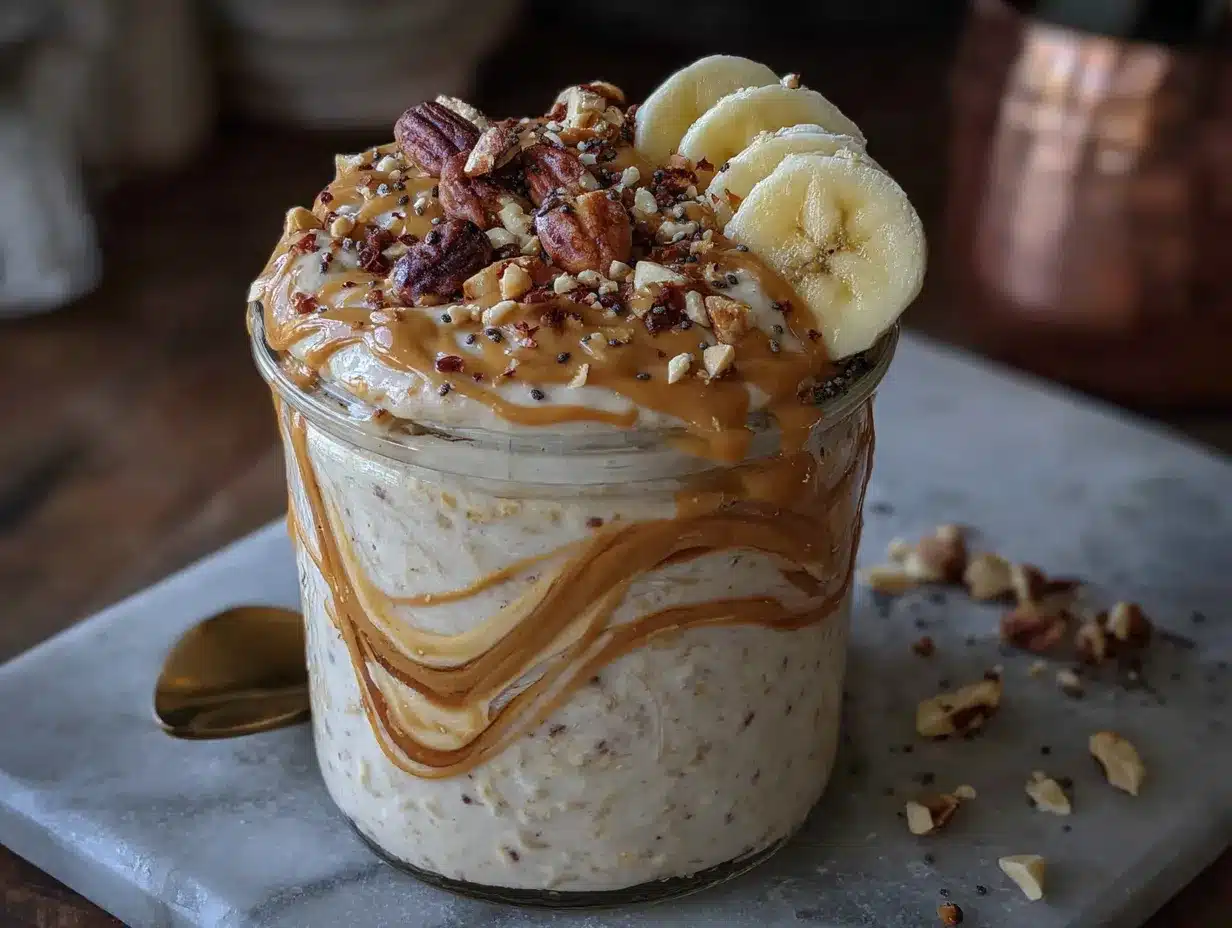
- Ripe Bananas : 2 large, mashed (about 1 cup or 240g). The riper, the better. Those brown-spotted bananas nobody wants to eat? They’re perfect here. They mash easily and add natural sweetness. Green bananas won’t work — they’re too starchy and won’t break down properly.
- Creamy Peanut Butter : ½ cup (130g). Natural peanut butter works, but you’ll need to stir it well first. I actually prefer Skippy or Jif for this recipe — they’re more stable and don’t separate. If you use natural, the texture will be slightly grainier. Crunchy peanut butter is fine if you want some texture, but creamy gives a smoother result.
For Serving & Toppings
- Extra Sliced Bananas : For topping. Slice them right before serving so they don’t turn brown.
- Drizzle of Peanut Butter : Warm it slightly so it drizzles nicely. About 10 seconds in the microwave does the trick.
- Optional Toppings : Chopped peanuts, dark chocolate chips, a sprinkle of cinnamon, or a dollop of whipped cream. Let your guests customize their own bowls — it makes the presentation look intentional and impressive.
Equipment Needed
You don’t need fancy equipment for this recipe. That’s part of the beauty when you’re hosting and your kitchen is already a disaster zone from prepping other dishes.
- Large Mixing Bowl : Go bigger than you think you need. A 4-quart bowl works great for a double batch. I use my grandmother’s old ceramic mixing bowl, but any large bowl will do.
- Whisk : For combining the wet ingredients smoothly. A fork works in a pinch, but a whisk gets the chia seeds distributed evenly so they don’t clump.
- Fork or Potato Masher : For mashing the bananas. A fork is fine, but a potato masher makes it faster and gives you a smoother consistency. I’ve used both — the masher wins every time.
- Measuring Cups and Spoons : Standard set. Nothing fancy required.
- Container with Lid : A large glass bowl with a lid, or a big mason jar. If you’re serving a crowd, I recommend a clear glass container so guests can see the layers. You can also portion them into individual jars if you want that aesthetic — just know it takes more time.
- Spatula : For scraping every last bit of peanut butter out of the measuring cup. Waste not, want not.
Budget-friendly tip: Repurpose a large pickle jar or pasta sauce jar. Just wash it thoroughly first. Nobody wants overnight oats that taste like pickles — learned that one the hard way.
Preparation Method
Here’s the step-by-step process for making creamy peanut butter banana overnight oats that will have your guests asking for the recipe before they finish their first bite.
- Mash the Bananas (5 minutes). Peel both bananas and place them in a large mixing bowl. Use a fork or potato masher to mash them until they’re mostly smooth with a few small lumps remaining. You want some texture, not baby food consistency. The bananas should release their natural juices and look almost liquidy. If your bananas aren’t ripe enough, this step will be frustrating — they’ll be stubborn and chunky. Just work with it as best you can.
- Combine the Wet Ingredients (3 minutes). Add the milk, Greek yogurt, maple syrup, and vanilla extract to the mashed bananas. Whisk everything together until smooth. The mixture should look pale yellow and slightly frothy on top. This is where you’ll notice if your yogurt is too thick — if it’s not incorporating well, let it sit at room temperature for five minutes before whisking again.
- Add the Peanut Butter (2 minutes). Scoop the peanut butter into the bowl. Whisk vigorously until it’s fully incorporated. This takes more elbow grease than you’d expect — peanut butter doesn’t want to blend in cold liquid. If you’re struggling, microwave the peanut butter for 15 seconds before adding it. The mixture should turn a uniform light brown color with no white streaks of yogurt showing. Taste it here — it should be sweet, slightly tangy, and unmistakably peanut buttery.
- Stir in the Dry Ingredients (2 minutes). Add the rolled oats, chia seeds, and pinch of salt. Stir with a spatula or wooden spoon until everything is evenly distributed. The oats should be fully submerged in the liquid. If they’re not, add a splash more milk. The mixture will look quite liquidy at this point — that’s normal. The oats and chia seeds will absorb the liquid overnight.
- Transfer to Container (1 minute). Pour the mixture into your serving container or divide among individual jars. If using one large container, smooth the top with a spatula. If you’re layering for presentation, you can add a layer of sliced bananas in the middle — just make sure they’re fully covered by the oat mixture so they don’t brown.
- Refrigerate Overnight (6-8 hours minimum). Cover tightly with a lid and refrigerate for at least 6 hours, but 8-12 hours is ideal. The oats need time to soften and absorb the liquid. Don’t rush this — 4 hours won’t cut it. The texture will be noticeably different after 8 hours — creamy, thick, and almost pudding-like. If you’re hosting a brunch, make this the night before and forget about it until morning.
- Serve with Toppings (5 minutes before serving). When ready to serve, give the oats a good stir. They’ll have separated slightly — that’s normal. If they’re too thick, stir in a splash of milk until you reach your desired consistency. Top with sliced bananas, a drizzle of warm peanut butter, and any additional toppings. Serve cold or at room temperature. I prefer them straight from the fridge, but some people like to let them sit for 10 minutes to take the chill off.
Pro tip for hosting: Set up a toppings bar with bowls of chopped peanuts, chocolate chips, coconut flakes, and extra banana slices. Let guests customize their own bowls. It looks impressive and takes zero extra effort on your part.
Cooking Tips & Techniques
I’ve made this recipe more times than I can count, and I’ve definitely learned some things along the way. Here are the tips that actually matter.
The banana ripeness is non-negotiable. I once tried making this with slightly yellow bananas because that’s all I had. The oats were bland and the texture was off. The bananas didn’t break down properly, leaving weird chunks that never softened. Brown-spotted bananas are sweet and mashable — that’s what you want. If your bananas aren’t ripe enough, you can speed things up by baking them at 300°F for 15 minutes until the skins turn black. It works in a pinch.
Don’t over-stir once the oats are added. I know, it’s tempting to keep mixing to make sure everything is combined. But over-stirring can break down the oat starches and make the final texture gummy. Stir just until the oats are coated and submerged, then stop. The chia seeds will do the rest of the work overnight.
Watch out for the chia seed clumps. This is a mistake I made my first few times — I’d sprinkle chia seeds in and they’d immediately clump together into little gelatinous balls. The trick is to sprinkle them in slowly while stirring constantly, or whisk them into the wet ingredients before adding the oats. Either way works, just don’t dump them all in at once.
If you’re scaling for a crowd, use a bigger bowl than you think. Doubling this recipe fills a 4-quart bowl almost to the brim. Tripling it requires a 6-quart bowl. I learned this when I tried to triple it in my regular mixing bowl and ended up with oat mixture all over my counter at 11 PM the night before a brunch. Not my finest moment.
The texture changes over time. These oats are best within 2-3 days. After that, they get progressively thicker and denser as the oats continue absorbing liquid. If you have leftovers, stir in a splash of milk before serving to loosen them up. They’ll still taste great, just with a different texture.
Variations & Adaptations
One of the best things about creamy peanut butter banana overnight oats is how adaptable they are. Here are some variations I’ve tried and loved.
Chocolate Peanut Butter Version : Add 2 tablespoons of unsweetened cocoa powder to the wet ingredients before mixing. The chocolate and peanut butter combo is classic for a reason. I’ve served this at a kids’ brunch and it was gone in ten minutes. Top with chocolate shavings for extra flair.
Vegan Adaptation : Use oat milk or almond milk instead of dairy milk, and substitute the Greek yogurt with a plant-based yogurt. I like the unsweetened vanilla kind from Silk or So Delicious. The texture will be slightly less thick, but still creamy. Maple syrup is already vegan, so no issues there.
High-Protein Version : Add a scoop of vanilla or chocolate protein powder to the mixture. You’ll need to add an extra ¼ cup of milk to compensate for the powder. I’ve used both whey and plant-based protein powders — whey blends in more smoothly, while plant-based can be slightly grainier. Stir vigorously to avoid clumps.
Seasonal Berry Swirl : During summer, I love adding a layer of fresh berries in the middle. Mash about ½ cup of strawberries or blueberries with a tablespoon of maple syrup, then swirl it into the oat mixture before refrigerating. The berries burst as you stir the oats in the morning, creating beautiful purple or red streaks.
Nut-Free Option : Substitute the peanut butter with sunflower seed butter or WowButter. The flavor will be different — slightly earthier — but still delicious. Just make sure your oats and other ingredients are certified gluten-free if you’re serving someone with celiac disease. Oats are naturally gluten-free but often processed with wheat.
Serving & Storage Suggestions
When you’re hosting, presentation matters. Here’s how to serve these oats like you planned it all along.
Serving Temperature : Serve these oats cold or at room temperature. I personally love them straight from the fridge — the cool, creamy texture is refreshing. If your guests prefer warmer oats, microwave individual portions for 30-45 seconds. Just be careful not to overheat them, or the texture gets weird.
Presentation Tips : If you’re serving a crowd, layer the oats in a clear trifle dish or large glass bowl. Start with a layer of oats, then sliced bananas, then a drizzle of peanut butter, then repeat. Top with a final layer of oats and arrange banana slices in a circular pattern on top. It looks stunning and takes five extra minutes. For individual servings, use mason jars or small glass bowls with lids — guests can grab and go.
What to Serve Alongside : These oats are substantial enough to stand alone, but they pair beautifully with a side of fresh fruit, a hard-boiled egg for extra protein, or a small green smoothie. For brunch spreads, I set them out alongside a fruit platter and some bacon or sausage for the savory lovers.
Storage Instructions : Store leftover overnight oats in an airtight container in the refrigerator for up to 5 days. Do not freeze them — the texture becomes watery and unappealing after thawing. If you’re meal-prepping for the week, portion them into individual jars and grab one each morning. Just know that by day 4 or 5, they’ll be quite thick and you’ll need to stir in a splash of milk.
Flavor Development : These oats actually taste better on day 2. The flavors meld together overnight, and the banana sweetness becomes more pronounced. If you’re hosting, making them two days ahead is actually ideal. Just don’t tell your guests — let them think you woke up early to prepare everything.
Nutritional Information & Benefits
These creamy peanut butter banana overnight oats aren’t just delicious — they’re packed with nutrition that will keep your guests energized and satisfied.
Estimated Nutrition Per Serving (based on 4 servings):
- Calories: 385
- Protein: 16g
- Carbohydrates: 52g
- Fiber: 8g
- Sugar: 22g (natural sugars from banana and maple syrup)
- Fat: 14g
- Iron: 2.5mg
- Calcium: 180mg
Health Benefits : The rolled oats provide complex carbohydrates for sustained energy — no mid-morning crash here. Bananas are loaded with potassium, which supports heart health and muscle function. Peanut butter adds healthy fats and protein that keep you full for hours. Greek yogurt contributes probiotics for gut health and extra protein. Chia seeds are tiny nutrition powerhouses packed with omega-3 fatty acids, fiber, and antioxidants.
Dietary Considerations : This recipe is vegetarian as written. It can be made vegan with simple substitutions (see variations section). It’s naturally nut-free if you use sunflower seed butter. For gluten-free needs, ensure your oats are certified gluten-free. This recipe is relatively low in added sugar — most of the sweetness comes from the bananas and a modest amount of maple syrup.
I’m not a nutritionist, but I’ve been making this recipe for years and I feel good about serving it to my family and friends. It’s real food made from real ingredients — nothing processed or questionable. That’s a win in my book.
Conclusion
Here’s the thing about creamy peanut butter banana overnight oats — they’re proof that you don’t need to spend hours in the kitchen to serve something memorable. This recipe has saved me more times than I can count, from that panicked brunch club morning to lazy Sunday breakfasts with family. It’s the recipe I turn to when I want to look like I have my life together, even when I absolutely do not.
I love this recipe because it’s forgiving. Forget the chia seeds? No problem. Use the wrong kind of milk? It’ll still work. The banana and peanut butter do all the heavy lifting, covering up any little mistakes you might make. That’s the kind of recipe worth keeping in your back pocket — especially when you’re hosting and the pressure is on.
So go ahead and give these oats a try. Customize them with your favorite toppings, double the batch for your next gathering, or just make them for yourself on a busy Monday morning. However you serve them, I promise they’ll deliver. And when someone asks for the recipe — and they will — just smile and tell them it’s no big deal. Let them think you’re that effortlessly talented in the kitchen. Your secret is safe with me.
Have you tried these creamy peanut butter banana overnight oats? I’d love to hear how they turned out! Drop a comment below with your favorite topping combination, or tag me in your photos on social media. Happy hosting, friends!
Frequently Asked Questions
Can I use quick oats instead of rolled oats?
You can, but I don’t recommend it. Quick oats are cut smaller and processed more, which means they absorb liquid faster and turn into a mushy, gluey texture. Rolled oats hold their shape better and give you that creamy but substantial texture. If quick oats are all you have, reduce the milk by about ¼ cup and only refrigerate for 4-6 hours instead of overnight.
How do I make these oats less sweet?
Easy — just reduce or omit the maple syrup. The bananas and peanut butter provide natural sweetness, so you might not miss it. Start with 1 tablespoon of maple syrup instead of 3, and taste the mixture before refrigerating. You can always add more sweetness later with toppings like honey or extra banana slices.
Can I make these without yogurt?
Absolutely. The yogurt adds creaminess and protein, but you can substitute it with an equal amount of milk or a dairy-free alternative like coconut cream. Without yogurt, the oats will be slightly less thick and tangy, but still delicious. If you’re skipping the yogurt, add an extra tablespoon of chia seeds to help with thickening.
Why did my overnight oats turn out watery?
This usually happens for one of three reasons: you used too much liquid, you didn’t use enough chia seeds, or you didn’t let them sit long enough. The oats and chia seeds need at least 6 hours to absorb the liquid properly. If they’re still watery after 8 hours, stir in an extra tablespoon of chia seeds and let them sit for another hour. If you’re in a rush, you can also stir in a spoonful of Greek yogurt to thicken them up.
Can I heat up overnight oats?
Yes, but do it gently. Microwave individual portions for 30-45 seconds, stirring halfway through. Don’t nuke them for a full minute — the texture can become gummy and unappetizing. You can also warm them on the stovetop over medium-low heat, stirring constantly, for about 2-3 minutes. Add a splash of milk if they get too thick during heating.
Pin This Recipe!
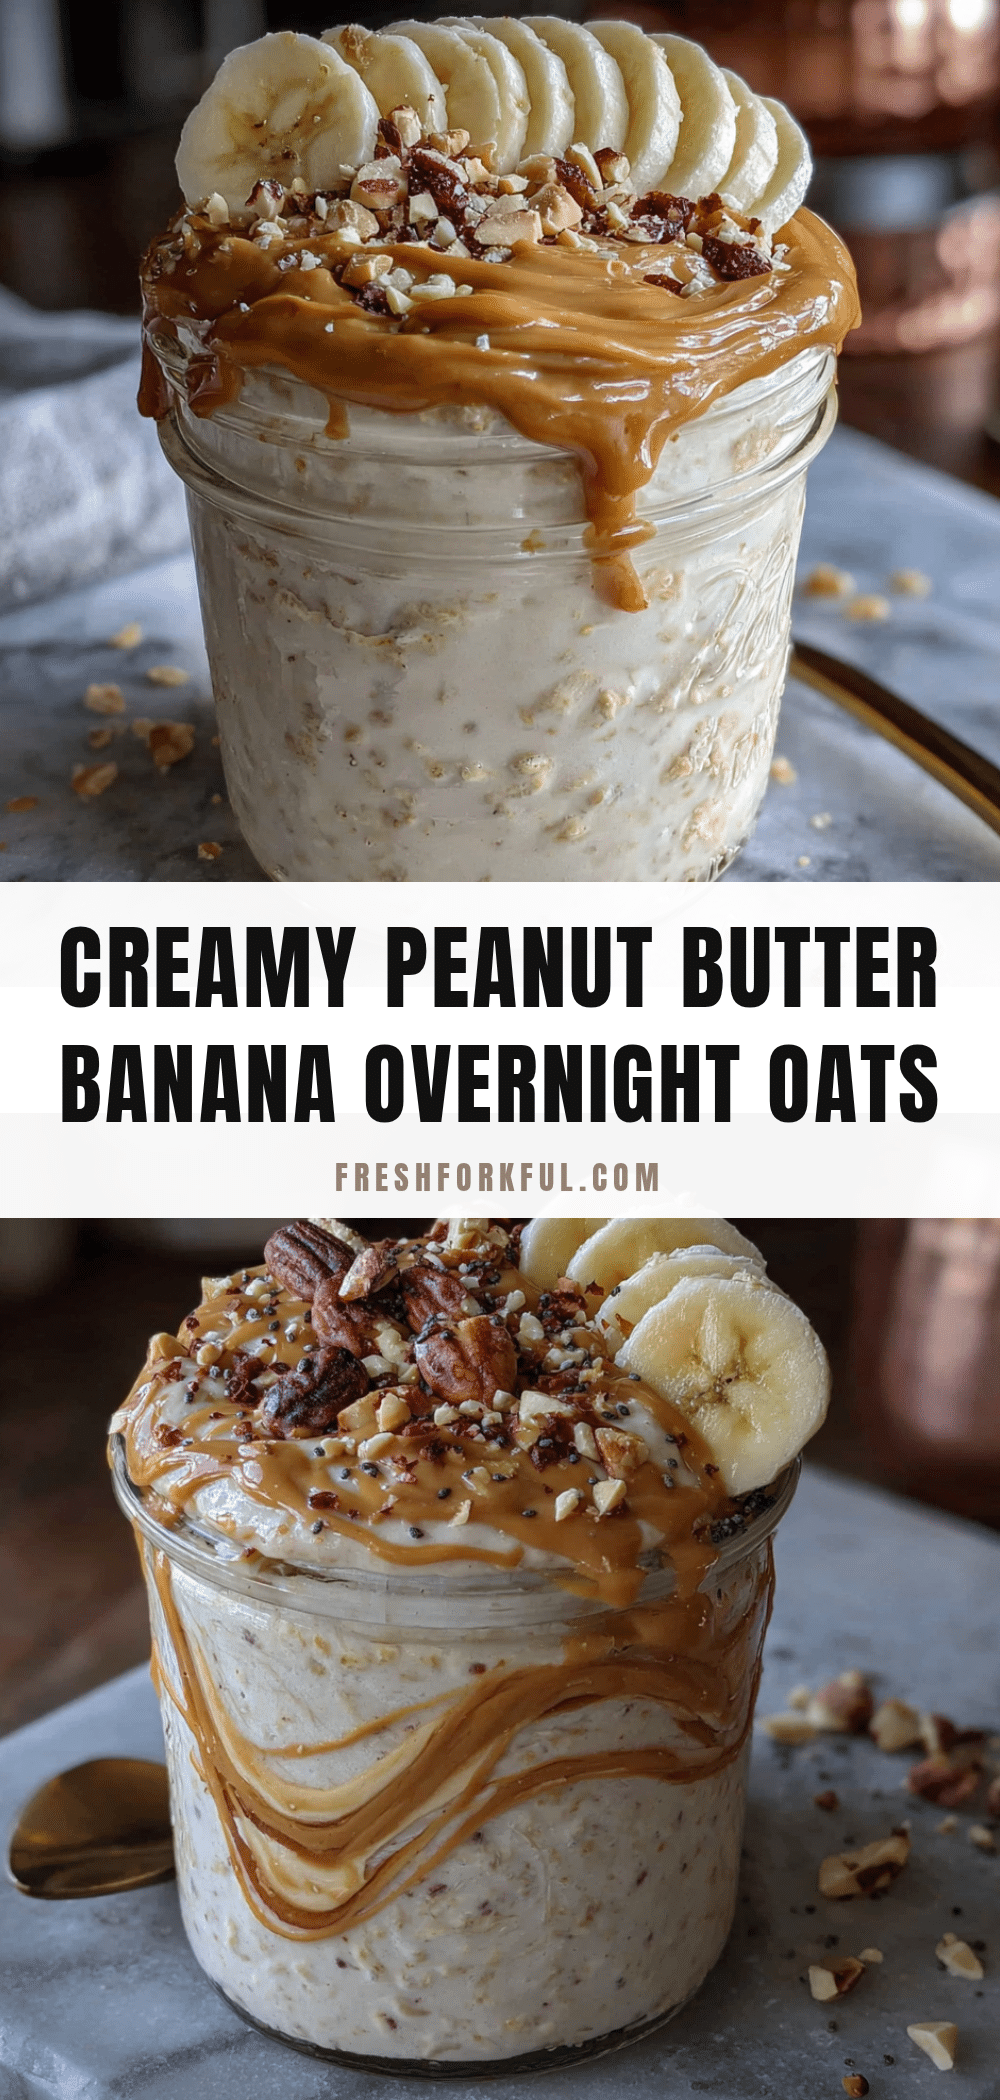
Creamy Peanut Butter Banana Overnight Oats: Easy Best Breakfast
These creamy peanut butter banana overnight oats are a no-cook, make-ahead breakfast that’s perfect for hosting or busy mornings. With simple pantry ingredients and a pudding-like texture, they’re a crowd-pleasing favorite that saves you time without sacrificing flavor.
- Prep Time: 15 minutes
- Cook Time: 0 minutes
- Total Time: 6 hours 15 minutes (includes overnight refrigeration)
- Yield: 4 servings 1x
- Category: Breakfast
- Cuisine: American
Ingredients
- 2 cups (180g) rolled oats
- 2 cups (480ml) milk (whole, oat, or almond)
- 1 cup (240g) plain Greek yogurt
- 2 tablespoons (20g) chia seeds
- 3 tablespoons (60ml) pure maple syrup
- 1 teaspoon (5ml) vanilla extract
- A pinch of salt
- 2 large ripe bananas, mashed (about 1 cup or 240g)
- ½ cup (130g) creamy peanut butter
- Extra sliced bananas for topping
- Drizzle of peanut butter for topping
- Optional toppings: chopped peanuts, dark chocolate chips, cinnamon, whipped cream
Instructions
- Mash the bananas in a large mixing bowl until mostly smooth with a few small lumps.
- Add milk, Greek yogurt, maple syrup, and vanilla extract to the mashed bananas. Whisk until smooth.
- Add peanut butter and whisk vigorously until fully incorporated. If needed, microwave peanut butter for 15 seconds first.
- Stir in rolled oats, chia seeds, and a pinch of salt until evenly distributed. Oats should be fully submerged.
- Transfer mixture to a container with a lid or divide among individual jars. Smooth the top.
- Cover tightly and refrigerate for at least 6 hours, ideally 8-12 hours.
- Before serving, stir the oats. If too thick, add a splash of milk. Top with sliced bananas, a drizzle of warm peanut butter, and optional toppings.
Notes
Use ripe, brown-spotted bananas for best sweetness and texture. Rolled oats are preferred over quick oats. Chia seeds are optional but help thicken. For a vegan version, use plant-based milk and yogurt. Oats are best within 2-3 days; stir in a splash of milk if they thicken too much.
Nutrition
- Serving Size: 1 serving (about 1 c
- Calories: 385
- Sugar: 22
- Sodium: 180
- Fat: 14
- Saturated Fat: 3
- Carbohydrates: 52
- Fiber: 8
- Protein: 16
Keywords: overnight oats, peanut butter, banana, no-cook breakfast, make-ahead breakfast, healthy breakfast, creamy oats


