Love this? Save it for later!
Share the inspiration with your friends
My neighbor, an older woman named Carol, watched me one October afternoon as I stood in her driveway, staring at the pile of acorn squash she’d left out with a handwritten sign that said “Free – please take.” I was trying to figure out how many I could carry without dropping my coffee. She didn’t say anything at first. Then she just walked over, picked up three of the biggest ones, and handed them to me with a little shrug. “They’re good for soup,” she said. “But don’t tell my husband I gave them away. He grows too many.”
That was three years ago, and honestly, I’ve been making some version of this soup every fall since. That first batch was a disaster—I forgot to salt it, and the texture was more like baby food than anything you’d serve to company. But Carol’s squash deserved a second chance. So I kept tweaking, kept tasting, and somewhere along the way, I figured out that brown butter was the missing piece. It adds this nutty, almost caramel-like warmth that makes the squash taste richer than it has any right to be.
This creamy acorn squash soup with brown butter is the result of those experiments. It’s the kind of recipe that feels fancy enough for a dinner party but simple enough for a Tuesday night when you just want something comforting. Maybe you’ve been there—standing over a pot of soup, wondering why it doesn’t taste as good as you hoped. I promise this one delivers. Let me tell you how it came together and why it’s become my go-to fall meal.
Why You’ll Love This Recipe
This isn’t just another squash soup recipe that leaves you feeling underwhelmed. I’ve tested this one a dozen times, tweaked the ratios, and even burned a batch of butter (twice) to get the timing right. What I landed on is something special.
- Quick & Easy: Comes together in under 30 minutes, perfect for busy weeknights or last-minute dinner plans. No roasting the squash for an hour first—we’re using a smart shortcut that saves time without sacrificing flavor.
- Simple Ingredients: You likely have most of this in your kitchen already. Acorn squash, onion, garlic, broth, butter, and a few pantry staples. No fancy grocery trips required.
- Perfect for Fall Gatherings: Great for Thanksgiving appetizers, cozy dinner parties, or meal prep lunches that actually taste good reheated.
- Crowd-Pleaser: Even my friend who “doesn’t like squash” asked for seconds. The brown butter does something magical here—it converts people.
- Unbelievably Creamy: The texture is silky without a drop of heavy cream. We’re using a clever blending technique that gives you that luxurious mouthfeel without the dairy overload.
What makes this recipe different? It’s the brown butter, honestly. Most squash soup recipes stop at roasted squash and broth, but that nutty, toasty butter takes it from good to “close your eyes after the first bite” territory. The balance of savory, sweet, and nutty is just right—comfort food reimagined as something you can feel good about eating on a regular Tuesday.
What Ingredients You Will Need
This recipe uses simple, wholesome ingredients to deliver bold flavor and satisfying texture without the fuss. Most of these are pantry staples or easy to find at any grocery store.
- 2 medium acorn squash (about 2 pounds total) – Look for squash that feels heavy for its size with firm, unblemished skin. The orange-fleshed varieties are sweeter, but any acorn squash works well here.
- 4 tablespoons unsalted butter – This is the star, so use good quality butter. I prefer Kerrygold or Plugrà for their higher fat content, which browns more evenly. Salted butter works too—just reduce the added salt later.
- 1 medium yellow onion, diced (about 1.5 cups) – Yellow onion gives the best savory base. Sweet onion works in a pinch, but you’ll lose a bit of depth.
- 3 cloves garlic, minced – Fresh garlic is non-negotiable here. The jarred stuff just doesn’t bloom the same way in hot butter.
- 3 cups low-sodium vegetable broth – I use Pacific Foods brand for its clean taste. Chicken broth works if you’re not keeping it vegetarian.
- 1/2 cup unsweetened coconut milk (from a can) – This is my secret for creaminess without dairy. The full-fat version gives the best texture. If you’re not dairy-free, heavy cream or half-and-half works beautifully too.
- 1 tablespoon maple syrup – Just a touch to enhance the squash’s natural sweetness. Honey or brown sugar works as substitutes (use 2 teaspoons if using honey).
- 1/2 teaspoon ground cinnamon – Warm spice that complements the brown butter perfectly. Pumpkin pie spice works too—use 3/4 teaspoon.
- 1/4 teaspoon ground nutmeg – Freshly grated if you have it, but pre-ground is fine. Just be careful—nutmeg can overpower quickly.
- 1/2 teaspoon salt (plus more to taste) – I use fine sea salt. Start with less and adjust at the end.
- 1/4 teaspoon black pepper – Freshly ground is best. It adds a subtle warmth that balances the sweetness.
- Optional garnishes: Toasted pumpkin seeds, a drizzle of brown butter, fresh thyme leaves, or a swirl of coconut cream. These aren’t just for looks—they add texture and visual appeal.
Equipment Needed
You don’t need a fancy kitchen to make this soup, but a few tools make the process smoother.
- Large soup pot or Dutch oven – A 5-quart pot is ideal. I use my trusty Le Creuset Dutch oven, but any heavy-bottomed pot works. The key is even heat distribution to prevent the butter from burning.
- Chef’s knife and cutting board – A sharp knife is crucial for cutting through acorn squash. Those things are tough! A dull knife is dangerous here.
- Vegetable peeler – Not strictly necessary since we’re cooking the squash with skin on, but helpful if you prefer peeled squash. I leave the skin on—it adds fiber and blends smoothly.
- Immersion blender or regular blender – An immersion blender is easier (less cleanup), but a countertop blender works too. Just let the soup cool slightly before blending hot liquid in a regular blender, and work in batches.
- Small skillet – For toasting pumpkin seeds or extra garnishes. Not essential, but nice if you’re going all out.
- Measuring cups and spoons – Precision matters less here than in baking, but having them handy helps.
If you don’t have an immersion blender, you can use a potato masher for a chunkier texture. It won’t be as silky, but it’s still delicious. Budget option: a regular blender works perfectly—just be careful with the hot liquid.
Preparation Method
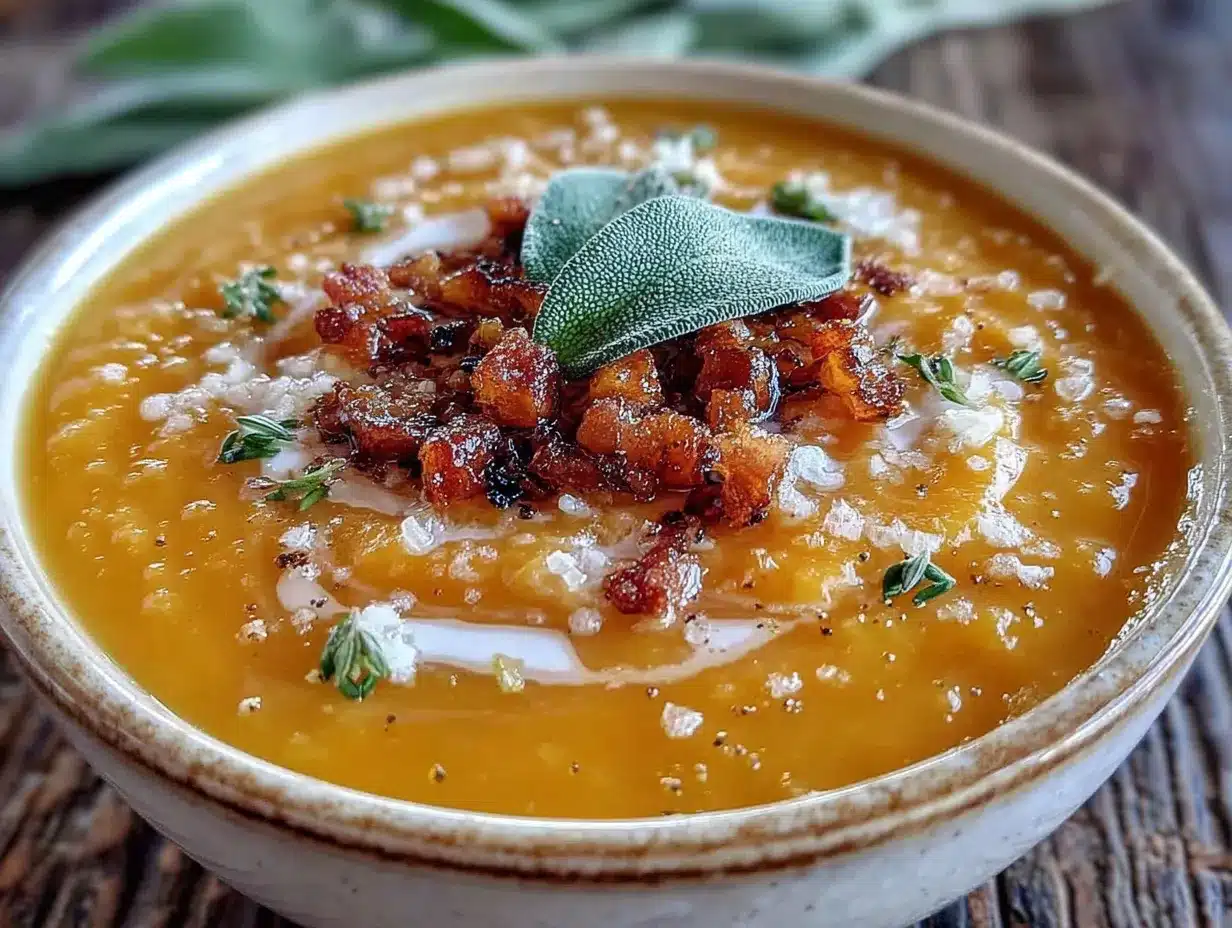
Let’s make this soup. I’ve broken it down into clear steps, and I’ll include the little tricks I’ve learned from my many batches.
- Prep the squash (5 minutes): Cut each acorn squash in half from stem to tip. Scoop out the seeds and stringy pulp with a spoon—save the seeds if you want to toast them later. Cut each half into 1-inch chunks. No need to peel; the skin softens during cooking and blends right in. If you see any tough spots, just trim them off.
- Start the brown butter (5 minutes): In your large pot, melt the butter over medium heat. Swirl the pot occasionally as it melts. The butter will foam up, then subside, and you’ll see brown specks forming at the bottom. This takes about 3-4 minutes. Watch closely—it goes from brown to burnt fast. When it smells nutty and looks amber-colored, immediately pour it into a small heat-safe bowl, leaving about 1 tablespoon in the pot. Set the reserved brown butter aside for garnishing later.
- Sauté the aromatics (5 minutes): Return the pot to medium heat with that remaining tablespoon of brown butter. Add the diced onion and cook for 3-4 minutes until translucent and starting to brown at the edges. Add the minced garlic and cook for another 30 seconds until fragrant. Your kitchen should smell amazing right about now.
- Cook the squash (10 minutes): Add the squash chunks to the pot along with the cinnamon, nutmeg, salt, and pepper. Stir everything together so the spices coat the squash. Cook for 2 minutes, stirring occasionally. This bloom step wakes up the spices and adds depth.
- Simmer the soup (12-15 minutes): Pour in the vegetable broth and bring to a boil. Reduce heat to medium-low, cover, and let it simmer for 12-15 minutes. The squash should be fork-tender—easily pierced with a knife. If your chunks are larger, it might take a few minutes longer. Don’t rush this; undercooked squash won’t blend smoothly.
- Blend until silky (3 minutes): Remove the pot from heat. If using an immersion blender, blend directly in the pot until completely smooth. If using a regular blender, let the soup cool for 5 minutes first, then blend in batches, filling the blender no more than halfway. Always vent the lid slightly to release steam. Blend until velvety smooth—about 60 seconds per batch.
- Finish with creaminess (2 minutes): Stir in the coconut milk and maple syrup. Taste and adjust seasoning—you might want more salt, a pinch more cinnamon, or an extra drizzle of maple syrup. The soup should be rich, slightly sweet, and deeply savory.
- Serve and garnish (2 minutes): Ladle the soup into bowls. Drizzle each serving with the reserved brown butter (reheat it briefly if it solidified). Top with toasted pumpkin seeds, a few fresh thyme leaves, or a swirl of extra coconut cream. Serve hot.
One thing I learned the hard way: don’t skip the browning step for the butter. I tried rushing once and just melted it, and the soup was fine but… flat. That nutty depth is what makes this recipe sing.
Cooking Tips & Techniques
After making this soup more times than I can count, I’ve collected a few hard-won lessons. Let me share them so you don’t make the same mistakes I did.
Master the brown butter: This is the trickiest part. Use a light-colored pot so you can see the butter change color. Once it starts foaming, stay close. The moment the foam subsides and you see golden-brown specks, pull it off the heat immediately. I burned my first batch because I walked away to chop an onion. Set a timer if you need to—3 minutes on medium heat is usually perfect.
Don’t overcrowd the blender: If using a regular blender, work in small batches and leave the lid slightly ajar to let steam escape. Hot liquid expands, and a sealed blender can explode. I learned this one the scary way—soup on the ceiling is not a good look.
Adjust consistency to your liking: Like a thinner soup? Add an extra 1/2 cup of broth. Prefer it thicker? Let it simmer uncovered for a few extra minutes after blending to reduce. I prefer mine on the thicker side—it feels more satisfying, like a hug in a bowl.
Season gradually: Salt levels can vary based on your broth and butter. Start with 1/2 teaspoon, then taste after blending. You might need another 1/4 teaspoon. Remember, you can always add more, but you can’t take it out.
Toast the squash seeds: While the soup simmers, rinse the seeds from the squash, toss them with a little oil and salt, and toast them in a 350°F oven for 8-10 minutes. They make an incredible garnish and reduce food waste. Plus, they’re crunchy and addictive.
Make it ahead: This soup actually tastes better the next day. The flavors meld overnight. Just reheat gently on the stove, adding a splash of broth or water if it’s too thick.
Variations & Adaptations
This recipe is flexible, and I’ve tried several variations over the years. Here are some of my favorites.
Dairy-Free/Vegan: This version is already dairy-free if you use coconut milk and skip the butter garnish (or use vegan butter for browning). The coconut milk adds richness without any dairy. I’ve served this to dairy-free friends who couldn’t tell the difference.
Spicy Version: Add 1/2 teaspoon of red pepper flakes or a minced jalapeño when you sauté the onion. The heat cuts through the sweetness beautifully. I tried this last fall and it’s become my secret weapon for cold-weather meals.
Roasted Squash Version: For deeper flavor, roast the squash chunks at 400°F for 25 minutes before adding to the pot. This caramelizes the natural sugars and adds smokiness. It takes longer, but the flavor payoff is real. I do this on weekends when I have more time.
Protein Boost: Stir in 1 cup of cooked white beans (cannellini or great northern) before blending. They add protein and fiber without changing the flavor much. My husband didn’t even notice the first time I did this.
Herb Swaps: Replace cinnamon and nutmeg with 1 teaspoon of fresh thyme leaves and 1/2 teaspoon of smoked paprika. This gives the soup a more savory, earthy profile that pairs well with crusty bread.
Different Squash: Butternut or kabocha squash work perfectly here. Each has its own sweetness level—butternut is sweeter, kabocha is starchier. Adjust the maple syrup accordingly.
Serving & Storage Suggestions
This soup is versatile and stores beautifully, which makes it perfect for meal prep.
Serving Temperature: Serve hot, straight from the pot. I like to warm the bowls first by filling them with hot water for a minute, then drying them—it keeps the soup hot longer.
Presentation: For a pretty presentation, swirl a spoonful of brown butter on top in a circular pattern. Add a sprinkle of toasted pumpkin seeds, a few fresh thyme leaves, and a crack of black pepper. The contrast of dark green seeds against the orange soup is gorgeous.
Complementary Dishes: Pair with crusty sourdough bread, a simple arugula salad with lemon vinaigrette, or roasted Brussels sprouts. For a heartier meal, serve alongside a grilled cheese sandwich—the classic combo works wonders.
Storage: Let the soup cool completely, then transfer to an airtight container. It keeps in the refrigerator for up to 5 days. The flavors actually deepen after a day or two.
Freezing: This soup freezes beautifully for up to 3 months. Portion it into freezer-safe bags or containers, leaving an inch of headspace for expansion. Thaw overnight in the refrigerator before reheating.
Reheating: Reheat gently on the stovetop over medium-low heat, stirring occasionally. Add a splash of broth or water if it’s too thick. You can also microwave individual portions in 30-second bursts, stirring between each. Avoid boiling, as it can separate the coconut milk.
Flavor Development: Like many soups, this one tastes even better the next day. The brown butter flavor mellows and blends with the squash, creating a more harmonious taste. I often make it a day ahead for dinner parties.
Nutritional Information & Benefits
This soup is surprisingly nutritious for how indulgent it tastes. Here’s a rough breakdown per serving (based on 6 servings):
- Calories: Approximately 220
- Fat: 12g (mostly from healthy coconut fat and butter)
- Carbohydrates: 28g
- Fiber: 5g
- Protein: 4g
- Sugar: 8g (naturally occurring from squash)
Health Benefits: Acorn squash is packed with vitamin A (great for eye health), vitamin C (immune support), and potassium (heart health). The fiber content keeps you full and aids digestion. Coconut milk provides medium-chain triglycerides (MCTs) that support brain function. Brown butter adds a touch of healthy fat that helps absorb the fat-soluble vitamins in the squash.
Dietary Considerations: This recipe is naturally gluten-free, dairy-free (if using coconut milk and skipping the butter garnish), and vegetarian. For a vegan version, use vegan butter or olive oil for browning.
Potential Allergens: Contains dairy (butter) unless substituted. Coconut milk is a tree nut—if you have a coconut allergy, substitute with oat milk or almond milk (though the texture will be thinner).
I love that this soup feels like comfort food but is actually good for you. It’s the kind of meal that makes you feel nourished, not weighed down.
Conclusion
This creamy acorn squash soup with brown butter is more than just a recipe—it’s a little piece of fall in a bowl. It started with a neighbor’s generosity and a pile of free squash, and it’s become a tradition I look forward to every year. The brown butter makes it special, the coconut milk makes it creamy, and the whole thing comes together in under 30 minutes. That’s a win in my book.
I’d love for you to try this and make it your own. Maybe add a pinch of cayenne for heat, or swap in butternut squash if that’s what you have. The beauty of soup is that it’s forgiving—you can tweak and adjust until it feels like yours. When you make it, tag me or leave a comment below. I want to hear how it turned out, what you changed, and whether you burned the butter like I did the first time. (No judgment here!)
Thanks for cooking along with me. Now go make some soup—your kitchen deserves to smell this good.
Frequently Asked Questions
Can I use frozen acorn squash instead of fresh?
Yes, you can use frozen cubed acorn squash if fresh isn’t available. Skip the peeling step (frozen is usually pre-peeled) and add it directly to the pot with the broth. Reduce the simmer time by about 5 minutes since frozen squash cooks faster. The texture might be slightly less sweet, so you may want to add an extra teaspoon of maple syrup.
How do I prevent the brown butter from burning?
Watch it like a hawk once it starts foaming. Use medium heat, not high, and swirl the pot constantly. The moment you see golden-brown specks form and smell a nutty aroma, pour it into a separate bowl immediately. The residual heat in the pot can continue cooking it, so transferring it stops the process. If you see black specks, you’ve gone too far—start over.
Can I make this soup without an immersion blender?
Absolutely. A regular countertop blender works great. Just let the soup cool for 5-10 minutes before blending to avoid pressure buildup. Work in batches, filling the blender no more than halfway, and leave the lid slightly ajar to release steam. You can also use a potato masher for a chunkier texture—it won’t be as silky, but it’s still delicious.
What can I use instead of coconut milk?
Heavy cream or half-and-half works beautifully if you’re not dairy-free. For a lighter option, use oat milk or unsweetened almond milk (the soup will be thinner). Cashew cream is another great choice—soak 1/4 cup cashews in hot water for 15 minutes, then blend with 1/4 cup water until smooth. Stir it in at the end for creamy richness without coconut flavor.
How long does this soup last in the fridge?
Stored in an airtight container, this soup keeps for up to 5 days in the refrigerator. The flavors actually improve after a day or two as they meld together. For longer storage, freeze it for up to 3 months. Thaw overnight in the fridge and reheat gently on the stovetop. If the soup separates after thawing, just whisk it back together—it’s totally fine.
Pin This Recipe!
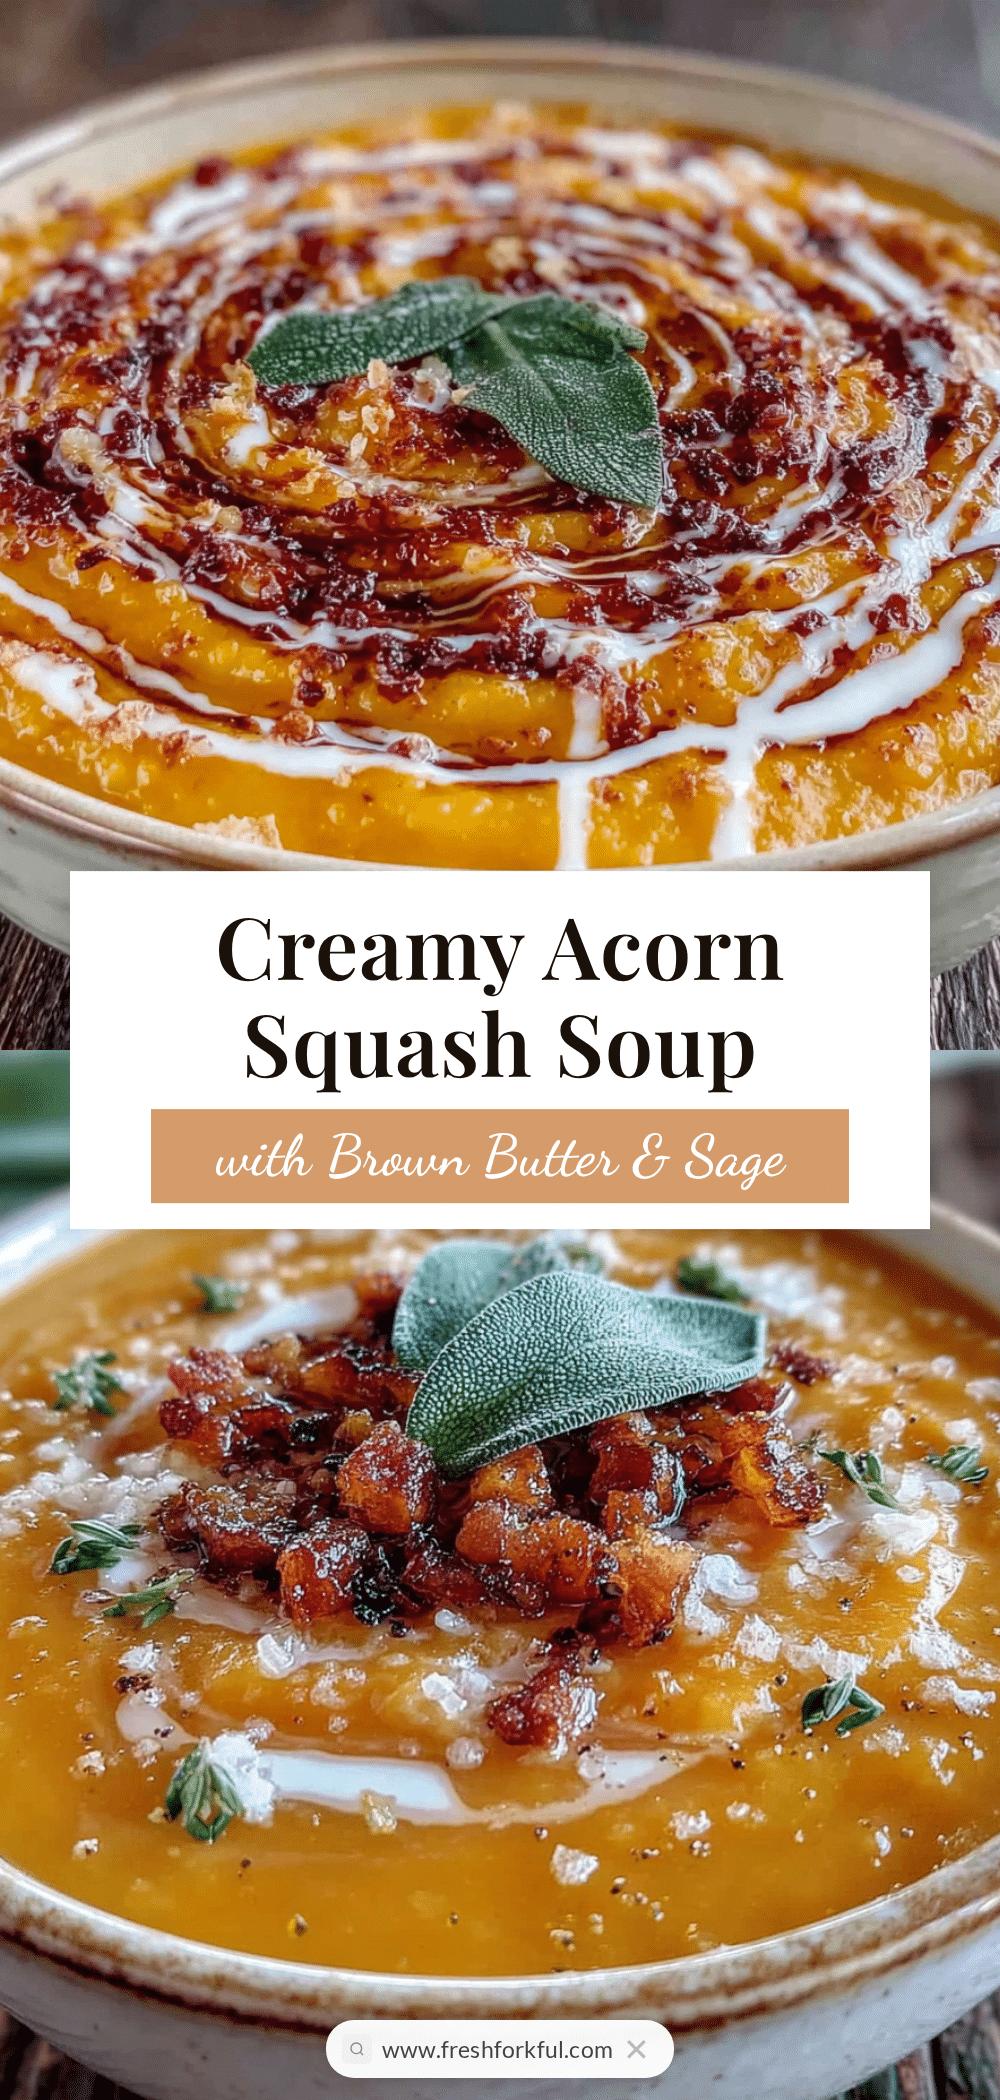
Creamy Acorn Squash Soup with Brown Butter (Easy 30-Min Recipe)

This creamy acorn squash soup with brown butter is the result of those experiments. It’s the kind of recipe that feels fancy enough for a dinner party but simple enough for a Tuesday night when you just want something comforting.
- Prep Time: 15 minutes
- Cook Time: 15 minutes
- Total Time: 30 minutes
- Yield: 6 servings 1x
- Category: Soup
- Cuisine: American
Ingredients
- 2 medium acorn squash (about 2 pounds total)
- 4 tablespoons unsalted butter
- 1 medium yellow onion, diced (about 1.5 cups)
- 3 cloves garlic, minced
- 3 cups low-sodium vegetable broth
- 1/2 cup unsweetened coconut milk (from a can)
- 1 tablespoon maple syrup
- 1/2 teaspoon ground cinnamon
- 1/4 teaspoon ground nutmeg
- 1/2 teaspoon salt (plus more to taste)
- 1/4 teaspoon black pepper
- Optional garnishes: Toasted pumpkin seeds, a drizzle of brown butter, fresh thyme leaves, or a swirl of coconut cream
Instructions
- Prep the squash (5 minutes): Cut each acorn squash in half from stem to tip. Scoop out the seeds and stringy pulp with a spoon—save the seeds if you want to toast them later. Cut each half into 1-inch chunks. No need to peel; the skin softens during cooking and blends right in. If you see any tough spots, just trim them off.
- Start the brown butter (5 minutes): In your large pot, melt the butter over medium heat. Swirl the pot occasionally as it melts. The butter will foam up, then subside, and you’ll see brown specks forming at the bottom. This takes about 3-4 minutes. Watch closely—it goes from brown to burnt fast. When it smells nutty and looks amber-colored, immediately pour it into a small heat-safe bowl, leaving about 1 tablespoon in the pot. Set the reserved brown butter aside for garnishing later.
- Sauté the aromatics (5 minutes): Return the pot to medium heat with that remaining tablespoon of brown butter. Add the diced onion and cook for 3-4 minutes until translucent and starting to brown at the edges. Add the minced garlic and cook for another 30 seconds until fragrant. Your kitchen should smell amazing right about now.
- Cook the squash (10 minutes): Add the squash chunks to the pot along with the cinnamon, nutmeg, salt, and pepper. Stir everything together so the spices coat the squash. Cook for 2 minutes, stirring occasionally. This bloom step wakes up the spices and adds depth.
- Simmer the soup (12-15 minutes): Pour in the vegetable broth and bring to a boil. Reduce heat to medium-low, cover, and let it simmer for 12-15 minutes. The squash should be fork-tender—easily pierced with a knife. If your chunks are larger, it might take a few minutes longer. Don’t rush this; undercooked squash won’t blend smoothly.
- Blend until silky (3 minutes): Remove the pot from heat. If using an immersion blender, blend directly in the pot until completely smooth. If using a regular blender, let the soup cool for 5 minutes first, then blend in batches, filling the blender no more than halfway. Always vent the lid slightly to release steam. Blend until velvety smooth—about 60 seconds per batch.
- Finish with creaminess (2 minutes): Stir in the coconut milk and maple syrup. Taste and adjust seasoning—you might want more salt, a pinch more cinnamon, or an extra drizzle of maple syrup. The soup should be rich, slightly sweet, and deeply savory.
- Serve and garnish (2 minutes): Ladle the soup into bowls. Drizzle each serving with the reserved brown butter (reheat it briefly if it solidified). Top with toasted pumpkin seeds, a few fresh thyme leaves, or a swirl of extra coconut cream. Serve hot.
Notes
Don’t skip the browning step for the butter. Use a light-colored pot to see the butter change color. Once it starts foaming, stay close. The moment the foam subsides and you see golden-brown specks, pull it off the heat immediately. If using a regular blender, work in small batches and leave the lid slightly ajar to let steam escape. This soup tastes even better the next day.
Nutrition
- Serving Size: 1 serving (about 1.5
- Calories: 220
- Sugar: 8
- Sodium: 480
- Fat: 12
- Saturated Fat: 8
- Carbohydrates: 28
- Fiber: 5
- Protein: 4
Keywords: acorn squash soup, brown butter, creamy soup, fall soup, easy soup, 30-minute meal, vegetarian, gluten-free


