Love this? Save it for later!
Share the inspiration with your friends
Mark wasn’t trying to impress anyone. I’d stopped by his place last November to drop off a chainsaw I’d borrowed, and the smell hit me before I even got through the screen door. That deep, smoky, almost hypnotic scent of something simmering for hours. He just nodded toward the stove and said, “Chili’s almost ready. Grab a bowl.”
Now, Mark is a guy who fixes his own truck and grills in a blizzard. He’s not one for fussing over recipes. So when I took that first bite of his chili—rich, beefy, with a dark complexity that made my eyes go wide—I was genuinely thrown. “What’s in this?” I asked. He shrugged. “Beef, chiles, time. No beans. Real Texas chili.”
Honestly, I’d had beanless chili before and found it a little one-note. But this? This was a different animal. The broth was velvety, almost like a slow-braised sauce, clinging to every shred of tender beef. There was a warmth that built slowly, not a harsh burn, but a cozy, wrap-you-in-a-blanket kind of heat. I ate two bowls standing at his counter, and I wasn’t even sorry.
I asked for the recipe, of course. He kind of mumbled something about “a little of this, a little of that.” Classic Mark. So I spent the next few weeks in my own kitchen, trying to reverse-engineer that bowl of pure comfort. I burned a batch, made one that was way too spicy, and another that was oddly sweet. But eventually, I cracked it. This recipe is the result of that mission—a chili that tastes like it’s been simmering all day (and it can be!) but comes together with a little planning and a lot of love. You know that feeling when you take a spoonful and everything just slows down? That’s this chili. It’s the perfect thing for those chilly nights when all you want is something warm, hearty, and deeply satisfying.
Why You’ll Love This Recipe
Let me tell you why this no-bean Texas chili has become my go-to for cold weather. It’s not just another recipe—it’s the one I’ve tested and tweaked until it was just right. Here’s what makes it special:
- Deep, Layered Flavor: We’re not just dumping in chili powder. We’re toasting dried chiles and building flavor in stages. The result is a chili that tastes complex and restaurant-quality, not like a quick weeknight fix.
- Hearty and Satisfying: Without beans, the beef is the absolute star. You get big, tender chunks of chuck roast that melt in your mouth. It’s pure, unadulterated meatiness.
- Perfect for Chilly Nights: This is the definition of comfort food for cold weather. It warms you from the inside out and fills the house with the most incredible aroma while it simmers.
- Make-Ahead Magic: Like all great chilis, this one tastes even better the next day. The flavors meld and deepen overnight. It’s perfect for meal prep or for making a big batch for a game day crowd.
- Customizable Heat: You control the spice level. Use mild ancho chiles for a gentle warmth, or add a chipotle or two for a smoky kick. It’s your chili, your heat.
This isn’t just another chili recipe you’ll find online. The key is the technique—toasting the dried chiles and blooming the spices in the rendered beef fat. That one step makes all the difference between a good chili and a truly unforgettable one. It’s the kind of meal that makes you close your eyes after the first bite, the kind that makes a cold, rainy night feel like a cozy gift.
What Ingredients You Will Need
This recipe uses a handful of quality ingredients to create something truly special. Most are pantry staples, but a few you might need to seek out at a well-stocked grocery store or a Latin market. Trust me, the hunt is worth it.
- For the Chili Base:
- 3 lbs beef chuck roast, cut into 1-inch cubes: This is our main event. Chuck roast has the perfect amount of marbling for a long, slow simmer. It gets incredibly tender without falling apart into mush. I prefer to buy a whole roast and cube it myself for the best size and texture.
- 2 tablespoons vegetable or avocado oil: For browning the meat. Use an oil with a high smoke point.
- 1 large yellow onion, diced: Provides a savory backbone.
- 6 cloves garlic, minced: Because garlic makes everything better.
- 2 tablespoons tomato paste: Adds depth and a slight sweetness. I like the double-concentrated tube kind for convenience.
- 4 cups beef broth: Use a good quality, low-sodium broth so you can control the salt level. Better Than Bouillon is my go-to for rich flavor.
- 1 (15-ounce) can fire-roasted diced tomatoes: Fire-roasted tomatoes add a subtle smokiness that regular tomatoes just can’t match. Don’t drain them—the liquid is flavor.
- For the Chile & Spice Blend:
- 4 dried ancho chiles: These are dried poblano peppers. They’re mild, sweet, and have a rich, raisin-like flavor that is the soul of Texas chili.
- 2 dried guajillo chiles: These add a slightly brighter, tangy heat. They’re medium in spice level and are essential for a complex flavor profile.
- 1 dried chipotle chile: A smoked, dried jalapeño. This is optional, but it adds that incredible, campfire-like smokiness that I love. Start with one and add more to taste.
- 1 tablespoon ground cumin: A must-have for chili. Toast whole cumin seeds and grind them yourself for an even bigger flavor punch.
- 1 tablespoon smoked paprika: Reinforces the smoky notes from the chiles.
- 1 teaspoon dried oregano: Mexican oregano is preferred, but Mediterranean oregano works fine too. It adds an earthy, slightly floral note.
- 1-2 teaspoons kosher salt, plus more to taste: Season as you go.
- 1 teaspoon black pepper: Freshly ground is best.
- For Thickening & Finishing (Optional but Recommended):
- 1 tablespoon masa harina: This is finely ground corn flour. Whisked with a little water to make a slurry, it’s the traditional way to thicken Texas chili. It adds a subtle corn flavor and a silky texture. If you can’t find it, you can use a little cornstarch.
- Fresh cilantro, chopped: For garnish.
- Lime wedges: A squeeze of fresh lime right before serving brightens all the rich flavors.
- Shredded cheddar cheese, sour cream, diced white onion: Classic toppings, totally optional, but highly recommended.
Equipment Needed
You don’t need a fancy kitchen to make this chili, but having the right tools makes the process smoother. Here’s what you’ll need:
- Large Dutch Oven or Heavy-Bottomed Pot: This is non-negotiable. A 6- to 7-quart Dutch oven (like a Le Creuset or Lodge) is perfect. It holds heat evenly and is great for both browning and slow-simmering. If you don’t have one, a large, heavy stockpot will work, just keep a closer eye on the heat to prevent scorching.
- Sharp Chef’s Knife: For cubing the beef and dicing the onion. A dull knife is a recipe for frustration.
- Cutting Board: One that won’t slide around on you.
- Slotted Spoon or Tongs: For browning the beef in batches and removing the chiles later.
- Small Bowl: For making the masa harina slurry.
- Wooden Spoon or Spatula: For stirring and scraping up the browned bits from the bottom of the pot.
- Measuring Spoons and Cups: For accuracy.
I’ve made this chili in a cheap stockpot before, and while it turned out okay, I had to stir it constantly to stop it from burning on the bottom. Investing in a good Dutch oven made a world of difference. My Lodge one was under $50 and has lasted for years. That’s a solid, budget-friendly option.
Preparation Method
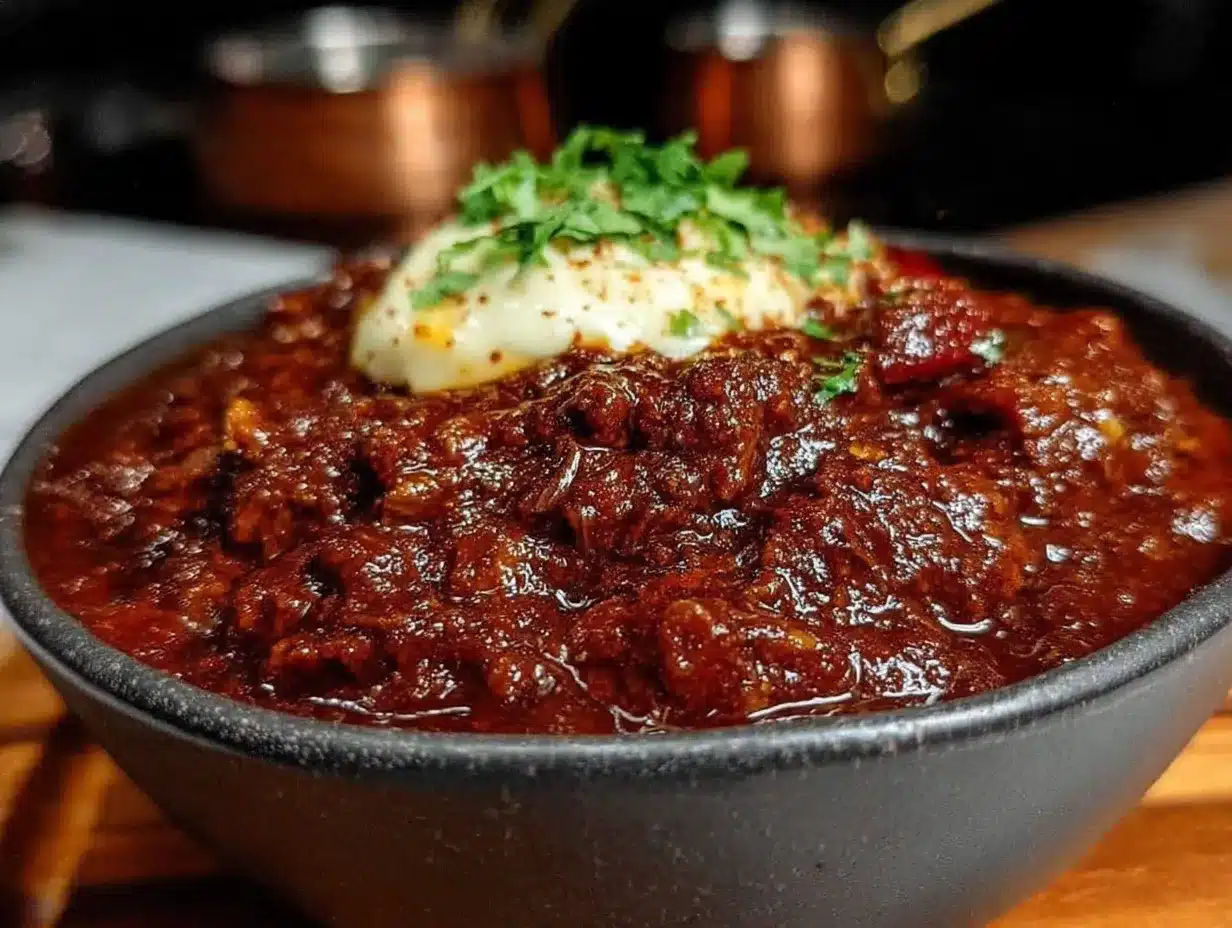
Alright, let’s get cooking. This recipe takes a little time, but most of it is hands-off simmering. The active work is all upfront. Let’s break it down.
- Prepare the Dried Chiles (15 minutes): Start by wiping the dried chiles clean with a damp paper towel. Cut off the stems and shake out the seeds. (I usually leave some seeds in for a little extra heat, but you can discard them all for a milder chili.) Place the cleaned chiles in a dry skillet over medium heat. Toast them for 30-60 seconds per side, until they become fragrant and pliable. Be careful not to burn them, or they’ll turn bitter. Transfer the toasted chiles to a bowl and cover with boiling water. Let them soak for 15-20 minutes, until they are soft and rehydrated.
- Brown the Beef (20 minutes): While the chiles soak, pat the beef cubes dry with paper towels. This is crucial for a good sear. Season them generously with salt and pepper. Heat 1 tablespoon of oil in your Dutch oven over medium-high heat. Working in batches (don’t crowd the pot!), add the beef cubes in a single layer and sear for 3-4 minutes per side, until deeply browned all over. Use a slotted spoon to transfer the browned beef to a plate. Don’t skip this step—browning is where all the deep, savory flavor comes from.
- Sauté the Aromatics (5 minutes): Reduce the heat to medium. Add the remaining 1 tablespoon of oil to the pot. Add the diced onion and cook, stirring occasionally, for 5-7 minutes, until softened and translucent. Add the minced garlic and cook for another minute until fragrant. Stir in the tomato paste and cook for 1-2 minutes, letting it caramelize slightly.
- Make the Chile Paste (10 minutes): While the onions cook, drain the rehydrated chiles (reserve the soaking liquid). Transfer the softened chiles to a blender. Add 1 cup of the reserved soaking liquid and blend until completely smooth. You might need to stop and scrape down the sides a few times.
- Bloom the Spices (2 minutes): Pour the smooth chile paste into the pot with the onions. Add the cumin, smoked paprika, and oregano. Stir everything together and cook for 1-2 minutes. The paste will darken and become incredibly fragrant. This blooming step is key for unlocking the full potential of the spices.
- Simmer the Chili (2-3 hours): Return the browned beef to the pot. Pour in the beef broth and the can of fire-roasted tomatoes (with their juices). Stir everything to combine. Bring the chili to a gentle boil, then reduce the heat to low, cover the pot, and let it simmer. Let it cook for at least 2 hours, or up to 3 hours. The longer it simmers, the more tender the beef gets. Stir it occasionally to make sure nothing is sticking to the bottom.
- Thicken the Chili (5 minutes): After 2 hours, check the beef for tenderness. It should shred easily with a fork. If it’s not quite there, let it simmer for another 30 minutes. Once the beef is perfect, taste the chili and adjust the salt and pepper. If it’s not as thick as you’d like, make a slurry by whisking the masa harina with 2 tablespoons of cold water in a small bowl. Stir the slurry into the chili and let it simmer for another 5-10 minutes, uncovered. You’ll see it thicken up nicely.
- Rest and Serve (15 minutes): Turn off the heat and let the chili rest for 10-15 minutes. This allows the flavors to settle. Ladle the chili into bowls and top with your favorite garnishes—a sprinkle of cilantro, a squeeze of lime, a dollop of sour cream, and some shredded cheddar. Serve it with warm cornbread or saltines for dunking.
Cooking Tips & Techniques
I’ve made my share of chili mistakes so you don’t have to. Here are the lessons I learned the hard way:
- Don’t Rush the Browning: This is the single most important step. If you crowd the pan, the beef will steam instead of sear, and you’ll lose all that beautiful brown crust. Work in batches and be patient. The fond (those browned bits on the bottom of the pot) is pure flavor gold.
- Toast, Don’t Burn: When toasting the dried chiles, keep a close eye on them. They go from fragrant to burnt in seconds. Burnt chiles will make your chili taste acrid and bitter. If you’re nervous, you can skip the toasting and just rehydrate them—it’ll still be good, just slightly less complex.
- Season in Layers: Don’t add all your salt at the beginning. Season the beef before browning, add a pinch when you sauté the onions, and then taste and adjust at the end. The liquid will reduce, so flavors concentrate. You can always add more salt, but you can’t take it away.
- Low and Slow is the Way to Go: A vigorous boil will toughen the beef. A gentle simmer is what breaks down the connective tissue and makes the meat melt-in-your-mouth tender. Keep the heat low and let time do the work.
- Skim the Fat (If You Want): Depending on the fat content of your chuck roast, you might see a layer of rendered fat on the surface after simmering. I usually skim off most of it with a spoon for a cleaner chili, but leaving a little adds richness. It’s your call.
Variations & Adaptations
This recipe is a fantastic base, but don’t be afraid to make it your own. Here are some ways to switch it up:
- Make it Spicier: Add a couple of dried árbol chiles to the soaking mix, or stir in a minced fresh jalapeño or serrano pepper with the onions. You can also add a teaspoon of cayenne pepper with the other spices.
- Make it Milder: Stick with only ancho chiles (they’re the mildest) and skip the chipotle. You can also remove all the seeds from the guajillo chiles.
- Slow Cooker or Instant Pot Version: For the slow cooker, follow steps 1-5 on the stovetop, then transfer everything to the slow cooker and cook on low for 6-8 hours or high for 3-4 hours. For the Instant Pot, use the sauté function for browning and sautéing, then pressure cook on high for 35 minutes with a natural release. Thicken with the masa slurry on the sauté function after releasing the pressure.
- Add Some Veggies: While a purist might scoff, I’ve been known to add a finely diced bell pepper or a grated carrot along with the onion for extra nutrients. They melt into the sauce and you barely notice them.
- Meat Swap: Ground beef or ground bison can be used in a pinch, but the texture will be different. If using ground meat, brown it and break it up well. For a truly decadent chili, add a pound of cubed short rib meat along with the chuck.
Serving & Storage Suggestions
This chili is a meal in itself, but the right accompaniments can make it a feast. Here’s how I like to serve it and keep it for later.
Serve the chili piping hot in deep bowls. A classic topping combination is a pile of shredded sharp cheddar cheese, a cool dollop of sour cream, some diced white onion, and a few slices of fresh jalapeño. A handful of crushed saltine crackers or Fritos on top adds a wonderful salty crunch. For the ultimate cozy meal, serve it with a side of warm, buttery cornbread or a simple grilled cheese sandwich for dipping.
For storage, let the chili cool completely to room temperature. Transfer it to an airtight container and store it in the refrigerator for up to 5 days. The flavor will actually get better after a day or two as the spices meld. This chili also freezes beautifully. Portion it into freezer-safe bags or containers, leaving a little headroom for expansion. It will keep for up to 3 months. To reheat, thaw it overnight in the refrigerator, then warm it gently in a pot on the stovetop over medium-low heat, stirring occasionally. You can also reheat individual portions in the microwave.
Nutritional Information & Benefits
This is a hearty, protein-rich meal that’s surprisingly low in carbs (especially if you skip the cornbread). Here’s a rough estimate per serving (based on 8 servings, without toppings):
- Calories: ~450
- Protein: ~45g
- Fat: ~25g
- Carbohydrates: ~15g
- Fiber: ~4g
The beef is an excellent source of protein, iron, and B vitamins, which are great for energy. The dried chiles are packed with antioxidants like vitamin C and capsaicin, which can help with metabolism and inflammation. By using lean chuck roast and controlling the salt, this can be a relatively healthy comfort food option. I like that I can feel good about serving this to my family—it’s nourishing, not just indulgent.
Conclusion
This no-bean Texas chili is more than just a recipe—it’s an experience. It’s the smell that fills your house on a cold day, the warmth that spreads through you with every spoonful, and the feeling of sharing something truly special with the people you love. It’s the kind of dish that makes you slow down and appreciate the simple things.
I hope you give this recipe a try. Don’t be afraid to tweak the spices to your liking or make it your own. That’s the beauty of chili—it’s endlessly adaptable. Whether you serve it for game day, a casual dinner, or just because it’s Tuesday and you need a hug in a bowl, I promise you won’t be disappointed.
After you make it, I’d love to hear how it turned out! Drop a comment below and let me know what you thought. Did you add any fun toppings? Did you make it extra spicy? Share your chili stories with me. And if you loved it, please share this recipe with a friend who needs a little warmth in their life. Happy cooking, friends!
Frequently Asked Questions
Can I use ground beef instead of chuck roast?
Yes, you can. The texture will be different—more like a classic diner chili—but it will still be delicious. Brown the ground beef well and drain off any excess fat before proceeding with the recipe.
Can I make this chili in advance?
Absolutely! In fact, I highly recommend it. Chili always tastes better the next day. Make it a day ahead, let it cool, and store it in the fridge. Just reheat it gently on the stovetop before serving.
How can I thicken my chili if I don’t have masa harina?
No problem. You can make a slurry with 1 tablespoon of cornstarch and 2 tablespoons of cold water. Stir it in and let the chili simmer for 5 minutes. You can also mash some of the cooked beef against the side of the pot to release its starches and thicken the broth naturally.
What are the best toppings for Texas chili?
The classics are shredded cheddar cheese, sour cream, diced white onion, and fresh jalapeños. A squeeze of lime and fresh cilantro are also fantastic. And don’t forget the saltines or Fritos for crunch!
Is this chili gluten-free?
Yes, this recipe is naturally gluten-free. Just make sure to use a gluten-free beef broth and check the label on your spices to be sure they haven’t been processed with gluten-containing ingredients. The masa harina is made from corn and is gluten-free.
Pin This Recipe!
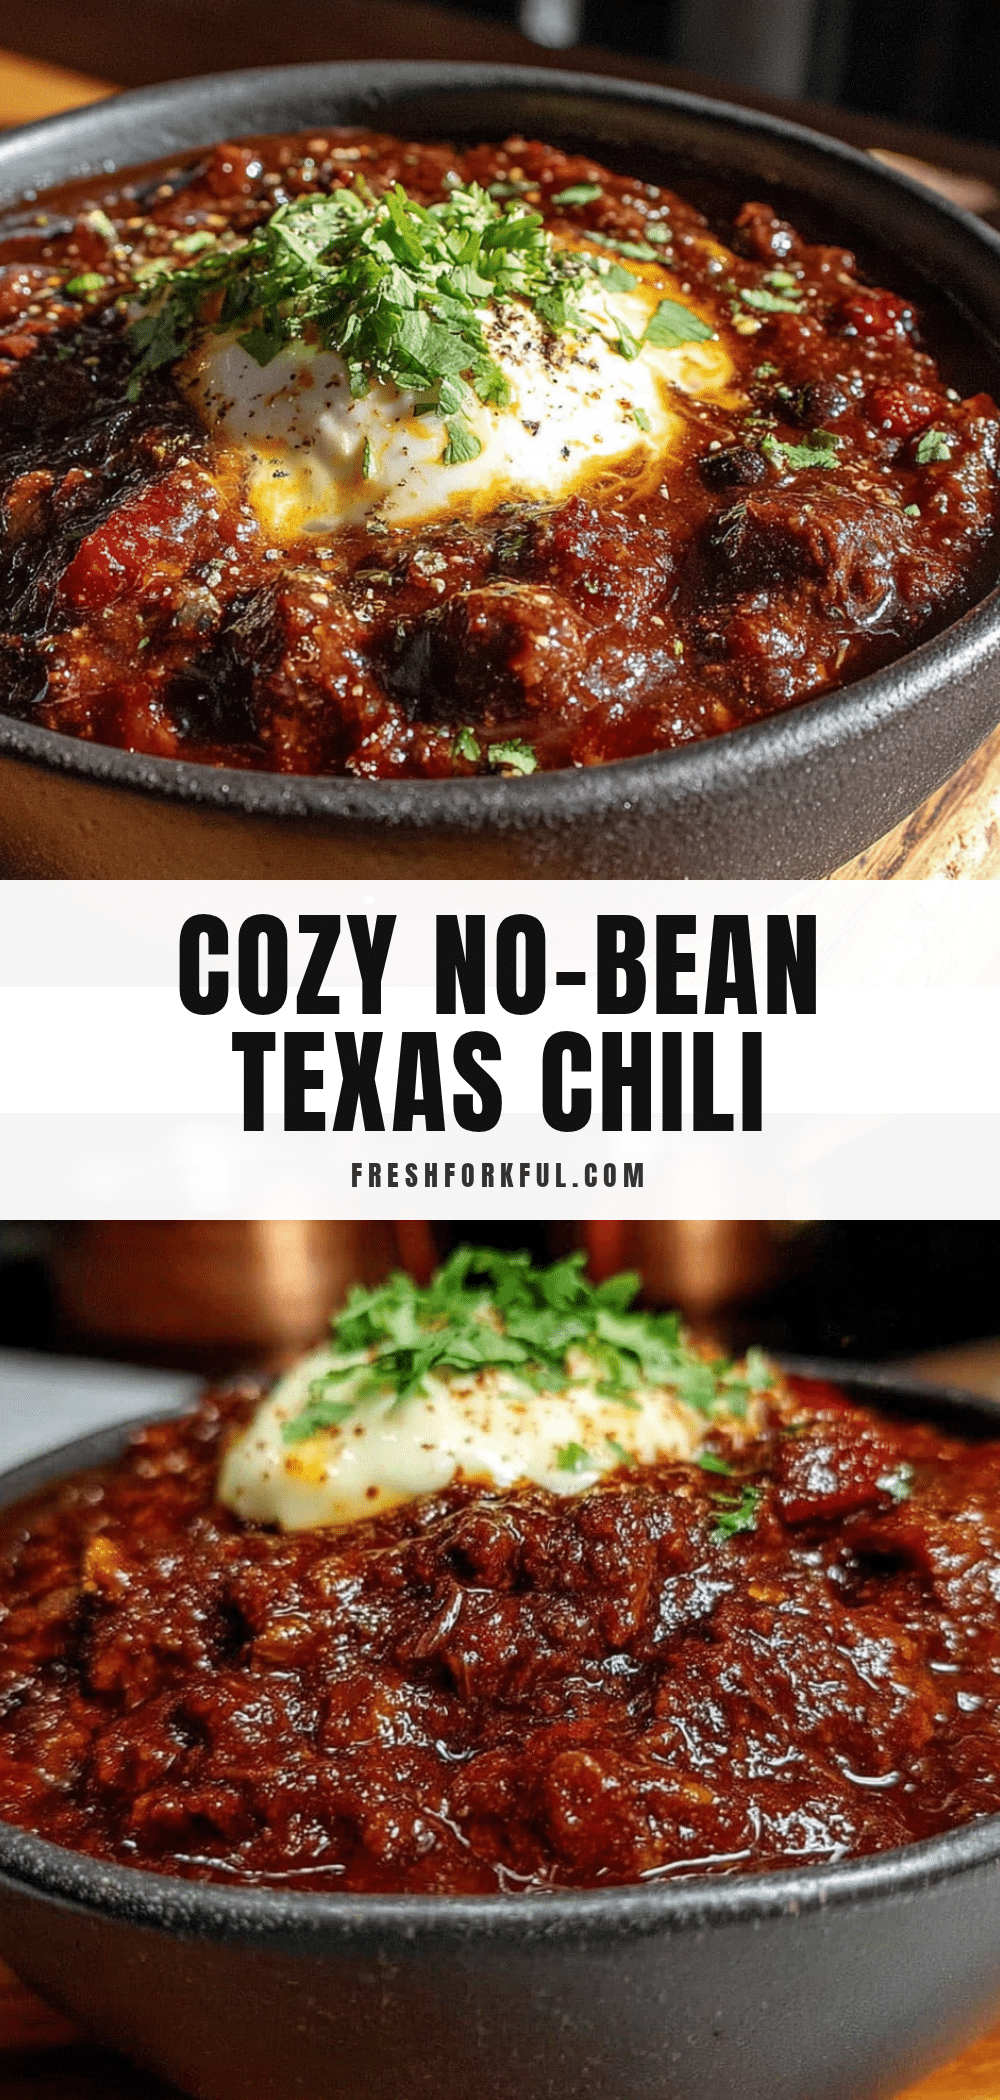
Cozy No-Bean Texas Chili for Chilly Nights

A rich, beefy Texas chili with deep, smoky flavor from toasted dried chiles and tender chunks of chuck roast. Perfect for cold weather, this beanless chili is hearty, satisfying, and even better the next day.
- Prep Time: 30 minutes
- Cook Time: 2 hours 30 minutes
- Total Time: 3 hours
- Yield: 8 servings 1x
- Category: Main Course
- Cuisine: Tex-Mex
Ingredients
- 3 lbs beef chuck roast, cut into 1-inch cubes
- 2 tablespoons vegetable or avocado oil
- 1 large yellow onion, diced
- 6 cloves garlic, minced
- 2 tablespoons tomato paste
- 4 cups beef broth, low-sodium
- 1 (15-ounce) can fire-roasted diced tomatoes, undrained
- 4 dried ancho chiles
- 2 dried guajillo chiles
- 1 dried chipotle chile (optional)
- 1 tablespoon ground cumin
- 1 tablespoon smoked paprika
- 1 teaspoon dried oregano (preferably Mexican)
- 1–2 teaspoons kosher salt, plus more to taste
- 1 teaspoon black pepper, freshly ground
- 1 tablespoon masa harina (optional, for thickening)
- Fresh cilantro, chopped (for garnish)
- Lime wedges (for serving)
- Shredded cheddar cheese, sour cream, diced white onion (optional toppings)
Instructions
- Prepare the dried chiles: Wipe chiles clean, cut off stems, and shake out seeds. Toast in a dry skillet over medium heat for 30-60 seconds per side until fragrant. Transfer to a bowl, cover with boiling water, and soak for 15-20 minutes until soft.
- Brown the beef: Pat beef cubes dry and season with salt and pepper. Heat 1 tablespoon oil in a Dutch oven over medium-high heat. Working in batches, sear beef for 3-4 minutes per side until deeply browned. Transfer to a plate.
- Sauté aromatics: Reduce heat to medium, add remaining 1 tablespoon oil. Cook diced onion for 5-7 minutes until softened. Add garlic and cook 1 minute. Stir in tomato paste and cook 1-2 minutes until caramelized.
- Make chile paste: Drain rehydrated chiles (reserve soaking liquid). Blend chiles with 1 cup reserved soaking liquid until smooth.
- Bloom spices: Pour chile paste into pot with onions. Add cumin, smoked paprika, and oregano. Cook 1-2 minutes until fragrant.
- Simmer chili: Return beef to pot. Add beef broth and fire-roasted tomatoes. Bring to a gentle boil, then reduce heat to low, cover, and simmer for 2-3 hours until beef is tender.
- Thicken chili: If desired, whisk masa harina with 2 tablespoons cold water to make a slurry. Stir into chili and simmer uncovered for 5-10 minutes until thickened. Adjust salt and pepper to taste.
- Rest and serve: Let chili rest 10-15 minutes. Ladle into bowls and garnish with cilantro, lime wedges, and optional toppings.
Notes
For best flavor, toast dried chiles carefully to avoid burning. Season in layers—salt the beef before browning, then adjust at the end. Chili tastes even better the next day. For a milder version, use only ancho chiles and remove all seeds. For a spicier version, add dried árbol chiles or fresh jalapeño.
Nutrition
- Serving Size: 1 bowl (about 1.5 cu
- Calories: 450
- Sugar: 6
- Sodium: 800
- Fat: 25
- Saturated Fat: 9
- Carbohydrates: 15
- Fiber: 4
- Protein: 45
Keywords: Texas chili, no-bean chili, beef chili, chili recipe, comfort food, cold weather recipe, game day chili


