Love this? Save it for later!
Share the inspiration with your friends
I was standing at the checkout counter at my local hardware store—of all places—when the woman behind me, holding a single overripe banana and a bag of walnuts, started talking about brown butter. She was maybe seventy, with flour dusted on her sleeve like she’d just come from a bake-off. “You know,” she said, “the secret to a single banana loaf isn’t more sugar. It’s browning the butter first.” I wasn’t expecting cooking advice from a stranger in the paint aisle, but there I was, holding a new spatula, listening to her describe exactly how to make small-batch banana bread with brown butter. Honestly, I almost didn’t write it down. But something about the way she said “nutty” made me grab a receipt from my pocket.
That afternoon, I went home and tried it. I had just one sad, spotty banana sitting on my counter—the kind you feel guilty about tossing but don’t want to make a full loaf for. I mean, who needs twelve slices of banana bread when it’s just you and a Tuesday night? So I halved everything, browned the butter like she said, and waited. The smell alone convinced me I’d stumbled onto something. That first bite—warm, tender, with this deep, almost caramelized flavor—made me text my mom immediately. “I found THE recipe,” I typed. She wrote back: “From where?” I told her the hardware store. She didn’t believe me.
Maybe you’ve been there—staring at a single overripe banana, wondering if it’s worth the trouble. Let me tell you, it is. This small-batch banana bread with brown butter is the answer to that exact problem. It’s not fussy, it doesn’t require a mixer, and it bakes up in a standard loaf pan you already own. But the real magic is that brown butter. It adds a warmth and depth that regular butter just can’t touch. I’ve made this recipe more times than I can count now, and it never gets old. Honestly, it’s become my go-to for those quiet mornings when I want something special without making a whole production. This recipe stayed with me because it proves you don’t need a crowd to enjoy something homemade.
Why You’ll Love This Recipe
Let me be real with you—I’ve tested a lot of banana bread recipes over the years. Some are too dry. Some are too sweet. Some require a whole stick of butter and a dozen ingredients you don’t have. This small-batch banana bread with brown butter is different. It’s the version I keep coming back to, and here’s why:
- Quick & Easy: From start to finish, this comes together in about 45 minutes. The hands-on time is barely 10 minutes. Perfect for a lazy Sunday morning or a last-minute dessert craving.
- Simple Ingredients: You probably have everything in your kitchen right now. Flour, sugar, an egg, baking soda, salt, and one very ripe banana. The brown butter is the only “extra” step, but I promise it’s worth it.
- Perfect for One or Two: This recipe makes exactly four generous slices. No more staring at a half-eaten loaf going stale on your counter. It’s portion-controlled without feeling skimpy.
- Crowd-Pleaser: I’ve brought this to brunches and watched people fight over the last slice. It’s that good. The nutty brown butter flavor makes it feel fancy, but it’s secretly simple.
- Unbelievably Delicious: The texture is moist and tender, with a slightly crisp edge from the brown butter. The flavor is deep, warm, and just sweet enough. It’s comfort food at its finest.
What makes this recipe different from the rest? It’s the technique. Browning the butter adds a toasty, almost butterscotch note that regular butter can’t replicate. Plus, I’ve fine-tuned the ratios so you get a perfectly moist loaf every time—no dry corners, no soggy middle. I’ve tested this with different bananas, different ovens, and even different pans. It works. Every time.
This isn’t just good banana bread. It’s the kind that makes you close your eyes after the first bite. It’s comfort food reimagined—simpler, faster, but with the same soul-soothing satisfaction. Perfect for impressing a guest without stress, or turning a quiet afternoon into something memorable.
What Ingredients You Will Need
This recipe uses simple, wholesome ingredients to deliver bold flavor and satisfying texture without any fuss. Most of these are pantry staples, so you can whip this up whenever a banana gets too spotty to eat raw.
Here’s what you’ll need:
For the Batter
- 1 very ripe banana, mashed (about ½ cup / 120g) — the riper, the better. Look for brown spots all over. It should feel soft to the touch.
- ¼ cup (½ stick / 57g) unsalted butter — this gets browned, so skip salted butter here to control the salt level.
- ⅓ cup (67g) granulated sugar — regular white sugar works perfectly. You can substitute coconut sugar for a deeper flavor, but the texture will be slightly denser.
- 1 large egg, room temperature — cold eggs can seize the brown butter. Let yours sit out for 15 minutes before starting.
- ½ teaspoon vanilla extract — pure vanilla adds warmth. Imitation works in a pinch.
- ¾ cup (96g) all-purpose flour — spoon and level for accuracy. Scooping directly can pack the flour and make the bread dry.
- ½ teaspoon baking soda — this helps the bread rise. Make sure it’s fresh (check the expiration date).
- ¼ teaspoon salt — fine sea salt or table salt. It balances the sweetness and enhances the brown butter flavor.
- Optional: ¼ cup (30g) chopped walnuts or pecans — for crunch. Toast them lightly for extra flavor.
For Topping (Optional but Recommended)
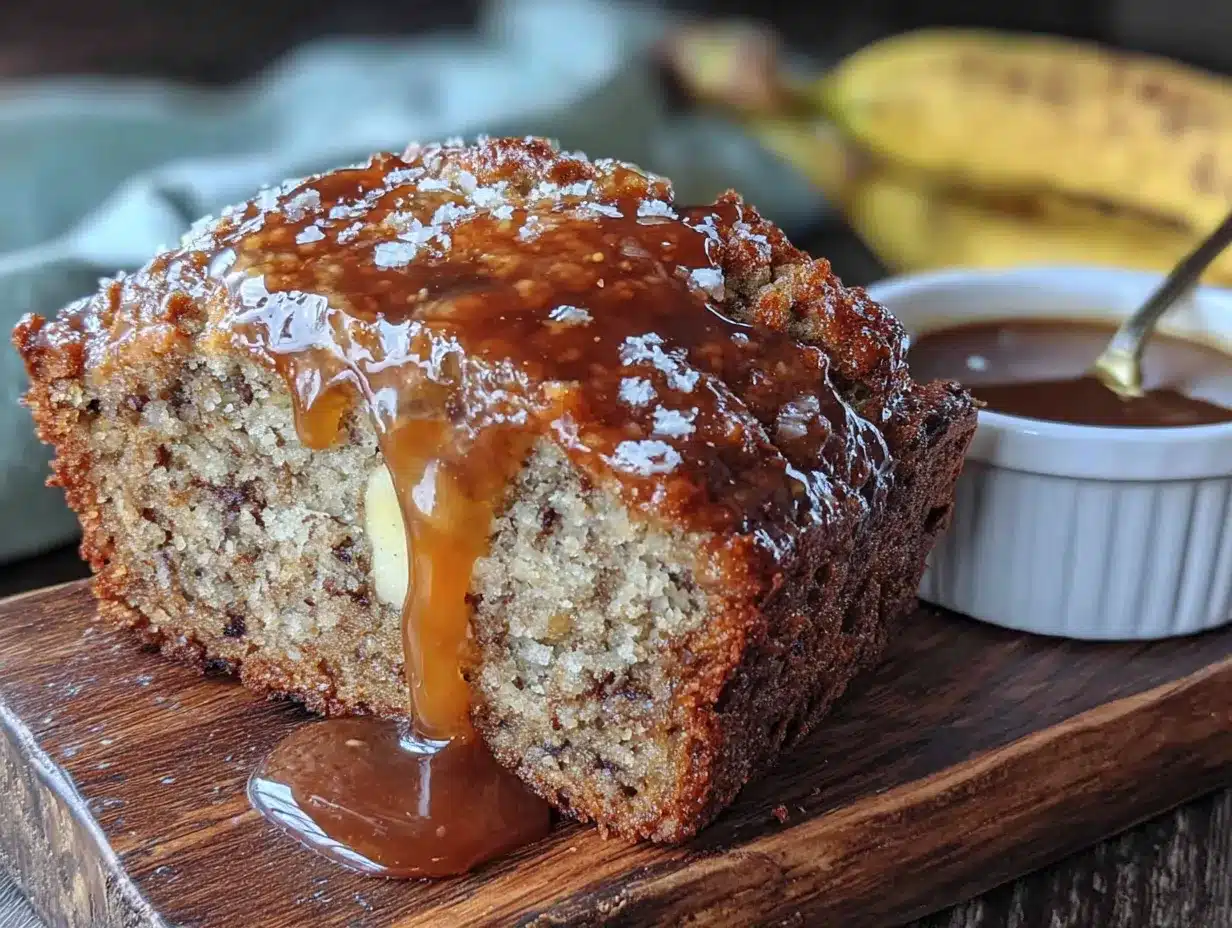
- 1 tablespoon turbinado sugar — this coarse sugar adds a lovely crunchy top. Regular granulated sugar works too, but won’t give the same crackle.
- A pinch of flaky sea salt — trust me on this. The saltiness against the sweet, nutty bread is incredible.
Ingredient Tips: I recommend using King Arthur Flour for consistent results—their all-purpose flour has a reliable protein content. For the butter, I love Kerrygold for browning because it has a lower water content, which means it browns faster and more evenly. If you only have salted butter, just reduce the added salt to a pinch.
Substitution Guidance: Need this dairy-free? Use vegan butter for browning—just watch it closely because it can burn faster. For a gluten-free version, swap the all-purpose flour with a 1:1 gluten-free baking blend that contains xanthan gum. The texture will be slightly more crumbly but still delicious. If you don’t have an egg, use a flax egg (1 tablespoon ground flaxseed mixed with 3 tablespoons water, let sit for 5 minutes).
Equipment Needed
You don’t need a fancy kitchen to make this small-batch banana bread. Here’s what you’ll need:
- A small saucepan — for browning the butter. Light-colored pans are best because you can see the butter change color.
- A mixing bowl — medium-sized. I use a glass bowl, but any bowl works.
- A whisk or fork — for mixing the batter. No electric mixer required.
- A rubber spatula — for scraping every last bit of brown butter from the pan. Trust me, you want all of it.
- A 8.5 x 4.5-inch loaf pan — this is the standard small loaf pan size. If you only have a 9×5-inch pan, the bread will be slightly shorter and bake faster. Check it at 35 minutes.
- Parchment paper — for easy removal. You can also grease the pan with butter or cooking spray.
- A cooling rack — so the bottom doesn’t get soggy. If you don’t have one, let it cool in the pan for 5 minutes, then transfer to a plate.
Budget-Friendly Alternatives: No loaf pan? You can bake this in a 6-inch cast iron skillet or even a small cake pan. The baking time will vary—start checking at 30 minutes. I’ve also used a disposable aluminum loaf pan in a pinch, and it worked perfectly. Just place it on a baking sheet for stability.
Personal Note: I used to skip the parchment paper and just grease the pan. Then one loaf stuck so badly I had to eat it with a spoon. Now I always line the pan with parchment, leaving a little overhang on two sides. It makes lifting the bread out so much easier.
Preparation Method
Let me walk you through this step by step. I’ve made this recipe dozens of times, so I’ll share all the little tricks I’ve picked up along the way.
- Preheat your oven to 350°F (175°C). Position the rack in the center. While it heats, line your loaf pan with parchment paper, leaving a 2-inch overhang on the long sides. This will help you lift the bread out later.
- Brown the butter. Place the ¼ cup (57g) unsalted butter in a small saucepan over medium heat. Let it melt completely, then swirl the pan occasionally. After about 3-4 minutes, the butter will start to foam and crackle. Watch closely—it will go from golden to amber quickly. You’ll see brown specks forming at the bottom, and it will smell nutty and toasty. Once it reaches a deep amber color (like the color of a penny), immediately remove it from the heat. Pour it into a heat-safe bowl to stop the cooking process. Let it cool for 5 minutes. Don’t walk away during this step—brown butter can burn in seconds.
- Mash the banana. In your mixing bowl, mash the very ripe banana with a fork until smooth. A few small lumps are fine—they add texture. You should have about ½ cup (120g) of mashed banana. If your banana is under-ripe, microwave it for 15 seconds to soften it up.
- Combine wet ingredients. Add the granulated sugar, room-temperature egg, and vanilla extract to the mashed banana. Whisk until smooth and well combined. The mixture should look pale and slightly thickened. Make sure your brown butter has cooled slightly—if it’s too hot, it will cook the egg.
- Add the brown butter. Pour the cooled brown butter into the wet mixture. Whisk vigorously until fully incorporated. You’ll notice the batter becoming glossy and fragrant. Scrape the sides of the bowl with your spatula to get every bit of that browned milk solids.
- Mix dry ingredients separately. In a small bowl, whisk together the all-purpose flour, baking soda, and salt. This ensures the baking soda is evenly distributed. Skipping this step can result in pockets of baking soda in your bread—trust me, I learned the hard way.
- Combine wet and dry. Add the dry ingredients to the wet mixture. Fold gently with your rubber spatula until just combined. A few streaks of flour are okay—overmixing will make the bread tough. If you’re adding nuts, fold them in now.
- Pour into the pan. Scrape the batter into your prepared loaf pan. Spread it evenly with your spatula. The batter will be thick and slightly shaggy—that’s normal.
- Add the topping. Sprinkle the turbinado sugar evenly over the top, followed by a pinch of flaky sea salt. This creates that irresistible crunchy crust.
- Bake for 35-40 minutes. Place the pan in the preheated oven. Bake until the top is golden brown and a toothpick inserted into the center comes out clean or with a few moist crumbs. Start checking at 35 minutes. Every oven runs differently—mine takes exactly 38 minutes.
- Cool in the pan. Let the bread cool in the pan for 10 minutes. This allows it to set and makes slicing easier. Then lift it out using the parchment overhang and transfer to a cooling rack.
- Slice and enjoy. Let it cool for at least another 10 minutes before slicing. The bread will continue to set as it cools. For the best texture, serve it slightly warm with a pat of butter or a drizzle of honey.
Sensory Cues: When the brown butter is ready, you’ll see tiny brown specks floating in the liquid and smell a warm, nutty aroma. The batter should be thick but scoopable—like a thick muffin batter. When the bread is done, the top will be a deep golden brown and the edges will pull away slightly from the pan. The kitchen will smell like a bakery.
Cooking Tips & Techniques
I’ve made every mistake in the book with banana bread, so you don’t have to. Here are my best tips for nailing this small-batch version every time.
Don’t rush the brown butter. This is the most important step. Use a light-colored pan so you can see the color change. Swirl the pan constantly once the butter starts foaming. The moment it turns amber, pull it off the heat. If it looks too dark, it probably is—burnt brown butter tastes bitter. I once got distracted by a phone call and ended up with black butter. The bread was sad and smoky. Learn from me.
Room temperature ingredients matter. Cold egg can seize the brown butter, creating a greasy batter. Let your egg sit out for 15 minutes, or place it in a bowl of warm water for 5 minutes. Same goes for the banana—a cold banana won’t mash as smoothly.
Measure flour correctly. Spoon the flour into your measuring cup, then level it off with a knife. Scooping directly from the bag can add up to 25% more flour, resulting in dry, crumbly bread. I used to scoop and wondered why my bread was always dry. Now I spoon and level, and it’s perfect every time.
Don’t overmix the batter. Mix until the flour just disappears. Overmixing develops gluten, which makes the bread tough and dense. A few streaks of flour are better than a rubbery loaf. Fold gently, like you’re tucking in a blanket.
Check for doneness early. Ovens vary wildly. Start checking at 35 minutes with a toothpick. If the top is browning too quickly but the center is still wet, tent the pan loosely with foil for the last 5 minutes.
Let it cool properly. I know it’s tempting to slice into it right away, but hot banana bread is gummy and falls apart. Give it at least 20 minutes of cooling time. The texture improves dramatically as it sets.
Variations & Adaptations
One of the best things about this small-batch banana bread is how adaptable it is. Here are some variations I’ve tried and loved:
Chocolate Chip Banana Bread
Fold in ⅓ cup (60g) semi-sweet chocolate chips after adding the dry ingredients. The chocolate pairs beautifully with the nutty brown butter. I’ve also used dark chocolate chunks for a more intense flavor. This version disappears fastest in my house.
Gluten-Free Version
Swap the all-purpose flour with a 1:1 gluten-free baking blend that contains xanthan gum. I’ve tested this with Bob’s Red Mill 1-to-1 Baking Flour, and it works perfectly. The texture is slightly more tender, but the flavor is identical. Add an extra tablespoon of flour if the batter seems too loose.
Vegan Adaptation
Use vegan butter for browning (Miyoko’s or Earth Balance work well) and replace the egg with a flax egg (1 tablespoon ground flaxseed + 3 tablespoons water, let sit for 5 minutes). The bread will be slightly denser but still delicious. I’ve made this for vegan friends, and they couldn’t tell the difference.
Spiced Banana Bread
Add ½ teaspoon cinnamon, ¼ teaspoon nutmeg, and a pinch of cloves to the dry ingredients. This version feels especially cozy in the fall. I like to top it with a cinnamon-sugar mixture instead of turbinado sugar for extra warmth.
Nut-Free Option
Simply omit the walnuts or pecans. The bread is still fantastic without them. For added texture, try folding in ¼ cup of raisins or dried cranberries instead.
Serving & Storage Suggestions
This small-batch banana bread is incredibly versatile when it comes to serving. Here’s how I enjoy it:
Serving Temperature: I prefer this bread slightly warm—just 10 seconds in the microwave brings back that fresh-baked texture. It’s also delicious at room temperature. For a special treat, toast a slice and spread it with salted butter. The warmth intensifies the brown butter flavor.
Presentation Ideas: Slice the bread into four thick pieces and arrange them on a small wooden board. Dust with powdered sugar for a pretty finish. Serve alongside a cup of strong coffee or a chai latte. For brunch, pair it with scrambled eggs and fresh fruit for a complete meal.
Complementary Dishes: This bread is wonderful on its own, but it also pairs beautifully with a dollop of Greek yogurt and a drizzle of honey. For a dessert twist, serve it warm with a scoop of vanilla ice cream and a sprinkle of cinnamon. The hot-and-cold contrast is amazing.
Storage Instructions: Store leftover banana bread in an airtight container at room temperature for up to 3 days. The brown butter flavor actually deepens after a day—it’s even better on day two. If you live in a humid climate, store it in the refrigerator to prevent mold.
Freezing Instructions: This bread freezes beautifully. Wrap individual slices tightly in plastic wrap, then place them in a freezer-safe bag. They’ll keep for up to 3 months. To thaw, let a slice sit at room temperature for 30 minutes, or microwave for 20 seconds. I always keep a few slices in the freezer for emergency cravings.
Reheating Tips: For the best texture, reheat slices in a toaster oven at 350°F for 5 minutes. This crisps the edges while keeping the center moist. The microwave works in a pinch, but the bread will be softer.
Nutritional Information & Benefits
Here’s the approximate nutritional breakdown for one slice (based on four slices per loaf, without nuts or topping):
| Nutrient | Amount per Slice |
|---|---|
| Calories | 245 |
| Total Fat | 12g |
| Saturated Fat | 7g |
| Cholesterol | 70mg |
| Sodium | 280mg |
| Total Carbohydrates | 32g |
| Dietary Fiber | 1g |
| Sugars | 18g |
| Protein | 4g |
Health Benefits: Bananas are rich in potassium, which supports heart health and muscle function. They also contain vitamin B6 and vitamin C. The brown butter, while indulgent, adds a small amount of vitamin A and healthy fats. This recipe is portion-controlled, making it easier to enjoy a treat without overdoing it.
Dietary Considerations: This recipe is vegetarian. For gluten-free or vegan options, see the variations section above. It contains dairy and eggs, so it’s not suitable for those with allergies to these ingredients. The nut version contains tree nuts.
Personal Wellness Perspective: I believe in balance. This small-batch banana bread is a treat, but it’s made with real ingredients and no preservatives. It’s the kind of dessert that feels satisfying without being overly indulgent. One slice is enough to curb a craving, and the portion size helps with mindful eating.
Conclusion
I still think about that woman at the hardware store sometimes. She probably has no idea that her offhand comment about brown butter changed the way I make banana bread forever. But that’s the thing about cooking—sometimes the best recipes come from the most unexpected places. A single overripe banana, a few pantry staples, and a little patience with browning butter can turn into something truly special.
This small-batch banana bread with brown butter is more than just a recipe. It’s proof that you don’t need a crowd or a complicated ingredient list to make something wonderful. It’s for those quiet mornings when you want to treat yourself. It’s for the one banana sitting on your counter that’s too ripe to eat but too good to waste. It’s for the moments when you want to slow down and enjoy the process.
I’d love to hear how yours turns out. Did you add chocolate chips? Try it with walnuts? Maybe you discovered a new favorite variation? Drop a comment below and let me know. And if you share it on social media, tag me—I love seeing your creations. Until next time, happy baking!
Frequently Asked Questions
Can I use frozen bananas for this recipe?
Absolutely! Thaw the banana completely, then drain off any excess liquid before mashing. Frozen bananas are actually sweeter and more flavorful, which works beautifully in this bread. Just make sure to use the mashed banana immediately.
Why did my brown butter burn?
Brown butter burns easily because the milk solids go from golden to black very quickly. Always use medium heat, swirl the pan constantly, and remove it from the heat the moment it turns amber. If you see black specks, you’ve gone too far. Start over—it’s worth it.
Can I double this recipe?
Yes! Double all ingredients and bake in a standard 9×5-inch loaf pan. The baking time will increase to about 50-55 minutes. Check with a toothpick at 50 minutes. You can also bake two small loaves at the same time—just rotate the pans halfway through.
How do I know when the bread is done?
Insert a toothpick into the center of the loaf. If it comes out clean or with a few moist crumbs, it’s done. If it’s wet with batter, bake for another 3-5 minutes and check again. The top should be golden brown and the edges should pull away from the pan slightly.
Can I make this without brown butter?
You can, but it won’t be the same. If you’re short on time, use ¼ cup melted unsalted butter instead. The bread will still be delicious, but you’ll miss that nutty, toasty depth that makes this recipe special. I’d recommend browning the butter at least once—it’s a game-changer.
Pin This Recipe!
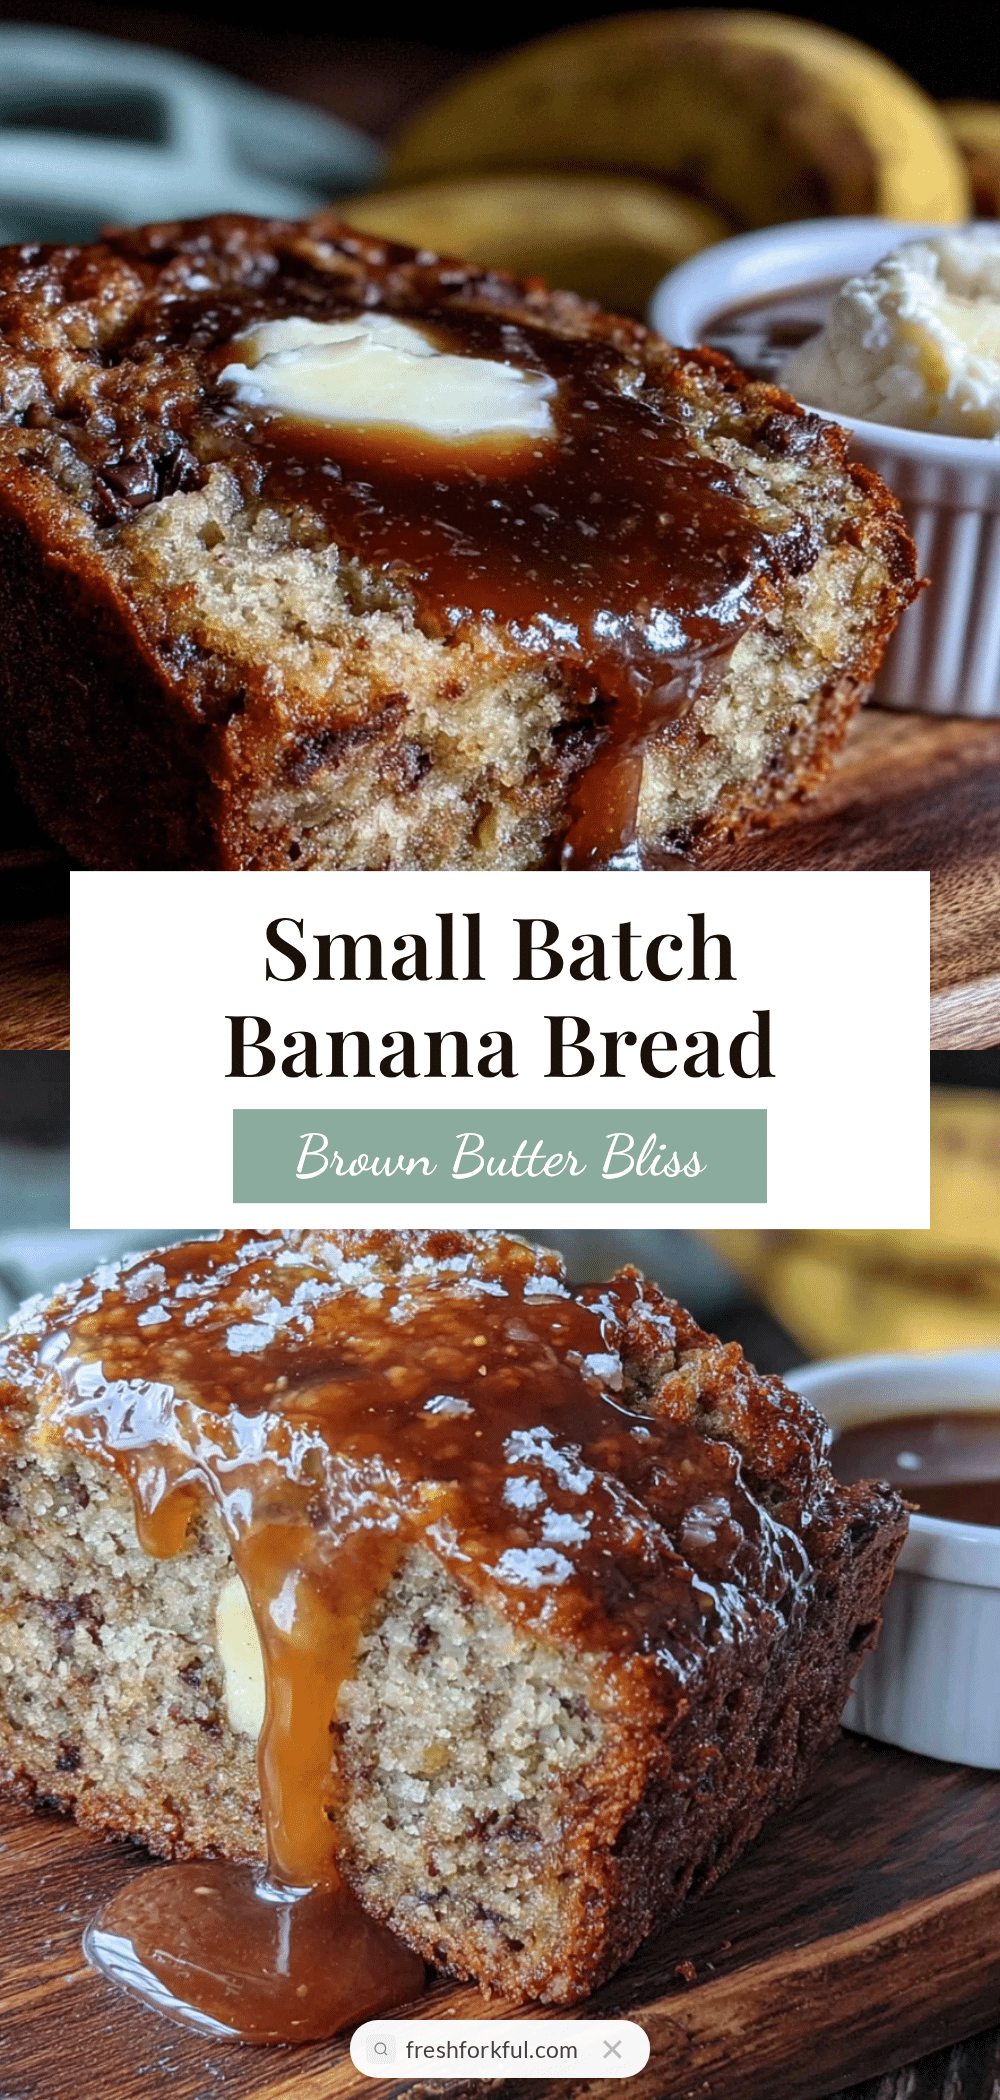
Best Small-Batch Banana Bread with Brown Butter
This small-batch banana bread with brown butter is the perfect solution for a single overripe banana. It’s quick, easy, and yields a moist, tender loaf with a deep, nutty flavor from browned butter.
- Prep Time: 10 minutes
- Cook Time: 35-40 minutes
- Total Time: 45-50 minutes
- Yield: 4 servings 1x
- Category: Dessert
- Cuisine: American
Ingredients
- 1 very ripe banana, mashed (about ½ cup / 120g)
- ¼ cup (½ stick / 57g) unsalted butter
- ⅓ cup (67g) granulated sugar
- 1 large egg, room temperature
- ½ teaspoon vanilla extract
- ¾ cup (96g) all-purpose flour
- ½ teaspoon baking soda
- ¼ teaspoon salt
- Optional: ¼ cup (30g) chopped walnuts or pecans
- 1 tablespoon turbinado sugar (for topping)
- A pinch of flaky sea salt (for topping)
Instructions
- Preheat your oven to 350°F (175°C). Position the rack in the center. Line your loaf pan with parchment paper, leaving a 2-inch overhang on the long sides.
- Brown the butter: Place the ¼ cup (57g) unsalted butter in a small saucepan over medium heat. Let it melt completely, then swirl the pan occasionally. After about 3-4 minutes, the butter will start to foam and crackle. Watch closely—it will go from golden to amber quickly. You’ll see brown specks forming at the bottom, and it will smell nutty and toasty. Once it reaches a deep amber color, immediately remove it from the heat. Pour it into a heat-safe bowl to stop the cooking process. Let it cool…
- Mash the banana: In your mixing bowl, mash the very ripe banana with a fork until smooth. A few small lumps are fine. You should have about ½ cup (120g) of mashed banana.
- Combine wet ingredients: Add the granulated sugar, room-temperature egg, and vanilla extract to the mashed banana. Whisk until smooth and well combined. The mixture should look pale and slightly thickened.
- Add the brown butter: Pour the cooled brown butter into the wet mixture. Whisk vigorously until fully incorporated. Scrape the sides of the bowl with your spatula.
- Mix dry ingredients separately: In a small bowl, whisk together the all-purpose flour, baking soda, and salt.
- Combine wet and dry: Add the dry ingredients to the wet mixture. Fold gently with your rubber spatula until just combined. A few streaks of flour are okay. If you’re adding nuts, fold them in now.
- Pour into the pan: Scrape the batter into your prepared loaf pan. Spread it evenly with your spatula.
- Add the topping: Sprinkle the turbinado sugar evenly over the top, followed by a pinch of flaky sea salt.
- Bake for 35-40 minutes: Place the pan in the preheated oven. Bake until the top is golden brown and a toothpick inserted into the center comes out clean or with a few moist crumbs. Start checking at 35 minutes.
- Cool in the pan: Let the bread cool in the pan for 10 minutes. Then lift it out using the parchment overhang and transfer to a cooling rack.
- Slice and enjoy: Let it cool for at least another 10 minutes before slicing. Serve slightly warm.
Notes
Don’t rush the brown butter—watch it closely to avoid burning. Use room temperature ingredients for best results. Measure flour by spooning and leveling. Don’t overmix the batter. Let the bread cool properly before slicing.
Nutrition
- Serving Size: 1 slice
- Calories: 245
- Sugar: 18
- Sodium: 280
- Fat: 12
- Saturated Fat: 7
- Carbohydrates: 32
- Fiber: 1
- Protein: 4
Keywords: small-batch banana bread, brown butter banana bread, single banana recipe, easy banana bread, moist banana bread


