Love this? Save it for later!
Share the inspiration with your friends
I swore I didn’t need birthday cake in cookie form. For years, I held this position with surprising stubbornness. “A cookie is a cookie,” I’d say, “and cake is cake. They’re different experiences, and that’s fine.” It wasn’t a loud opinion, just a quiet, settled one. Then, last spring, I was testing recipes for a friend’s backyard gathering. I had a batch of these cooling on the counter, still a little warm and soft. I turned around from washing a spatula, and there he was—my neighbor, Dave, who had let himself in through the unlocked back door, holding a cookie mid-bite with this look of pure, unguarded delight on his face. He wasn’t even pretending he hadn’t taken one. Caught red-handed, or rather, sprinkle-handed. “Don’t tell my wife I ate three,” he mumbled, reaching for another. And honestly? That was the moment. The moment I realized this wasn’t just a fun idea. It was a genuinely good, maybe even great, cookie.
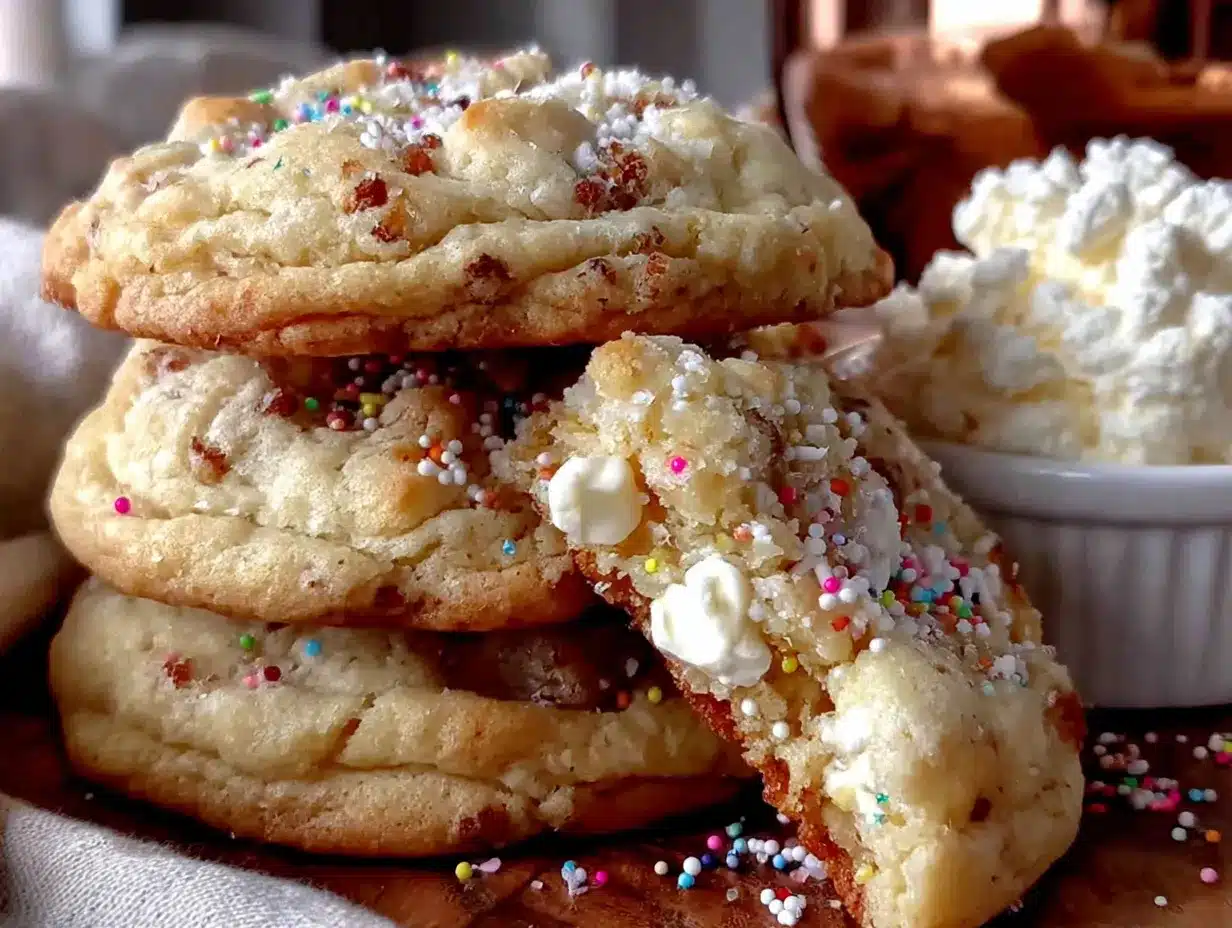
You know that feeling when you take a bite of something and it just tastes like a good memory? That’s what these birthday cake cookies do. They have that soft, chewy texture of a classic sugar cookie, but with the unmistakable flavor of a birthday cake—that light, buttery, vanilla-forward taste with a hint of almond that just screams “party.” The best part is the texture. They’re not cakey, they’re cookie-chewy, but they have that same celebratory vibe. I’ve made them for potlucks, for my niece’s birthday party (where they were gone before the actual cake was cut), and for no reason at all on a random Tuesday. They always, always make people smile. There’s just something about a cookie with sprinkles in it that feels like a little moment of joy.
Why You’ll Love This Recipe
These aren’t just another cookie recipe you’ll forget about. They’ve been tested, tweaked, and approved by everyone from picky toddlers to my pastry-chef friend who never compliments anything. Here’s why they work so well.
- Quick & Easy: From start to finish, you’re looking at about 25 minutes. No chilling the dough required, which is a game-changer for spontaneous baking sessions.
- Simple Ingredients: You probably have almost everything in your pantry right now. No weird extracts or specialty flours needed.
- Perfect for Celebrations: Birthdays, obviously, but also bake sales, holiday cookie exchanges, or just a Tuesday that needs a little sparkle.
- Crowd-Pleaser: I’ve never seen a plate of these last more than 20 minutes at any gathering. Kids love the sprinkles, adults love the nostalgic flavor.
- Unbelievably Delicious: The secret is in the combination of butter and shortening, plus a touch of almond extract. It gives them that classic bakery-style birthday cake flavor that homemade cookies often miss.
What makes this recipe different from all the other birthday cake cookie recipes out there? It’s the texture, honestly. So many versions turn out either too cakey (basically a flattened cupcake) or too crunchy. These are perfectly soft and chewy in the center with slightly crisp edges. The ratio of sprinkles to dough is also key—you get a pop of color and a tiny bit of crunch in every single bite. This isn’t just a sugar cookie with sprinkles thrown in. It’s a cookie built from the ground up to taste exactly like the corner piece of a birthday cake, the one with the most frosting. It’s comfort food reimagined—faster, easier, but with the same soul-soothing satisfaction. Perfect for impressing guests without stress, or turning a simple meal into something memorable.
What Ingredients You Will Need
This recipe uses simple, wholesome ingredients to deliver bold flavor and satisfying texture without the fuss. Most of these are pantry staples, so you might not even need a grocery run.
- Unsalted butter, softened (1/2 cup, 1 stick) – I prefer using unsalted so I can control the salt level. Let it sit out for about 30 minutes before you start.
- Shortening (1/4 cup) – This is the secret ingredient for that soft, chewy texture. It prevents the cookies from spreading too much and keeps them tender. I use Crisco, but any brand works.
- Granulated sugar (3/4 cup) – Standard white sugar. Don’t substitute with brown sugar here; it changes the flavor profile too much.
- Large egg (1, room temperature) – A room-temperature egg incorporates into the creamed butter and sugar much better than a cold one. If you forgot to take it out, place it in a bowl of warm water for 5 minutes.
- Vanilla extract (2 teaspoons) – Use pure vanilla extract if you have it, but imitation works fine too. This is a major flavor component, so don’t skimp.
- Almond extract (1/2 teaspoon) – This is the magic ingredient that gives the cookies that classic birthday cake flavor. It’s subtle but unmistakable. I recommend McCormick or Nielsen-Massey for the best flavor.
- All-purpose flour (1 and 1/2 cups) – Spoon and level it into your measuring cup. Scooping directly from the bag packs the flour and can make your cookies dry.
- Baking soda (1/2 teaspoon) – Make sure it’s fresh. Old baking soda won’t give the cookies the right lift.
- Salt (1/4 teaspoon) – Just enough to balance the sweetness. Fine table salt is best for baking.
- Rainbow sprinkles (1/2 cup, plus 2 tablespoons for rolling) – Use jimmies, not nonpareils. Jimmies are the long, cylindrical sprinkles that hold their color and shape in the dough. Nonpareils (the tiny round ones) tend to bleed their color and turn the dough gray. I love the Betty Crocker rainbow jimmies for their bright, consistent color.
For the best results, use a good quality butter. I find that European-style butters like Kerrygold give a richer flavor, but any standard unsalted butter works beautifully. If you’re dairy-free, you can substitute the butter with a high-quality vegan butter stick (like Miyoko’s), but note that the texture might be slightly softer. The shortening is already dairy-free, so that part is fine.
Equipment Needed
You don’t need any fancy equipment for this recipe, which is part of its charm. Here’s what you’ll need:
- Large mixing bowl – Any large bowl works. I use a glass one, but stainless steel or ceramic is fine.
- Hand mixer or stand mixer – A hand mixer is perfectly adequate. A stand mixer with the paddle attachment makes it even easier. You can mix by hand with a wooden spoon, but it takes some elbow grease to get the butter and sugar properly creamed.
- Measuring cups and spoons – Dry measuring cups for the flour and sugar, liquid measuring cup for nothing here (we’re using sticks and teaspoons), and a set of measuring spoons.
- Rubber spatula – For scraping down the sides of the bowl and folding in the sprinkles.
- Baking sheets – Two standard half-sheet pans work well. If you only have one, let it cool completely between batches.
- Parchment paper or silicone baking mat – Parchment paper is my go-to. It’s cheap, disposable, and prevents sticking perfectly. Silicone mats work great too, but they can sometimes make cookies spread a little more.
- Cookie scoop (1.5 tablespoon size) – This is a game-changer for even-sized cookies. A #40 scoop is perfect. If you don’t have one, use two spoons to portion the dough.
- Cooling rack – Essential for letting the cookies cool evenly and preventing soggy bottoms.
Budget-friendly tip: If you don’t have a cookie scoop, a regular tablespoon works just fine. Just make sure your measurements are consistent. I’ve been using the same $10 hand mixer for years, and it works perfectly for this recipe.
Preparation Method
This recipe comes together quickly, so let’s get started. The total active time is about 15 minutes, with about 10-12 minutes of baking time per batch.
- Preheat your oven to 375°F (190°C). Position the racks in the upper and lower thirds of the oven if you’re baking two sheets at once. Line two baking sheets with parchment paper.
- Cream the butter, shortening, and sugar. In your large mixing bowl, beat the softened butter, shortening, and granulated sugar together on medium speed for about 2-3 minutes. You’re looking for a light, fluffy, pale yellow mixture. It should look like it’s doubled in volume. Don’t rush this step—proper creaming incorporates air that helps the cookies rise. Scrape down the sides of the bowl with your spatula halfway through.
- Add the egg and extracts. Crack the room-temperature egg into the bowl. Add the vanilla extract and the almond extract. Beat on medium speed until everything is well combined, about 1 minute. The mixture might look slightly curdled at this point—that’s totally normal. Scrape the bowl again.
- Whisk the dry ingredients. In a separate small bowl, whisk together the all-purpose flour, baking soda, and salt. This ensures the baking soda and salt are evenly distributed throughout the flour. If you skip this step, you might end up with a pocket of baking soda in one cookie—trust me, it’s not pleasant.
- Combine wet and dry. With the mixer on low speed, gradually add the flour mixture to the wet ingredients. Mix just until the flour disappears. Overmixing at this stage develops gluten, which can make your cookies tough. Stop the mixer as soon as you don’t see any more white streaks of flour.
- Fold in the sprinkles. Using your rubber spatula, gently fold in 1/2 cup of the rainbow sprinkles. Be gentle—you don’t want to overwork the dough. You also don’t want to stir too vigorously, or the sprinkles might start to bleed their color. Fold just until they’re evenly distributed.
- Portion the dough. Use your cookie scoop to portion the dough into balls, about 1.5 tablespoons each. You should get about 24 cookies. Roll each ball between your palms to make it smooth and round.
- Roll in extra sprinkles. Place the remaining 2 tablespoons of sprinkles in a small bowl. Roll each dough ball in the sprinkles to coat the outside. This gives the cookies that beautiful, festive look on the outside. Don’t press the sprinkles in too hard—just a gentle roll.
- Place on baking sheets. Arrange the dough balls on the prepared baking sheets, leaving about 2 inches of space between each one. They will spread a little, but not too much. If you’re baking two sheets at once, try to keep the dough balls similar in size so they bake evenly.
- Bake. Bake for 10-12 minutes, or until the edges are just barely golden brown. The centers will look slightly underdone and puffy. That’s exactly what you want. For softer cookies, pull them at 10 minutes. For slightly crispier edges, go to 11 or 12. If baking two sheets at once, rotate them halfway through (swap top and bottom racks, and turn each sheet 180 degrees).
- Cool. Let the cookies cool on the baking sheet for 5 minutes. This allows them to set up without breaking. Then, transfer them to a wire cooling rack to cool completely. The centers will sink slightly as they cool, which is normal and gives them that perfect soft texture.
A note on timing: If your kitchen is warm, the dough might feel a little soft. That’s fine. If it’s too sticky to roll into balls, pop it in the fridge for 15 minutes. If you’re making these ahead of time for a party, you can scoop the dough balls and freeze them on a baking sheet. Once frozen solid, transfer them to a freezer bag. Bake from frozen, adding 1-2 minutes to the baking time. This is a lifesaver when you’re hosting and want fresh cookies without the last-minute mess.
Cooking Tips & Techniques
I’ve made these cookies at least two dozen times, and I’ve learned a few things the hard way. Here are my best tips for perfect birthday cake cookies every time.
Don’t skip the shortening. I know, using both butter and shortening feels unnecessary. But trust me, it’s not. Butter gives flavor, and shortening gives texture. If you use all butter, the cookies will spread too much and be flat. If you use all shortening, they’ll taste bland. The combination is the sweet spot.
Room temperature ingredients matter. I used to be lazy about this. I’d use cold butter and a cold egg, and my cookies would turn out dense and flat. Taking the time to let your butter and egg come to room temperature makes a real difference. The butter creams better, and the egg incorporates more smoothly. It’s a small step that pays off big.
Watch the almond extract. A little goes a long way. I’ve accidentally added a full teaspoon before, and the cookies tasted like marzipan. Not terrible, but not what I was going for. Stick with 1/2 teaspoon for that subtle birthday cake flavor that doesn’t overpower the vanilla.
The sprinkle problem. I learned this the messy way: some sprinkles bleed. I once used a cheap brand of rainbow sprinkles, and my dough turned a sad, grayish-pink by the time I was done mixing. Stick with jimmies from a reputable brand. Also, don’t overmix the sprinkles into the dough. Fold them in gently with a spatula. Overmixing can cause the colors to smudge.
Baking sheet temperature. If you’re baking multiple batches, let your baking sheet cool completely between batches. Putting dough on a hot sheet will cause the butter to melt immediately, and your cookies will spread into thin, greasy puddles. I keep a second sheet on hand so I can rotate them.
My biggest failure: The first time I made these, I was in a rush for a potluck. I used cold butter straight from the fridge, overmixed the dough trying to get it to come together, and forgot the almond extract. The cookies were flat, dense, and tasted like a boring sugar cookie. My friend politely ate one and said, “These are… nice.” That’s code for “don’t bring these again.” I went home, did some research, and tried again the next day with softened butter and the almond extract. The difference was night and day. Lesson learned: shortcuts don’t work in baking.
Variations & Adaptations
One of the best things about this recipe is how versatile it is. You can change it up for different occasions, dietary needs, or just because you’re feeling creative.
Funfetti Frosted Cookies: After the cookies have cooled completely, whip up a quick buttercream frosting (1/2 cup softened butter, 2 cups powdered sugar, 2 tablespoons milk, 1 teaspoon vanilla) and spread a thin layer on top. Add a few extra sprinkles on the frosting. This turns them into something truly decadent, perfect for a birthday party dessert table.
Chocolate Birthday Cake Cookies: Replace 1/4 cup of the all-purpose flour with 1/4 cup of unsweetened cocoa powder. Use chocolate jimmies instead of rainbow sprinkles. The chocolate version has a rich, fudgy undertone that pairs beautifully with the almond extract. My nephew requests these for his birthday every year.
Gluten-Free Version: Substitute the all-purpose flour with a good quality 1-to-1 gluten-free baking flour blend. I’ve had great results with King Arthur Measure for Measure. The texture is slightly more delicate, but the flavor is spot on. Make sure your sprinkles are certified gluten-free, as some brands use wheat starch as a binder.
Lemon Birthday Cake Cookies: Add 1 tablespoon of fresh lemon zest along with the egg, and replace the almond extract with 1/2 teaspoon of lemon extract. The bright citrus flavor cuts through the sweetness beautifully. These are fantastic for spring and summer gatherings.
Mini Cookie Sandwiches: Bake the cookies slightly smaller (use a 1-tablespoon scoop) and pair them up with a cream cheese frosting or vanilla buttercream in the middle. Freeze them for 15 minutes before serving for a firmer, ice-cream-sandwich-like texture. These are a huge hit at kids’ parties.
I once tried a “confetti cake” variation where I added white chocolate chips along with the sprinkles. It was good, but honestly, the white chocolate overpowered the delicate birthday cake flavor. Sometimes simpler really is better.
Serving & Storage Suggestions
These cookies are best served at room temperature, slightly warm if you can manage it. The texture is perfectly soft and chewy, and the flavor really shines when they’re not straight from the fridge.
For a party: Arrange them on a large platter or cake stand. They look beautiful on their own, but you can also add a few fresh berries or a dusting of powdered sugar for a more elegant presentation. For a birthday party, I like to stack them in a pyramid shape on a colorful plate. They’re always the first thing to disappear.
What to serve alongside: A cold glass of milk is the classic pairing, and for good reason. The creamy milk balances the sweet, buttery cookie perfectly. For an adult gathering, they’re wonderful with a cup of coffee or a glass of dessert wine like Moscato. They also pair surprisingly well with a scoop of vanilla ice cream for an impromptu ice cream sandwich.
Storage: Store the cookies in an airtight container at room temperature for up to 5 days. I like to put a piece of bread in the container—it absorbs excess moisture and keeps the cookies soft. Replace the bread every day or two. Do not store them in the refrigerator, as the cold air will dry them out.
Freezing: These cookies freeze beautifully. You can freeze the baked cookies in a single layer on a baking sheet, then transfer them to a freezer-safe bag or container. They’ll keep for up to 3 months. Thaw at room temperature for about 30 minutes before serving. Alternatively, freeze the unbaked dough balls on a baking sheet, then transfer to a freezer bag. Bake from frozen, adding 1-2 minutes to the baking time. This is my go-to trick for having fresh cookies ready for unexpected guests.
How flavors develop: Honestly, these cookies taste even better the next day. The flavors meld together overnight, and the texture softens slightly. If you can resist eating them all on day one, you’re in for a treat on day two. I’ve never managed to have any left by day three, but I imagine they’d still be good.
Nutritional Information & Benefits
Let’s be real—these are a treat, not a health food. But here’s the estimated nutritional breakdown per cookie (based on 24 cookies):
| Nutrient | Amount per Cookie |
|---|---|
| Calories | 145 |
| Total Fat | 8g |
| Saturated Fat | 4g |
| Cholesterol | 20mg |
| Sodium | 85mg |
| Total Carbohydrates | 18g |
| Sugars | 10g |
| Protein | 1.5g |
From a health perspective, there are a few small silver linings. The butter provides a small amount of vitamin A, and the egg contributes some protein and B vitamins. The almond extract, while used in a tiny amount, comes from almonds, which are a good source of vitamin E. But honestly? These cookies are about joy, not nutrition. They’re a celebration treat, meant to be enjoyed in moderation with a smile.
For those with dietary restrictions: These cookies contain gluten, dairy, and eggs. For a gluten-free option, see the variations section above. For a dairy-free option, substitute the butter with a high-quality vegan butter. The shortening is already dairy-free. There is no easy egg substitute for this recipe, as the egg provides structure and moisture.
Conclusion
These birthday cake cookies are more than just a recipe—they’re a little piece of celebration you can bake any day of the year. They’re soft, chewy, bursting with sprinkles, and packed with that nostalgic birthday cake flavor that makes everyone smile. Whether you’re making them for a birthday party, a potluck, or just because you need a little joy on a Tuesday, they never disappoint.
I love this recipe because it’s forgiving, it’s fast, and it always, always works. It’s the kind of recipe you’ll memorize after making it twice, and the kind of cookie you’ll find yourself craving at random moments. Don’t be afraid to experiment with the variations, or to make them your own. That’s the beauty of baking—it’s personal.
So go ahead, preheat that oven, and make some happiness. And when you do, I’d love to hear about it. Drop a comment below and let me know how your cookies turned out, or share a photo of your creation. Did you try a fun variation? Did you serve them at a party? Tell me everything! Happy baking, friend!
Frequently Asked Questions
Can I use all butter instead of a butter-shortening mix?
You can, but the texture will be different. All-butter cookies will spread more and be flatter and crispier. The shortening helps the cookies hold their shape and gives them that soft, tender texture. If you only have butter, try chilling the dough balls for 20 minutes before baking to minimize spreading.
Why did my cookies turn out flat?
Flat cookies usually mean one of three things: your butter was too soft or melted, your baking soda is old, or your oven wasn’t hot enough. Make sure your butter is softened but not melted, check the expiration date on your baking soda, and always preheat your oven fully before baking.
Can I use different types of sprinkles?
Yes, but stick with jimmies (the long, rod-shaped sprinkles) for best results. Nonpareils (the tiny round ones) tend to bleed their color into the dough. Sanding sugar or coarse sugar can be used for rolling the dough balls, but they won’t have the same visual pop as rainbow jimmies.
How do I make these cookies softer?
For softer cookies, reduce the baking time by 1-2 minutes. Pull them out when the edges are just barely set and the centers still look slightly underdone. Also, make sure you’re not overmixing the dough after adding the flour, as overmixing develops gluten and makes cookies tougher.
Can I double this recipe?
Absolutely! This recipe doubles beautifully. Just make sure your mixing bowl is large enough to accommodate the doubled ingredients. You may need to bake in batches, as most ovens can only fit two sheets at a time. The baking time remains the same.
Pin This Recipe!
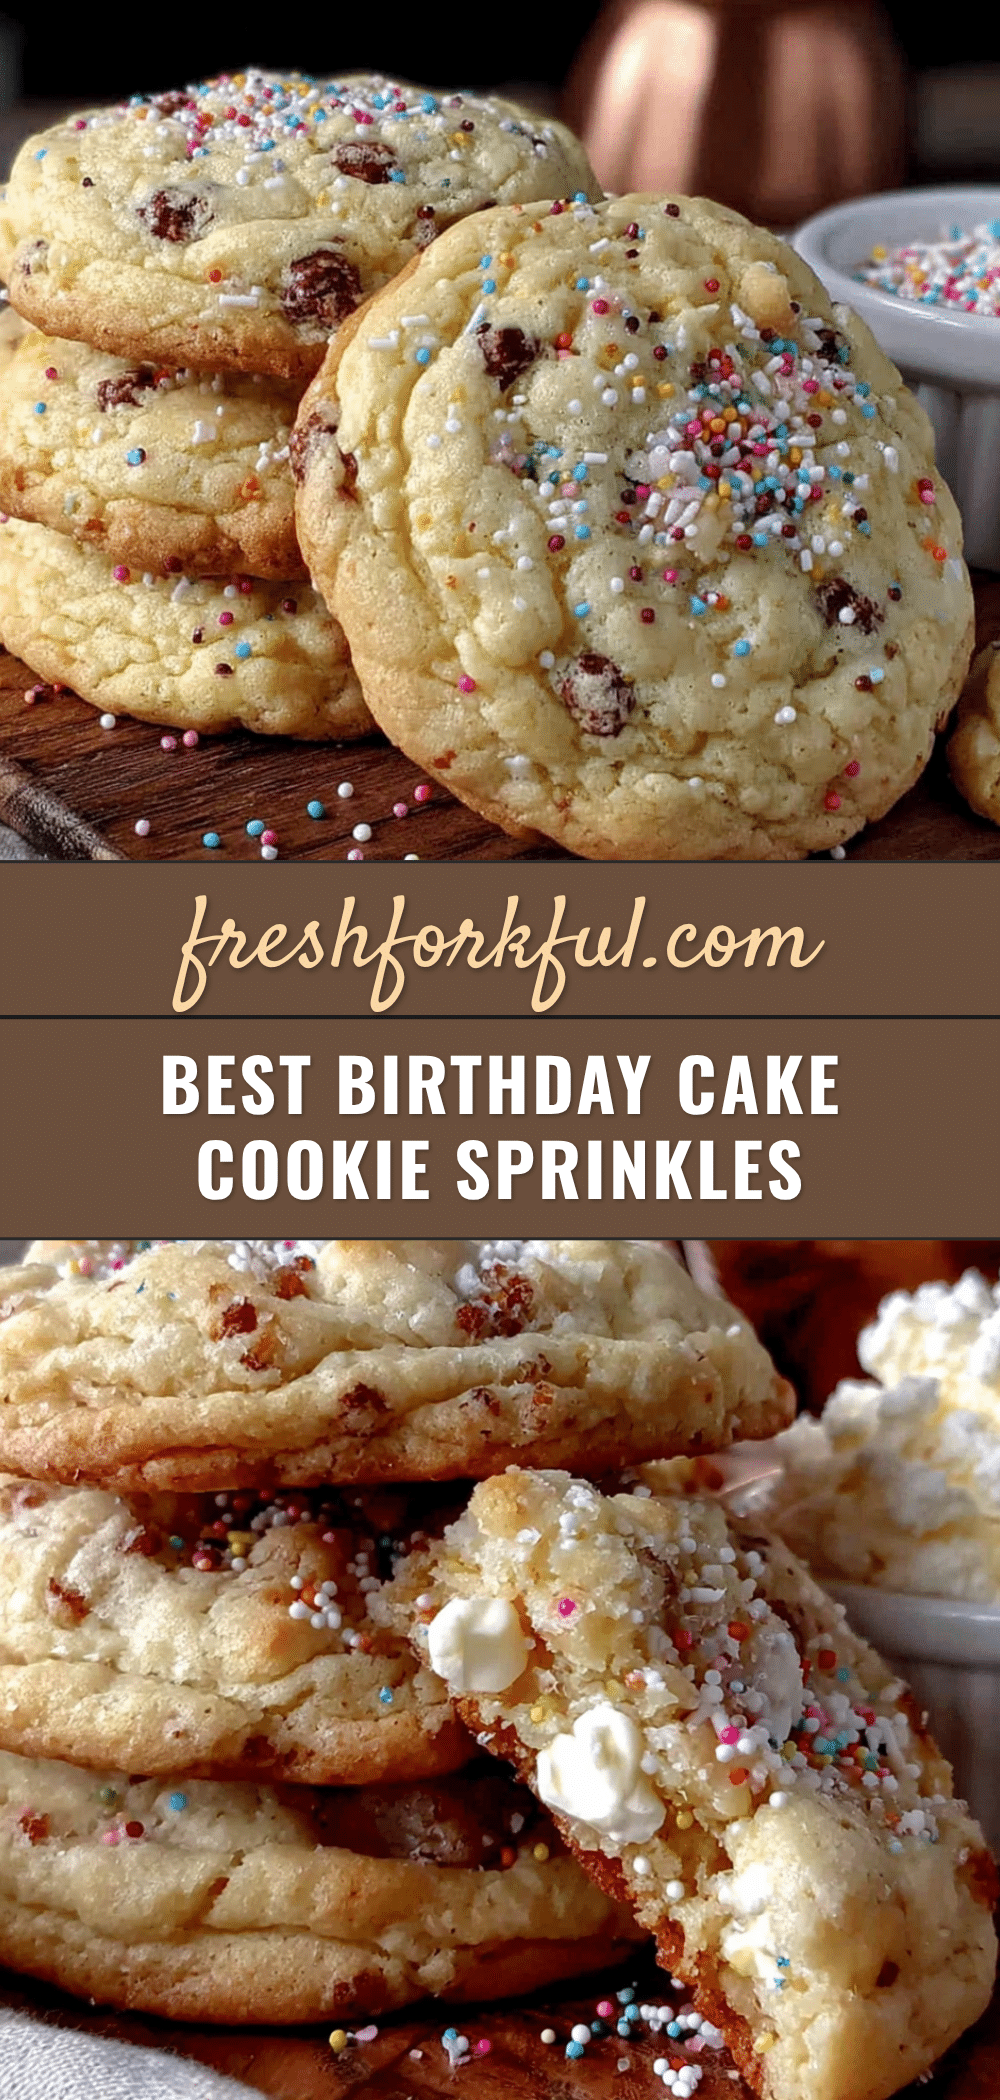
Best Birthday Cake Cookies with Sprinkles (Easy Recipe)

These soft, chewy birthday cake cookies are bursting with sprinkles and nostalgic flavor. Made with a secret combination of butter and shortening plus a touch of almond extract, they’re quick, easy, and perfect for any celebration.
- Prep Time: 15 minutes
- Cook Time: 10-12 minutes per batch
- Total Time: 25 minutes
- Yield: 24 cookies 1x
- Category: Dessert
- Cuisine: American
Ingredients
- 1/2 cup (1 stick) unsalted butter, softened
- 1/4 cup shortening
- 3/4 cup granulated sugar
- 1 large egg, room temperature
- 2 teaspoons vanilla extract
- 1/2 teaspoon almond extract
- 1 and 1/2 cups all-purpose flour
- 1/2 teaspoon baking soda
- 1/4 teaspoon salt
- 1/2 cup rainbow sprinkles (jimmies), plus 2 tablespoons for rolling
Instructions
- Preheat your oven to 375°F (190°C). Position racks in the upper and lower thirds of the oven if baking two sheets at once. Line two baking sheets with parchment paper.
- In a large mixing bowl, beat the softened butter, shortening, and granulated sugar together on medium speed for 2-3 minutes until light, fluffy, and pale yellow. Scrape down the sides of the bowl halfway through.
- Add the room-temperature egg, vanilla extract, and almond extract. Beat on medium speed until well combined, about 1 minute. The mixture may look slightly curdled; scrape the bowl again.
- In a separate small bowl, whisk together the all-purpose flour, baking soda, and salt.
- With the mixer on low speed, gradually add the flour mixture to the wet ingredients. Mix just until the flour disappears; do not overmix.
- Using a rubber spatula, gently fold in 1/2 cup of the rainbow sprinkles until evenly distributed.
- Using a cookie scoop (1.5 tablespoon size), portion the dough into balls. Roll each ball between your palms to make it smooth and round.
- Place the remaining 2 tablespoons of sprinkles in a small bowl. Roll each dough ball in the sprinkles to coat the outside.
- Arrange the dough balls on the prepared baking sheets, leaving about 2 inches of space between each one.
- Bake for 10-12 minutes, or until the edges are just barely golden brown. The centers will look slightly underdone and puffy. For softer cookies, bake for 10 minutes; for slightly crispier edges, bake for 11-12 minutes. If baking two sheets at once, rotate them halfway through (swap top and bottom racks, and turn each sheet 180 degrees).
- Let the cookies cool on the baking sheet for 5 minutes, then transfer to a wire cooling rack to cool completely.
Notes
For best results, use room temperature butter and egg. Do not skip the shortening; it gives the cookies their soft, chewy texture. Use jimmies (long rod-shaped sprinkles) to prevent color bleeding. Cookies can be stored in an airtight container at room temperature for up to 5 days. Freeze baked cookies for up to 3 months, or freeze unbaked dough balls and bake from frozen, adding 1-2 minutes to the baking time.
Nutrition
- Serving Size: 1 cookie
- Calories: 145
- Sugar: 10
- Sodium: 85
- Fat: 8
- Saturated Fat: 4
- Carbohydrates: 18
- Protein: 1.5
Keywords: birthday cake cookies, sprinkle cookies, funfetti cookies, easy cookie recipe, soft chewy cookies


