Love this? Save it for later!
Share the inspiration with your friends
I wasn’t supposed to be in her kitchen that afternoon. I’d stopped by to borrow a ladder—mine had mysteriously vanished during a garage reorganization—and the smell hit me before I even got through the screen door. It was warm, sweet, and slightly nutty, like someone had captured autumn itself and concentrated it into a single, irresistible aroma. My neighbor, Mrs. Kowalski, was standing at her stove, utterly unbothered by the magic happening in her cast iron skillet. She just shrugged and said, “Oh, it’s nothing. Just the seeds from that pumpkin we carved last night.”
Let me tell you, I’ve eaten a lot of pumpkin seeds in my life. The salty, roasted kind you buy in bulk bins. The ones that get stuck in your teeth at Halloween parties. But these crispy cinnamon sugar roasted pumpkin seeds were something else entirely. They were crunchy, but not in that “watch your fillings” way. They had this delicate snap, followed by a warmth from the cinnamon that just lingered. Mrs. Kowalski wasn’t trying to impress anyone—she was just using up what she had. And honestly, that’s the best kind of cooking, isn’t it?
I stood there, eating them straight from the paper towel she’d dumped them on, and I knew I had to figure out how she did it. The secret, she told me with a wink, was in the boil. Not the sugar, not the spice, but a simple, unexpected step that most people skip. Maybe you’ve been there—you roast seeds, they come out either chewy or burnt, and you wonder why you bothered. I get it. But this recipe changes everything. It’s the one I’ve made every fall since that afternoon, and it never fails to stop people in their tracks. Let me show you how it’s done.
Why You’ll Love This Recipe
These crispy cinnamon sugar roasted pumpkin seeds aren’t just another snack recipe. They’re the result of a lot of trial and error in my own kitchen—trust me, I’ve had my share of disappointing batches. After testing this method dozens of times, I can say with confidence that this is the best version out there. Here’s why you’ll fall for them:
- Quick & Easy: From start to finish, you’re looking at about 30 minutes of active time. The oven does most of the work, making it perfect for a lazy Sunday afternoon or a last-minute treat when friends pop over.
- Simple Ingredients: You probably have everything in your pantry right now. Pumpkin seeds (obviously), sugar, cinnamon, butter, and a pinch of salt. No weird extracts or specialty items.
- Perfect for Fall Gatherings: Whether it’s a Halloween party, Thanksgiving appetizer, or just a cozy movie night, these seeds are the snack everyone reaches for first.
- Crowd-Pleaser: I’ve served these to kids, adults, and even my picky aunt who “doesn’t like seeds.” They disappear every single time.
- Unbelievably Delicious: The texture is the real star here. That crispy, snappy crunch combined with the sweet, warm coating is next-level comfort food. It’s like eating the best part of autumn in every bite.
What makes this recipe different from the rest? It’s the boiling step. Most recipes just toss seeds in oil and roast them, which leads to uneven cooking and a chewy texture. By boiling the seeds first, you’re essentially par-cooking them, which guarantees that every single seed comes out perfectly crispy. No burnt edges, no soft centers. Just pure, crunchy perfection. This isn’t just another version—it’s the one I’ve perfected so you don’t have to.
Honestly, this recipe is the kind that makes you close your eyes after the first bite. It’s simple, yes, but it’s also deeply satisfying. It’s comfort food reimagined—healthier than chips, faster than homemade cookies, and with the same soul-soothing effect. You’re going to love it.
What Ingredients You Will Need
This recipe uses simple, wholesome ingredients to deliver that bold, sweet flavor and satisfying crunch. Most of these are pantry staples, which makes this an easy recipe to whip up whenever the craving strikes. Let’s break down what you’ll need and why each ingredient matters.
- Fresh Pumpkin Seeds: About 1 ½ cups, straight from a pumpkin. You can use seeds from any variety—sugar pumpkins work great, but even the big carving pumpkins produce excellent seeds. Just make sure to rinse them well and pick off any stringy pumpkin bits. (Fresh seeds have the best texture; avoid pre-packaged seeds for this recipe.)
- Water: 4 cups, for boiling the seeds. This is the non-negotiable step that ensures crispiness. Don’t skip it.
- Salt: 1 tablespoon, added to the boiling water. This seasons the seeds from the inside out, so every bite is perfectly salted, not just the outside.
- Unsalted Butter: 2 tablespoons, melted. Butter adds richness and helps the cinnamon sugar mixture stick to the seeds. I prefer unsalted so I can control the salt level. (For a dairy-free option, use coconut oil—it works beautifully.)
- Granulated Sugar: ¼ cup. This creates that sweet, crackly coating. Regular white sugar works best because it dissolves evenly and caramelizes slightly in the oven.
- Ground Cinnamon: 1 ½ teaspoons. Use a good-quality cinnamon—I like Saigon cinnamon for its bold, warm flavor. It makes a real difference in the final taste.
- Vanilla Extract: ½ teaspoon. This is optional, but I highly recommend it. The vanilla rounds out the sweetness and adds a subtle depth that makes these seeds taste almost like a bakery treat.
- Pinch of Salt: For sprinkling on top after roasting. Just a tiny bit to balance the sweetness.
That’s it! Seven ingredients, and you’re on your way to the best pumpkin seeds you’ve ever had. If you want to get fancy, you can add a pinch of nutmeg or cardamom to the cinnamon sugar mixture, but honestly, the classic version is hard to beat. I’ve tried it with brown sugar instead of white, and while it’s delicious, it doesn’t get quite as crispy. Stick with granulated for that perfect snap.
Equipment Needed
You don’t need a fancy kitchen to make these crispy cinnamon sugar roasted pumpkin seeds. Here’s what you’ll need, along with a few tips from my own experience:
- Medium Saucepan: For boiling the seeds. Any pot will do, but make sure it’s big enough to hold the seeds and water without overflowing.
- Colander or Strainer: For draining the boiled seeds. A fine-mesh strainer works best to catch all the small seeds.
- Kitchen Towel or Paper Towels: For patting the seeds dry. This step is important—excess moisture will prevent the seeds from getting crispy.
- Mixing Bowl: A medium bowl for tossing the seeds with butter and the cinnamon sugar mixture.
- Baking Sheet: A rimmed baking sheet works best to prevent seeds from rolling off. Line it with parchment paper for easy cleanup.
- Spatula or Wooden Spoon: For stirring the seeds on the baking sheet halfway through roasting.
- Measuring Cups and Spoons: For accurate measurements. Baking is a science, even for a simple snack like this.
If you don’t have parchment paper, you can grease the baking sheet lightly with butter or cooking spray. I’ve also used a silicone baking mat with great results. The key is to spread the seeds in a single layer so they roast evenly. And don’t worry if you don’t have a fancy saucepan—I’ve made these in a beat-up old pot that’s seen better days, and they turned out perfectly.
Preparation Method
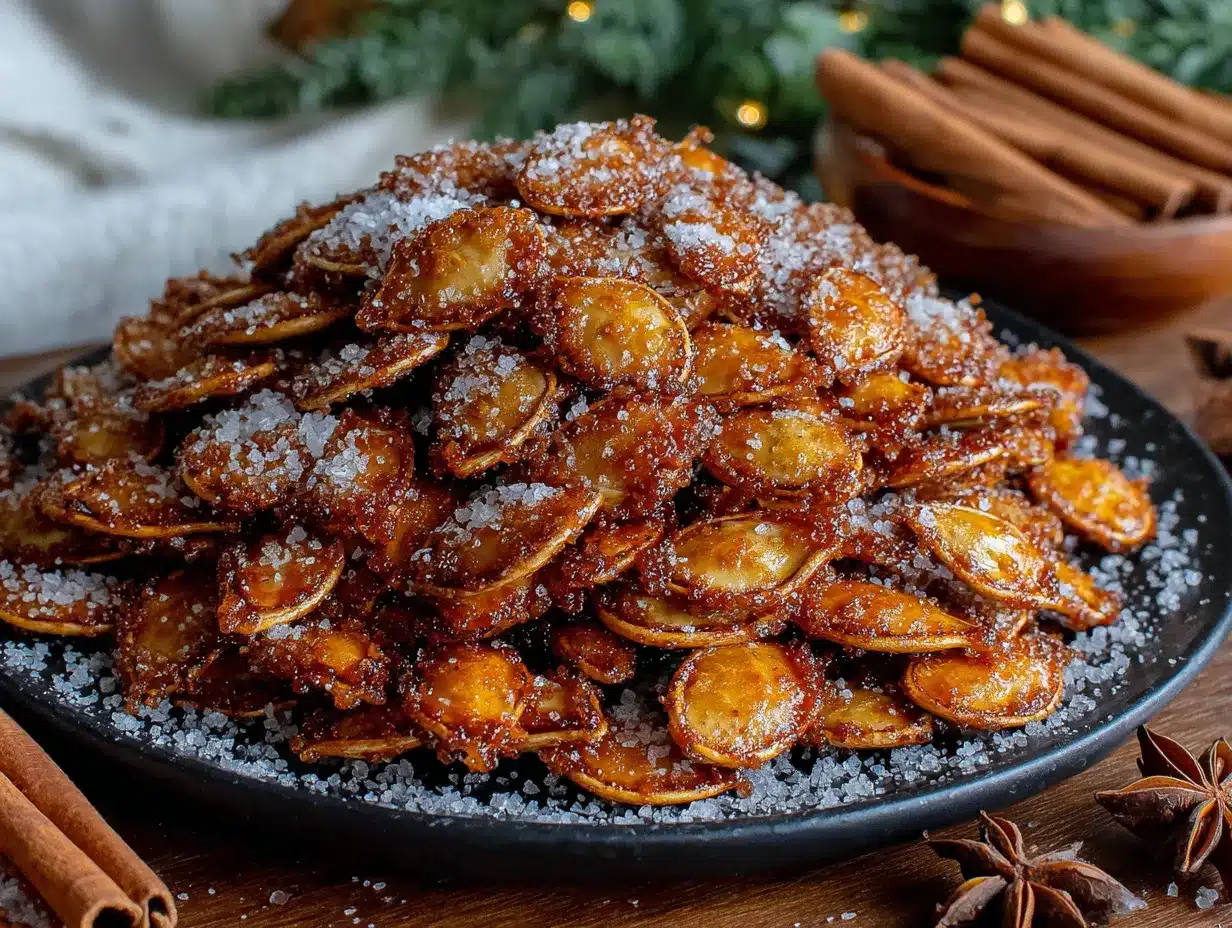
Alright, let’s get to the good part. Here’s how to make these crispy cinnamon sugar roasted pumpkin seeds, step by step. Pay close attention to the boiling step—it’s the secret to that perfect crunch.
- Preheat your oven to 350°F (175°C). Line a rimmed baking sheet with parchment paper and set it aside. Getting the oven hot before you start ensures even roasting.
- Clean the pumpkin seeds. Separate the seeds from the pumpkin guts. Place them in a colander and rinse thoroughly under cold water, picking off any stringy bits. Don’t worry about getting every last piece—a little pumpkin fiber won’t hurt.
- Boil the seeds. In a medium saucepan, bring 4 cups of water and 1 tablespoon of salt to a rolling boil. Add the cleaned pumpkin seeds and boil for exactly 10 minutes. This step par-cooks the seeds, ensuring they roast evenly and become crispy all the way through. (I once skipped this step to save time, and the seeds came out chewy and sad. Don’t be like me.)
- Drain and dry. Pour the seeds into a colander and let them drain for a minute. Then, spread them out on a clean kitchen towel or a double layer of paper towels. Pat them dry as thoroughly as possible. You want them to look dry, not wet. This is crucial—any leftover moisture will steam the seeds instead of roasting them.
- Make the cinnamon sugar mixture. In a small bowl, whisk together ¼ cup of granulated sugar and 1 ½ teaspoons of ground cinnamon. Set aside.
- Coat the seeds. Place the dried seeds in a mixing bowl. Drizzle 2 tablespoons of melted unsalted butter and ½ teaspoon of vanilla extract over them. Toss until every seed is coated. Then, sprinkle the cinnamon sugar mixture over the seeds and toss again until evenly coated. The mixture will look a bit clumpy—that’s perfect.
- Spread on the baking sheet. Pour the coated seeds onto the prepared baking sheet. Spread them into a single, even layer. Try not to overlap them too much, or they’ll steam instead of roast. (I use a spatula to nudge them into place.)
- Roast for 20-25 minutes. Place the baking sheet in the preheated oven. After 10 minutes, remove the sheet and stir the seeds with a spatula. This ensures even browning. Return to the oven and roast for another 10-15 minutes, or until the seeds are golden brown and fragrant. Keep an eye on them in the last few minutes—they can go from perfect to burnt quickly.
- Cool completely. Remove the baking sheet from the oven and let the seeds cool on the sheet for at least 15 minutes. They will continue to crisp up as they cool. Don’t be tempted to eat them right away—they’ll be softer and less crunchy. Patience, my friend.
- Serve or store. Once completely cool, transfer the seeds to a bowl and serve. Or, store them in an airtight container at room temperature for up to a week. (Good luck making them last that long.)
One more tip: if you want extra crispy seeds, you can leave them in the oven with the door cracked open for 5 minutes after turning the heat off. That little trick dries them out even more. I learned that after a particularly humid fall when my seeds refused to crisp up.
Cooking Tips & Techniques
Over the years, I’ve made plenty of mistakes with pumpkin seeds. Burnt batches, soggy batches, batches that tasted like nothing. Here’s what I’ve learned so you don’t have to repeat my failures.
Don’t skip the boil. I cannot stress this enough. Boiling the seeds in salted water does two things: it seasons them from the inside, and it ensures they roast evenly. Without this step, you’ll end up with seeds that are either undercooked in the center or burnt on the outside. The 10-minute boil is the key to that all-over crispy texture.
Dry the seeds thoroughly. After boiling, take the extra minute to pat them dry with a towel. Wet seeds create steam in the oven, which leads to a chewy, leathery texture. I learned this the hard way when I made a batch that felt like I was eating little rubber discs. Not pleasant.
Watch the oven like a hawk. Every oven runs a little differently. My old oven used to run hot, so I’d start checking the seeds at the 15-minute mark. Look for a deep golden color and a nutty aroma. If you smell anything burning, pull them out immediately. It’s better to undercook slightly than to burn them—burnt sugar tastes bitter and ruins the whole batch.
Let them cool completely. This is the hardest part, I know. But if you eat them warm, they’ll seem soft and almost disappointing. As they cool, the sugar hardens and the seeds become that irresistible crunchy snack. Give them at least 15 minutes. Use that time to clean up your kitchen or resist the urge to hover.
Double the batch. Trust me on this. These seeds disappear fast. I always make at least two batches at a time—one for snacking and one to hide from my family. (Okay, I usually end up sharing both, but a girl can dream.)
Variations & Adaptations
One of the best things about this recipe is how easy it is to customize. Here are a few variations I’ve tried and loved:
- Spicy-Sweet: Add ¼ teaspoon of cayenne pepper to the cinnamon sugar mixture. The heat sneaks up on you and pairs beautifully with the sweet coating. I made this for a football game party, and it was the first bowl to empty.
- Maple Cinnamon: Replace the granulated sugar with 3 tablespoons of maple syrup. Skip the vanilla extract and reduce the cinnamon to 1 teaspoon. The seeds will be slightly less crispy but have a deep, rich flavor that’s perfect for fall. Just keep an eye on them—maple syrup can burn faster than sugar.
- Chocolate-Dipped: After the seeds have cooled completely, melt some dark chocolate and drizzle it over the seeds. Let the chocolate set before breaking them into clusters. This turns them into a decadent dessert that feels fancy but takes almost no extra effort.
- Pumpkin Pie Spice: Replace the cinnamon with 2 teaspoons of pumpkin pie spice. This adds notes of nutmeg, ginger, and clove, making the seeds taste like a mini pumpkin pie. I love this version for Thanksgiving snacking.
- Savory-Sweet Combo: Add ½ teaspoon of flaky sea salt on top after roasting. The salt crystals create little bursts of saltiness that make the sweetness pop even more. It’s a simple tweak, but it’s my husband’s favorite way to eat them.
If you have dietary restrictions, this recipe is easy to adapt. Use coconut oil instead of butter for a dairy-free version. For a lower-sugar option, try using coconut sugar—it won’t get as crispy, but the flavor is still wonderful. And if you’re gluten-free, you’re already in luck—pumpkin seeds are naturally gluten-free.
Serving & Storage Suggestions
These crispy cinnamon sugar roasted pumpkin seeds are incredibly versatile. Here’s how to serve and store them for the best experience.
Serving Temperature: These are best at room temperature. The texture is at its peak—crispy, crunchy, and perfectly snappable. You can serve them in a bowl for guests to grab by the handful, or portion them into small cups for a party. I love setting them out alongside a cheese board for a sweet-savory contrast.
Perfect Pairings: These seeds go beautifully with a warm mug of apple cider or a pumpkin spice latte. For a dessert board, pair them with dark chocolate, dried cranberries, and sliced apples. They also make a fantastic topping for yogurt, oatmeal, or even a simple green salad with a tangy vinaigrette. The sweetness balances savory dishes wonderfully.
Storage Instructions: Store completely cooled seeds in an airtight container at room temperature. They will stay fresh and crispy for up to one week. Do not refrigerate them—the moisture in the fridge will make them soft. If you live in a humid climate, you can add a silica gel packet (the kind you find in shoe boxes) to the container to absorb excess moisture.
Freezer Instructions: Yes, you can freeze these! Place the cooled seeds in a freezer-safe bag or container and freeze for up to 3 months. To refresh them, spread the frozen seeds on a baking sheet and warm them in a 300°F (150°C) oven for 5-7 minutes. They’ll crisp right back up. I do this when I make a big batch after pumpkin carving season.
Reheating Tips: If your seeds lose their crunch after a few days, spread them on a baking sheet and pop them in a 300°F (150°C) oven for 5 minutes. Let them cool completely before eating. Avoid using the microwave—it will make them chewy and sad.
Flavor Development: Interestingly, these seeds taste even better the next day. The flavors meld together, and the cinnamon becomes more pronounced. I’ve been known to hide a small stash just so I can enjoy them on day two. Don’t judge me.
Nutritional Information & Benefits
Let’s be real—these are a treat, but they also pack some surprising nutritional benefits. Here’s a rough estimate per ¼ cup serving (about 30g):
- Calories: Approximately 180-200
- Fat: 14g (mostly healthy unsaturated fats from the seeds and butter)
- Carbohydrates: 12g (including 8g of sugar)
- Protein: 7g
- Fiber: 3g
- Iron: 10% of the daily value
- Magnesium: 20% of the daily value
- Zinc: 15% of the daily value
Pumpkin seeds are a fantastic source of magnesium, which supports muscle function and sleep quality. They’re also rich in antioxidants like vitamin E and carotenoids, which help fight inflammation. The zinc content is great for immune health—perfect for the fall and winter months when colds are lurking.
If you’re watching your sugar intake, you can reduce the sugar to 2 tablespoons without sacrificing too much sweetness. The seeds will be slightly less caramelized but still delicious. For a lower-calorie option, use a cooking spray instead of butter—though you’ll lose some of that rich flavor.
These seeds are naturally gluten-free and nut-free, making them a safe snack for many common allergies. Just be sure to check your cinnamon and vanilla extract labels if you have specific sensitivities.
Personally, I love that this snack feels indulgent but actually has some nutritional value. It’s not health food, but it’s a far better choice than a bag of potato chips. And honestly, the satisfaction factor is through the roof.
Conclusion
These crispy cinnamon sugar roasted pumpkin seeds are the snack you didn’t know you needed. They’re simple enough for a weekday treat, special enough for holiday gatherings, and addictive enough that you’ll want to make multiple batches. The boiling trick changes everything—no more chewy, disappointing seeds. Just pure, crunchy, sweet perfection in every bite.
I love this recipe because it reminds me of that afternoon in Mrs. Kowalski’s kitchen, where something so simple became something so memorable. It’s proof that the best recipes often come from the most unassuming moments. And now, it’s your turn to create that moment in your own kitchen.
I’d love to hear how yours turn out! Did you try any of the variations? Did you manage to share them, or did you eat the whole batch yourself? (No judgment here.) Drop a comment below and let me know. And if you’re looking for more fall-inspired snacks, be sure to check out our homemade apple chips and spiced roasted chickpeas—they’re perfect for your autumn snacking rotation. Happy roasting, friends!
Frequently Asked Questions
Can I use store-bought pumpkin seeds instead of fresh?
Yes, but the texture will be different. Fresh seeds from a pumpkin have more moisture and benefit from the boiling step. Pre-packaged seeds are already dried, so they won’t absorb the salted water the same way. If you use store-bought, skip the boiling and toss them directly with butter and cinnamon sugar. Roast for about 12-15 minutes, checking frequently.
Why did my seeds turn out chewy instead of crispy?
This is usually because they weren’t dried thoroughly after boiling, or they were overcrowded on the baking sheet. Make sure to pat the seeds completely dry with a towel, and spread them in a single layer with space between them. Steam is the enemy of crispiness!
Can I make these in an air fryer?
Absolutely! After boiling and drying the seeds, toss them with butter and the cinnamon sugar mixture. Preheat your air fryer to 300°F (150°C) and cook the seeds for 10-12 minutes, shaking the basket halfway through. Keep an eye on them—air fryers run hot and can burn the sugar quickly.
How do I prevent the sugar from burning?
Watch the seeds closely in the last 5 minutes of roasting. If the sugar starts to darken too quickly, reduce the oven temperature to 325°F (160°C). Also, make sure your cinnamon sugar mixture is evenly distributed—clumps of sugar can burn faster than the rest.
Can I double this recipe?
Yes, but use two baking sheets instead of one. Overcrowding the pan will cause the seeds to steam instead of roast. Rotate the sheets halfway through baking for even cooking. You may need to add a few extra minutes to the roasting time.
Pin This Recipe!
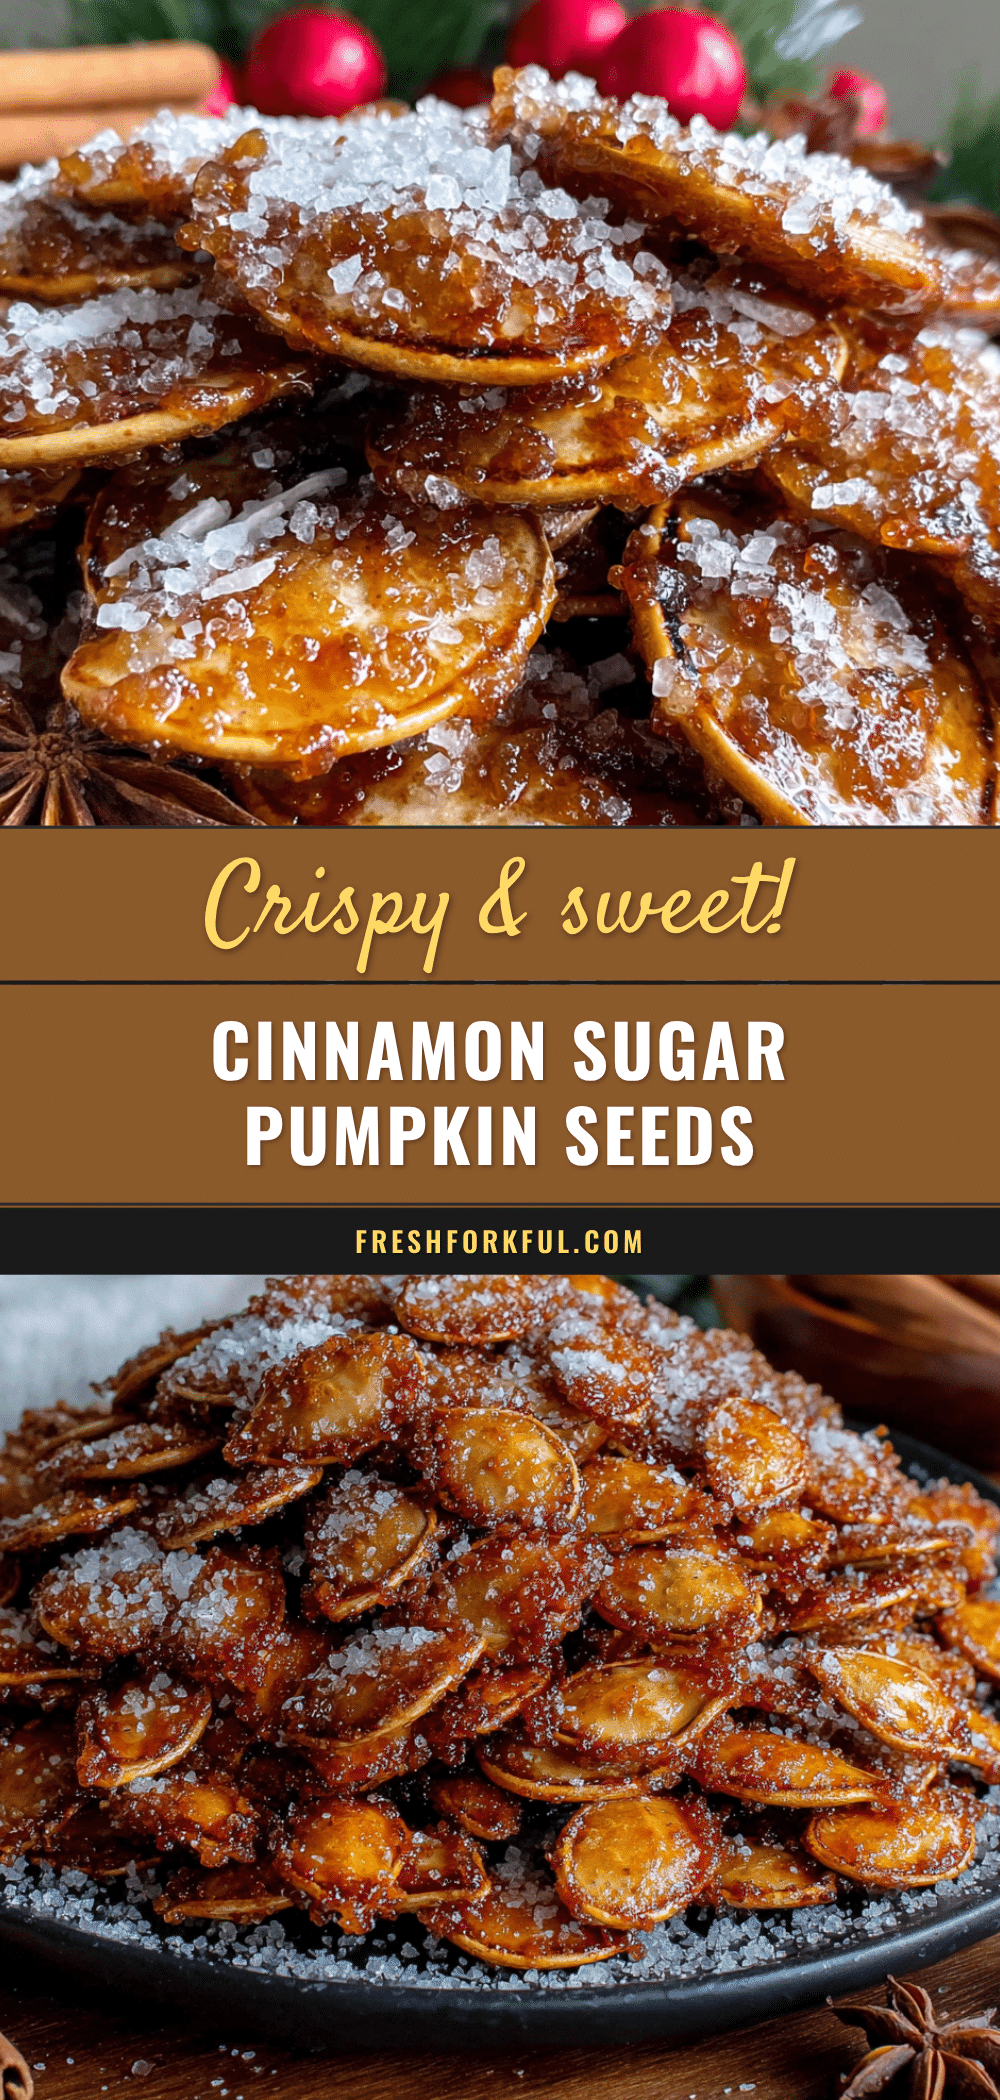
Crispy Cinnamon Sugar Roasted Pumpkin Seeds: Easy Fall Snack

These crispy cinnamon sugar roasted pumpkin seeds are the perfect fall snack. The secret to their perfect crunch is a simple boiling step that ensures every seed comes out crispy and delicious.
- Prep Time: 15 minutes
- Cook Time: 25 minutes
- Total Time: 40 minutes
- Yield: 4 servings 1x
- Category: Snack
- Cuisine: American
Ingredients
- 1 ½ cups fresh pumpkin seeds
- 4 cups water
- 1 tablespoon salt
- 2 tablespoons unsalted butter, melted
- ¼ cup granulated sugar
- 1 ½ teaspoons ground cinnamon
- ½ teaspoon vanilla extract (optional)
- Pinch of salt (for sprinkling)
Instructions
- Preheat your oven to 350°F (175°C). Line a rimmed baking sheet with parchment paper.
- Clean the pumpkin seeds: separate from pumpkin guts, rinse thoroughly under cold water, and pick off any stringy bits.
- In a medium saucepan, bring 4 cups of water and 1 tablespoon of salt to a rolling boil. Add the cleaned pumpkin seeds and boil for exactly 10 minutes.
- Drain the seeds in a colander, then spread them out on a clean kitchen towel or paper towels. Pat them dry as thoroughly as possible.
- In a small bowl, whisk together ¼ cup granulated sugar and 1 ½ teaspoons ground cinnamon. Set aside.
- Place the dried seeds in a mixing bowl. Drizzle with 2 tablespoons melted unsalted butter and ½ teaspoon vanilla extract (if using). Toss until every seed is coated.
- Sprinkle the cinnamon sugar mixture over the seeds and toss again until evenly coated.
- Spread the coated seeds in a single layer on the prepared baking sheet.
- Roast for 20-25 minutes, stirring after 10 minutes, until golden brown and fragrant.
- Remove from the oven and let the seeds cool completely on the baking sheet (at least 15 minutes). They will continue to crisp up as they cool.
- Serve immediately or store in an airtight container at room temperature for up to a week.
Notes
The boiling step is crucial for achieving crispy seeds. Make sure to dry the seeds thoroughly after boiling to prevent steaming. Watch the seeds closely in the last few minutes of roasting to prevent burning. For extra crispy seeds, leave them in the oven with the door cracked open for 5 minutes after turning off the heat.
Nutrition
- Serving Size: ¼ cup (about 30g)
- Calories: 190
- Sugar: 8
- Sodium: 180
- Fat: 14
- Saturated Fat: 4
- Carbohydrates: 12
- Fiber: 3
- Protein: 7
Keywords: pumpkin seeds, cinnamon sugar, roasted pumpkin seeds, fall snack, crispy pumpkin seeds


