Love this? Save it for later!
Share the inspiration with your friends
I was standing in line at the hardware store—of all places—when the woman behind me started talking about snack cups. She was maybe seventy, holding a bag of soil amendments, and she just looked at my cart and said, “You know, those packaged snacks are fine, but they don’t have that thing.” I turned around, completely confused. “What thing?” I asked. She smiled, shifted her bag to the other arm, and said, “The thing that makes you feel good after you eat them. You want a recipe that does that.”
Before I could even respond, she was telling me about these little clementine pumpkin snack cups she’d been making for her grandkids. I pulled out my phone and started typing—I mean, you don’t ignore a recipe from a hardware store oracle, right? She told me she’d been making them for thirty years, ever since her daughter refused to eat plain pumpkin puree as a toddler. “You just need a clementine, some pumpkin, and a few things from your pantry,” she said. “That’s it.”
Honestly, I thought she was oversimplifying. But I tried it that same week, and let me tell you—I’ve never looked at a clementine the same way. These easy clementine pumpkin snack cups are the kind of treat that feels like a hug in a bowl. They’re sweet but not too sweet, creamy but light, and they come together in about ten minutes. Maybe you’ve been there—staring at a pile of clementines and a can of pumpkin, wondering what on earth to do with them. Well, this is it. This is the thing that woman was talking about.
Why You’ll Love These Clementine Pumpkin Snack Cups
I’ve tested this recipe more times than I care to admit, and I can tell you with confidence—it works every single time. Here’s why these snack cups have earned a permanent spot in my weekly rotation:
- Quick & Easy: You’re looking at less than 15 minutes from start to finish. No oven required, no complicated steps. Perfect for those afternoons when you need something good, fast.
- Simple Ingredients: If you’ve got clementines, pumpkin puree, yogurt, and a sweetener in your kitchen, you’re already halfway there. No special trips to the store needed.
- Perfect for Snack Time: These work for after-school snacks, post-workout refueling, or even a light dessert. They’re portable, too—just pop the lid on a jar and go.
- Crowd-Pleaser: I’ve served these to kids, adults, and picky eaters. They disappear fast. There’s something about that citrus-pumpkin combo that just works.
- Unbelievably Delicious: The texture is what gets me every time. The clementine juice mixes with the pumpkin and yogurt to create this silky, almost mousse-like consistency. It’s comfort food that doesn’t weigh you down.
What makes these different from other pumpkin snacks? It’s the clementine, honestly. Most pumpkin recipes rely on heavy spices and sugar to carry the flavor. But here, the bright, fresh citrus cuts through the richness of the pumpkin in a way that feels surprising and light. It’s not just another pumpkin recipe—it’s the one that makes you wonder why you never thought of it before.
I love that this recipe lets you feel good about what you’re eating. It’s naturally sweetened, packed with vitamin C from the clementines, and has that cozy fall flavor without being heavy. It’s the kind of snack that makes you close your eyes after the first bite—and then reach for another spoonful.
What Ingredients You Will Need
This recipe uses simple, wholesome ingredients to create something that tastes far more complex than it is. Most of these are probably in your kitchen right now, which is part of the magic.
- Clementines – 4 medium clementines, peeled and segmented (you’ll need about 1 cup of segments). Look for ones that feel heavy for their size—they’re juicier. I prefer Cuties or Halos, but any brand works. The zest from one clementine is optional but adds a lovely aromatic touch.
- Pumpkin puree – 1 cup (240g) canned pumpkin puree. Make sure it’s 100% pure pumpkin, not pumpkin pie filling. Libby’s is my go-to for consistent texture and flavor. If you’re feeling ambitious, you can roast and puree your own sugar pumpkin—just make sure to drain off any excess liquid.
- Greek yogurt – 1/2 cup (120g) plain Greek yogurt. Full-fat gives the creamiest result, but 2% works well too. For a dairy-free option, use coconut yogurt or a thick plant-based yogurt. The yogurt adds protein and that tangy balance that makes the pumpkin shine.
- Honey or maple syrup – 2-3 tablespoons, depending on your sweetness preference. I usually go with 2 tablespoons of honey because it pairs beautifully with the clementine. Maple syrup works wonderfully for a vegan version and adds its own warm, woodsy note.
- Vanilla extract – 1/2 teaspoon. Pure vanilla extract is worth it here—you’ll taste the difference. Imitation vanilla can sometimes taste artificial against the bright clementine flavor.
- Pumpkin pie spice – 1/2 teaspoon. You can use store-bought or make your own with 1/4 teaspoon cinnamon, 1/8 teaspoon nutmeg, 1/8 teaspoon ginger, and a pinch of cloves. I actually prefer making my own blend so I can control the warmth.
- Salt – A tiny pinch. This is optional but it really does make the flavors pop. Don’t skip it if you have it on hand.
- Optional toppings – A sprinkle of granola, chopped pecans, or a few pomegranate arils add nice texture. Toasted coconut flakes are also lovely here.
The beauty of this ingredient list is how flexible it is. You can swap the Greek yogurt for cottage cheese if you want extra protein—just blend it first for a smooth texture. If you don’t have clementines, mandarins or even a small navel orange will work. The proportions stay the same, but the flavor will shift slightly depending on the citrus you use.
Equipment Needed
You don’t need much for these snack cups, which is part of why I love them. Here’s what you’ll want to have on hand:
- Mixing bowl – Any medium bowl works. I use a glass one so I can see the color of the mixture as I stir.
- Whisk or fork – A whisk is ideal for getting that smooth, lump-free texture, but a fork works in a pinch. I’ve used a fork plenty of times when my whisk was in the dishwasher.
- Measuring cups and spoons – For accuracy. Eyeballing works if you’re experienced, but measuring ensures consistency every time.
- Cutting board and knife – For segmenting the clementines. A small paring knife is perfect for this.
- Small jars or bowls – 4 to 6 small jars (4-ounce or 6-ounce size) work beautifully. Mason jars, Weck jars, or even small ramekins are great. I love using glass jars because they’re reusable and look pretty.
- Zester (optional) – If you want to add clementine zest for extra flavor. A microplane is my favorite tool for this job.
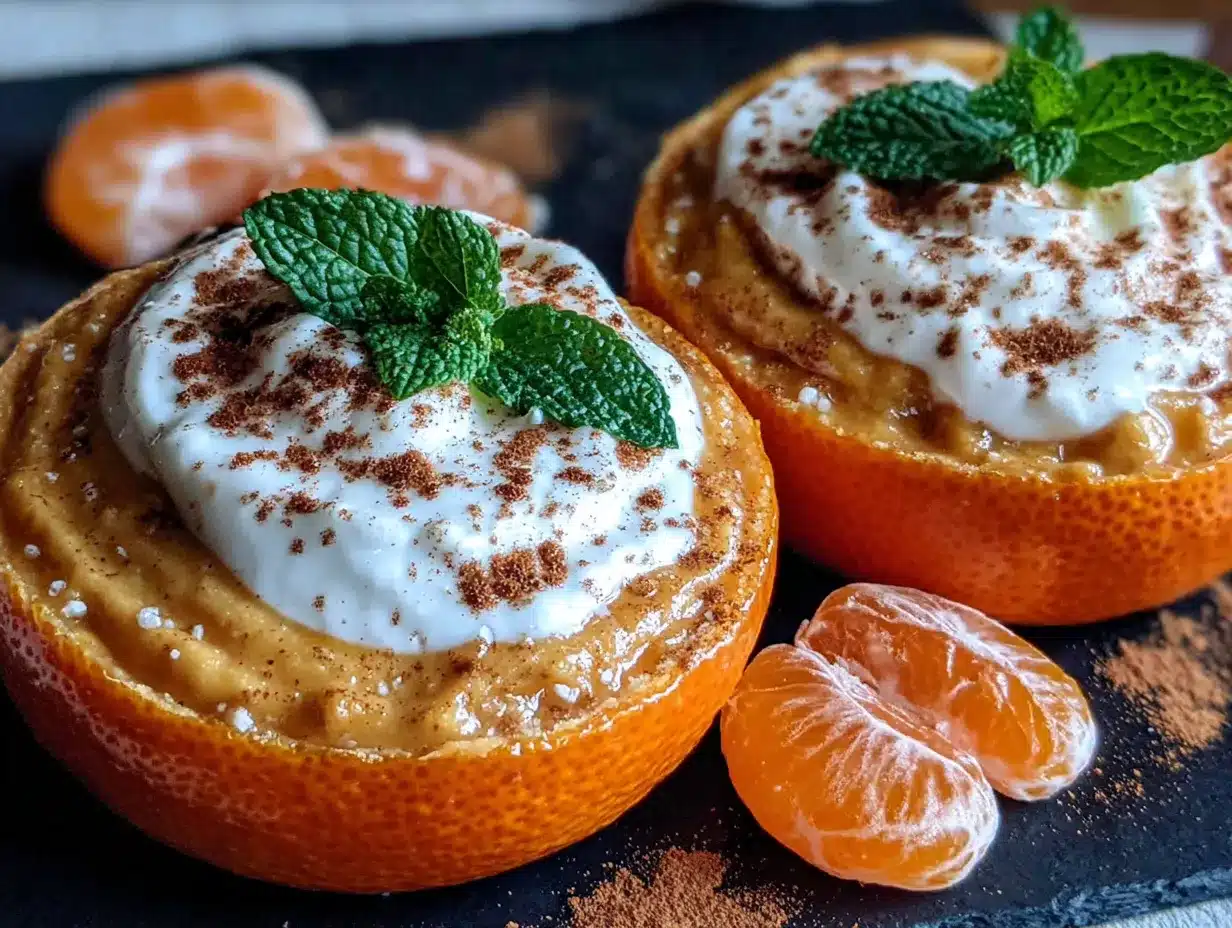
If you don’t have jars, don’t worry. You can serve these in small bowls or even in hollowed-out clementine halves for a fun presentation. I’ve also made them in a single large dish and scooped portions as needed—works perfectly.
Preparation Method
- Prepare the clementines. Peel all 4 clementines and separate them into segments. Remove any seeds you find (clementines are usually seedless, but occasionally one sneaks in). Roughly chop the segments into smaller pieces—about 1/2-inch chunks. You want some texture, so don’t pulverize them. Set aside about 1/4 cup of the chopped clementines for topping later. This step takes about 5 minutes.
- Zest one clementine (optional). Before you peel that last clementine, take a microplane and gently zest the outer orange skin. Be careful not to get the white pith—it’s bitter. You’ll need about 1/2 teaspoon of zest. This little step adds a burst of fresh citrus aroma that really lifts the whole dish.
- Mix the base. In your medium bowl, combine the pumpkin puree, Greek yogurt, honey (or maple syrup), vanilla extract, pumpkin pie spice, and the pinch of salt. Whisk everything together until smooth and well combined. The mixture should be thick but spreadable—like a creamy pudding. If it seems too thick, you can add a tablespoon of clementine juice from the segments you chopped.
- Fold in the clementines. Add the chopped clementine segments (except the reserved 1/4 cup) to the pumpkin mixture. Gently fold them in with a spatula or spoon. You want the clementine pieces distributed evenly throughout, but try not to break them up too much. The little bursts of citrus are what make these snack cups special.
- Assemble the cups. Spoon the mixture into your jars or bowls, dividing it evenly. I usually get about 4 to 6 servings, depending on the size of my containers. Fill them about 3/4 full to leave room for toppings.
- Add the toppings. Sprinkle the reserved chopped clementine pieces over the top of each cup. If you’re using any additional toppings like granola, nuts, or coconut flakes, add them now. The contrast between the creamy base and the crunchy topping is what makes each spoonful interesting.
- Chill (optional but recommended). You can serve these immediately, but I find they’re even better after 30 minutes in the fridge. The flavors meld together, and the texture firms up slightly. If you’re meal-prepping, these keep beautifully for up to 3 days in the refrigerator.
- Serve and enjoy. Give each cup a gentle stir before eating if you’ve chilled them. The clementine pieces will have released some juice, creating a lovely syrup at the bottom. That’s the good stuff—don’t leave it behind.
One thing I learned the hard way: don’t overmix after you add the clementines. The first time I made these, I stirred vigorously trying to incorporate everything, and I ended up with a pinkish-orange mush. The clementine pieces should remain distinct for the best texture and visual appeal. Gentle folds are your friend here.
Cooking Tips & Techniques
After making these snack cups about a dozen times, I’ve picked up a few tricks that make a real difference. Let me share what I’ve learned—including the mistakes that taught me.
Choose the right clementines. Not all clementines are created equal. Look for ones that feel firm but give slightly when you squeeze them. If they’re rock hard, they’re underripe and won’t be as sweet. If they’re too soft, they might be past their prime and taste fermented. The perfect clementine has a bright, citrusy smell and feels heavy for its size.
Don’t skip the draining step. When you chop your clementine segments, you’ll notice they release juice. That’s fine—you want some of that juice in the mixture. But if your clementines are especially juicy, you might want to drain off a tablespoon or two of the excess liquid before adding them to the pumpkin mixture. Too much liquid can make the snack cups watery. I learned this the hard way when I made a batch that was more soup than snack cup.
Let the yogurt come to room temperature. Cold yogurt straight from the fridge can make the pumpkin mixture seize up and become difficult to mix. Let it sit on the counter for 10-15 minutes before you start. The mixture comes together much more smoothly, and the flavors blend better.
Taste as you go. This is the most important tip I can give you. Sweetness levels vary depending on your clementines and your yogurt. Taste the mixture before you portion it into cups and adjust the honey or maple syrup accordingly. I’ve had batches where the clementines were so sweet I didn’t need any extra sweetener at all.
Layer your toppings strategically. If you’re adding granola or nuts, don’t mix them into the base—they’ll get soggy. Instead, sprinkle them on top just before serving. For meal prep, keep the toppings in a separate container and add them when you’re ready to eat. This keeps everything crunchy and fresh.
Use a piping bag for a prettier presentation. If you’re serving these for a gathering or want to impress, spoon the mixture into a piping bag (or a zip-top bag with the corner snipped off) and pipe it into the jars. It looks much more polished and professional. I did this for a brunch once, and everyone thought I’d bought them from a bakery.
Variations & Adaptations
One of the best things about this recipe is how easily it adapts to different tastes and dietary needs. Here are some variations I’ve tried and loved:
Vegan Version: Swap the Greek yogurt for a thick coconut yogurt or cashew-based yogurt. Use maple syrup instead of honey. The coconut version adds a subtle tropical note that pairs surprisingly well with the clementine and pumpkin. I’ve made this for vegan friends, and they couldn’t tell the difference.
Protein-Packed Version: Add a scoop of unflavored or vanilla protein powder to the pumpkin mixture. You’ll need to add an extra tablespoon or two of yogurt or milk to keep the texture creamy. I use a collagen peptide powder because it dissolves completely without changing the flavor. This makes these snack cups a great post-workout option.
Seasonal Twist: In the summer, swap the clementines for fresh peaches or nectarines. The combination of pumpkin and peach sounds unusual, but it works beautifully. In the winter, try using blood oranges for a stunning red-orange color and a slightly tart flavor. During the fall, add a tablespoon of apple butter to the pumpkin mixture for extra depth.
Spiced-Up Version: If you like things with a kick, add a pinch of cayenne pepper or a dash of cinnamon oil to the pumpkin mixture. The heat contrasts beautifully with the sweet clementines. I tried this on a whim one night, and it’s become my secret-weapon version for dinner parties.
Low-Sugar Version: Skip the honey or maple syrup entirely and rely on the natural sweetness of the clementines and pumpkin. You can also use a few drops of stevia or monk fruit sweetener if you prefer. The snack cups will be less sweet, but the citrus flavor really shines through.
My personal favorite variation? I add a tablespoon of chia seeds to the mixture and let it sit for 15 minutes before assembling. The chia seeds absorb some of the liquid and create a pudding-like texture that’s incredibly satisfying. Plus, the added fiber and omega-3s make it even more nutritious.
Serving & Storage Suggestions
These snack cups are versatile enough for any time of day. Here’s how I like to serve and store them:
Serving Temperature: I prefer them chilled, straight from the fridge. The cold temperature makes the texture feel more like a mousse or pudding. But they’re also lovely at room temperature, especially if you’re serving them as a quick breakfast. The flavors are more pronounced when they’re not ice-cold.
Presentation Ideas: For a casual snack, serve them in small mason jars with a spoon. For a more elegant presentation, layer the mixture with extra clementine segments and a dollop of whipped cream in a clear glass. Garnish with a mint sprig or a cinnamon stick. I once served these in hollowed-out clementine halves for a fall-themed party, and they were a hit.
What to Serve With Them: These snack cups pair beautifully with a cup of chai tea or a warm latte. For a more substantial snack, serve them alongside a handful of almonds or a slice of whole-grain toast. They also work well as a light dessert after a heavy meal—the citrus cuts through the richness.
Storage Instructions: Store any leftover snack cups in an airtight container in the refrigerator for up to 3 days. The texture will soften slightly over time as the clementine pieces release more juice, but the flavor only gets better. I actually think they’re at their best on day two.
Freezing: You can freeze these snack cups for up to 2 months. Spoon the mixture into freezer-safe jars or containers, leaving about 1/2 inch of headspace for expansion. Thaw overnight in the refrigerator before serving. The texture will be slightly icier after freezing, so I recommend giving them a good stir before eating. I wouldn’t freeze them with crunchy toppings—add those fresh after thawing.
Reheating: I don’t recommend heating these snack cups. They’re meant to be served cold or at room temperature. If you prefer a warm dessert, you can gently warm the pumpkin mixture on the stove before assembling, but don’t boil it—the yogurt will curdle.
Nutritional Information & Benefits
I’m not a nutritionist, but I’ve done my homework on these ingredients, and I feel good about what’s in these snack cups. Here’s a rough breakdown per serving (based on 4 servings with the basic recipe):
- Calories: Approximately 120-150
- Protein: 6-8 grams (thanks to the Greek yogurt)
- Carbohydrates: 20-25 grams (mostly natural sugars from fruit and honey)
- Fiber: 3-4 grams (from the pumpkin and clementines)
- Fat: 2-4 grams (depending on yogurt fat content)
- Vitamin C: 30-40% of your daily needs (from the clementines)
- Vitamin A: 100% or more of your daily needs (from the pumpkin)
The health benefits here are real. Pumpkin is packed with beta-carotene, which your body converts to vitamin A for healthy vision and immune function. Clementines are loaded with vitamin C and antioxidants. Greek yogurt provides probiotics for gut health and protein for satiety. This is a snack that actually nourishes you.
These snack cups are naturally gluten-free and can easily be made dairy-free or vegan with simple substitutions. The main allergens to note are dairy (from the yogurt) and tree nuts (if you add nut-based toppings). If you’re serving these to someone with allergies, just check your ingredient labels carefully.
I love that I can feel good about eating these for breakfast or as an afternoon pick-me-up. They satisfy my sweet tooth without the sugar crash, and they keep me full until my next meal. That’s a win in my book.
Conclusion
These easy clementine pumpkin snack cups are proof that the best recipes often come from the most unexpected places—like a hardware store line, a quiet neighbor, or a scribbled note on your phone. They’re simple enough for a busy weekday but special enough to serve to guests. The combination of bright citrus and cozy pumpkin is something you’ll find yourself craving again and again.
I hope you’ll try making these and make them your own. Maybe you’ll add a pinch of cardamom or a drizzle of tahini. Maybe you’ll serve them in tiny jars for a party or pack them in your lunch for a week. That’s the beauty of a recipe like this—it’s a starting point, not a rulebook. The woman at the hardware store told me, “The best recipes are the ones you can change without ruining.” She was right.
If you give these a try, I’d love to hear how they turn out. Leave a comment below and let me know what variations you tried. Did you use maple syrup instead of honey? Did you add a secret spice? Share your version—I’m always looking for new ideas. And if you love these as much as I do, please share this recipe with someone who needs a little brightness in their day. Happy cooking!
Frequently Asked Questions
Can I use canned pumpkin pie filling instead of pumpkin puree?
I wouldn’t recommend it. Pumpkin pie filling already has sugar and spices added, which will throw off the balance of this recipe. The result will be much sweeter and spicier than intended. Stick with 100% pure pumpkin puree and add your own sweetener and spices—you’ll have much more control over the final flavor.
How long do these snack cups last in the fridge?
They’ll stay fresh for up to 3 days in an airtight container in the refrigerator. The texture will soften slightly as the clementine pieces release juice, but the flavor actually improves. If you’re meal-prepping, I recommend adding any crunchy toppings just before serving to keep them from getting soggy.
Can I use a different citrus fruit instead of clementines?
Absolutely. Mandarins, tangerines, or even a small navel orange work well. Each citrus will bring its own unique flavor profile. Mandarins are the closest substitute. Oranges will be slightly less sweet and more tart. Grapefruit would work too, but you’ll want to add a bit more sweetener to balance the bitterness.
Can I make these snack cups without yogurt?
Yes, you can. For a dairy-free version, use coconut cream or a thick plant-based yogurt. For a completely yogurt-free option, you can blend silken tofu until smooth and use that as the base. The texture will be slightly different—more like a mousse—but it’s still delicious. Just make sure whatever you use is thick enough to hold the mixture together.
Can I freeze these snack cups for later?
Yes, they freeze well for up to 2 months. Spoon the mixture into freezer-safe containers, leaving a little space for expansion. Thaw them overnight in the refrigerator before serving. The texture will be slightly icier after freezing, so give them a good stir. I wouldn’t freeze them with crunchy toppings—add those fresh after thawing for the best texture.
Pin This Recipe!
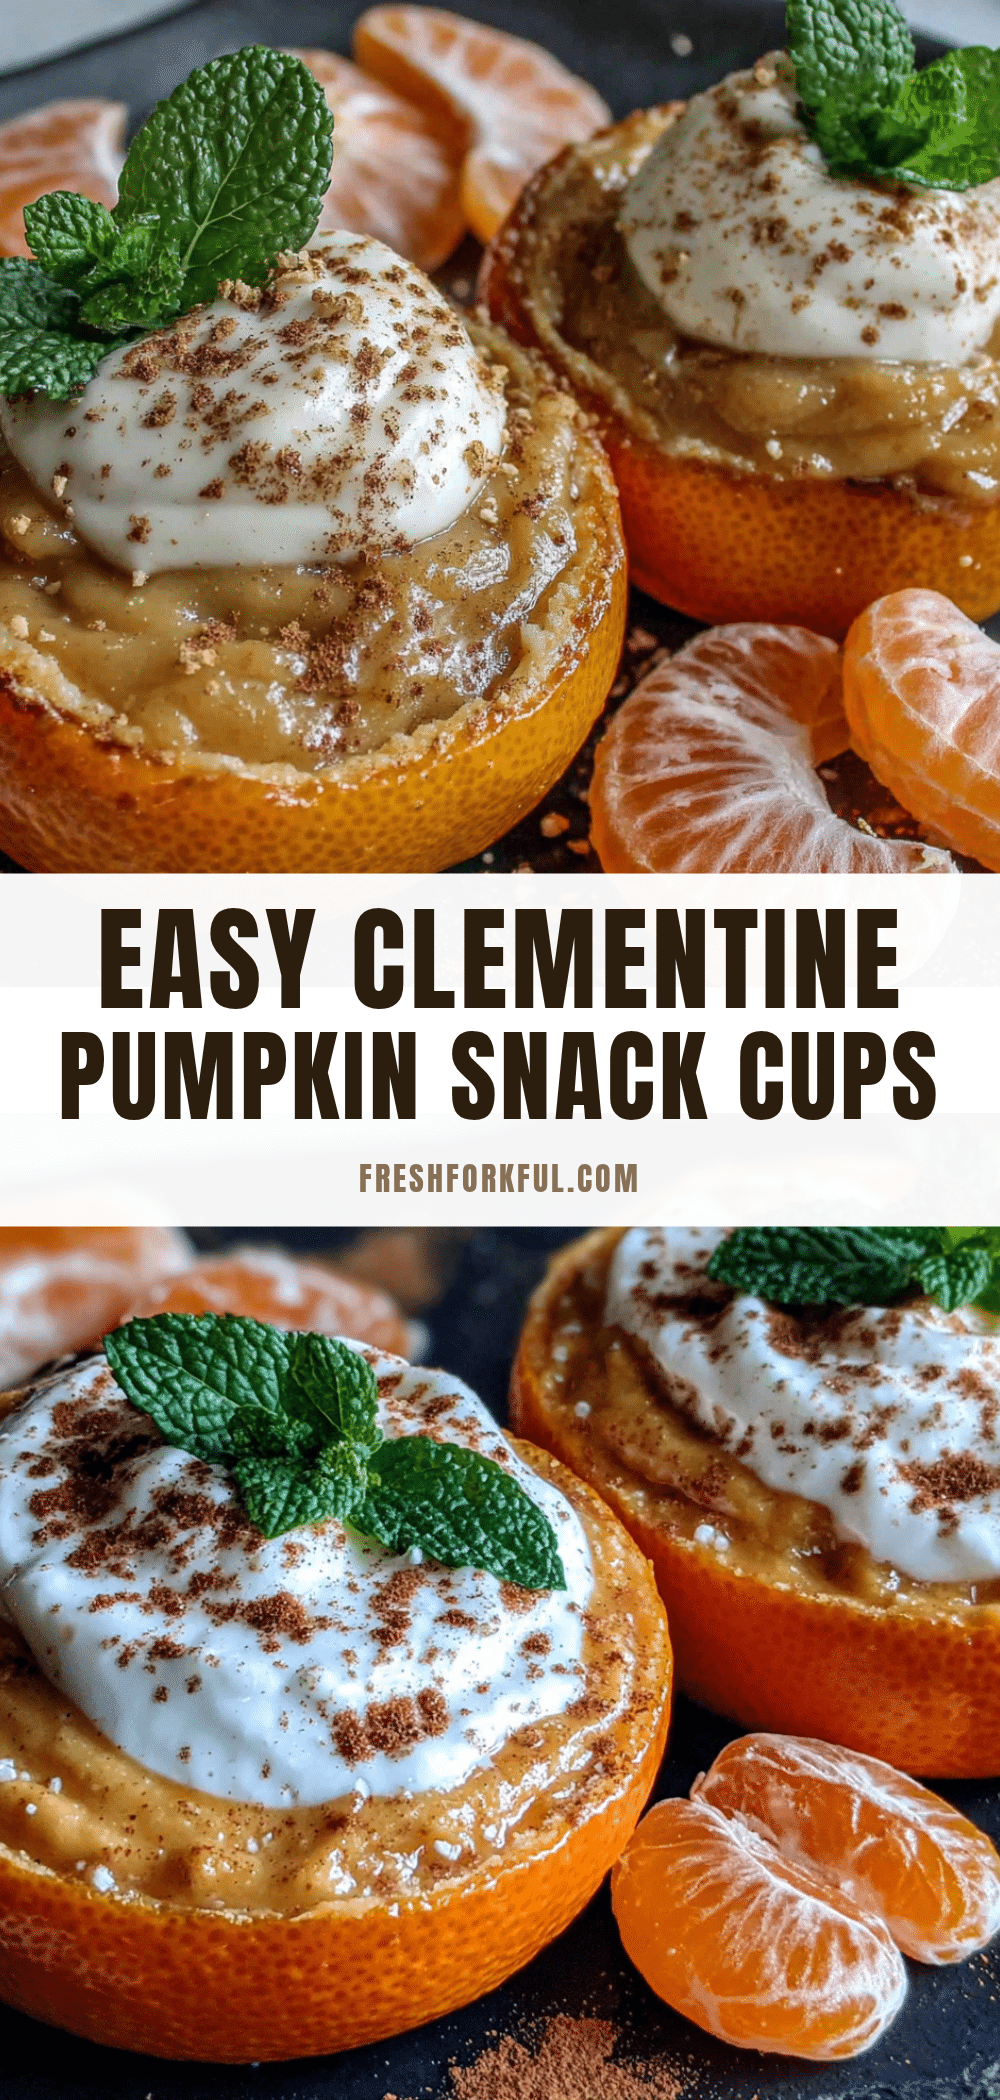
Easy Clementine Pumpkin Snack Cups: The Best Homemade Treat

These easy clementine pumpkin snack cups are the kind of treat that feels like a hug in a bowl. They’re sweet but not too sweet, creamy but light, and they come together in about ten minutes.
- Prep Time: 10 minutes
- Cook Time: 0 minutes
- Total Time: 10 minutes
- Yield: 4-6 servings 1x
- Category: Snack
- Cuisine: American
Ingredients
- 4 medium clementines, peeled and segmented (about 1 cup of segments)
- 1 cup (240g) canned pumpkin puree (100% pure pumpkin)
- 1/2 cup (120g) plain Greek yogurt (full-fat or 2%)
- 2–3 tablespoons honey or maple syrup
- 1/2 teaspoon vanilla extract
- 1/2 teaspoon pumpkin pie spice
- A tiny pinch of salt
- Optional toppings: granola, chopped pecans, pomegranate arils, toasted coconut flakes
Instructions
- Prepare the clementines: Peel all 4 clementines and separate them into segments. Remove any seeds. Roughly chop the segments into 1/2-inch chunks. Set aside about 1/4 cup of the chopped clementines for topping later.
- Zest one clementine (optional): Before peeling the last clementine, gently zest the outer orange skin to get about 1/2 teaspoon of zest. Avoid the white pith.
- Mix the base: In a medium bowl, combine the pumpkin puree, Greek yogurt, honey (or maple syrup), vanilla extract, pumpkin pie spice, and salt. Whisk until smooth and well combined. If too thick, add a tablespoon of clementine juice from the chopped segments.
- Fold in the clementines: Add the chopped clementine segments (except the reserved 1/4 cup) to the pumpkin mixture. Gently fold with a spatula until evenly distributed, being careful not to break up the pieces too much.
- Assemble the cups: Spoon the mixture into 4 to 6 small jars or bowls, filling them about 3/4 full.
- Add the toppings: Sprinkle the reserved chopped clementine pieces over the top. Add any additional toppings like granola, nuts, or coconut flakes.
- Chill (optional but recommended): Serve immediately or refrigerate for at least 30 minutes to allow flavors to meld. For meal prep, these keep for up to 3 days in the refrigerator.
- Serve and enjoy: Give each cup a gentle stir before eating if chilled. The clementine pieces will have released some juice, creating a lovely syrup at the bottom.
Notes
For best texture, don’t overmix after adding clementines. Let yogurt come to room temperature before mixing. Taste and adjust sweetness as clementine sweetness varies. For meal prep, keep crunchy toppings separate and add just before serving.
Nutrition
- Serving Size: 1 snack cup (based o
- Calories: 120150
- Sugar: 1518
- Sodium: 50100
- Fat: 24
- Saturated Fat: 12
- Carbohydrates: 2025
- Fiber: 34
- Protein: 68
Keywords: clementine pumpkin snack cups, easy snack, healthy snack, pumpkin recipe, clementine recipe, no-bake snack, gluten-free snack, vegetarian snack


