Love this? Save it for later!
Share the inspiration with your friends
Introduction
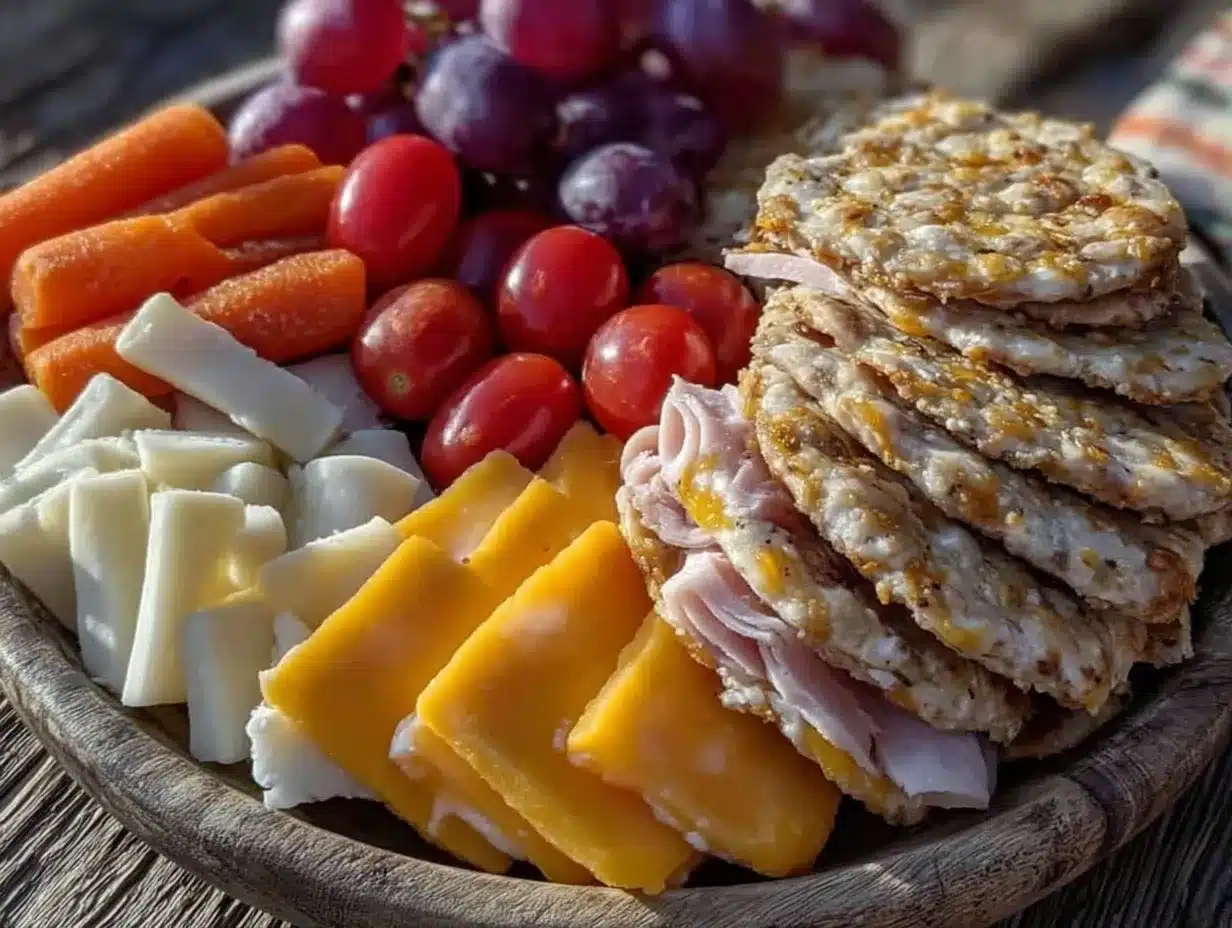
“I never thought a simple rainy Saturday afternoon could lead to such a game-changer in my kitchen,” I confessed to my friend over coffee last week. You see, I was scrambling to whip up something quick and healthy for my niece’s school snack when inspiration struck. While rummaging through the fridge, I found an odd assortment of cheese cubes, turkey slices, crunchy veggies, and some whole grain crackers. Honestly, it was a bit of a mess at first—pieces falling everywhere, my niece giggling as she helped me assemble. But that chaotic little project turned into our new favorite: Healthy DIY Lunchables for Kids.
Maybe you’ve been there too—looking for a wholesome, fuss-free lunchbox idea that kids actually enjoy without filling it with processed junk. These homemade Lunchables are a breath of fresh air, offering a mix of nutrition and fun, plus the bonus of knowing exactly what’s inside. No mystery ingredients, no preservatives, just simple, real food turned into a colorful, customizable snack tray. I remember how my niece’s eyes lit up when she got to choose her favorite combos—it’s like snack time became a mini celebration.
So, let me tell you why this recipe stuck with me and why it might just become your go-to for busy weekdays or laid-back weekends. This isn’t just about packing food; it’s about sharing moments, making healthier choices, and sneaking in those extra servings of veggies without a battle. Ready to make snack time the highlight of your kid’s day?
Why You’ll Love This Recipe
After testing and perfecting these Healthy DIY Lunchables for Kids, I’m confident you’ll appreciate how straightforward and versatile they are. Here’s why this recipe has become a staple in my home:
- Quick & Easy: Comes together in under 15 minutes, perfect for those mornings when time is tight.
- Simple Ingredients: Uses everyday pantry staples and fresh produce you probably already have on hand.
- Perfect for Lunchboxes & Snacks: Great for school days, playdates, or even as an after-school treat.
- Crowd-Pleaser: Kids love the hands-on approach of assembling their own snack boxes, which means less fuss and more smiles.
- Unbelievably Delicious: The combination of savory, crunchy, and fresh hits all the right notes, making it feel like a mini party in every bite.
What sets this version apart? I’ve focused on balancing flavors and textures while keeping everything wholesome. For example, blending in a spread of hummus or a light cream cheese adds moisture and taste without overwhelming the natural flavors. Plus, swapping out processed meats for lean turkey or grilled chicken keeps it real and nourishing. Honestly, it’s the kind of snack that makes you close your eyes and savor every bite—comfort food with a smart twist. If you want to make your kid’s snack time both joyful and guilt-free, this recipe is your new best friend.
What Ingredients You Will Need
This recipe uses simple, wholesome ingredients to deliver bold flavor and satisfying texture without the fuss. Most of these are pantry staples or fresh items easy to find year-round.
- For the Protein:
- Lean turkey breast slices (about 4 oz / 115 g) – I like Applegate Naturals for clean quality
- Cheese cubes (1 cup / 120 g) – cheddar or mild Colby for kid-friendly flavor
- Hard-boiled eggs (2 large) – peeled and sliced
- For the Crackers & Base:
- Whole grain crackers (about 10-12 pieces) – try Triscuit Thin Crisps for crunch without too much salt
- Mini whole wheat pita pockets (optional, 4 pieces) – great for variety
- For the Veggies & Fruits:
- Baby carrots (1 cup / 120 g) – peeled and trimmed
- Cucumber slices (1 cup / 120 g) – fresh and crisp
- Seedless grapes or cherry tomatoes (1 cup / 150 g) – add natural sweetness and color
- For Dips & Spreads:
- Hummus (½ cup / 120 ml) – store-bought or homemade works well
- Light cream cheese (¼ cup / 60 g) – soft and spreadable
- Optional Extras:
- Olives, pitted and sliced (¼ cup / 40 g) – adds a salty pop
- Sunflower seeds or pumpkin seeds (2 tbsp / 15 g) – for extra crunch
- Fresh herbs like parsley or basil (a few sprigs) – brightens flavors and colors
Feel free to swap in almond or gluten-free crackers if needed—I’ve done this for friends with allergies and it works beautifully. For the cheese, go for small-curd cottage cheese if your kids prefer milder textures. And if it’s summer, swapping grapes for fresh berries adds a juicy twist. The key is fresh, simple, and colorful ingredients that make snack time fun and nourishing.
Equipment Needed
- Sharp kitchen knife – essential for slicing cheese, veggies, and meats neatly
- Cutting board – a sturdy surface helps keep things safe and tidy
- Small mixing bowls – for dips and organizing ingredients
- Serving trays or divided lunch containers – I recommend bento boxes for keeping items separate
- Measuring cups and spoons – handy for portion control and consistency
- Optional: egg slicer – makes slicing hard-boiled eggs quick and uniform
If you don’t have a fancy bento box, no worries! Regular containers with small silicone cups or cupcake liners do the trick. I’ve also used a simple plate with parchment paper for an impromptu lunchable-style snack on the go. Keeping tools minimal keeps the process stress-free, which is exactly what you want on busy days.
Preparation Method
- Prepare Hard-Boiled Eggs: Place 2 large eggs in a saucepan, cover with cold water by 1 inch (2.5 cm). Bring to a boil over medium-high heat, then cover and remove from heat. Let sit for 10-12 minutes. Drain and cool under cold running water, then peel and slice. (About 15 minutes total)
- Slice Cheese and Turkey: Cut 1 cup (120 g) of cheddar or Colby cheese into bite-sized cubes. Lay out 4 oz (115 g) of turkey breast slices and cut into smaller pieces or strips for easy eating. (5 minutes)
- Wash and Prep Veggies & Fruits: Rinse baby carrots and cucumber slices under cold water. Trim carrots if needed. Wash grapes or cherry tomatoes thoroughly. Pat dry. (5 minutes)
- Assemble Crackers and Pita: Arrange whole grain crackers (10-12 pieces) on your serving tray. Optionally, cut mini whole wheat pita pockets into halves for variety. (2 minutes)
- Arrange Components: In your lunchbox or tray, place cheese cubes, turkey slices, and egg slices in separate sections. Add veggies and fruits in their own compartments to keep flavors distinct. (5 minutes)
- Add Dips: Spoon ½ cup (120 ml) of hummus and ¼ cup (60 g) of light cream cheese into small containers or silicone cups. Place these alongside the proteins and veggies for dipping. (2 minutes)
- Optional Toppings: Sprinkle sunflower or pumpkin seeds over veggies or add sliced olives for an extra flavor boost. Garnish with fresh herbs if desired. (1 minute)
- Pack and Store: Close the container securely. If packing for school or later, keep refrigerated until ready to serve. (1 minute)
Pro tip: If you’re prepping these the night before, keep wet ingredients like cucumber and dips separate until just before serving to prevent sogginess. Also, letting kids help with assembly makes for a fun activity and encourages them to try new foods—they’re way more likely to eat what they helped create!
Cooking Tips & Techniques
While this recipe is mostly assembly, a few tricks can make your Healthy DIY Lunchables shine every time. First, choose fresh ingredients—crisp veggies and high-quality meats make all the difference in taste and texture. I learned the hard way that soggy crackers are a total bummer, so keeping dips separate until snack time is a must.
Another tip: cut ingredients into bite-size pieces to make eating easier and safer for younger kids. I like to use an egg slicer for the hard-boiled eggs because it’s quick and creates perfect rounds. Also, balancing colors on the tray isn’t just for looks—it encourages kids to sample different foods, which helps with picky eaters.
Don’t forget to rotate ingredients seasonally to keep things interesting. For example, swap cucumbers with roasted sweet potato cubes in fall, or use fresh strawberries instead of grapes in spring. This keeps lunchboxes exciting and packed with nutrients.
Lastly, make it interactive by letting kids choose their own combos. When they feel involved, they’re more likely to enjoy their snacks. I once tried prepping everything myself and found my niece picked at it, but when she built her own box, she devoured every bite.
Variations & Adaptations
Healthy DIY Lunchables are super adaptable to fit different tastes, diets, and seasons. Here are a few ideas to mix it up:
- Gluten-Free Option: Swap whole grain crackers for gluten-free rice crackers or corn tortilla chips. Use gluten-free pita or skip it entirely.
- Vegetarian Variation: Replace turkey with hummus, hard-boiled eggs, or roasted chickpeas for protein. Add extra cheese or nuts for richness.
- Seasonal Flavors: In winter, add roasted butternut squash cubes or apple slices with a sprinkle of cinnamon. Summer calls for fresh berries and snap peas for a burst of freshness.
- Flavor Twist: Try a Mediterranean version with feta cheese, kalamata olives, cucumber, and tzatziki dip. Or go Mexican-inspired with shredded chicken, avocado slices, and salsa.
- Personal Favorite: I once added a tiny scoop of guacamole alongside the classic hummus, and that creamy addition was a big hit with my niece—she kept asking for “that green stuff” every time!
Serving & Storage Suggestions
These Healthy DIY Lunchables are best served chilled or at room temperature. If packing for school, keep them in an insulated lunch bag with a cold pack to keep everything fresh. Presentation-wise, arranging foods in small sections or silicone cups helps keep flavors separate and visually appealing.
Pair the lunchables with a small bottle of water or fresh fruit juice for a balanced meal. For adults or older kids, adding a side salad or a small soup can turn this into a more substantial lunch.
If you have leftovers or want to prep ahead, store components separately in airtight containers in the fridge. Crackers should stay dry until serving to avoid sogginess. Hard-boiled eggs and cut veggies keep well for 2-3 days, while fresh fruits are best within 1-2 days to maintain flavor and texture.
Reheat is generally not needed, but if you include pita pockets or other bread, warming them slightly before packing can add a nice touch. Keep in mind that flavors often meld beautifully overnight, especially when using dips like hummus, so prepping the night before can save time in the morning.
Nutritional Information & Benefits
This recipe offers a balanced mix of protein, healthy fats, fiber, and essential vitamins—perfect for growing kids. For instance, turkey provides lean protein important for muscle growth, while cheese offers calcium for strong bones. Veggies add fiber and antioxidants, supporting digestion and immunity.
Estimated per serving (1 lunchable box): approximately 350 calories, 18g protein, 25g carbohydrates, 12g fat, and 5g fiber. Naturally gluten-free options are easy to make by switching crackers, and the recipe can be adjusted to be dairy-free by using dairy-free cheese and dips.
From a wellness perspective, this homemade snack avoids processed additives and excess sugars often found in store-bought alternatives. It’s a small but powerful way to help kids develop healthy eating habits early on.
Conclusion
So there you have it—Healthy DIY Lunchables for Kids that are easy, fun, and packed with goodness. This recipe isn’t just about assembling food; it’s about creating little moments of joy and encouraging healthier choices without the stress. Whether you’re packing a school snack or a quick after-school bite, these lunchables offer a perfect balance of taste and nutrition.
Give it a try, customize it to your family’s preferences, and watch how snack time transforms. Honestly, it’s one of those recipes I keep coming back to because it fits so well into our busy lives while still feeling special. I’d love to hear how you make it your own—drop a comment or share your favorite combinations below!
Here’s to happier, healthier snacking for your little ones!
FAQs
Can I make these Healthy DIY Lunchables ahead of time?
Yes! Prepare components like boiled eggs and sliced veggies the night before, but keep crackers and dips separate until ready to serve to avoid sogginess.
What if my child is allergic to dairy?
Swap cheese with dairy-free alternatives like almond-based cheese and use dairy-free spreads such as guacamole or hummus made without tahini.
How can I keep crackers from getting soggy?
Store crackers separately and add them to the lunchbox right before eating or pack dips in individual containers to dip during snack time.
Are these lunchables suitable for toddlers?
Yes, but cut all ingredients into very small, manageable pieces to prevent choking hazards. Avoid whole grapes or large chunks of cheese.
Can I add more vegetables to these lunchables?
Absolutely! Feel free to include bell pepper strips, snap peas, or cherry tomatoes to boost veggie intake and add color and crunch.
Pin This Recipe!
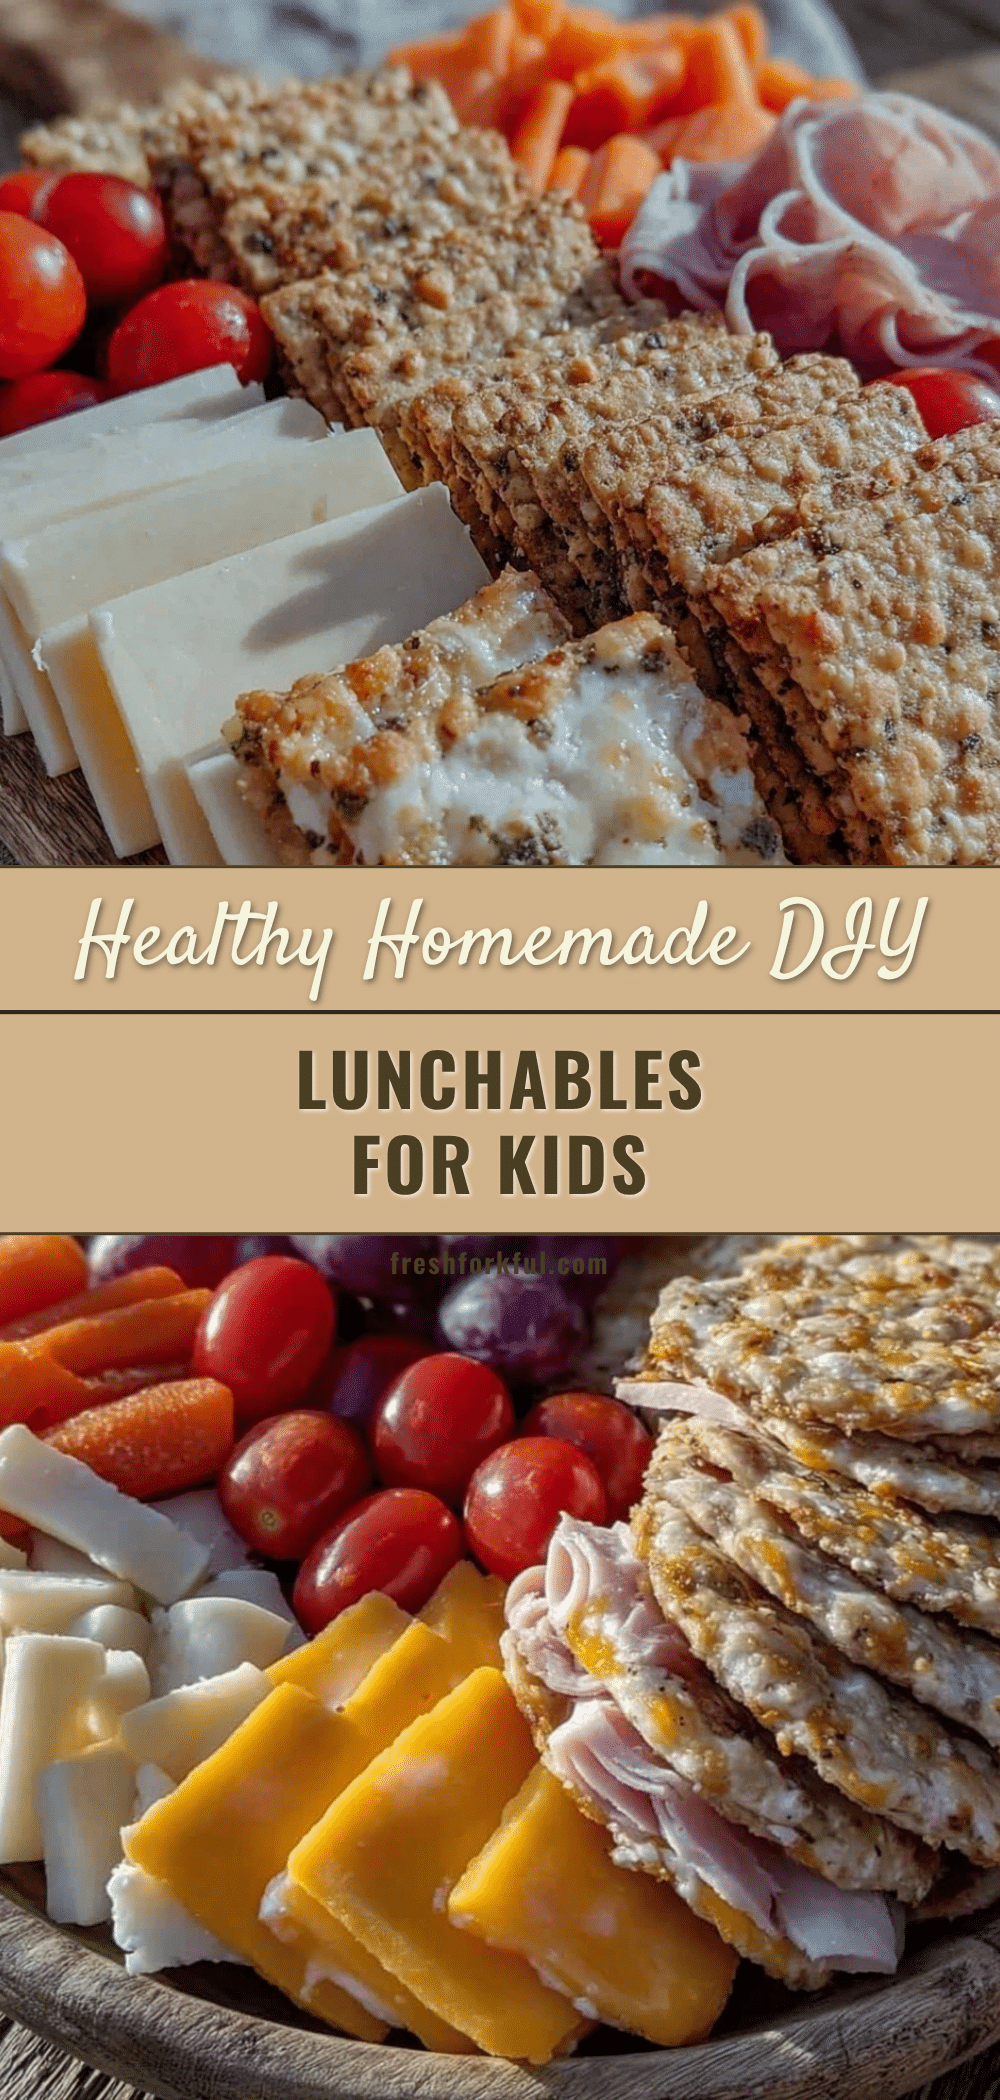
Healthy DIY Lunchables for Kids

A quick, easy, and wholesome homemade snack idea that kids love, featuring lean turkey, cheese, veggies, fruits, and whole grain crackers. Perfect for lunchboxes or after-school snacks with customizable options.
- Prep Time: 10 minutes
- Cook Time: 15 minutes
- Total Time: 25 minutes
- Yield: 1 lunchable box (1 serving) 1x
- Category: Snack
- Cuisine: American
Ingredients
- 4 oz lean turkey breast slices
- 1 cup cheddar or mild Colby cheese cubes
- 2 large hard-boiled eggs, peeled and sliced
- 10–12 whole grain crackers
- 4 mini whole wheat pita pockets (optional)
- 1 cup baby carrots, peeled and trimmed
- 1 cup cucumber slices, fresh and crisp
- 1 cup seedless grapes or cherry tomatoes
- ½ cup hummus
- ¼ cup light cream cheese
- ¼ cup olives, pitted and sliced (optional)
- 2 tbsp sunflower seeds or pumpkin seeds (optional)
- Fresh herbs like parsley or basil (a few sprigs, optional)
Instructions
- Place 2 large eggs in a saucepan, cover with cold water by 1 inch. Bring to a boil over medium-high heat, then cover and remove from heat. Let sit for 10-12 minutes. Drain, cool under cold running water, peel and slice.
- Cut 1 cup of cheddar or Colby cheese into bite-sized cubes. Lay out 4 oz of turkey breast slices and cut into smaller pieces or strips.
- Rinse baby carrots and cucumber slices under cold water. Trim carrots if needed. Wash grapes or cherry tomatoes thoroughly and pat dry.
- Arrange whole grain crackers (10-12 pieces) on your serving tray. Optionally, cut mini whole wheat pita pockets into halves.
- Place cheese cubes, turkey slices, and egg slices in separate sections of the lunchbox or tray. Add veggies and fruits in their own compartments.
- Spoon ½ cup of hummus and ¼ cup of light cream cheese into small containers or silicone cups and place alongside the proteins and veggies.
- Optionally sprinkle sunflower or pumpkin seeds over veggies or add sliced olives and garnish with fresh herbs.
- Close the container securely. If packing for school or later, keep refrigerated until ready to serve.
Notes
Keep crackers and dips separate until serving to avoid sogginess. Cut ingredients into bite-sized pieces for safety. Let kids assemble their own lunchables to encourage eating. Rotate seasonal ingredients for variety. Store components separately in airtight containers if prepping ahead.
Nutrition
- Serving Size: 1 lunchable box
- Calories: 350
- Fat: 12
- Carbohydrates: 25
- Fiber: 5
- Protein: 18
Keywords: healthy lunchables, kids snack, homemade lunchables, easy snack ideas, lunchbox ideas, DIY lunchables, nutritious snacks, kid-friendly snacks