Love this? Save it for later!
Share the inspiration with your friends
This was supposed to be a simple fruit salad for a summer barbecue. I grabbed the wrong gelatin packets, the mixing bowls were stacked in the dishwasher, and I was already running late for the party. What came out was nothing like the plan—and honestly, better. Instead of tossing together a plain bowl of fruit, I ended up layering bright, fresh red, white, and blue jello cups with real berries that caught everyone’s eye.
I remember being halfway through when my phone buzzed with a last-minute request: “Can you bring something festive?” Panicking, I scrambled to make do with what I had. The kitchen was a mess, and I almost gave up. But that first spoonful of those chilled jello cups, bursting with juicy berries and vibrant colors, made me pause. It was unexpectedly refreshing and so simple—like summer itself in a cup.
Maybe you’ve been there, juggling too many things and wondering if you’ll make it in time. This recipe stuck with me because it’s forgiving and fun, with a quiet charm you don’t get from your average dessert. Plus, it’s a showstopper at any summer gathering, especially if you want that classic patriotic vibe without fuss. I keep making these cups every year now—they’re the perfect little nod to warm nights, family laughter, and that sweet feeling of a kitchen “oops” turning into something worth sharing.
Why You’ll Love This Recipe
Let me tell you, these Fresh Red White and Blue Layered Jello Cups with Berries have become my go-to when I want something pretty, quick, and crowd-friendly. I’ve tested this recipe over several summer weekends, and each time it’s been a hit, no matter how rushed the prep felt.
- Quick & Easy: Ready in under 30 minutes of active prep, these jello cups are perfect for last-minute celebrations or spontaneous get-togethers.
- Simple Ingredients: No need to hunt down specialty items—just classic jello flavors and fresh berries you can find at any grocery store.
- Perfect for Patriotic Occasions: Whether it’s the Fourth of July, Memorial Day, or just a summer picnic, the red, white, and blue layers bring festive vibes instantly.
- Crowd-Pleaser: Kids love the fun colors and adults appreciate how light and refreshing it is after a heavy meal.
- Unbelievably Delicious: The combination of real berries and smooth jello layers creates a satisfying texture and flavor that’s anything but ordinary.
What really sets this recipe apart is the layering technique—there’s a bit of patience involved, but it’s worth it for that clean, distinct separation of colors. Plus, using cream cheese in the white layer gives it a subtle creaminess that’s a nice twist on traditional jello cups. Honestly, it’s like comfort food meeting a cool, summery treat. If you want to impress guests without sweating over the oven or fancy ingredients, this recipe’s your best bet.
What Ingredients You Will Need
This recipe uses simple, wholesome ingredients to deliver bold flavor and satisfying texture without the fuss. Most of these are pantry staples, and the fresh berries bring brightness and color to the dish.
- For the Red Layer:
- 1 package (3 oz / 85g) strawberry or cherry-flavored gelatin (I prefer Jell-O brand for consistent flavor)
- 1 cup (240 ml) boiling water
- 1 cup (240 ml) cold water
- Fresh strawberries, sliced (about 1 cup / 150g)
- For the White Layer:
- 1 package (3 oz / 85g) unflavored gelatin
- 1 cup (240 ml) boiling water
- ½ cup (120 ml) cold water
- ½ cup (120 ml) cream cheese, softened (Philadelphia brand works great)
- 2 tablespoons (30 ml) granulated sugar
- 1 cup (240 ml) milk (whole or 2%, or swap with almond milk for dairy-free)
- For the Blue Layer:
- 1 package (3 oz / 85g) blueberry or berry-flavored gelatin
- 1 cup (240 ml) boiling water
- 1 cup (240 ml) cold water
- Fresh blueberries (about 1 cup / 150g)
If you’re making this in summer, swapping in fresh berries for frozen or canned ones makes a huge difference in taste and texture. Also, if you want a slightly healthier touch, I like to use less sugar in the white layer or swap milk for a plant-based option.
Equipment Needed
- Clear plastic or glass cups (small dessert cups or mason jars work well for layering)
- Mixing bowls (at least three, for each gelatin layer)
- Whisk or hand mixer (for blending the cream cheese layer smoothly)
- Measuring cups and spoons
- Kettle or pot to boil water
- Refrigerator space (you’ll need to chill layers between pours)
If you don’t have fancy dessert cups, small clear drinking glasses or even silicone muffin cups can do the trick. I once made these in a large trifle bowl when I was short on cups, and it looked just as festive! For the cream cheese layer, a hand mixer helps get that perfectly smooth texture, but a whisk works in a pinch—just be prepared to give it a little elbow grease.
Preparation Method
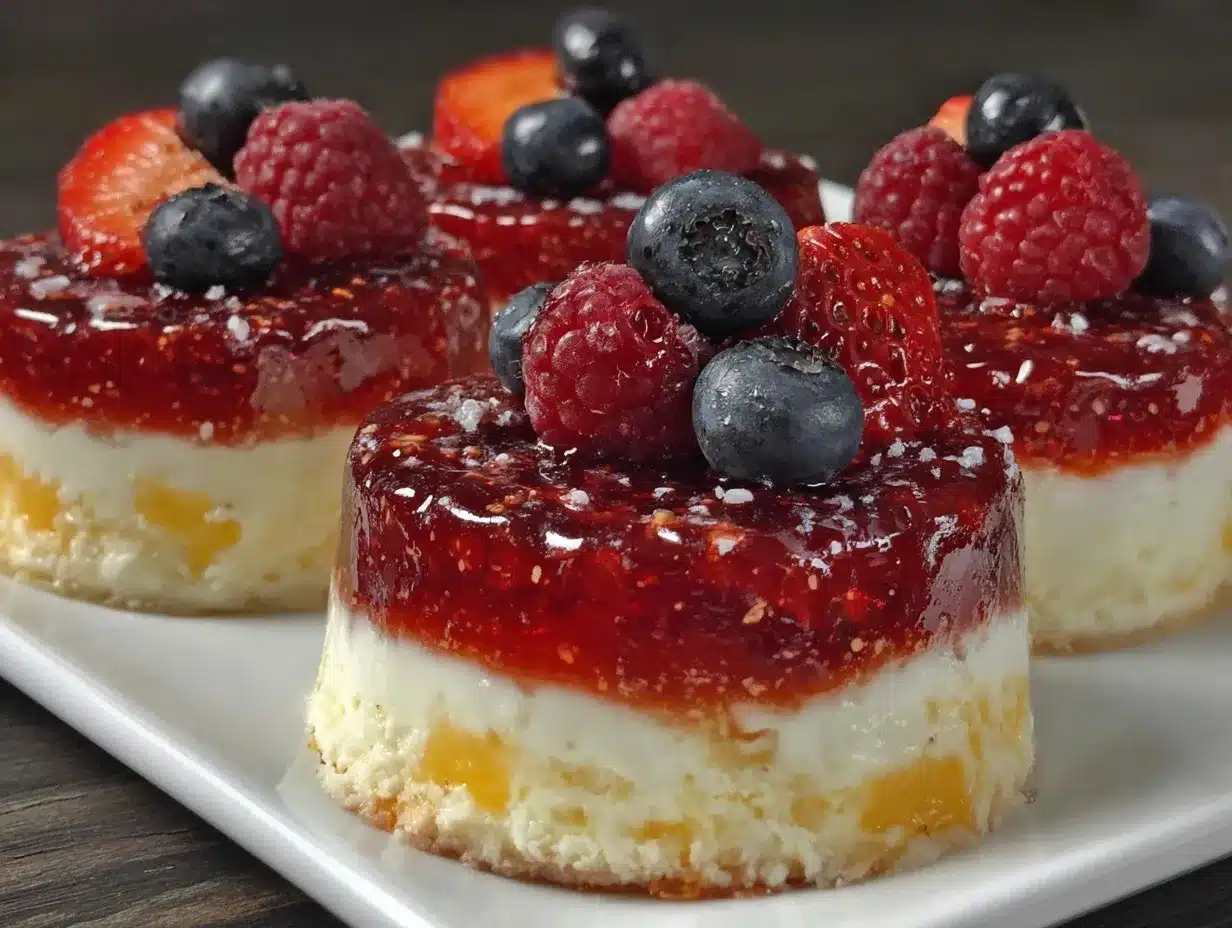
- Prepare the Red Layer: In a mixing bowl, dissolve the strawberry gelatin powder in 1 cup (240 ml) boiling water. Stir until completely dissolved. Add 1 cup (240 ml) cold water and mix. Let it cool slightly—about 10 minutes—but don’t let it set.
- Pour the Red Layer: Pour about ⅓ cup (80 ml) of the red gelatin into each clear cup. Add a few sliced strawberries on top for texture and visual appeal. Refrigerate for 20-25 minutes until the layer is firm but still slightly tacky (this helps the next layer stick).
- Make the White Layer: While the red layer chills, dissolve the unflavored gelatin in 1 cup (240 ml) boiling water. Stir well. In a separate bowl, beat the softened cream cheese with 2 tablespoons (30 ml) sugar until smooth. Slowly add the gelatin mixture and ½ cup (120 ml) cold water, alternating with milk, whisking continuously to avoid lumps.
- Pour the White Layer: Carefully spoon or pour about ⅓ cup (80 ml) of the white cream cheese mixture over the red layer. Return cups to the fridge for another 30 minutes until firm.
- Prepare the Blue Layer: Dissolve the blueberry gelatin powder in 1 cup (240 ml) boiling water, stirring until dissolved. Add 1 cup (240 ml) cold water and mix. Let it cool slightly, like with the red layer.
- Pour the Blue Layer: Add fresh blueberries to each cup, then pour the blue gelatin on top, about ⅓ cup (80 ml) each. Refrigerate for at least 2 hours, or until fully set.
- Serve: Once fully set, the cups are ready to enjoy. You can garnish with a sprig of mint or a dollop of whipped cream if you want to get fancy.
Pro tip: If you find the layers aren’t sticking well, lightly score the surface of the set layer with a fork before adding the next one. Also, patience is key here—rushing the setting time can cause the colors to mix, which is not the look we want!
Cooking Tips & Techniques
When making layered jello cups, timing is everything. Pouring the next layer too soon risks mixing colors, but waiting too long can cause poor adhesion.
- Always let each layer chill until just firm—soft enough to stick but solid enough to hold shape.
- Use room temperature gelatin mixtures before pouring to avoid melting the layer below.
- For the white layer, beat the cream cheese separately before mixing with gelatin to avoid lumps. I once tried tossing it all in at once and ended up with a grainy mess—lesson learned.
- Fresh berries add texture and visual appeal, but avoid adding too many or the jello won’t set properly.
- Multitasking tip: While one layer chills, prep the next gelatin mix to save time.
Honestly, I like to keep the preparation area tidy because sticky gelatin drips can be a pain to clean. A damp cloth nearby saved me more than once!
Variations & Adaptations
- Dairy-Free Version: Swap the cream cheese and milk in the white layer for coconut cream and coconut milk. It adds a subtle tropical note that pairs wonderfully with the berries.
- Berry Mix-Up: Use raspberries or blackberries in place of strawberries and blueberries for a different berry profile and a deeper color contrast.
- Adult Twist: Add a splash of vodka or a berry liqueur to the gelatin mixture before chilling for a boozy version (perfect for Fourth of July parties).
- Layered Yogurt Cups: Replace the white gelatin layer with Greek yogurt sweetened with honey for a tangier, protein-packed option.
- Seasonal Adaptation: In winter, swap fresh berries for canned cherries and canned blueberries, or freeze fresh ones beforehand to keep the colors vibrant.
I personally tried the coconut cream swap last summer and was surprised by how well it worked—everyone thought it was the standard cream cheese, but the tropical hint was a nice surprise.
Serving & Storage Suggestions
These jello cups are best served chilled, straight from the fridge. The cool temperature enhances their refreshing quality, especially on a warm day.
For a festive touch, serve them on a platter lined with fresh mint leaves or alongside a bowl of whipped cream for dipping. They pair surprisingly well with grilled meats or light salads if you’re serving a full meal.
Store leftovers covered tightly with plastic wrap or in an airtight container in the refrigerator. They keep well for up to 3 days but start to lose firmness after that. Avoid freezing, as it changes the texture of the gelatin.
When reheating (if you want them less chilled), let them sit at room temperature for 10 minutes. Flavors tend to mellow a bit, so fresh berries on top before serving can brighten the taste again.
Nutritional Information & Benefits
Each serving of Fresh Red White and Blue Layered Jello Cups with Berries is roughly:
| Calories | 120-150 kcal |
|---|---|
| Protein | 3-5 grams (from cream cheese and milk) |
| Carbohydrates | 20-25 grams (mostly from sugars in gelatin and fruit) |
| Fat | 3-5 grams (from cream cheese and milk) |
Key ingredients like fresh berries provide antioxidants and vitamins, making this dessert a little more than just sweet fun. The cream cheese adds a touch of protein and calcium, while gelatin supports joint and skin health.
This recipe is gluten-free and can be made dairy-free with simple substitutions, so it fits many dietary needs. Just watch for sugar if you’re managing intake, and consider using sugar-free gelatin for a lighter version.
Conclusion
If you want a dessert that’s visually striking, easy to make, and deliciously fresh, these Fresh Red White and Blue Layered Jello Cups with Berries fit the bill perfectly. I love how they bring a bit of festive spirit without any fuss, and the layers always spark compliments.
Feel free to tweak the berry combos or swap ingredients to suit your tastes—you might discover your own signature version. Honestly, this recipe saved me more than once when I was scrambling last minute, and it always delivers smiles.
Give it a shot for your next gathering, and let me know how your cups turn out! Drop a comment below or share your berry twists—I’m excited to hear your stories.
FAQs about Fresh Red White and Blue Layered Jello Cups with Berries
Can I make these jello cups ahead of time?
Yes, you can prepare them up to 2 days in advance. Just keep them refrigerated and covered to prevent drying out.
What if I don’t have cream cheese for the white layer?
You can substitute with Greek yogurt or coconut cream for a dairy-free option. Just whisk well for a smooth texture.
How do I prevent the layers from mixing?
Make sure each layer is firm but still slightly tacky before adding the next. Pour gently and chill properly between layers.
Can I use frozen berries instead of fresh?
Fresh berries work best for texture and appearance, but frozen can be used if thawed and drained well to avoid extra moisture.
Is it possible to make this recipe sugar-free?
Yes, use sugar-free gelatin and substitute sugar in the white layer with a sweetener like stevia or erythritol, adjusting to taste.
For a similar refreshing summer treat, you might love my crispy garlic chicken recipe—perfect for pairing with these jello cups at your next picnic.
Pin This Recipe!
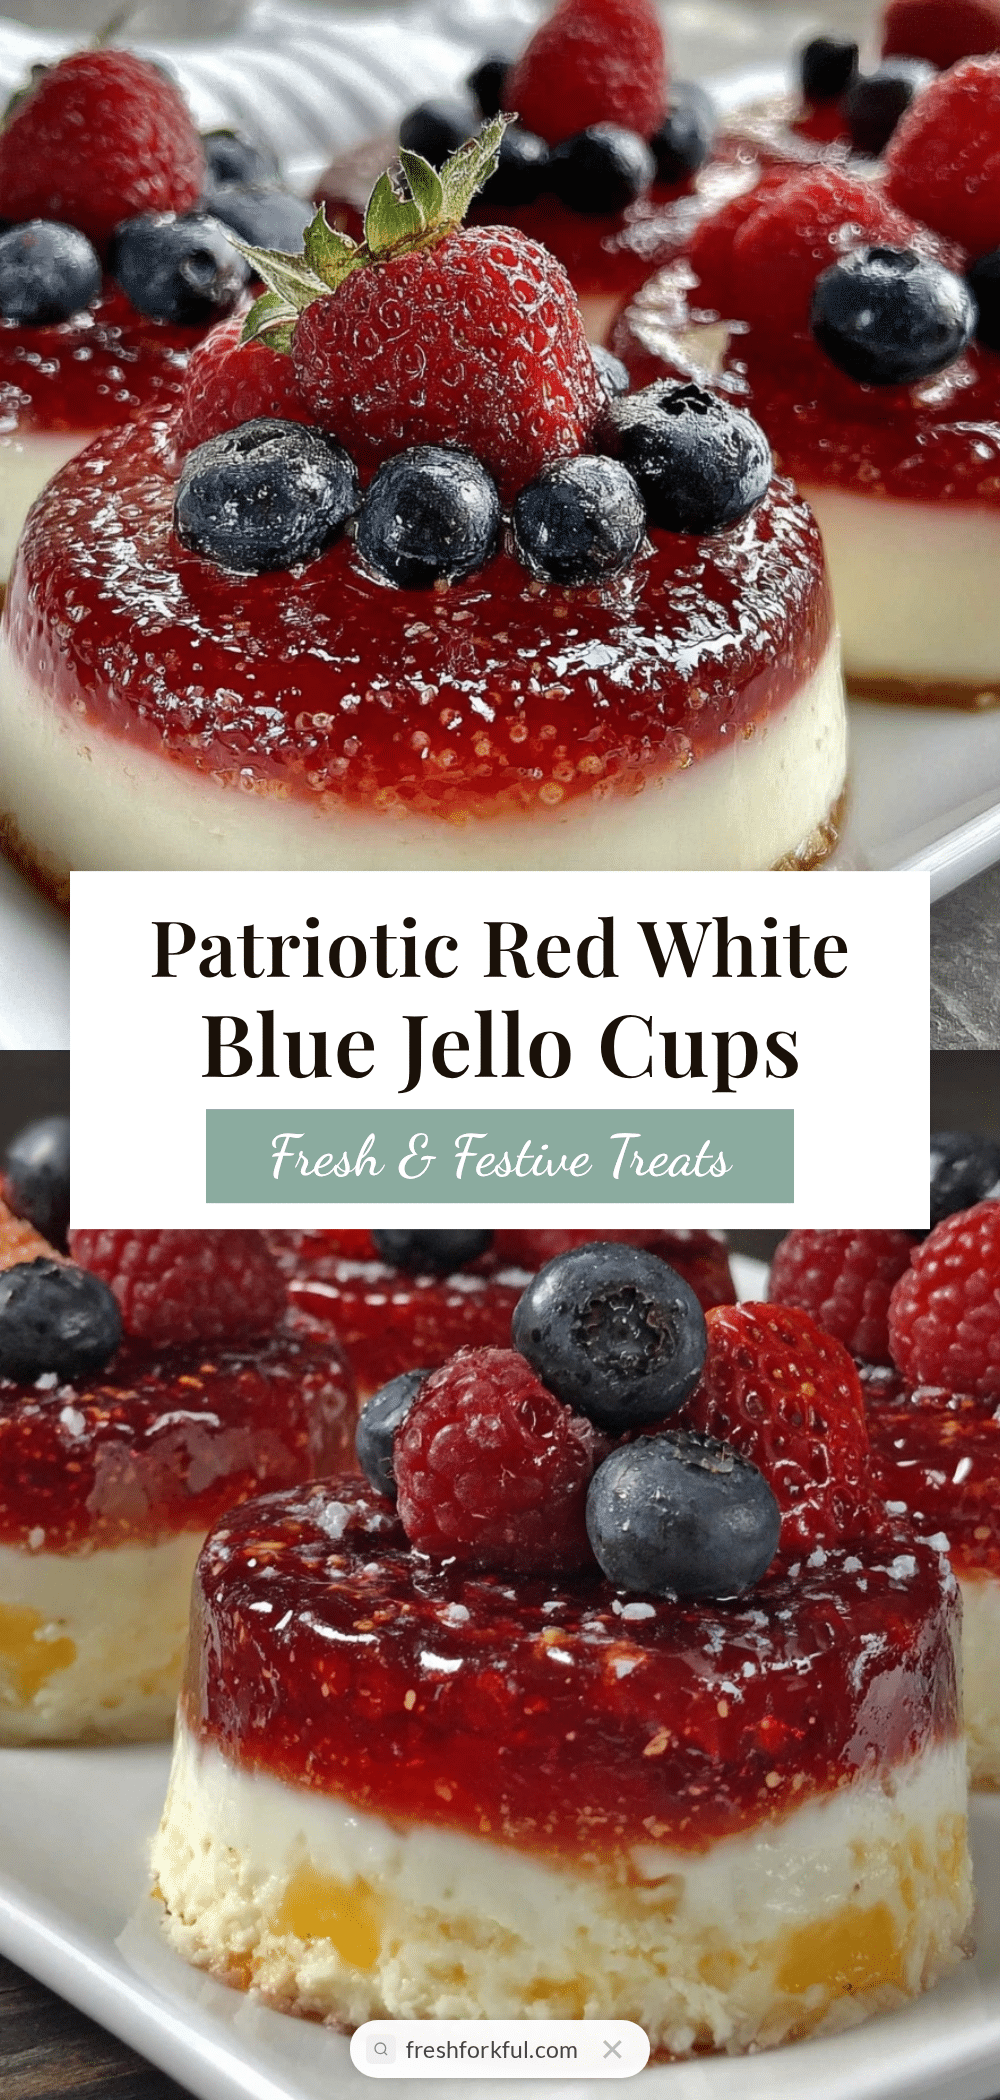
Fresh Red White and Blue Layered Jello Cups Easy Patriotic Berry Recipe
A quick and easy layered jello dessert featuring red, white, and blue gelatin layers with fresh berries, perfect for patriotic occasions and summer gatherings.
- Prep Time: 15 minutes
- Cook Time: 2 hours 55 minutes
- Total Time: 3 hours 10 minutes
- Yield: 8 servings 1x
- Category: Dessert
- Cuisine: American
Ingredients
- 1 package (3 oz / 85g) strawberry or cherry-flavored gelatin
- 1 cup (240 ml) boiling water
- 1 cup (240 ml) cold water
- Fresh strawberries, sliced (about 1 cup / 150g)
- 1 package (3 oz / 85g) unflavored gelatin
- 1 cup (240 ml) boiling water
- ½ cup (120 ml) cold water
- ½ cup (120 ml) cream cheese, softened
- 2 tablespoons (30 ml) granulated sugar
- 1 cup (240 ml) milk (whole or 2%, or almond milk for dairy-free)
- 1 package (3 oz / 85g) blueberry or berry-flavored gelatin
- 1 cup (240 ml) boiling water
- 1 cup (240 ml) cold water
- Fresh blueberries (about 1 cup / 150g)
Instructions
- Prepare the Red Layer: Dissolve the strawberry gelatin powder in 1 cup boiling water. Stir until completely dissolved. Add 1 cup cold water and mix. Let cool slightly, about 10 minutes, but do not let it set.
- Pour about ⅓ cup of the red gelatin into each clear cup. Add a few sliced strawberries on top. Refrigerate for 20-25 minutes until firm but slightly tacky.
- Make the White Layer: Dissolve the unflavored gelatin in 1 cup boiling water. Stir well. Beat softened cream cheese with sugar until smooth. Slowly add the gelatin mixture and ½ cup cold water, alternating with milk, whisking continuously to avoid lumps.
- Pour about ⅓ cup of the white cream cheese mixture over the red layer. Refrigerate for 30 minutes until firm.
- Prepare the Blue Layer: Dissolve the blueberry gelatin powder in 1 cup boiling water. Stir until dissolved. Add 1 cup cold water and mix. Let cool slightly.
- Add fresh blueberries to each cup, then pour about ⅓ cup of the blue gelatin on top. Refrigerate for at least 2 hours until fully set.
- Serve chilled. Optionally garnish with a sprig of mint or a dollop of whipped cream.
Notes
Let each layer chill until just firm but still tacky before adding the next to prevent mixing. Use room temperature gelatin mixtures to avoid melting the layer below. Beat cream cheese separately before mixing with gelatin to avoid lumps. Fresh berries add texture and visual appeal but avoid adding too many to ensure proper setting. Patience is key for clean layers.
Nutrition
- Serving Size: 1 cup (approximate)
- Calories: 135
- Sugar: 18
- Sodium: 90
- Fat: 4
- Saturated Fat: 2.5
- Carbohydrates: 22
- Fiber: 1
- Protein: 4
Keywords: layered jello cups, patriotic dessert, red white and blue jello, summer dessert, berry jello cups, easy jello recipe, Fourth of July dessert


