Love this? Save it for later!
Share the inspiration with your friends
My friend Carlos had claimed for years that Hatch green chiles were overrated—something about them being too spicy or just not his thing. For a solid five years, every time I mentioned making anything with Hatch chiles, he’d immediately veto it. Then one late Sunday afternoon, I whipped up this batch of Flavorful Hatch Green Chile Chicken Enchiladas with Tomatillo Sauce just to experiment for myself. I honestly didn’t expect much, but when Carlos strolled into the kitchen, I caught him sneaking a second helping—sans complaints, mind you. That cracked bowl on the counter and the slight smudge of sauce on his cheek told me everything I needed to know. Maybe you’ve been there—when something you thought was off-limits suddenly turns into a favorite without you realizing it.
What struck me was how the tangy tomatillo sauce perfectly tempered the heat while the tender chicken and roasted Hatch chiles wrapped in soft tortillas created a harmony that was anything but ordinary. It wasn’t just spicy food; it was a whole flavor story that made even the most skeptical convert pause and take notice. Since then, this recipe has become my quiet little triumph in the kitchen and a staple whenever I want to impress guests without breaking a sweat.
Why You’ll Love This Recipe
- Quick & Easy: Ready in under an hour, making it ideal for weeknight dinners or unexpected guests.
- Simple Ingredients: No need for exotic items; Hatch chiles and tomatillos are the stars, with pantry staples filling in the rest.
- Perfect for Any Occasion: Whether it’s a casual family dinner or a holiday meal, these enchiladas fit right in.
- Crowd-Pleaser: Kids and adults alike rave about the balance of smoky, tangy, and mildly spicy flavors.
- Unbelievably Delicious: The roasted Hatch green chile adds a unique depth that sets this recipe apart from your average enchiladas.
This isn’t just another enchilada recipe; it’s the kind that makes you pause mid-bite, eyes closed, savoring the blend of smoky heat and bright tomatillo tang. The homemade sauce is silky but fresh, and the chicken is juicy, soaking up every ounce of flavor. Trust me, after a few tries, this will become your go-to for when you want something with a little more character but zero fuss. Honestly, it’s comfort food with a kick that feels both familiar and exciting.
What Ingredients You Will Need
This recipe relies on straightforward, wholesome ingredients that come together to build layers of flavor without complicated prep. Most of these are pantry staples or easily found in any grocery store with a good produce section.
- Chicken: 2 cups cooked, shredded chicken breast (rotisserie chicken works wonderfully for convenience)
- Hatch Green Chiles: 2-3 roasted and peeled, chopped (fresh if in season; canned or frozen if not)
- Tomatillos: 10-12 husked and rinsed (look for firm and bright green ones)
- Onion: 1 medium yellow onion, diced
- Garlic: 3 cloves, minced
- Cilantro: ¼ cup fresh, chopped (adds brightness)
- Jalapeño: 1 small, seeded and chopped (optional, for extra heat)
- Lime Juice: 2 tablespoons fresh (balances acidity)
- Chicken Broth: 1 cup low sodium (helps thin the sauce)
- Sour Cream: ½ cup (adds creaminess to the sauce)
- Cheese: 1½ cups shredded Monterey Jack or Pepper Jack (for melting; I like Sargento for consistent texture)
- Flour Tortillas: 8-10 small or medium-sized (choose soft, pliable ones to avoid cracking during rolling)
- Olive Oil: 2 tablespoons (for sautéing)
- Spices: 1 teaspoon ground cumin, ½ teaspoon smoked paprika, ½ teaspoon salt, ¼ teaspoon black pepper
If you want a gluten-free option, swap the flour tortillas for corn tortillas, but be gentle when rolling as they can break easily. For a dairy-free version, replace sour cream with plain coconut yogurt and use a vegan cheese alternative. In the summer, fresh tomatillos and Hatch chiles add a punch that frozen versions simply can’t match, so if you get your hands on fresh, it’s worth the little extra effort.
Equipment Needed
- Large skillet or sauté pan (for cooking the filling and sauce)
- Blender or food processor (to puree the tomatillo sauce smoothly)
- Baking dish (approximately 9×13 inches works well for layering the enchiladas)
- Mixing bowls (for combining ingredients)
- Measuring cups and spoons (accuracy helps with seasoning)
- Sharp knife and cutting board (for prepping veggies and chiles)
If you don’t have a blender, a hand immersion blender can also do the trick, though the sauce might be a bit chunkier. I’ve found that a sturdy non-stick skillet makes cleanup easier and prevents sticking when cooking the sauce. For budget-friendly options, many stores have decent affordable baking dishes; just avoid glassware that might heat unevenly.
Preparation Method
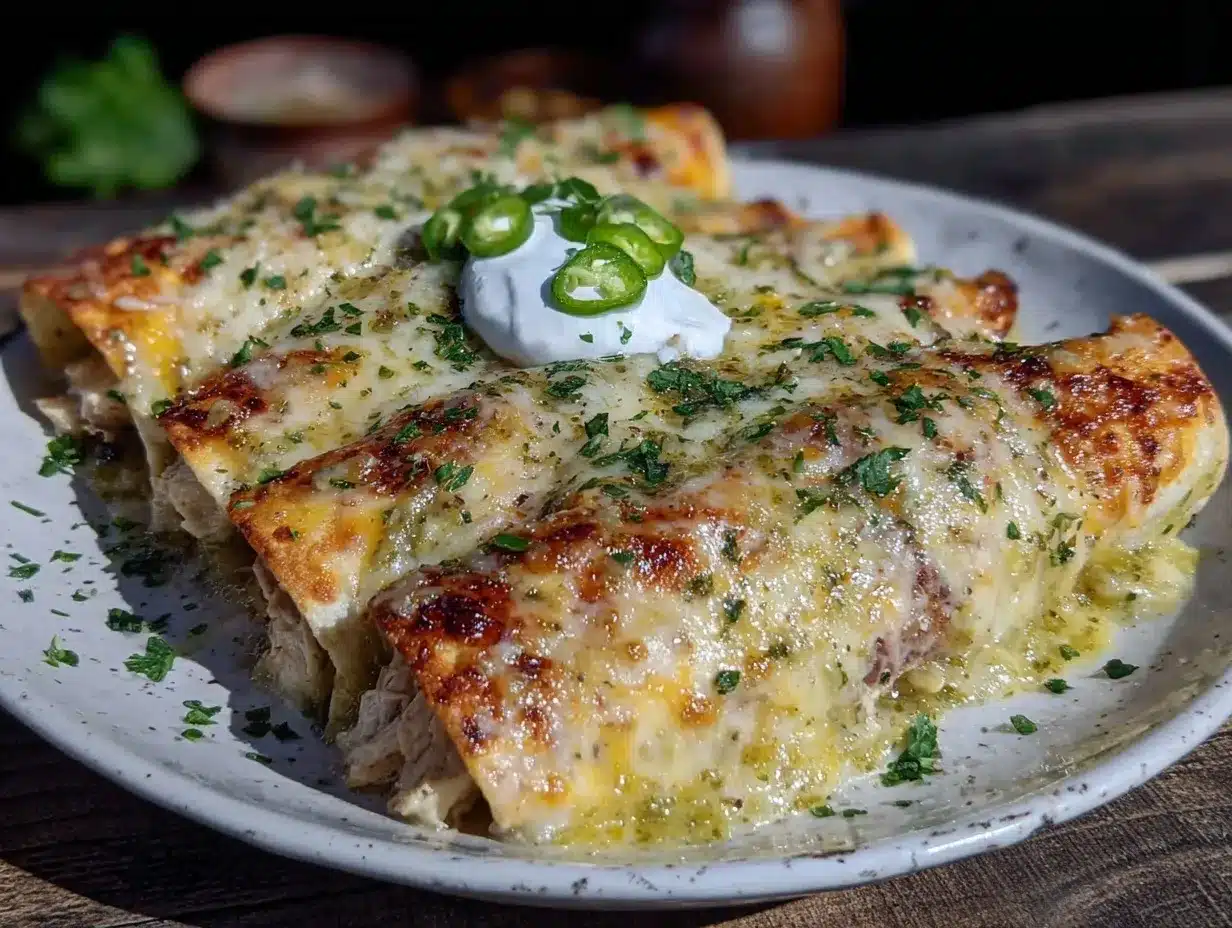
- Prepare the Tomatillo Sauce: In a medium saucepan, add the rinsed tomatillos and enough water to cover them. Bring to a boil and simmer for about 10 minutes until they soften and turn slightly translucent. Drain and transfer to a blender.
- Add Onion, Garlic, and Jalapeño: To the blender with tomatillos, add half the diced onion, minced garlic, jalapeño (if using), lime juice, and chicken broth. Blend until smooth but still a little textured. Set aside.
- Sauté the Remaining Onion: Heat olive oil in a large skillet over medium heat. Add the remaining onion and cook until softened and fragrant, about 5 minutes.
- Combine Ingredients for Filling: Stir in the shredded chicken, roasted Hatch chiles, cumin, smoked paprika, salt, and pepper. Let everything warm through for about 3-4 minutes, then remove from heat.
- Mix Sauce and Sour Cream: In a bowl, gently fold the sour cream into the tomatillo sauce, creating a creamy and tangy mixture. Pour half of this sauce into the bottom of your baking dish to prevent sticking.
- Assemble Enchiladas: Warm tortillas slightly to make them pliable. Spoon about ⅓ cup of the chicken and chile filling onto each tortilla, roll tightly, and place seam-side down in the baking dish. Repeat until the dish is full.
- Top with Sauce and Cheese: Pour the remaining tomatillo sauce evenly over the rolled enchiladas. Sprinkle shredded cheese generously on top.
- Bake: Preheat your oven to 375°F (190°C). Bake the enchiladas uncovered for 20-25 minutes, or until the cheese is bubbly and slightly golden.
- Garnish and Serve: Remove from oven and let cool for 5 minutes. Garnish with chopped cilantro, extra lime wedges, or a dollop of sour cream if desired.
If you notice the sauce is too thick before baking, add a splash more chicken broth to loosen it up. Also, warming the tortillas ahead helps prevent cracking—microwaving them wrapped in a damp towel for 20 seconds works wonders. This method has saved me from many torn tortillas and messy assembly disasters!
Cooking Tips & Techniques
One trick I’ve learned over time is to roast Hatch green chiles under the broiler or on a grill until the skins blister and blacken. This adds a smoky depth that canned chiles just can’t match—though canned is a fine shortcut if you’re in a pinch. Peeling the skins off after roasting takes a little patience but is totally worth it for the texture.
When blending the tomatillo sauce, don’t overdo it. Leaving a bit of texture makes the sauce feel fresh and homemade rather than overly processed. Also, balancing the acidity of the tomatillos with lime juice and the creaminess of sour cream softens the tartness, making the sauce more approachable for all tastes.
Don’t skip warming the tortillas. Cold tortillas break and crack, which is frustrating when rolling enchiladas. I usually warm them on a dry skillet for about 10 seconds each side or use the microwave with a damp cloth.
Lastly, keep an eye on the baking time—overbaking dries out the chicken and makes the tortillas tough. I aim for bubbly cheese with just a hint of golden brown to know it’s perfect. Multitasking tip: while the enchiladas bake, prep a simple salad or slice avocados for topping to save time.
Variations & Adaptations
- Vegetarian Version: Swap chicken for roasted sweet potatoes and black beans for a hearty meatless option. Use vegetable broth instead of chicken broth in the sauce.
- Cheese Variations: Try crumbled queso fresco on top instead of shredded Monterey Jack for a lighter touch with authentic flavor.
- Spice It Up: Add extra diced jalapeños or a pinch of cayenne in the filling for those who like it hotter. Alternatively, tone it down by reducing the chiles or omitting jalapeños altogether.
- Slow Cooker Adaptation: Assemble the enchiladas in a slow cooker layered with sauce and cheese, cooking on low for 2-3 hours until bubbly and heated through.
- Personal Twist: I once added a handful of corn kernels and chopped green onions to the filling for a little extra crunch and sweetness—unexpected but delicious.
Serving & Storage Suggestions
These enchiladas are best served warm, fresh out of the oven, with a sprinkle of fresh cilantro and a squeeze of lime to brighten the flavors. They pair beautifully with a simple side of Mexican rice or a crisp green salad to balance the richness.
Store leftovers in an airtight container in the refrigerator for up to 3 days. When reheating, cover with foil and bake at 350°F (175°C) for about 15 minutes to keep the tortillas from drying out. Alternatively, microwaving with a damp paper towel over the top helps retain moisture.
Freezing is also possible—wrap individual portions tightly in plastic wrap and foil, then freeze for up to 2 months. Thaw overnight in the fridge before reheating as above. Flavors tend to develop nicely after a day, so if you can, make these a day ahead to let the sauce soak in even more.
Nutritional Information & Benefits
Each serving of these enchiladas provides a balanced mix of protein from the chicken, fiber and vitamins from the Hatch chiles and tomatillos, and calcium from the cheese. Hatch chiles are rich in antioxidants and vitamin C, which support immune health. Tomatillos bring a bright source of vitamin K and dietary fiber.
This dish can be adapted to fit gluten-free, dairy-free, or low-carb diets by swapping ingredients accordingly (corn tortillas, plant-based cheese, etc.). Just watch the sodium content, especially if using canned chiles or broth—choosing low-sodium options helps keep it wholesome.
Personally, I appreciate how this recipe feels like comfort food without the guilt—full of flavor but with thoughtful ingredients that nourish rather than weigh you down.
Conclusion
Flavorful Hatch Green Chile Chicken Enchiladas with Tomatillo Sauce are one of those rare recipes that manages to be both easy and exciting. They’ve quietly become a staple in my kitchen, perfect for those nights when I want something familiar but with a little personality. The balance of smoky, tangy, and creamy flavors keeps everyone coming back for seconds, even the most skeptical eaters.
Feel free to make it your own—add more heat, swap in veggies, or change up the cheese to suit your tastes. I’d love to hear how your batch turns out or any twists you’ve tried, so don’t hesitate to leave a comment below. Go ahead, give this recipe a try and surprise yourself (and maybe a friend) with how good Hatch chiles can be.
Happy cooking and buen provecho!
FAQs
What if I can’t find fresh Hatch green chiles?
You can use canned or frozen Hatch green chiles, which are widely available and still deliver good flavor. Just be sure to drain and pat dry if canned to avoid extra moisture.
Can I make the tomatillo sauce ahead of time?
Absolutely! The tomatillo sauce can be made up to two days in advance and stored in the refrigerator. It actually tastes better after sitting for a bit, allowing flavors to meld.
How spicy are these enchiladas?
The heat level is moderate and can easily be adjusted by adding or removing jalapeños and the amount of Hatch chiles. For a milder dish, use fewer chiles and skip the jalapeño entirely.
Can I use corn tortillas instead of flour?
Yes, but handle corn tortillas gently as they tend to break more easily. Warming them thoroughly before rolling and lightly frying or steaming can help improve flexibility.
Is it possible to freeze assembled enchiladas before baking?
Definitely! You can assemble the enchiladas, cover tightly with foil, and freeze for up to 2 months. When ready to bake, thaw overnight in the fridge and bake as usual.
Pin This Recipe!
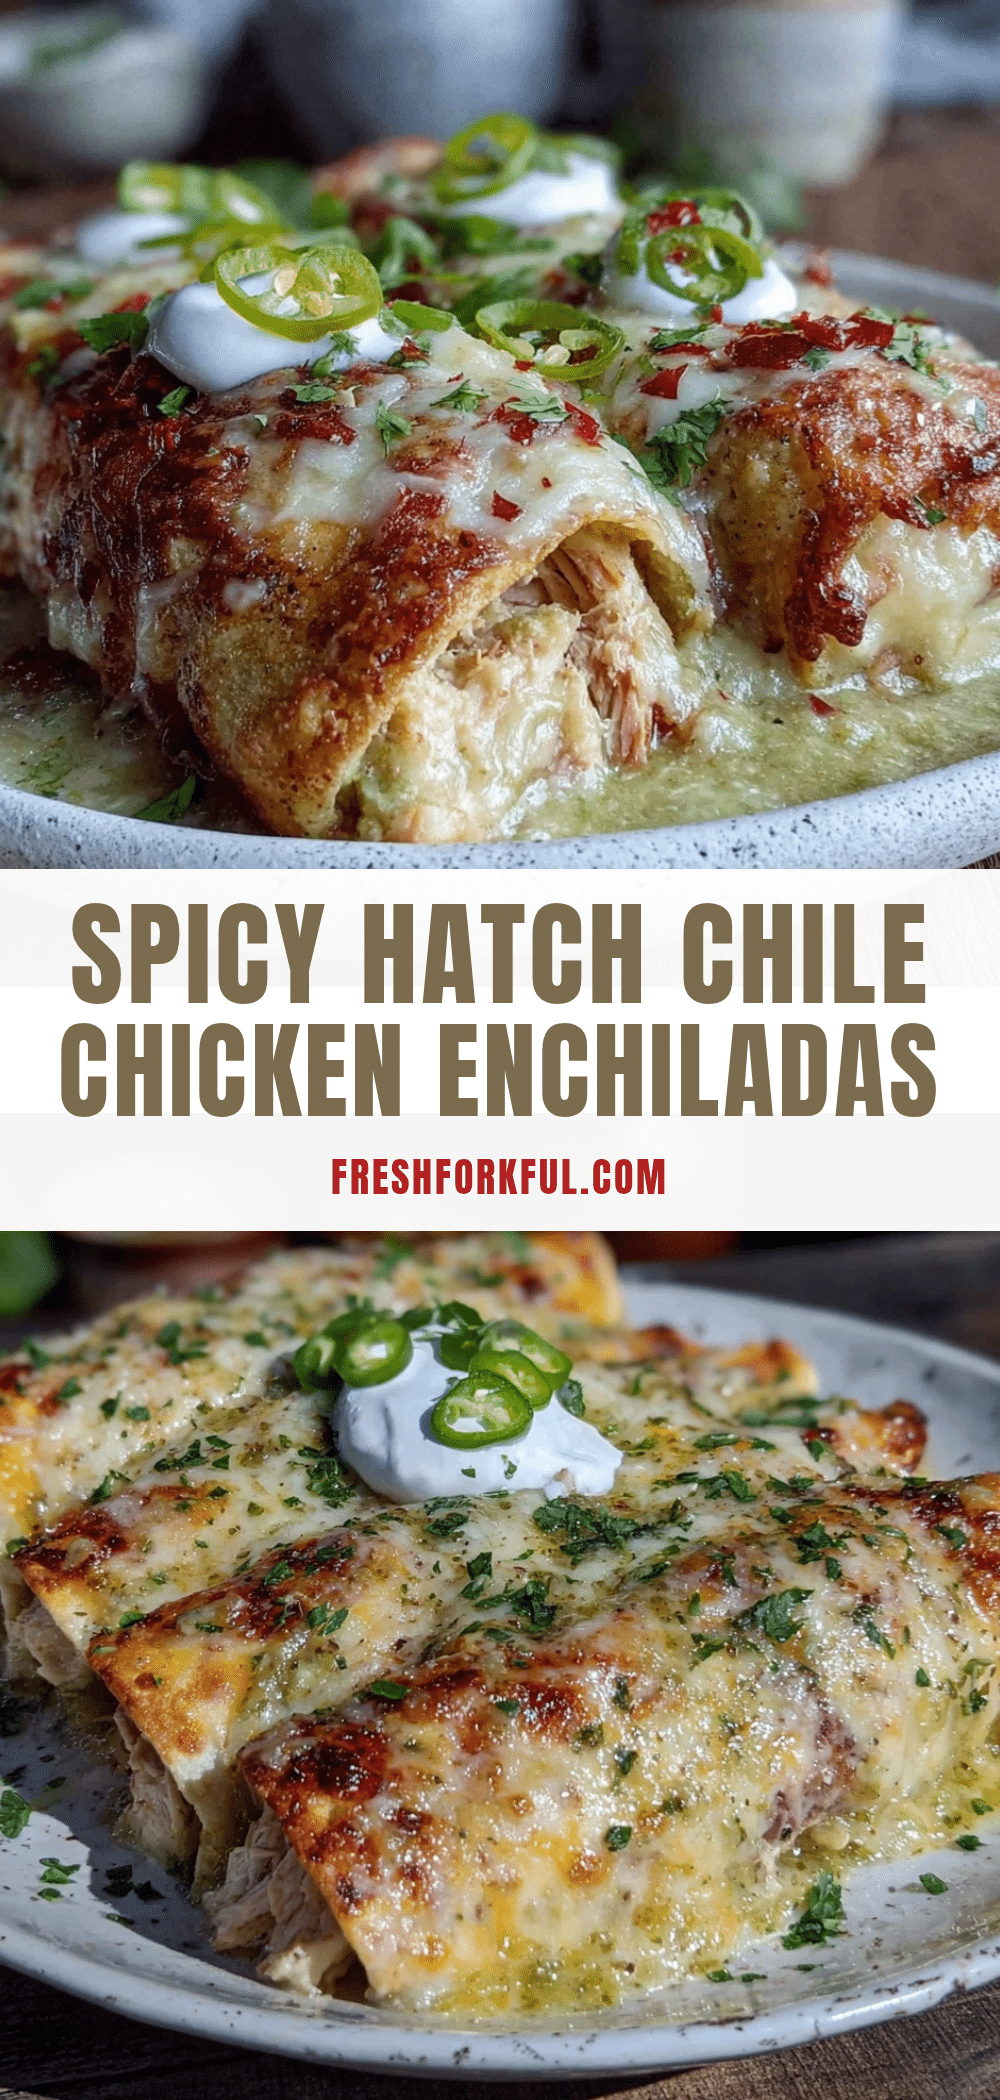
Flavorful Hatch Green Chile Chicken Enchiladas Recipe with Easy Tomatillo Sauce

These enchiladas feature tender chicken and roasted Hatch green chiles wrapped in soft tortillas, topped with a tangy tomatillo sauce and melted cheese. Perfect for a quick, flavorful meal that balances smoky heat and bright acidity.
- Prep Time: 20 minutes
- Cook Time: 30 minutes
- Total Time: 50 minutes
- Yield: 8 servings 1x
- Category: Main Course
- Cuisine: Mexican
Ingredients
- 2 cups cooked, shredded chicken breast (rotisserie chicken works well)
- 2–3 roasted and peeled Hatch green chiles, chopped (fresh, canned, or frozen)
- 10–12 husked and rinsed tomatillos
- 1 medium yellow onion, diced
- 3 cloves garlic, minced
- ¼ cup fresh cilantro, chopped
- 1 small jalapeño, seeded and chopped (optional)
- 2 tablespoons fresh lime juice
- 1 cup low sodium chicken broth
- ½ cup sour cream
- 1½ cups shredded Monterey Jack or Pepper Jack cheese
- 8–10 small or medium flour tortillas
- 2 tablespoons olive oil
- 1 teaspoon ground cumin
- ½ teaspoon smoked paprika
- ½ teaspoon salt
- ¼ teaspoon black pepper
Instructions
- Prepare the tomatillo sauce: Boil rinsed tomatillos in enough water to cover for about 10 minutes until softened and slightly translucent. Drain and transfer to a blender.
- Add half the diced onion, minced garlic, jalapeño (if using), lime juice, and chicken broth to the blender with tomatillos. Blend until smooth but still slightly textured. Set aside.
- Heat olive oil in a large skillet over medium heat. Sauté the remaining onion until softened and fragrant, about 5 minutes.
- Add shredded chicken, roasted Hatch chiles, cumin, smoked paprika, salt, and pepper to the skillet. Warm through for 3-4 minutes, then remove from heat.
- Gently fold sour cream into the tomatillo sauce to create a creamy mixture. Pour half of this sauce into the bottom of a 9×13 inch baking dish to prevent sticking.
- Warm tortillas slightly to make them pliable. Spoon about ⅓ cup of the chicken and chile filling onto each tortilla, roll tightly, and place seam-side down in the baking dish. Repeat until the dish is full.
- Pour the remaining tomatillo sauce evenly over the rolled enchiladas. Sprinkle shredded cheese generously on top.
- Preheat oven to 375°F (190°C). Bake uncovered for 20-25 minutes until cheese is bubbly and slightly golden.
- Remove from oven and let cool for 5 minutes. Garnish with chopped cilantro, extra lime wedges, or a dollop of sour cream if desired.
Notes
If sauce is too thick before baking, add more chicken broth to loosen. Warm tortillas before rolling to prevent cracking by microwaving wrapped in a damp towel for 20 seconds or heating on a dry skillet for 10 seconds each side. Roasting Hatch chiles under a broiler or grill adds smoky depth. The tomatillo sauce can be made up to two days ahead and stored refrigerated. For gluten-free, use corn tortillas carefully. For dairy-free, substitute sour cream with coconut yogurt and use vegan cheese.
Nutrition
- Serving Size: 1 enchilada
- Calories: 350
- Sugar: 4
- Sodium: 550
- Fat: 18
- Saturated Fat: 7
- Carbohydrates: 25
- Fiber: 4
- Protein: 25
Keywords: Hatch green chile, chicken enchiladas, tomatillo sauce, Mexican recipe, easy enchiladas, weeknight dinner, spicy chicken, comfort food


