Love this? Save it for later!
Share the inspiration with your friends
Introduction
“You won’t believe how good these chicken tenders are,” my coworker whispered as we shared a lunch break one Wednesday afternoon. I was skeptical at first — I mean, can homemade chicken tenders really beat the fast food kind that’s been a guilty pleasure for years? Well, that afternoon marked the start of my obsession with perfecting my own version of crispy homemade chicken tenders better than fast food. The crunch, the juicy inside, the seasoning — everything came together in a way I never expected.
I remember the day clearly. I was juggling a mountain of emails and a distracted cat who decided the keyboard was his new favorite spot. In the chaos, I grabbed some chicken strips, threw together a quick batter, and ended up making a mess all over the counter. Honestly, the kitchen looked like a flour bomb had gone off. But when I bit into those golden tenders, the mess was so worth it. You know that feeling when something simple just hits every craving spot? That’s exactly what happened.
This recipe has become my go-to whenever I want that deep-fried fast food taste without the drive-thru lines or the guilt. Maybe you’ve been there too — craving something crispy and juicy but wanting to keep it homemade and fresh. Stick around, because I’m sharing every step to get you that perfect crunch and tender bite, right from your own kitchen.
Why You’ll Love This Recipe
After countless tests, spills, and, yes, even a few burnt batches, I can confidently say this recipe is a winner in my cookbook. Here’s why it’s stood the test of time and my picky taste buds:
- Quick & Easy: Ready in under 30 minutes, this recipe is perfect for busy weeknights or last-minute snack attacks.
- Simple Ingredients: You probably have everything already—no need for specialty stores or weird spices.
- Perfect for Any Occasion: Whether it’s a casual dinner, game day, or a kid’s lunchbox, these chicken tenders fit right in.
- Crowd-Pleaser: Kids, adults, picky eaters — everyone asks for seconds.
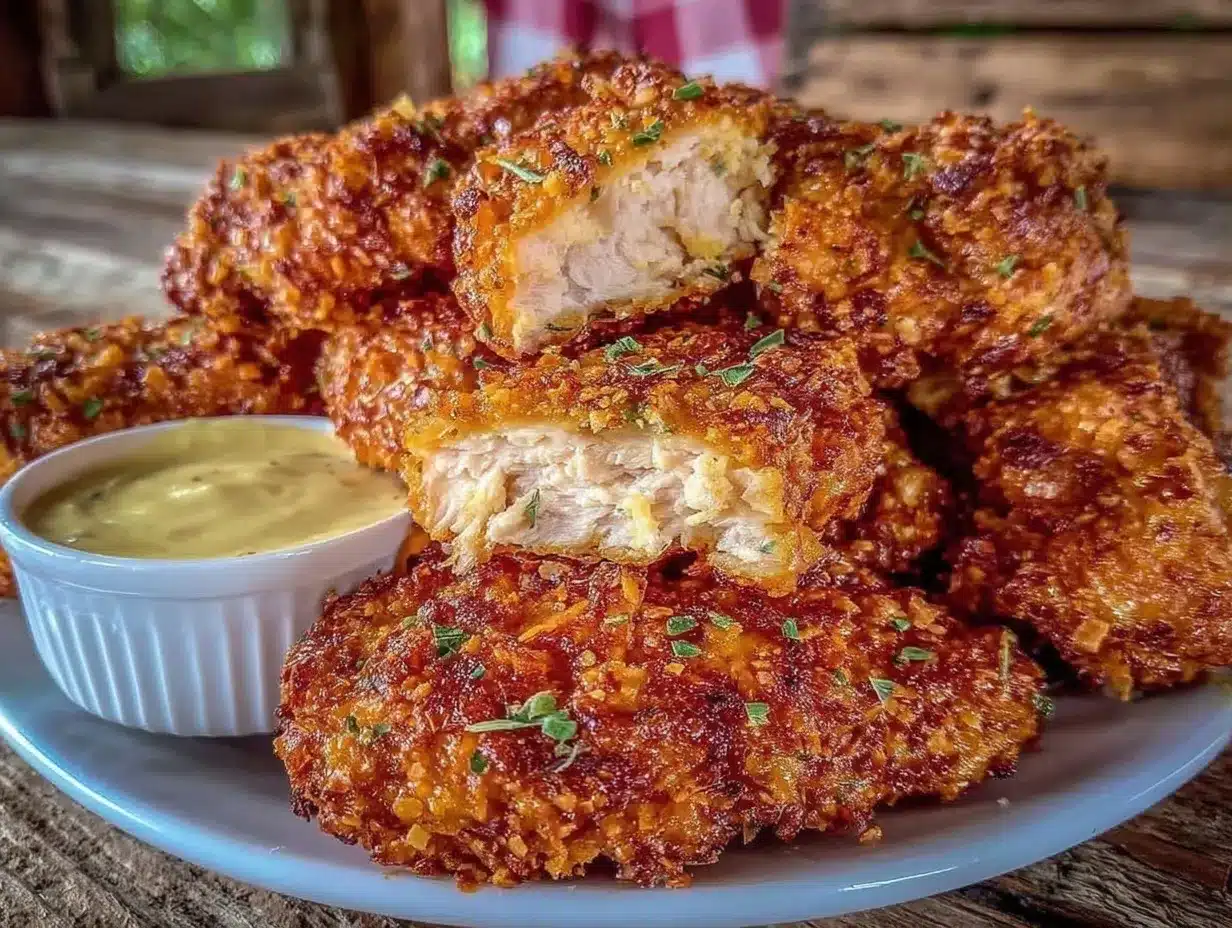
- Unbelievably Delicious: Crispy on the outside, juicy on the inside, with a seasoning blend that’s just right, not overpowering.
What sets this recipe apart? It’s all about the double-dip technique — dipping the chicken first in seasoned buttermilk and then in a flour mixture twice for that extra crispy coating. Plus, the seasoning mix has a subtle smoky kick that keeps things interesting without stealing the show.
Honestly, this isn’t just another fried chicken recipe. It’s the kind you close your eyes for after the first bite. Comfort food, but better — homemade, fresher, and with that soul-satisfying crunch you didn’t think could happen outside your favorite fast food joint.
What Ingredients You Will Need
This recipe uses straightforward, pantry-friendly ingredients that work together to create that crave-worthy crispy texture and juicy flavor. Here’s what you’ll need:
- Chicken Tenders: 1.5 pounds (680 grams) of fresh chicken tenderloins or chicken breast cut into strips.
- Buttermilk: 1 cup (240 ml), preferably whole milk buttermilk for tenderizing and flavor. (If you don’t have buttermilk, mix 1 cup milk with 1 tablespoon lemon juice and let sit for 5 minutes.)
- All-Purpose Flour: 1 ½ cups (180 grams), for that classic crispy coating. I recommend King Arthur flour for consistency.
- Cornstarch: ½ cup (60 grams), mixed with flour to add crispness and lightness.
- Seasoning Blend:
- 1 teaspoon smoked paprika (adds subtle smoky depth)
- 1 teaspoon garlic powder
- 1 teaspoon onion powder
- 1 teaspoon salt
- ½ teaspoon black pepper
- ½ teaspoon cayenne pepper (optional, for a bit of heat)
- Eggs: 2 large, beaten, to help the flour stick perfectly.
- Vegetable Oil: For frying – about 3 cups (720 ml). Peanut oil or canola oil works great for high heat and neutral flavor.
Feel free to swap out all-purpose flour for gluten-free flour blends if gluten is a concern. I’ve done this with Bob’s Red Mill gluten-free flour with great results. Also, if you want to keep it lighter, baking instead of frying is possible — I’ll cover that later.
Equipment Needed
- Heavy-Duty Skillet or Dutch Oven: For frying, I prefer cast iron because it holds heat evenly, but any deep pan with high sides works.
- Thermometer: A candy or deep-fry thermometer to keep oil at a steady 350°F (175°C) — trust me, this makes all the difference.
- Mixing Bowls: At least two — one for marinating in buttermilk and one for the flour coating.
- Tongs or Slotted Spoon: For safely handling and removing tenders from hot oil.
- Wire Rack and Baking Sheet: To drain excess oil and keep tenders crispy.
Don’t have a thermometer? You can test oil temperature by dropping a pinch of flour in — it should sizzle immediately but not burn. For frying oil, I recommend using fresh oil or straining and storing it properly for reuse. Cast iron pans need seasoning maintenance, but once you get the hang of it, they’re your best friend for frying.
Preparation Method
- Prep the Chicken: Trim any excess fat from the chicken tenders and pat dry with paper towels. This helps the marinade stick better. (Time: 5 minutes)
- Marinate in Buttermilk: In a mixing bowl, combine the chicken tenders and buttermilk. Cover and refrigerate for at least 30 minutes or up to 2 hours. This tenderizes the meat and adds subtle tang. (Tip: Sometimes I forget the marinating step and rush it — the tenders still cook fine but aren’t quite as juicy.)
- Mix Dry Coating: In another bowl, whisk together the all-purpose flour, cornstarch, smoked paprika, garlic powder, onion powder, salt, black pepper, and cayenne pepper if using.
- Prepare the Egg Wash: Beat the eggs in a shallow bowl.
- Heat the Oil: Pour oil into your skillet or Dutch oven to a depth of about 2 inches (5 cm). Heat over medium-high heat to 350°F (175°C). Use a thermometer to check. (Tip: If the oil is too hot, the coating burns before the chicken cooks through; too cool, and the chicken absorbs oil and gets greasy.)
- Dredge the Chicken: Remove chicken from buttermilk, letting the excess drip off. Dip each tender first into the flour mixture, then into the beaten eggs, and back into the flour for a double coating. This double dip is key to that unbeatable crispiness. (Note: Work in batches to avoid clumping.)
- Fry the Tenders: Carefully place tenders in hot oil — don’t overcrowd the pan. Fry for about 3-4 minutes per side (6-8 minutes total), or until golden brown and internal temperature reaches 165°F (74°C). Flip gently with tongs. (Tip: Keep an eye on the heat; adjust burner as needed.)
- Drain and Rest: Transfer cooked tenders to a wire rack set over a baking sheet to drain excess oil and keep the crust crispy. Let rest for a few minutes before serving.
Quick note: If you don’t have time to fry, bake the tenders at 425°F (220°C) on a greased baking sheet for 15-18 minutes, flipping halfway. They won’t be quite as crispy but still delicious!
Cooking Tips & Techniques
I’ve found a few tricks over the years that make all the difference when making homemade chicken tenders:
- Double Dipping for Crunch: The first flour coating creates a base, the egg wash acts like glue, and the second flour layer seals in the crispiness. Skipping this step leads to a thinner, less crunchy crust.
- Oil Temperature Is Everything: Keeping the oil steady at 350°F (175°C) prevents soggy tenders and burns. Use a thermometer or watch for a steady sizzle. Adjust heat as needed to maintain temperature.
- Don’t Overcrowd the Pan: Putting too many tenders at once drops the oil temperature and results in greasy chicken. Fry in batches if necessary.
- Pat Dry Chicken: Moisture is the enemy of crunch. Always pat your chicken dry before marinating.
- Rest on Wire Rack: Draining on paper towels can cause steam to soften the crust. A wire rack lets air circulate and keeps tenders crispy.
- Season Generously: Don’t shy away from seasoning your flour mixture — it’s the flavor behind the crunch.
One time, I left the oil too hot, and the tenders looked burnt on the outside but were still raw inside. Learned the hard way to trust the thermometer and patience with cooking times!
Variations & Adaptations
This recipe is super flexible, so feel free to make it your own:
- Spicy Buffalo Style: Toss cooked tenders in buffalo sauce and serve with blue cheese or ranch dip.
- Gluten-Free: Swap the flour and cornstarch for a gluten-free blend, and use gluten-free breadcrumbs for an extra crunch.
- Oven-Baked Version: For a lighter take, bake instead of fry, brushing tenders lightly with oil before baking.
- Herb-Infused: Add dried herbs like thyme or rosemary to your flour mix for an earthy twist.
- Air Fryer Friendly: Cook at 400°F (200°C) for about 10-12 minutes, turning halfway for crispy results without the mess.
I once added a dash of Parmesan cheese to the flour mix — it gave the tenders a subtle cheesy finish that was surprisingly addictive!
Serving & Storage Suggestions
Serve your chicken tenders hot and fresh for the best crunch. They pair perfectly with classic sides like fries, coleslaw, or a crisp green salad. Want to keep things fun? Try dipping sauces like honey mustard, BBQ, or a spicy aioli.
If you have leftovers (rare, I know!), store them in an airtight container in the fridge for up to 3 days. To reheat, place tenders on a wire rack in a 375°F (190°C) oven for 8-10 minutes to revive that crisp exterior. Avoid microwaving as it makes them soggy.
Flavors actually deepen a bit overnight, so sometimes I find the next-day tenders even tastier, especially with a quick reheat.
Nutritional Information & Benefits
Each serving (about 4 tenders) provides roughly 350 calories, 25 grams of protein, and 15 grams of fat, depending on frying oil and portion size. Chicken is a great source of lean protein, essential for muscle repair and energy.
Using homemade tenders means you control the salt, oil, and additives — way better than most fast food options. This recipe can be adapted to be lower-carb by using almond flour or baking instead of frying. Just a heads-up: it contains gluten and eggs, so keep that in mind if you have allergies.
From a wellness perspective, making these at home means fresher ingredients, no preservatives, and the joy of cooking something from scratch — which, honestly, is a little boost to the soul.
Conclusion
So, there you have it: crispy homemade chicken tenders better than fast food, made right in your kitchen. This recipe strikes the perfect balance between crunchy coating and juicy chicken inside, with simple ingredients and a straightforward method. I love how customizable it is — you can turn up the heat, go gluten-free, or bake it for a lighter version.
Honestly, nothing beats the satisfaction of pulling these golden tenders out of the pan and knowing you made them yourself. I hope you’ll give this recipe a try and maybe even put your own spin on it. If you do, I’d love to hear about it — drop a comment or share your favorite dipping sauce below!
Now, go snack happy and enjoy every crunchy, juicy bite!
FAQs About Crispy Homemade Chicken Tenders
How do I keep chicken tenders crispy after frying?
Drain them on a wire rack instead of paper towels to avoid sogginess. Resting a few minutes before serving also helps the crust set.
Can I bake these chicken tenders instead of frying?
Yes! Bake at 425°F (220°C) for 15-18 minutes, flipping halfway. They won’t be as crispy, but still tasty and healthier.
What’s the best oil for frying chicken tenders?
Peanut oil and canola oil are great choices because of their high smoke points and neutral flavor.
Can I prepare chicken tenders ahead of time?
You can marinate the chicken in buttermilk up to 2 hours ahead. For breaded tenders, it’s best to fry or bake shortly after coating.
How can I make this recipe gluten-free?
Use a gluten-free flour blend in place of all-purpose flour and cornstarch. Also, check that your seasoning ingredients don’t contain gluten.
For a similar crispy flavor with a garlic punch, you might enjoy my crispy garlic chicken recipe. And if you love easy comfort food snacks, my homemade potato wedges pair perfectly with these tenders for a satisfying meal.
Pin This Recipe!
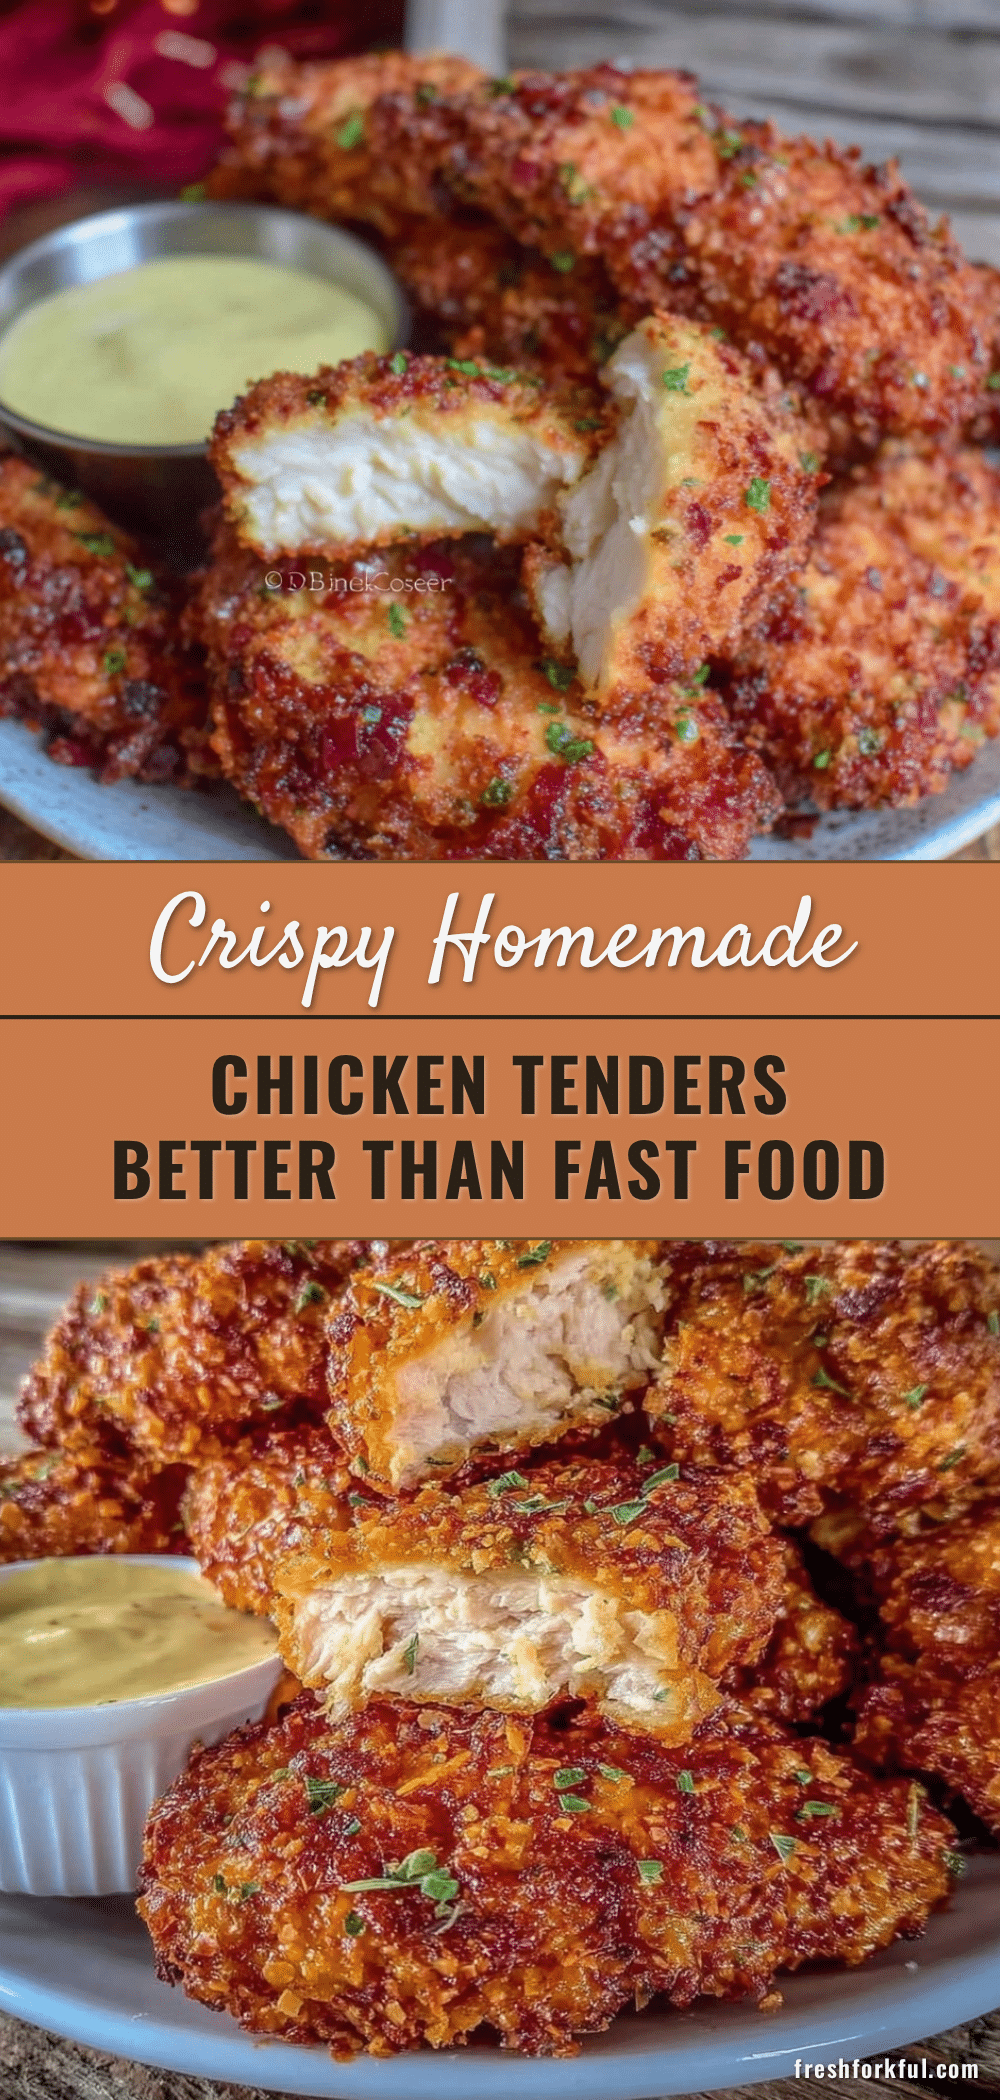
Crispy Homemade Chicken Tenders Recipe Better Than Fast Food Easy

These crispy homemade chicken tenders are juicy on the inside and perfectly seasoned with a double-dip coating technique, delivering a crunch better than fast food. Ready in under 30 minutes, they are perfect for any occasion and crowd-pleasing.
- Prep Time: 10 minutes
- Cook Time: 15 minutes
- Total Time: 25 minutes
- Yield: 4 servings 1x
- Category: Main Course
- Cuisine: American
Ingredients
- 1.5 pounds fresh chicken tenderloins or chicken breast cut into strips
- 1 cup buttermilk (or 1 cup milk mixed with 1 tablespoon lemon juice, let sit for 5 minutes)
- 1 ½ cups all-purpose flour
- ½ cup cornstarch
- 1 teaspoon smoked paprika
- 1 teaspoon garlic powder
- 1 teaspoon onion powder
- 1 teaspoon salt
- ½ teaspoon black pepper
- ½ teaspoon cayenne pepper (optional)
- 2 large eggs, beaten
- About 3 cups vegetable oil (peanut or canola oil recommended for frying)
Instructions
- Trim any excess fat from the chicken tenders and pat dry with paper towels.
- In a mixing bowl, combine the chicken tenders and buttermilk. Cover and refrigerate for at least 30 minutes or up to 2 hours.
- In another bowl, whisk together the all-purpose flour, cornstarch, smoked paprika, garlic powder, onion powder, salt, black pepper, and cayenne pepper if using.
- Beat the eggs in a shallow bowl.
- Pour oil into a heavy-duty skillet or Dutch oven to a depth of about 2 inches. Heat over medium-high heat to 350°F (175°C).
- Remove chicken from buttermilk, letting excess drip off. Dip each tender first into the flour mixture, then into the beaten eggs, and back into the flour for a double coating.
- Carefully place tenders in hot oil without overcrowding. Fry for about 3-4 minutes per side (6-8 minutes total), or until golden brown and internal temperature reaches 165°F (74°C).
- Transfer cooked tenders to a wire rack set over a baking sheet to drain excess oil and keep crispy. Let rest a few minutes before serving.
Notes
Maintain oil temperature at 350°F for best results. Double-dip the chicken for extra crispy coating. Do not overcrowd the pan to avoid greasy tenders. Rest tenders on a wire rack to keep crust crispy. For a lighter version, bake at 425°F for 15-18 minutes, flipping halfway.
Nutrition
- Serving Size: About 4 chicken tend
- Calories: 350
- Fat: 15
- Protein: 25
Keywords: chicken tenders, crispy chicken, homemade chicken tenders, fried chicken, easy chicken recipe, kid-friendly, quick dinner