Love this? Save it for later!
Share the inspiration with your friends
My sister asked why I couldn’t just skip the pre-baking step for the crust. I remember exactly where I was standing—in my tiny kitchen, flour dusting the counter, a stick of butter softening in a bowl. I started to explain why that wouldn’t work, something about structural integrity and soggy bottoms. Then I stopped. Honestly, I had no good reason except that every recipe I’d ever read told me to blind bake first. So I handed her the rolling pin and said, “Fine, you show me.”
She poured the pumpkin filling straight into the raw crust, slid it into the oven, and within an hour, we had a pie that made me question everything I thought I knew. The crust was flakier than usual, almost impossibly tender, and the filling had set perfectly. I mean, I was supposed to be the one teaching her. Let me tell you, eating humble pie has never tasted so good.
That afternoon changed how I approach this wholesome homemade pumpkin pie with flaky crust. I stopped overcomplicating things. The best version, it turns out, comes from trusting the process a little more and the rules a little less. Maybe you’ve been there—stubbornly following a method just because that’s how it’s always been done. This recipe is my apology for all those years of unnecessary blind baking.
The filling uses real pumpkin puree, a touch of maple syrup, and warm spices that smell like autumn in a bowl. The crust? It’s buttery, flaky, and forgiving enough for a weeknight bake. I keep coming back to this pie because it reminds me that sometimes the best discoveries happen when you stop trying to be the expert.
Why You’ll Love This Recipe
This isn’t just another pumpkin pie recipe you’ll bookmark and forget. I’ve tested this version at least a dozen times, tweaking the spice balance and the fat content in the crust until it felt right. It’s the kind of pie that makes you close your eyes after the first bite—comfort food reimagined with a lighter touch but zero sacrifice on flavor.
- Quick & Easy: Comes together in under an hour, with only 15 minutes of active prep. Perfect for Tuesday night baking or last-minute Thanksgiving contributions.
- Simple Ingredients: No weird stabilizers or hard-to-find extracts. You probably have cinnamon and nutmeg in your pantry right now.
- Perfect for Fall Gatherings: Great for Friendsgiving, cozy dinners, or a quiet Sunday with a cup of coffee.
- Crowd-Pleaser: Even the “I don’t like pumpkin pie” folks have asked for seconds. Every single time.
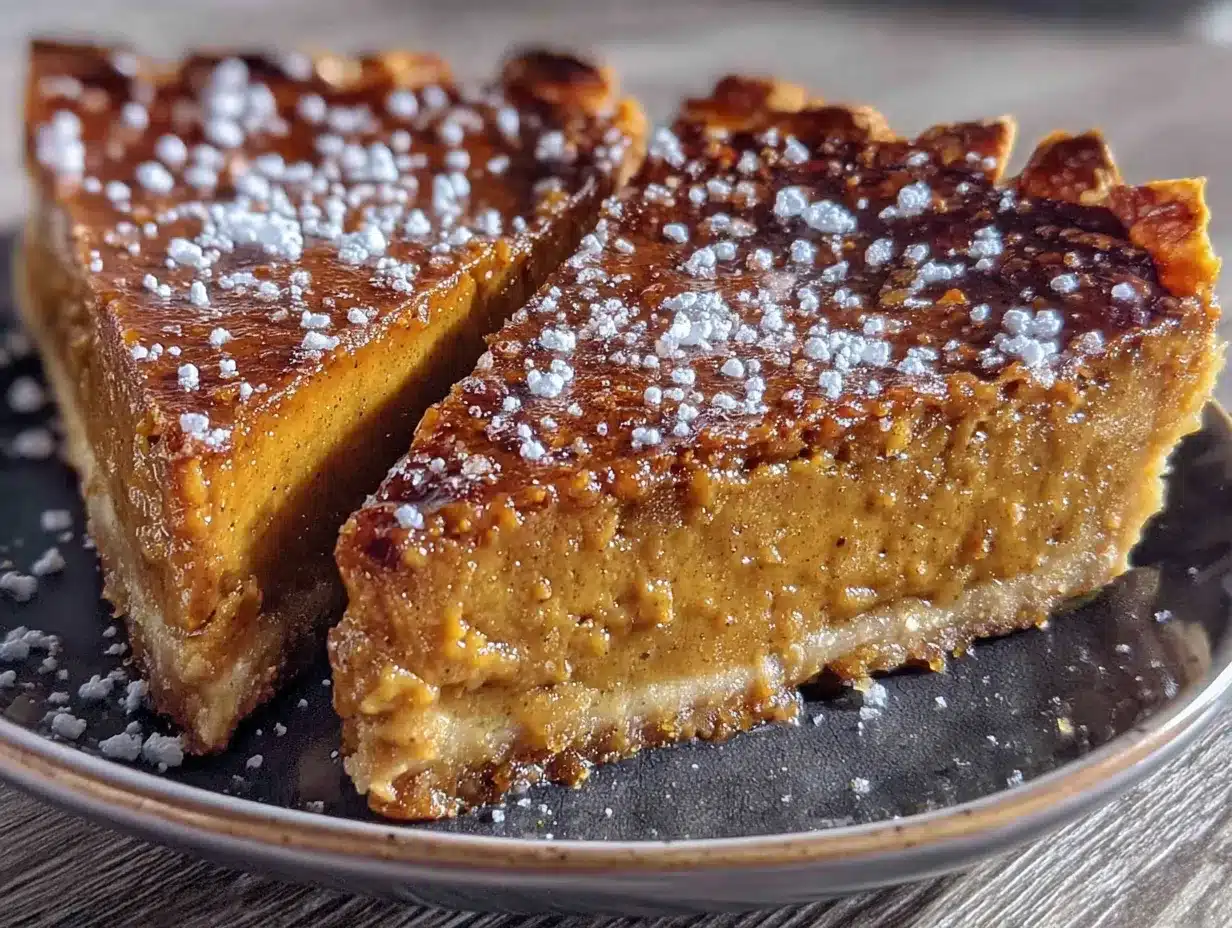
- Unbelievably Delicious: The texture is silky without being heavy. The crust shatters when you cut into it—flaky in all the right ways.
What makes this different from the other recipes out there? It’s the technique. By skipping the blind bake and using a higher ratio of butter to flour in the crust, you get layers that stay crisp even under the moist filling. Plus, I swapped half the sugar for maple syrup, which adds depth without making it overly sweet. This is my best version—healthier, faster, but with the same soul-soothing satisfaction that a good pumpkin pie should have.
What Ingredients You Will Need
This recipe uses simple, wholesome ingredients to deliver bold flavor and satisfying texture without the fuss. Most of these are pantry staples, which makes this pie an easy choice when you’re craving something homemade.
For the Flaky Crust
- 1 ¼ cups all-purpose flour (spooned and leveled)
- ½ teaspoon salt
- 1 tablespoon granulated sugar
- ½ cup cold unsalted butter, cut into small cubes (I prefer Kerrygold for its richness)
- 3-4 tablespoons ice water (add one at a time)
Pro tip: Freeze the butter for 10 minutes before cutting it. Cold fat is the secret to flaky layers.
For the Pumpkin Filling
- 1 ¾ cups pumpkin puree (canned is fine—look for 100% pure pumpkin, not pumpkin pie mix)
- ¾ cup heavy cream (or full-fat coconut milk for dairy-free)
- ½ cup maple syrup (use the real stuff, not pancake syrup)
- ¼ cup packed light brown sugar
- 2 large eggs, room temperature
- 1 teaspoon vanilla extract
- 1 ½ teaspoons ground cinnamon
- ½ teaspoon ground ginger
- ¼ teaspoon ground nutmeg (freshly grated if you have it)
- ¼ teaspoon ground cloves
- ¼ teaspoon salt
I’ve tested this with canned pumpkin from Libby’s and homemade roasted sugar pumpkin—both work beautifully. If using fresh pumpkin, make sure to drain the puree in a cheesecloth-lined sieve for an hour to remove excess moisture. Nobody wants a watery pie.
Equipment Needed
You don’t need a fancy kitchen to pull this off. Here’s what you’ll need:
- 9-inch pie dish (glass or ceramic works best for even browning)
- Rolling pin (a wine bottle works in a pinch—I’ve done it)
- Large mixing bowl
- Medium mixing bowl
- Whisk
- Pastry cutter or two forks (for cutting butter into flour)
- Measuring cups and spoons
- Plastic wrap
- Baking sheet (to catch drips—trust me on this)
If you don’t have a pastry cutter, just use your fingertips. The warmth of your hands will melt the butter slightly, which actually helps create those flaky pockets. My first pie crust was made with a fork and a lot of determination.
Preparation Method
Let’s get baking. This whole process takes about 55 minutes from start to finish, with most of that being hands-off oven time.
- Make the crust (10 minutes): In a large bowl, whisk together the flour, salt, and sugar. Add the cold butter cubes. Using a pastry cutter or your fingertips, work the butter into the flour until it resembles coarse meal with pea-sized butter pieces. Drizzle in 3 tablespoons of ice water and stir with a fork. If the dough seems dry, add the remaining tablespoon. It should hold together when squeezed.
- Chill the dough (30 minutes): Flatten the dough into a disk, wrap it in plastic wrap, and refrigerate for at least 30 minutes. This step is non-negotiable—it relaxes the gluten and keeps the butter cold.
- Roll out the crust (5 minutes): On a lightly floured surface, roll the dough into a 12-inch circle, about ⅛-inch thick. Transfer it to your pie dish by rolling it around the rolling pin. Gently press it into the dish and crimp the edges however you like. I go for a simple scalloped edge because I’m not patient enough for fancy braids.
- Preheat the oven: Set your oven to 375°F (190°C). Place a baking sheet on the middle rack to preheat—this helps the bottom crust cook evenly.
- Make the filling (5 minutes): In a medium bowl, whisk together the pumpkin puree, heavy cream, maple syrup, brown sugar, eggs, vanilla, and all the spices. Whisk until smooth and glossy. Taste it—yes, raw eggs and all. It should be well-spiced and not too sweet.
- Assemble the pie: Pour the filling into the unbaked crust. Smooth the top with a spatula. Place the pie on the preheated baking sheet.
- Bake (40-45 minutes): Bake for 40-45 minutes, until the edges are set and the center jiggles slightly when you gently shake the pan. A knife inserted an inch from the edge should come out clean. The center will continue to set as it cools.
- Cool completely: Let the pie cool on a wire rack for at least 2 hours. This is the hardest part. The filling needs this time to firm up into that perfect sliceable texture.
Sensory cue: When it’s done, your kitchen will smell like a fall candle factory exploded. The crust should be golden brown around the edges, and the filling will have a matte finish with tiny cracks around the rim.
Cooking Tips & Techniques
I’ve made this pie so many times I’ve learned what can go wrong—and how to fix it.
Don’t overwork the dough. The first time I made pie crust from scratch, I kneaded it like bread. The result was a tough, chewy crust that belonged on a shoe. Mix just until it comes together. A few streaks of flour are fine.
Keep everything cold. If your butter melts before the dough hits the oven, you lose those flaky layers. If the dough gets sticky, pop it back in the fridge for 10 minutes. I’ve done this mid-rolling more times than I’ll admit.
Watch the edges. The crust edges brown faster than the filling sets. If they look too dark at the 30-minute mark, tent them loosely with foil. I forgot once and ended up with charcoal edges—still tasted good, but presentation suffered.
Let it rest. Cutting into a warm pumpkin pie is a rookie mistake. The filling needs at least 2 hours to set. Overnight in the fridge is even better. The flavors meld and deepen, and the texture becomes velvety.
Multitask wisely. While the dough chills, clean up your workspace. While the pie bakes, make the whipped cream. This pie doesn’t need a lot of active time, so use those windows to prep ahead.
Variations & Adaptations
This recipe is forgiving enough to adapt to different diets and tastes. Here are a few ways I’ve changed it up:
- Gluten-Free Option: Swap the all-purpose flour for a 1:1 gluten-free baking blend. I’ve used Bob’s Red Mill with great results. Add an extra tablespoon of ice water since gluten-free flours absorb more moisture.
- Dairy-Free Version: Use cold coconut oil or vegan butter in the crust, and full-fat coconut milk in the filling. The coconut flavor is subtle and pairs beautifully with the spices.
- Spice It Up: Add a pinch of black pepper or cayenne to the filling. It sounds weird, but it brightens the pumpkin flavor. I tried this after a friend swore by it, and honestly, I haven’t gone back.
- Maple Whipped Cream: Beat 1 cup heavy cream with 2 tablespoons maple syrup and a splash of vanilla. It takes the pie from great to unforgettable.
- Pumpkin Tart: Press the crust into a tart pan instead of a pie dish. Bake for 5 minutes less. The higher edges create a cleaner slice.
One time, I made a version with gingerbread crust—replaced ¼ cup flour with finely crushed ginger snaps. It was ridiculous. In the best way.
Serving & Storage Suggestions
This pie is best served at room temperature or slightly chilled. Cold pie cuts cleaner, but room temperature lets the spices sing. I usually pull it out of the fridge 30 minutes before serving.
For presentation, top each slice with a dollop of whipped cream and a light dusting of cinnamon. A few candied pecans on the side never hurt anybody. It pairs beautifully with black coffee, chai tea, or a glass of cold milk.
Storage: Cover the pie loosely with plastic wrap or foil and refrigerate for up to 4 days. The crust will soften slightly over time, but the flavor actually improves. I’ve eaten leftovers straight from the fridge for breakfast—no regrets.
Freezing: You can freeze the baked, cooled pie for up to 3 months. Wrap it tightly in plastic wrap, then foil. Thaw overnight in the fridge before serving. Do not freeze the unbaked filling—the texture gets grainy.
Reheating: If you prefer warm pie, reheat individual slices in a 300°F oven for 10 minutes. The microwave works in a pinch, but the crust gets soggy. I’ve done it when I couldn’t wait, and it’s still delicious.
Nutritional Information & Benefits
Here’s an approximate breakdown per slice (based on 8 servings):
- Calories: 320
- Fat: 18g
- Carbohydrates: 38g
- Fiber: 3g
- Sugar: 22g
- Protein: 5g
Pumpkin is packed with vitamin A, which supports eye health and immune function. The cinnamon and ginger in this recipe have anti-inflammatory properties, and the maple syrup provides a lower-glycemic alternative to refined sugar. This pie fits into a balanced lifestyle—it’s wholesome enough for a weekday treat and special enough for a holiday table.
I love that this recipe doesn’t pretend to be a health food. It’s a real dessert made with real ingredients. That’s the kind of balance I can get behind.
Conclusion
This wholesome homemade pumpkin pie with flaky crust is the one I keep coming back to, autumn after autumn. It’s forgiving enough for a first-time baker and rewarding enough for someone who’s made a hundred pies. The flaky crust, the silky filling, the warm spice aroma—it’s everything a pumpkin pie should be.
I hope you give this recipe a try and make it your own. Maybe you’ll add extra ginger, or skip the crust altogether and make a crustless version. That’s the beauty of cooking—you get to decide. If you do make it, I’d love to hear how it turned out. Drop a comment below, tag me in your photos, or tell me about the time you proved someone wrong in the kitchen. Happy baking, friends.
Frequently Asked Questions
Can I use store-bought pie crust?
Absolutely. If you’re short on time, a good-quality refrigerated crust works fine. Just make sure it’s the kind that comes in a roll, not a frozen tin. Blind baking isn’t necessary with this recipe, so you can pour the filling straight in.
Why is my pumpkin pie cracking on top?
Cracks usually mean the pie was overbaked or the temperature was too high. The center should still jiggle slightly when you pull it out. It will continue to set as it cools. If cracks do appear, cover them with whipped cream—nobody will know.
Can I make this pie ahead of time?
Yes! This pie actually tastes better the next day. Bake it a day ahead, let it cool completely, and store it in the fridge. Bring it to room temperature before serving for the best flavor.
Is it safe to eat raw pumpkin pie filling?
The filling contains raw eggs, so it’s not recommended for pregnant women, young children, or anyone with a compromised immune system. That said, I always taste it for seasoning—just a tiny lick—and I’ve never had an issue. Use pasteurized eggs if you’re concerned.
How do I get a super flaky crust?
Keep your butter cold, don’t overmix the dough, and let it rest in the fridge before rolling. The pea-sized butter pieces create steam pockets in the oven, which is what makes the crust flaky. Also, don’t skip the baking sheet—it helps the bottom cook evenly.
Pin This Recipe!
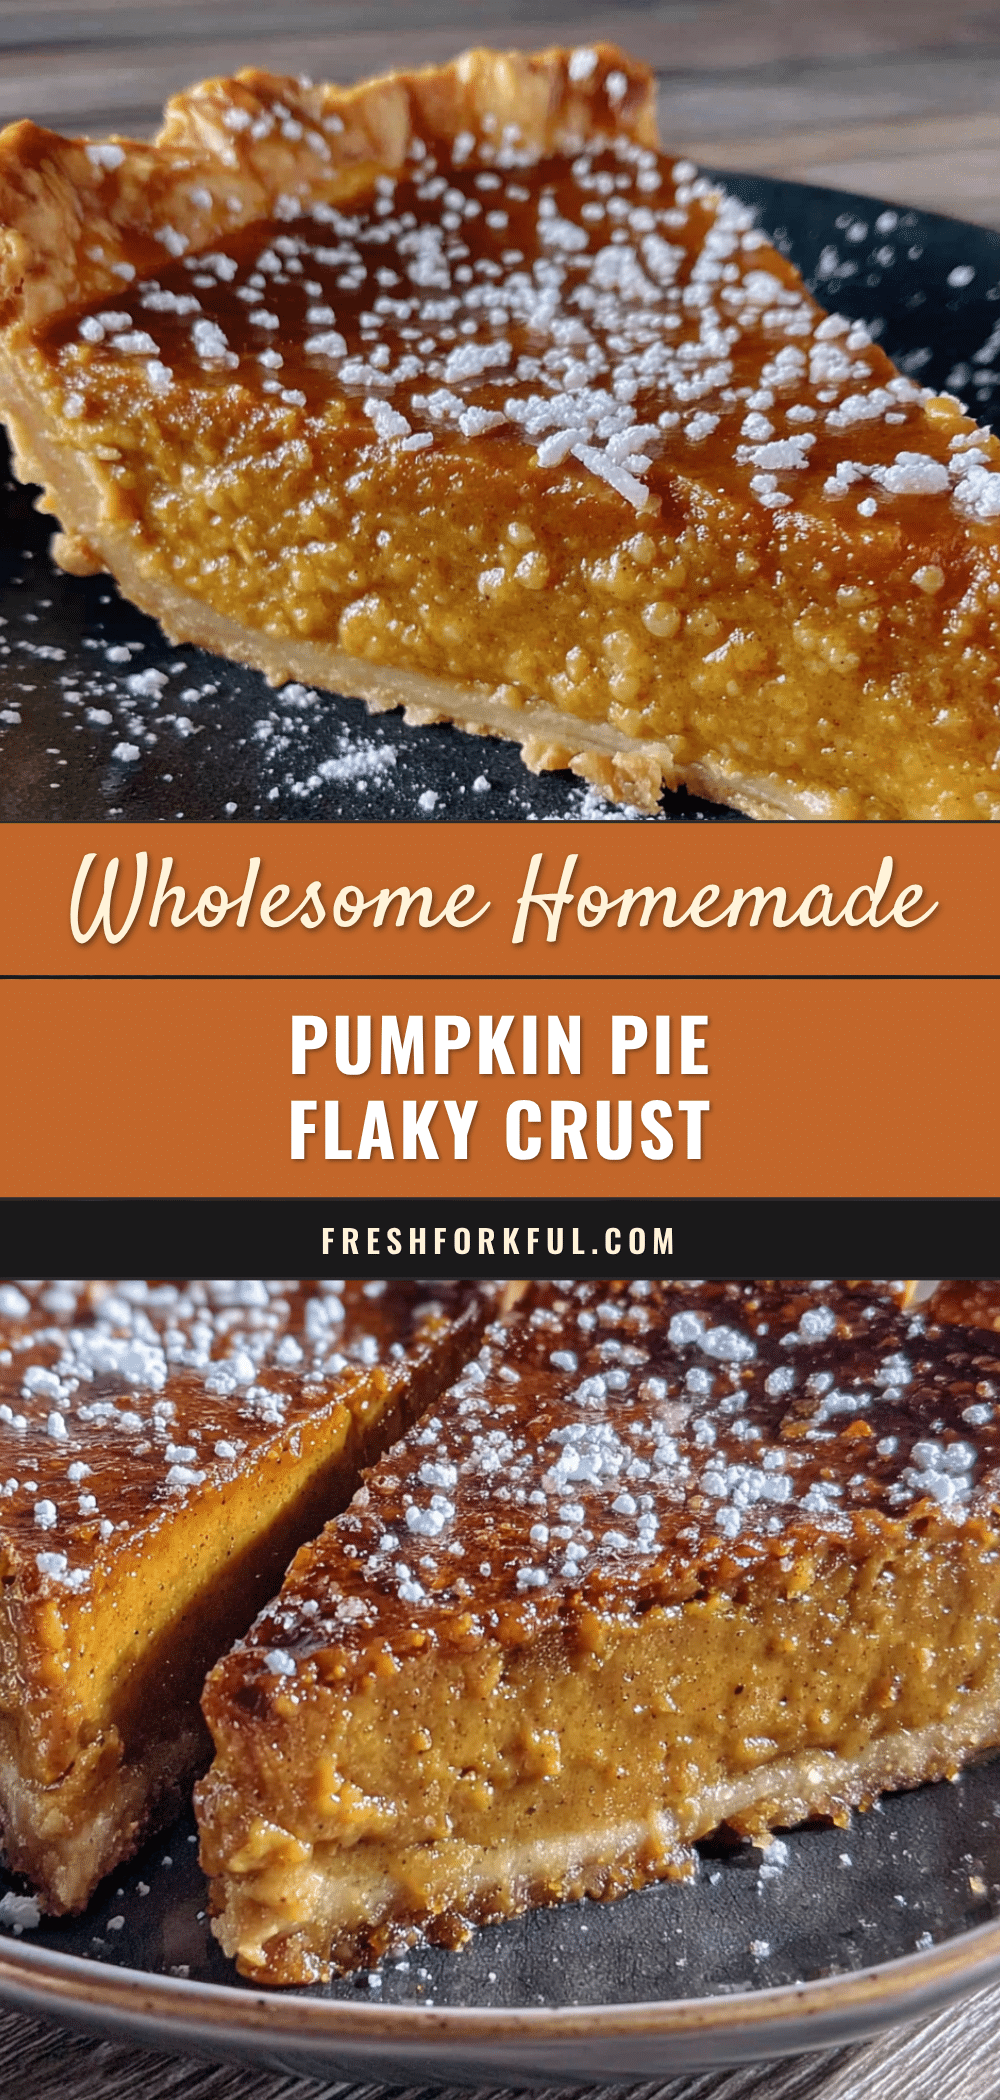
Wholesome Homemade Pumpkin Pie with Flaky Crust
This pumpkin pie skips the blind bake for a flakier crust and uses real pumpkin puree, maple syrup, and warm spices for a silky, comforting filling. It’s quick, easy, and perfect for fall gatherings.
- Prep Time: 15 minutes
- Cook Time: 40-45 minutes
- Total Time: 55 minutes (plus 2 hours cooling)
- Yield: 8 servings 1x
- Category: Dessert
- Cuisine: American
Ingredients
- 1 ¼ cups all-purpose flour (spooned and leveled)
- ½ teaspoon salt
- 1 tablespoon granulated sugar
- ½ cup cold unsalted butter, cut into small cubes
- 3–4 tablespoons ice water
- 1 ¾ cups pumpkin puree (100% pure pumpkin)
- ¾ cup heavy cream (or full-fat coconut milk for dairy-free)
- ½ cup maple syrup
- ¼ cup packed light brown sugar
- 2 large eggs, room temperature
- 1 teaspoon vanilla extract
- 1 ½ teaspoons ground cinnamon
- ½ teaspoon ground ginger
- ¼ teaspoon ground nutmeg (freshly grated if possible)
- ¼ teaspoon ground cloves
- ¼ teaspoon salt
Instructions
- Make the crust: In a large bowl, whisk together flour, salt, and sugar. Add cold butter cubes. Using a pastry cutter or fingertips, work butter into flour until it resembles coarse meal with pea-sized butter pieces. Drizzle in 3 tablespoons ice water and stir with a fork. If dough seems dry, add remaining tablespoon. It should hold together when squeezed.
- Chill the dough: Flatten dough into a disk, wrap in plastic wrap, and refrigerate for at least 30 minutes.
- Roll out the crust: On a lightly floured surface, roll dough into a 12-inch circle, about ⅛-inch thick. Transfer to a 9-inch pie dish, press gently, and crimp edges.
- Preheat oven to 375°F (190°C). Place a baking sheet on the middle rack to preheat.
- Make the filling: In a medium bowl, whisk together pumpkin puree, heavy cream, maple syrup, brown sugar, eggs, vanilla, and all spices until smooth and glossy.
- Assemble the pie: Pour filling into unbaked crust. Smooth top with a spatula. Place pie on preheated baking sheet.
- Bake for 40-45 minutes, until edges are set and center jiggles slightly when shaken. A knife inserted an inch from the edge should come out clean.
- Cool completely on a wire rack for at least 2 hours before slicing.
Notes
Skip the blind bake for a flakier crust. Keep butter cold and don’t overwork the dough. If crust edges brown too quickly, tent with foil at 30 minutes. Let pie cool at least 2 hours before slicing. For best flavor, make a day ahead and refrigerate.
Nutrition
- Serving Size: 1 slice
- Calories: 320
- Sugar: 22
- Sodium: 280
- Fat: 18
- Saturated Fat: 10
- Carbohydrates: 38
- Fiber: 3
- Protein: 5
Keywords: pumpkin pie, homemade pumpkin pie, flaky crust, fall dessert, Thanksgiving pie, easy pumpkin pie


