Love this? Save it for later!
Share the inspiration with your friends
Jen wasn’t throwing a Halloween party. She was just, you know, having people over for a casual Friday night — the kind where you wear sweatpants and order pizza. I’d stopped by to drop off a book I’d borrowed, and the smell of chocolate and crushed cookies hit me before I even got past her front door. It was early October, and her kitchen looked like a tiny bakery had exploded. There were little plastic cups lined up on the counter, each one filled with what looked like dark, crumbly soil. And sticking out of that “soil” were gummy worms — bright, wiggly, slightly terrifying gummy worms.
“Oh, those?” she said when she caught me staring. She was licking chocolate pudding off her finger, completely unfazed. “They’re just dirt cups. My kids wanted something fun for the weekend.” Just dirt cups. Like it was nothing. Like she hadn’t just created the most perfect, nostalgic, crowd-pleasing Halloween treat I’d seen in years.
Honestly, I stood there for a solid minute, just watching her work. She crushed Oreos in a bag with a rolling pin — not even a food processor, just a bag and a rolling pin — and layered them over creamy chocolate pudding with the kind of casual confidence that only comes from making something a hundred times. She didn’t have a recipe card out. She didn’t measure anything. She just knew. And that, my friends, is the whole point of these Guest-Favorite Halloween Dirt Cups with Gummy Worms. They’re not complicated. They’re not fancy. But they stop you cold the second you see them.
So here’s the thing. You don’t need to be a pastry chef or own a stand mixer to pull these off. You need about fifty minutes, a handful of store-bought ingredients, and the willingness to look a little silly when you serve them to your guests. Because let’s face it — there’s something deeply satisfying about watching a grown adult’s face light up at the sight of a gummy worm peeking out of chocolate “dirt.” These Halloween Dirt Cups are the kind of recipe that makes you feel like a hosting genius without actually doing all that much.
Why You’ll Love This Recipe
I’ve tested this recipe more times than I care to admit — for Halloween parties, for neighborhood potlucks, for my own kid’s classroom celebrations. And every single time, the dirt cups disappear faster than anything else on the table. Here is why these Guest-Favorite Halloween Dirt Cups with Gummy Worms earn their reputation:
- Quick & Easy : Comes together in about 50 minutes, most of which is just chilling time. The actual hands-on work is maybe 15 minutes.
- Simple Ingredients : You need chocolate pudding, Oreos, cream cheese, whipped topping, and gummy worms. That’s it. No fancy grocery trips.
- Perfect for Halloween Gatherings : Whether you are hosting a costume party or just having friends over for a scary movie, these dirt cups are the ultimate themed treat.
- Crowd-Pleaser : Kids go crazy for them. Adults pretend to be above it, then eat three. I’ve seen it happen.
- Unbelievably Fun : The texture is creamy, crunchy, and smooth all at once. And the visual — little cups of “dirt” with worms crawling out — is pure Halloween magic.
What makes these different from every other dirt cup recipe out there? It’s the cream cheese layer. Most recipes skip this, but blending softened cream cheese into the pudding mixture gives it this rich, almost cheesecake-like depth that makes the chocolate flavor sing. It’s not just pudding — it’s something more. Something that makes people ask, “Wait, what’s in this?”
This recipe is the kind that makes you close your eyes after the first bite. It is comfort food reimagined — nostalgic, playful, and deeply satisfying. Perfect for impressing your Halloween guests without spending all day in the kitchen.
What Ingredients You Will Need
This recipe uses simple, everyday ingredients to create something that feels surprisingly special. Most of these are pantry staples or easy to find at any grocery store.
- 1 package (3.4 ounces) instant chocolate pudding mix — I prefer Jell-O brand for its smooth texture, but any brand works. Make sure it’s instant, not cook-and-serve.
- 2 cups cold milk — Whole milk gives the creamiest result, but 2% works fine too. For a dairy-free version, use oat milk or almond milk.
- 4 ounces cream cheese, softened — This is my secret ingredient. It adds richness and a slight tang that balances the sweetness. Let it sit out for 30 minutes before mixing.
- 1/4 cup granulated sugar — Just enough to sweeten the cream cheese layer without making it cloying.
- 1 cup frozen whipped topping (like Cool Whip), thawed — You can also use homemade whipped cream if you prefer, but Cool Whip holds up better for make-ahead prep.
- 1 package (14.3 ounces) Oreo cookies — You need about 20 cookies. Double-stuf works great, but regular Oreos are fine too. The filling helps the “dirt” stick together.
- 1 cup gummy worms — Get the sour ones for extra kick, or stick with classic. I’ve tried both, and honestly, the sour worms add a nice contrast to the sweet pudding.
- Optional: 8 small clear plastic cups (5-7 ounce size) — Clear cups let you show off the layers, which is half the fun. You can use small mason jars or even paper cups in a pinch.
For the best texture, make sure your cream cheese is truly at room temperature. Cold cream cheese will leave lumps in your pudding mixture, and nobody wants a lumpy dirt cup. If you are short on time, cut the cream cheese into small cubes and let it sit for 10 minutes — it softens faster that way.
One more thing about the Oreos. You can crush them in a food processor if you have one, but I honestly prefer the bag-and-rolling-pin method. It gives you a more varied crumb — some fine powder, some small chunks — which looks more like real dirt. Plus, it’s weirdly satisfying.
Equipment Needed
You don’t need much for these Halloween Dirt Cups, which is part of the beauty. Here is what you will need:
- 2 mixing bowls — One medium for the pudding, one small for the cream cheese mixture.
- Electric hand mixer or stand mixer — For beating the cream cheese until smooth. A whisk works too, but it takes more elbow grease.
- Ziploc bag (gallon size) and rolling pin — For crushing the Oreos. You can also use a food processor if you prefer a finer crumb.
- Measuring cups and spoons — For the milk, sugar, and pudding mix.
- Spatula — For scraping every last bit of that cream cheese mixture into the pudding.
- 8 small clear cups (5-7 ounces each) — Clear cups are ideal for showing off the layers. I found a pack of 50 at the dollar store for under three bucks.
- Refrigerator space — You need room to chill the cups for at least 30 minutes before serving.
If you don’t have clear cups, small mason jars work beautifully. I’ve also used those little plastic dessert cups from the party supply section. The key is being able to see the layers — that’s what makes these dirt cups so visually fun.
Preparation Method
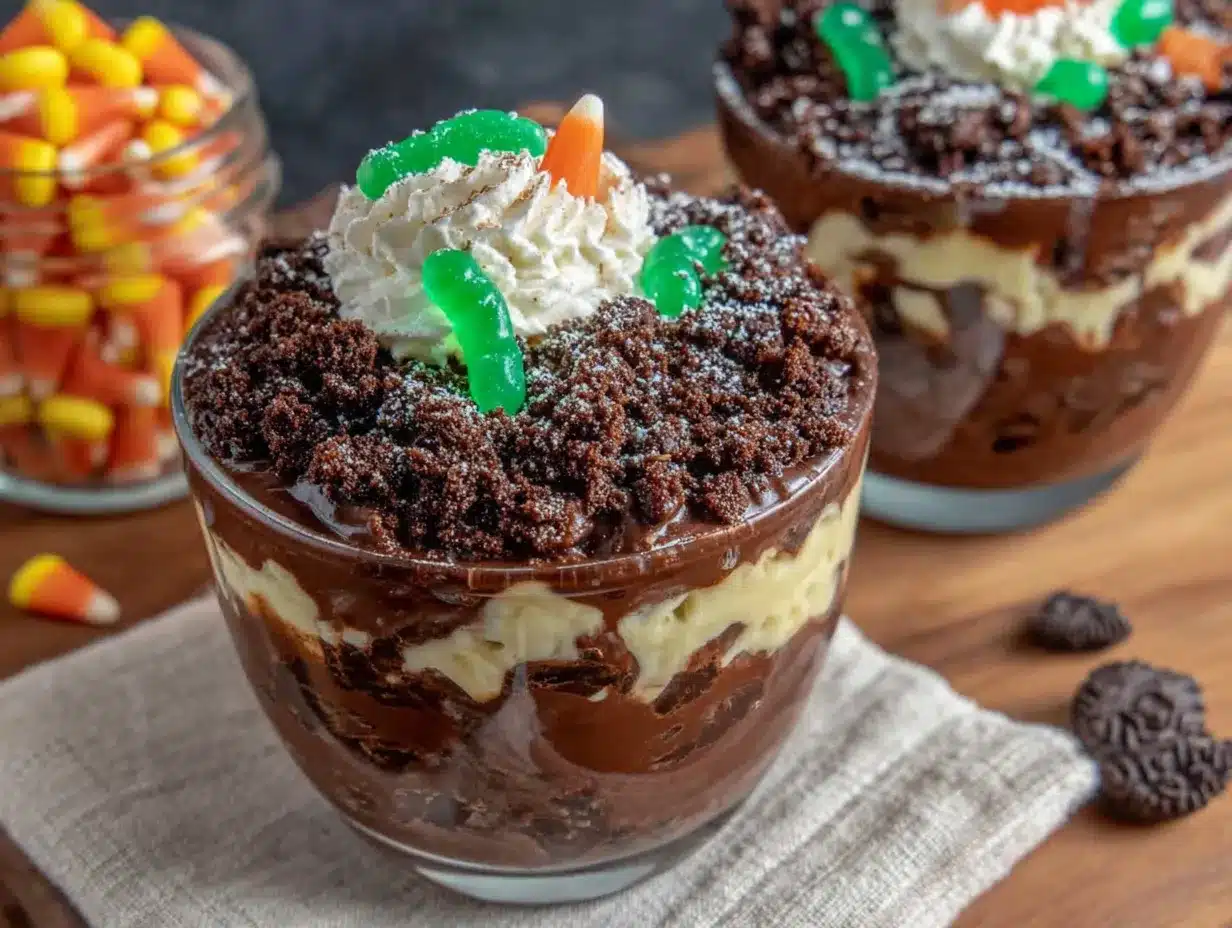
These Guest-Favorite Halloween Dirt Cups with Gummy Worms come together in about 50 minutes, with most of that time being hands-off chilling. Here is how to make them:
- Make the pudding (5 minutes) — In a medium mixing bowl, whisk together the instant chocolate pudding mix and 2 cups of cold milk. Whisk for about 2 minutes until it starts to thicken. Set it aside to set up while you work on the cream cheese layer.
- Beat the cream cheese (3 minutes) — In a smaller bowl, beat the softened cream cheese with an electric hand mixer until it is smooth and fluffy. Add the 1/4 cup of sugar and beat for another minute until fully incorporated. Scrape down the sides of the bowl with your spatula.
- Combine the mixtures (2 minutes) — Gently fold the cream cheese mixture into the pudding mixture using your spatula. Stir until it’s completely combined — no white streaks should remain. Then fold in the thawed whipped topping until everything is light, creamy, and uniform.
- Crush the Oreos (5 minutes) — Place about 20 Oreo cookies into a gallon-size Ziploc bag. Seal it tightly, pressing out as much air as possible. Use a rolling pin to crush the cookies into fine crumbs with some small chunks. You want a texture that resembles potting soil — not too fine, not too chunky. Set the bag aside.
- Assemble the cups (5 minutes) — Spoon about 2 tablespoons of the crushed Oreos into the bottom of each clear cup. This creates the first “dirt” layer. Next, spoon or pipe the pudding mixture over the Oreo layer, filling each cup about halfway. Add another layer of crushed Oreos on top — about 2 tablespoons per cup. Reserve a small handful of crumbs for garnish.
- Add the worms (2 minutes) — Gently press 2-3 gummy worms into the top Oreo layer of each cup, letting some of the worm stick out like it is crawling out of the dirt. Sprinkle the reserved Oreo crumbs around the base of the worms to hide where they enter the “dirt.”
- Chill (30 minutes minimum) — Place the assembled dirt cups in the refrigerator for at least 30 minutes. This allows the layers to set and the flavors to meld together. The cups can be made up to 24 hours in advance — just add the gummy worms right before serving so they don’t get soggy.
A few notes from my kitchen. If the pudding mixture seems too thick after adding the whipped topping, don’t panic. It will loosen slightly as it chills. Also, if you want cleaner layers, you can pipe the pudding mixture into the cups using a piping bag or a Ziploc bag with the corner snipped off. But honestly, spooning it in gives it a more rustic, dirt-like look.
One time I made these for a Halloween party and accidentally left the cream cheese out of the mixture. The pudding was still good, but it lacked that rich, creamy depth that makes these cups so addictive. So don’t skip the cream cheese — it really does make a difference.
Cooking Tips & Techniques
Over the years, I’ve learned a few tricks that make these Halloween Dirt Cups even better. Here is what I wish someone had told me the first time I made them:
Don’t overmix the pudding. Once you add the milk, whisk just until the powder dissolves. Overmixing can make the pudding gummy. Let it sit for a few minutes to thicken naturally.
Use room temperature cream cheese. This cannot be overstated. Cold cream cheese will leave lumps in your mixture that no amount of beating will fix. Set it out 30 minutes before you start, or microwave it for 10 seconds if you are in a hurry.
Crush the Oreos in batches. If you try to crush all 20 cookies at once, the bag might burst. I learned this the hard way — Oreo crumbs on the ceiling are not fun to clean up. Do 10 cookies at a time for best results.
Let the cups chill uncovered for the first 15 minutes. This helps the top “dirt” layer stay crunchy rather than getting soggy from condensation. After 15 minutes, you can cover them with plastic wrap or lids.
Add the gummy worms at the last minute. If you add them too early, the moisture from the pudding will make them soft and sad. Nobody wants a limp gummy worm. Add them right before serving for maximum visual impact.
Make extra Oreo crumbs. I always crush a few extra cookies to have on hand for sprinkling over the top right before serving. It makes the cups look freshly made, even if they’ve been chilling for hours.
I once made these for a Halloween potluck and forgot to chill them before I left the house. The pudding was still warm, and the Oreo crumbs turned into a muddy mess. Learn from my mistake — the chilling step is non-negotiable.
Variations & Adaptations
These Guest-Favorite Halloween Dirt Cups are endlessly adaptable. Here are some variations I’ve tried and loved:
Peanut Butter Dirt Cups — Add 1/4 cup of creamy peanut butter to the cream cheese mixture before folding it into the pudding. The peanut butter adds a salty-savory note that pairs beautifully with the chocolate. Just make sure to beat it in thoroughly so there are no streaks.
Vegan Version — Use dairy-free chocolate pudding (check the label — many instant pudding mixes are accidentally vegan), coconut cream instead of cream cheese (chill a can of full-fat coconut milk and scoop out the solid top), and a plant-based whipped topping. For the “dirt,” use vegan chocolate sandwich cookies. The texture is slightly different but still delicious.
Pumpkin Spice Dirt Cups — For a fall twist, substitute half of the chocolate pudding with vanilla pudding and add 1/2 cup of pumpkin puree and 1 teaspoon of pumpkin pie spice to the cream cheese mixture. Use crushed graham crackers or gingersnaps instead of Oreos. Top with candy corn instead of gummy worms for a non-scary option.
Gluten-Free Option — Use gluten-free chocolate sandwich cookies (brands like Glutino and Kinnikinnick make good ones) and ensure your pudding mix is certified gluten-free. Everything else in the recipe is naturally gluten-free.
Low-Sugar Version — Use sugar-free chocolate pudding mix and sugar-free whipped topping. Replace the Oreos with sugar-free chocolate cookies or crushed almonds for the “dirt” layer. The cream cheese and sugar can be replaced with a sugar substitute like monk fruit sweetener. The texture holds up well, though the taste is slightly less indulgent.
My personal favorite variation is the peanut butter one. I made it for a Halloween party last year, and a guest asked me if I had catered the desserts. I just smiled and said, “Nope, just a bag of Oreos and some peanut butter.”
Serving & Storage Suggestions
These Halloween Dirt Cups are best served cold, straight from the refrigerator. The contrast between the cold, creamy pudding and the crunchy Oreo “dirt” is what makes them so satisfying. Here is how to serve and store them:
Serving Temperature — Serve chilled, not frozen. If you’ve made them ahead, pull them out of the fridge about 5 minutes before serving to take the edge off the chill. This lets the flavors come through more fully.
Presentation — Arrange the cups on a platter or tray, grouping them together so the gummy worms create a little “worm farm” effect. You can add a few extra gummy worms around the base of the cups for a creepier look. For a Halloween party, place the tray on a bed of fake spiderwebs or dry ice (handle carefully) for a spooky effect.
What to Serve Alongside — These dirt cups pair beautifully with other Halloween treats like pumpkin-shaped sugar cookies, caramel popcorn balls, or a hot apple cider bar. If you are hosting a dinner party, serve them after a hearty meal like chili or roasted chicken — the lightness of the pudding balances heavier dishes.
Storage — Store leftover dirt cups in the refrigerator, covered with plastic wrap or lids, for up to 3 days. The Oreo layer will soften over time, but they will still taste good. Do not freeze them — the texture of the pudding and whipped topping will suffer.
Make-Ahead Tips — You can prepare the pudding mixture and crush the Oreos up to 2 days in advance. Store the pudding in the fridge and the Oreo crumbs in an airtight container at room temperature. Assemble the cups up to 24 hours before serving, but wait to add the gummy worms until just before you serve them.
One thing I love about these dirt cups is that the flavors actually get better after a few hours in the fridge. The cream cheese and pudding meld together into this rich, almost cheesecake-like texture. So don’t be afraid to make them the night before — they might even be better that way.
Nutritional Information & Benefits
Let’s be honest — these Halloween Dirt Cups are a treat, not a health food. But here is the approximate nutritional breakdown for one cup (based on 8 servings):
- Calories: Approximately 320-350 per cup
- Fat: 15-18 grams (mostly from cream cheese and Oreos)
- Carbohydrates: 42-46 grams
- Protein: 5-7 grams
- Sugar: 28-32 grams
- Fiber: 1-2 grams
While these are not exactly a health food, there are a few redeeming qualities. The cream cheese adds a small amount of protein and calcium. The milk provides vitamin D and calcium as well. And the Oreo crumbs — well, they provide joy, which has its own health benefits, right?
For those with dietary restrictions, the gluten-free and low-sugar variations mentioned above offer better options. The vegan version is free of animal products and cholesterol. Just be mindful of portion sizes — these cups are rich and satisfying, so one is usually enough.
I personally see these as a once-in-a-while indulgence. Halloween comes once a year, and these dirt cups are worth every calorie. If you are serving them at a party, balance them out with some veggie platters or lighter appetizers. Everything in moderation, including moderation.
Conclusion
These Guest-Favorite Halloween Dirt Cups with Gummy Worms are the kind of recipe that makes you look like a hero with almost zero effort. They are fun, nostalgic, and genuinely delicious — a rare combination that works for kids, adults, and everyone in between.
I love that this recipe comes together in about 50 minutes, most of which is just chilling time. I love that it uses simple ingredients I can find at any grocery store. But mostly, I love the look on people’s faces when I set out a tray of these little cups with worms crawling out of the “dirt.” It never gets old.
So go ahead — make these for your Halloween party, your neighborhood potluck, or just for a fun weekend treat. Customize them with your favorite variations. Add extra worms if you are feeling brave. And when someone asks you for the recipe, just smile and say, “Oh, they’re just dirt cups.” Like it’s nothing.
I would love to hear how yours turn out! Drop a comment below and let me know what variations you tried, or tag me in your photos on social media. Happy Halloween, and happy eating!
Frequently Asked Questions
Can I use homemade pudding instead of instant?
Yes, you can use homemade chocolate pudding. Just make sure it is fully cooled and thickened before you fold in the cream cheese mixture. Homemade pudding will be richer but may have a slightly different texture.
How far in advance can I make these dirt cups?
You can assemble the cups up to 24 hours in advance, but wait to add the gummy worms until just before serving. The Oreo layer will soften slightly over time, but the flavor will still be delicious.
Can I use a different type of cookie for the “dirt”?
Absolutely! Crushed chocolate wafer cookies, graham crackers, or even chocolate cereal like Cocoa Pebbles work well. Each gives a different texture and flavor profile.
What if I don’t have clear plastic cups?
Small mason jars, glass tumblers, or even paper cups work fine. The visual effect is best with clear cups, but the taste is the same regardless of the container.
Can I make these dairy-free?
Yes! Use dairy-free chocolate pudding, coconut cream instead of cream cheese, and a plant-based whipped topping. Check that your Oreos are dairy-free (original Oreos are vegan). The texture will be slightly different but still delicious.
Pin This Recipe!
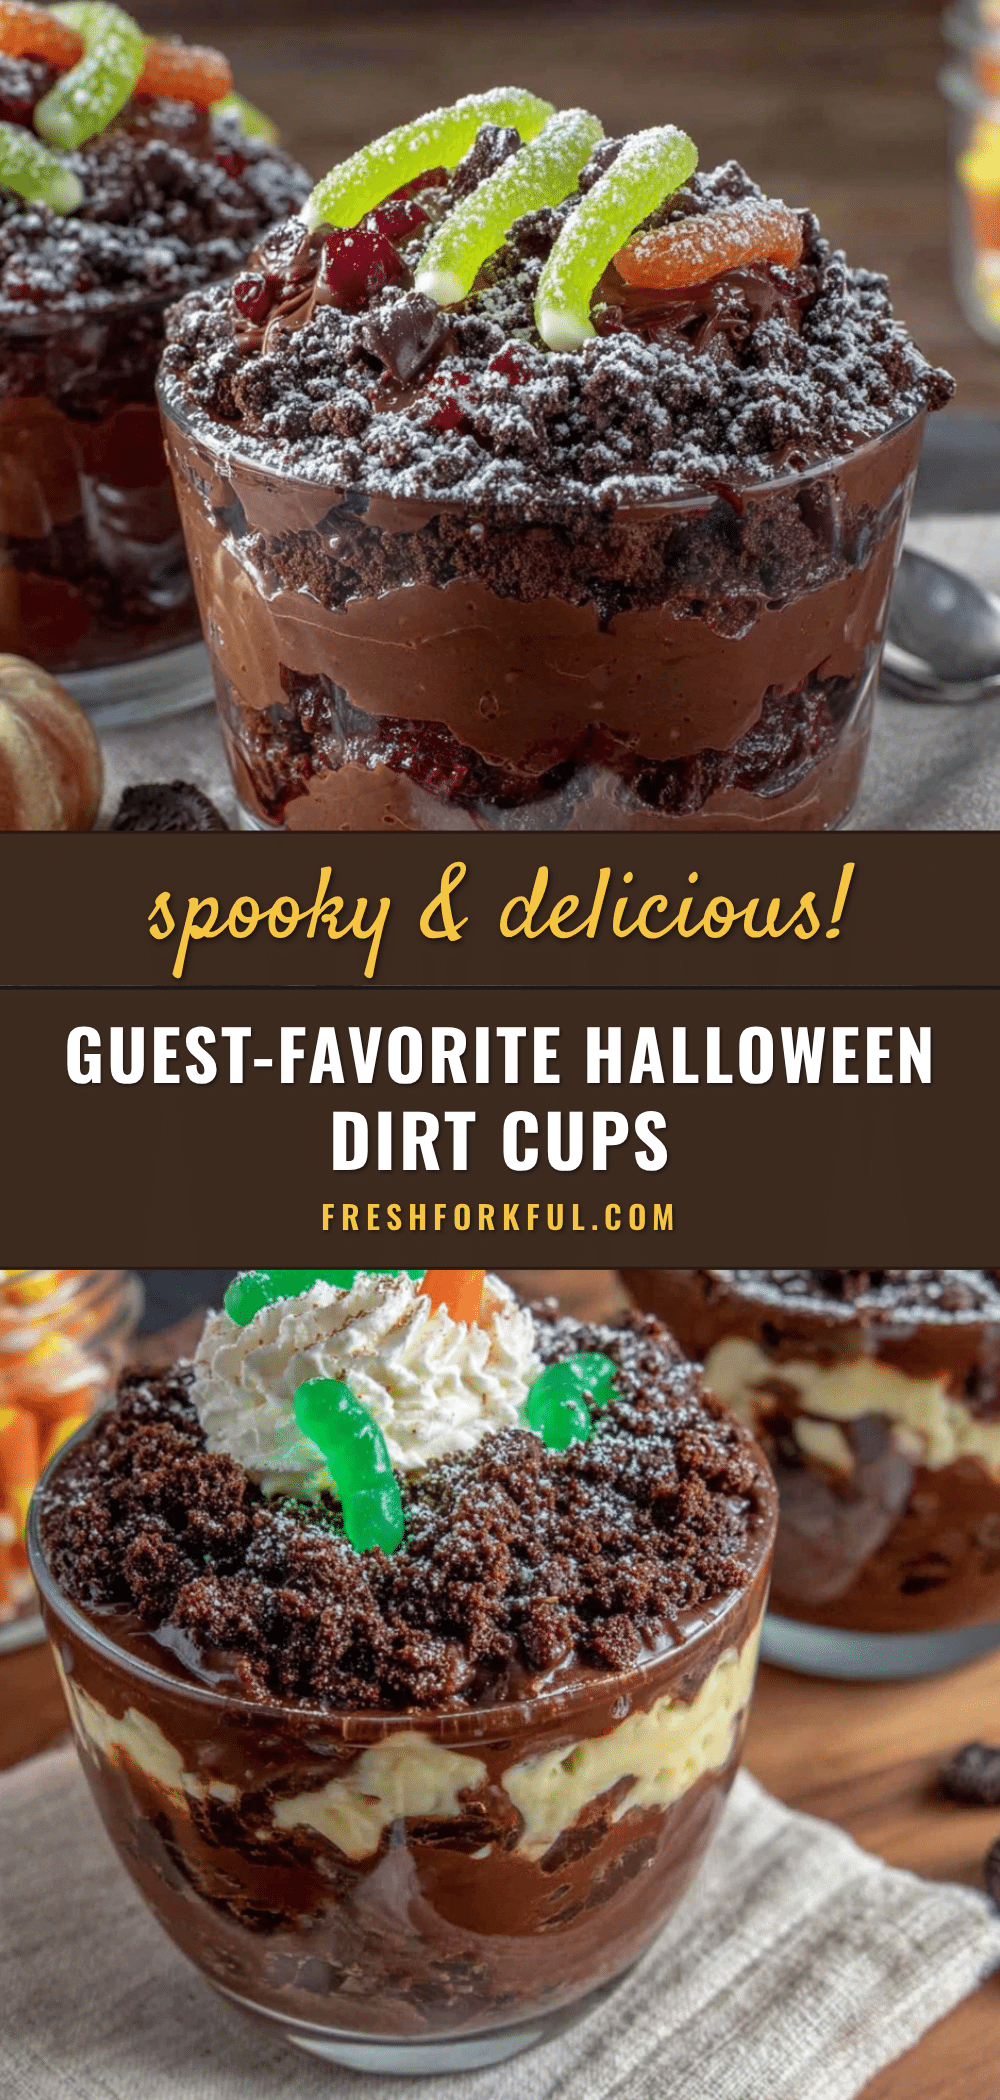
50-Minute Halloween Dirt Cups with Gummy Worms
These Halloween Dirt Cups are a fun, nostalgic treat made with creamy chocolate pudding, a rich cream cheese layer, crushed Oreo ‘dirt,’ and gummy worms crawling out. Quick to assemble and perfect for parties, they’re a crowd-pleaser that looks impressive with minimal effort.
- Prep Time: 15 minutes
- Cook Time: 0 minutes
- Total Time: 50 minutes
- Yield: 8 servings 1x
- Category: Dessert
- Cuisine: American
Ingredients
- 1 package (3.4 ounces) instant chocolate pudding mix
- 2 cups cold milk
- 4 ounces cream cheese, softened
- 1/4 cup granulated sugar
- 1 cup frozen whipped topping (like Cool Whip), thawed
- 1 package (14.3 ounces) Oreo cookies (about 20 cookies)
- 1 cup gummy worms
- Optional: 8 small clear plastic cups (5-7 ounce size)
Instructions
- Make the pudding (5 minutes): In a medium mixing bowl, whisk together the instant chocolate pudding mix and 2 cups of cold milk. Whisk for about 2 minutes until it starts to thicken. Set it aside to set up while you work on the cream cheese layer.
- Beat the cream cheese (3 minutes): In a smaller bowl, beat the softened cream cheese with an electric hand mixer until it is smooth and fluffy. Add the 1/4 cup of sugar and beat for another minute until fully incorporated. Scrape down the sides of the bowl with your spatula.
- Combine the mixtures (2 minutes): Gently fold the cream cheese mixture into the pudding mixture using your spatula. Stir until it’s completely combined — no white streaks should remain. Then fold in the thawed whipped topping until everything is light, creamy, and uniform.
- Crush the Oreos (5 minutes): Place about 20 Oreo cookies into a gallon-size Ziploc bag. Seal it tightly, pressing out as much air as possible. Use a rolling pin to crush the cookies into fine crumbs with some small chunks. You want a texture that resembles potting soil — not too fine, not too chunky. Set the bag aside.
- Assemble the cups (5 minutes): Spoon about 2 tablespoons of the crushed Oreos into the bottom of each clear cup. This creates the first ‘dirt’ layer. Next, spoon or pipe the pudding mixture over the Oreo layer, filling each cup about halfway. Add another layer of crushed Oreos on top — about 2 tablespoons per cup. Reserve a small handful of crumbs for garnish.
- Add the worms (2 minutes): Gently press 2-3 gummy worms into the top Oreo layer of each cup, letting some of the worm stick out like it is crawling out of the dirt. Sprinkle the reserved Oreo crumbs around the base of the worms to hide where they enter the ‘dirt.’
- Chill (30 minutes minimum): Place the assembled dirt cups in the refrigerator for at least 30 minutes. This allows the layers to set and the flavors to meld together. The cups can be made up to 24 hours in advance — just add the gummy worms right before serving so they don’t get soggy.
Notes
For best results, use room temperature cream cheese to avoid lumps. Crush Oreos in batches to prevent bag from bursting. Add gummy worms just before serving to keep them from getting soggy. Chill cups uncovered for first 15 minutes to keep top ‘dirt’ layer crunchy. Make extra Oreo crumbs for garnish.
Nutrition
- Serving Size: 1 cup
- Calories: 335
- Sugar: 30
- Sodium: 380
- Fat: 16.5
- Saturated Fat: 8
- Carbohydrates: 44
- Fiber: 1.5
- Protein: 6
Keywords: Halloween dirt cups, gummy worms, chocolate pudding, Oreo dirt, Halloween dessert, easy dessert, no-bake dessert


