Love this? Save it for later!
Share the inspiration with your friends
I was supposed to be making monster cupcakes for my niece’s Halloween party. I had the frosting ready, the sprinkles lined up, and a plan that was, honestly, a little too ambitious for a Tuesday night. Then my three-year-old decided the piping bag was a toy, and in the chaos of cleaning up a buttercream explosion, I completely forgot to bake the cupcakes. The power was still on, but my will to make complicated treats had definitely flickered out.
Standing in my messy kitchen with half a bag of chocolate chips and a bunch of bananas turning spotty on the counter, I needed a win. Something that looked festive but required zero effort. I mean, have you ever had one of those days where even boiling water feels like a chore? That was my Tuesday. So I sliced a banana, stuck some chocolate chips on it, and called it a ghost. My daughter saw it, shrieked with laughter, and demanded another one. Honestly, it was the highlight of my week.
These Easy Banana Ghost Snack Plates with Chocolate Chips are the kind of recipe that feels like cheating. They take five minutes, use ingredients you probably already have, and somehow look adorable enough for a Halloween party. I’ve made them for school snacks, playdates, and even a last-minute contribution to a potluck where everyone thought I was some kind of genius. Nope, just a mom who ran out of time. And you know what? That’s exactly why this recipe works.
Why You’ll Love This Recipe
Let’s be real for a second. Halloween treats can be a huge pain. Between the complicated cookie decorating and the sticky candy melts, I’ve spent more hours than I care to admit on things that looked nothing like the Pinterest photo. This recipe is the opposite of that. It’s the treat you make when you want to look like you tried without actually trying.
- Ready in 5 Minutes: No baking, no waiting, no stress. If you can slice a banana, you can make this. It’s perfect for those moments when the school party starts in an hour and you forgot to sign up for snacks.
- Simple Ingredients: You need exactly three things: bananas, chocolate chips, and a plate. No fancy grocery trips, no obscure ingredients. I’ve made these with everything from mini chocolate chips to leftover Halloween candy chopped up small.
- Perfect for Halloween: These little ghosts are the cutest thing on a snack table. They work for classroom parties, trick-or-treat gatherings, or just a fun after-school treat that gets kids excited without a sugar overload.
- Crowd-Pleaser: I’ve yet to meet a kid who doesn’t think these are hilarious. Even picky eaters go for them because, well, it’s a banana with chocolate. What’s not to love?
- Unbelievably Delicious: The combination of creamy banana and rich chocolate chips is a classic for a reason. It’s satisfying without being heavy, and it feels like a treat even though it’s basically fruit.
What makes this recipe different from every other banana snack out there is the presentation. It’s not just a sliced banana—it’s a ghost. That tiny visual twist turns a boring snack into something memorable. I’ve seen kids who normally refuse fruit gobble these up because they’re having fun. And honestly, that’s the kind of parenting win I live for.
This is the recipe that makes you feel like a hero with almost zero effort. It’s comfort food for the Halloween season—healthy enough to feel good about, but fun enough to actually enjoy. Whether you’re impressing a classroom of kids or just trying to get your own children to eat something that isn’t candy, these banana ghosts deliver every single time.
What Ingredients You Will Need
This recipe uses the simplest ingredients possible, which is exactly the point. You don’t need a specialty store or a long list of items. Here’s what you’ll grab:
- Bananas: You want ripe but firm bananas. Not green (they’ll be too hard and starchy), and not overly spotty (they’ll be too soft to slice cleanly). Look for bananas that are yellow with maybe a few brown specks. That’s the sweet spot for flavor and structure. I prefer organic bananas when I can find them, but any standard banana works fine.
- Mini Chocolate Chips: These are for the ghost eyes and mouth. Mini chips are the perfect size—they look like tiny ghost faces without being overwhelming. I use semi-sweet chips because they balance the sweetness of the banana nicely. If you only have regular-sized chips, you can cut them in half, or just use them whole for a goofier-looking ghost. Dark chocolate chips work too, and milk chocolate makes it sweeter.
- Optional Toppings: You don’t need anything else, but I sometimes add a tiny dollop of Greek yogurt or cream cheese on the back of the chocolate chips to help them stick better. If your bananas are very smooth, the chips can slide off. A little dab of yogurt acts like edible glue. You can also use peanut butter, almond butter, or even a tiny smear of frosting.
- For the Plate: A white plate is ideal because it makes the ghosts pop visually. But honestly, any plate works. I’ve served these on paper plates at parties and they still look adorable.
- Optional Garnishes: For a more festive look, you can add a few pretzel sticks around the ghosts to look like graveyard fences, or sprinkle a little cinnamon on top for flavor. Some people add a tiny strawberry slice as a hat or bow tie. Get creative if you want, but the basic version is perfect as is.
That’s it. Three ingredients, maybe four if you’re using a sticky helper. The beauty of this recipe is its simplicity. I’ve made these in hotel rooms with a pocket knife and a banana from the gas station. It’s that forgiving.
Equipment Needed
You don’t need much for this recipe, which is honestly my favorite part. Here’s the short list:
- A Sharp Knife: A paring knife works great for slicing bananas. You want something sharp enough to cut cleanly without mushing the banana. A serrated knife can also work, but it tends to leave a rougher edge.
- A Cutting Board: Any cutting board will do. I prefer a plastic or bamboo board for fruit because it doesn’t absorb moisture or odors.
- A Plate: White plates make the ghosts stand out, but any color works. I like using a flat plate rather than a bowl so the ghosts lay flat.
- A Small Bowl: Optional, but handy for holding your chocolate chips while you work. If you’re making these with kids, a small bowl keeps the chips contained and prevents them from rolling everywhere.
- Toothpicks or Tweezers: For placing the tiny chocolate chips precisely. This is optional, but if you have shaky hands like me, a toothpick helps you position the eyes without poking your finger into the banana.
That’s it. No mixer, no oven, no special pans. I’ve made these on a paper plate with a butter knife in a pinch, and they turned out fine. The only real requirement is a steady hand for placing the chocolate chips.
Preparation Method
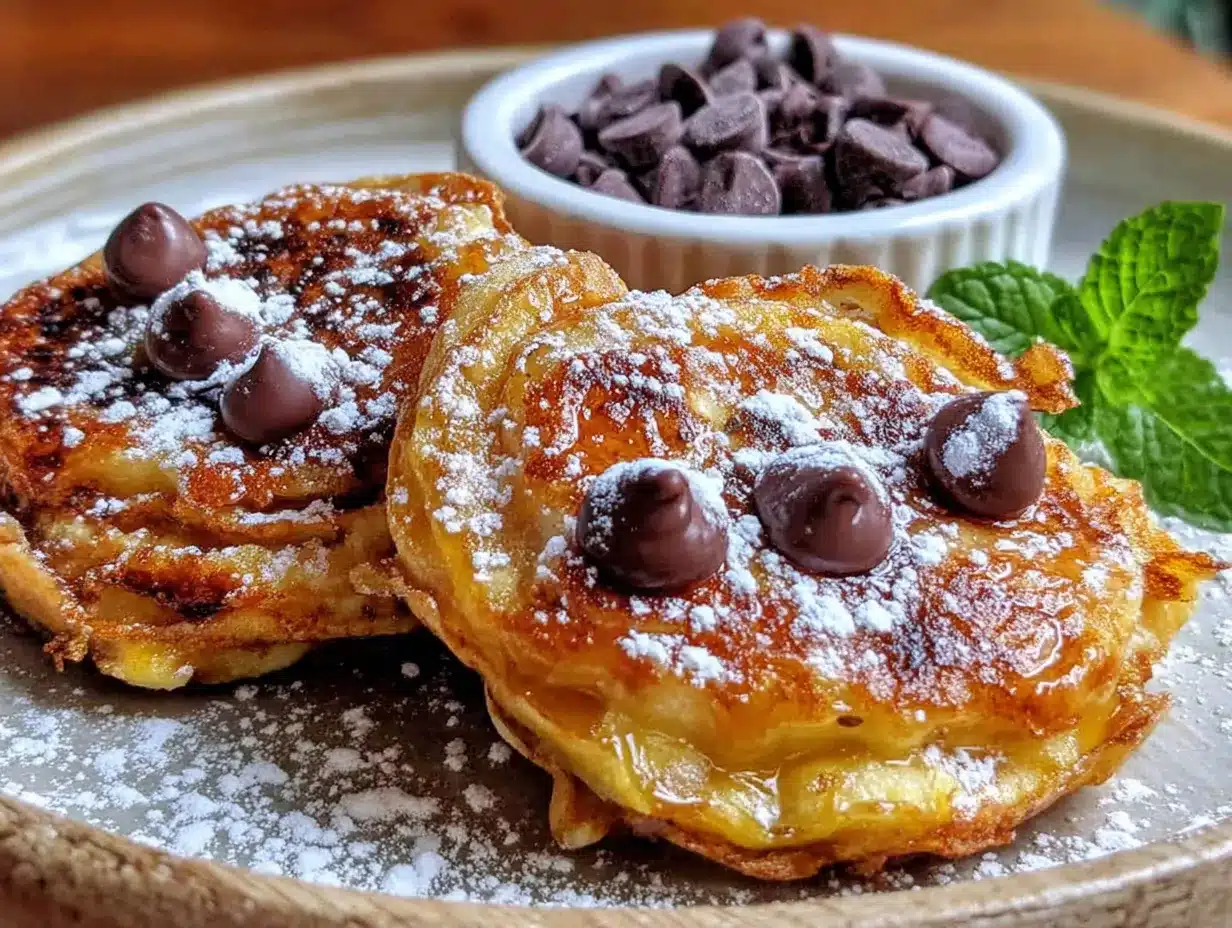
This is about as straightforward as a recipe gets, but I’ll walk you through it step by step because the details matter for making them look truly ghost-like.
- Peel the bananas. Start by peeling your bananas. Do this gently to avoid bruising the fruit. If the banana is very ripe, it might be a little soft, so handle it carefully. I usually peel from the bottom (the non-stem end) because it’s easier and avoids the stringy bits.
- Slice the bananas. Cut each banana into rounds about ½-inch thick. You want them thick enough to hold their shape but thin enough to look like little ghost bodies. If you slice them too thin, they’ll fall apart. Too thick, and they look more like potato chips than ghosts. Aim for uniform slices so they cook (well, assemble) evenly. Each banana should give you about 8 to 10 slices, depending on size.
- Arrange the slices on a plate. Place the banana slices on your plate in a single layer. Leave a little space between each one so they don’t touch. This makes it easier to add the chocolate chips and keeps the ghosts looking individual. I like to arrange them in rows or a fun pattern, but a random scatter works too.
- Add the ghost faces. Take your mini chocolate chips and place two for eyes and one for a mouth on each banana slice. The eyes go near the top, and the mouth goes below them. You can make the mouth a smile, an “o” shape, or even a little frown for variety. I usually make most of them smile because it’s cuter, but a few grumpy ghosts add personality.
- Press gently. Once the chips are in place, press them down very gently so they stick to the banana. If your banana slices are very smooth, the chips might fall off when you move the plate. In that case, dip the back of each chip in a tiny bit of peanut butter or yogurt before placing it. This acts like edible glue and keeps everything in place.
- Repeat. Continue until all your banana slices have ghost faces. This whole process takes about 2 minutes per banana once you get the hang of it. I can do a whole bunch in under 5 minutes now.
- Serve immediately or refrigerate. These are best eaten right away because bananas brown quickly once sliced. If you need to make them ahead, you can assemble them and then cover the plate tightly with plastic wrap. Store in the fridge for up to 2 hours. After that, the bananas start to oxidize and turn brown, which makes them look less ghost-like and more, well, dead.
A quick tip: if you’re making these for a party, slice the bananas right before serving. The chocolate chips can be pre-measured into a bowl, but the assembly should happen as close to serving time as possible for the best appearance.
Cooking Tips & Techniques
I’ve made these banana ghosts more times than I can count, and I’ve learned a few things the hard way. Here are my best tips:
Prevent browning. Bananas oxidize fast. To slow this down, you can brush the slices lightly with lemon juice or pineapple juice. It adds a tiny bit of tartness, but it keeps them looking fresh for hours. If you’re serving these at a party, this trick is a lifesaver.
Use a toothpick for precision. My fingers are not delicate instruments. When I try to place tiny chocolate chips, I usually end up pushing the banana slice around the plate. Using a toothpick or a pair of tweezers gives you way more control. Dip the toothpick in water first, and the chocolate chip will stick to it, making placement even easier.
Make it a activity. This is a fantastic recipe to make with kids. Set up a banana slicing station (with a safe knife for grown-ups to do the cutting) and let the kids place the chocolate chips. They love making different faces, and it keeps them entertained for a good 15 minutes. Just be prepared for some very creative ghost expressions.
Batch assembly. If you’re making a large quantity, lay out all your banana slices on a big baking sheet lined with parchment paper. Add the chocolate chips to all of them at once, then transfer to plates. This speeds things up considerably.
Don’t overthink it. I’ve had batches where the chocolate chips fell off, the bananas were uneven, and the ghosts looked more like blobs. They still got eaten in about 30 seconds. This is a forgiving recipe. Perfection is not the goal—fun is.
Variations & Adaptations
This base recipe is endlessly adaptable. Here are some of my favorite twists:
- Peanut Butter Ghosts: Spread a thin layer of peanut butter on each banana slice before adding the chocolate chips. It adds protein, helps the chips stick, and tastes amazing. My kids call these “chunky ghosts.”
- Berry Ghosts: Use a tiny sliver of strawberry or raspberry for the mouth instead of a chocolate chip. It adds a pop of red color that looks festive and gives a slightly tart contrast to the sweet banana.
- Yogurt Dip: Serve the banana ghosts with a side of vanilla Greek yogurt for dipping. It turns a simple snack into a more substantial treat and adds a creamy element that kids love.
- Frozen Ghosts: Freeze the assembled banana slices on a baking sheet for about 30 minutes, then transfer to a freezer bag. These make a fantastic cold treat for a hot day, and the chocolate chips stay put better when frozen.
- Chocolate Drizzle: Melt a little extra chocolate and drizzle it over the assembled ghosts. It looks fancy and adds more chocolate flavor. Just let the drizzle set before serving.
- Dietary Adaptations: This recipe is naturally gluten-free, dairy-free, and vegan as long as you use dairy-free chocolate chips. It’s also nut-free if you skip the peanut butter option. Basically, it works for almost every dietary restriction, which makes it perfect for school parties.
I once made a batch with white chocolate chips for the eyes and dark chocolate for the mouth, and they looked like little Halloween ghosts with mismatched features. It was adorable. Don’t be afraid to experiment with whatever you have in your pantry.
Serving & Storage Suggestions
These banana ghosts are best served immediately, but I understand that real life doesn’t always cooperate. Here’s how to handle serving and storage:
Serving Temperature: Room temperature is ideal. The banana is soft and creamy, and the chocolate chips have a slight snap. If you’ve refrigerated them, let them sit out for 5 to 10 minutes before serving to take the chill off.
Presentation Ideas: Arrange the ghosts on a white platter for maximum contrast. You can add a few black licorice strings around them to look like spider webs, or scatter some orange candy corn for a festive touch. For a Halloween party, I like to put them on a plate with a sign that says “Boo-nanas.” It always gets a laugh.
Complementary Dishes: These pair beautifully with other simple Halloween treats like apple slices with caramel dip, popcorn balls, or pumpkin muffins. They’re light enough to serve alongside heavier snacks without overwhelming the table.
Storage: If you have leftovers (unlikely, but possible), store them in an airtight container in the refrigerator for up to 4 hours. After that, the bananas will brown significantly. I don’t recommend freezing these once assembled because the texture of the thawed banana is mushy and unappealing.
Reheating: There’s no reheating needed, but if you want to refresh the bananas, you can sprinkle them with a tiny bit of lemon juice and let them sit for a minute. It won’t make them look brand new, but it will brighten them up slightly.
Flavor Development: Honestly, these don’t improve with time. They’s a fresh-food recipe through and through. The banana flavor is brightest right after slicing, and the chocolate chips are snappiest when freshly placed. Make them as close to serving as possible for the best experience.
Nutritional Information & Benefits
Let’s talk numbers. This is a treat that actually has some nutritional merit, which is rare for Halloween snacks.
Estimated Nutritional Values (per serving of 5 banana ghosts):
- Calories: approximately 120-150
- Carbohydrates: 30g
- Fiber: 3g
- Sugar: 18g (natural from banana plus small amount from chocolate)
- Fat: 4g
- Protein: 2g
- Potassium: 450mg
Health Benefits: Bananas are packed with potassium, which supports heart health and muscle function. They also contain vitamin B6, vitamin C, and manganese. The fiber content helps with digestion and keeps you feeling full. Chocolate chips, especially dark chocolate, provide antioxidants called flavonoids that can support heart health. It’s not a health food, but it’s a far cry from a candy bar.
Dietary Considerations: This recipe is naturally gluten-free, dairy-free (use dairy-free chocolate chips), vegan, and nut-free. It’s also egg-free and soy-free. The only common allergen is the chocolate itself, which may contain milk or soy depending on the brand. Always check labels if you’re serving someone with allergies.
My Perspective: I love that this snack feels indulgent but is mostly fruit. It’s the kind of thing I feel good about giving my kids, especially during Halloween season when sugar is everywhere. It satisfies the craving for something sweet without the crash that comes from processed candy. Plus, it’s fun, and that matters too.
Conclusion
These Easy Banana Ghost Snack Plates with Chocolate Chips are proof that you don’t need complicated recipes to create something memorable. They’re quick, they’re adorable, and they taste genuinely good. I’ve made them for Halloween parties, after-school snacks, and even as a silly breakfast surprise. Every single time, they disappear fast.
What I love most about this recipe is how it invites creativity. You can make each ghost look different. You can add toppings. You can serve them on a spooky plate or alongside other Halloween treats. It’s a blank canvas that happens to be delicious.
So go ahead and give them a try. Mess up the chocolate chip placement. Let your kids design their own ghosts. Laugh at the ones that look more like aliens than spirits. That’s the whole point. If you make these, I’d love to hear about it. Drop a comment below and tell me how your ghosts turned out, or share a photo on social media and tag me. Happy Halloween, and happy snacking!
Frequently Asked Questions
Can I make these banana ghosts ahead of time?
You can assemble them up to 2 hours ahead if you store them covered in the refrigerator. For best results, brush the banana slices with lemon juice first to prevent browning.
What if I don’t have mini chocolate chips?
Regular chocolate chips work fine. You can use them whole for a different look, or cut them in half with a sharp knife. White chocolate chips, dark chocolate chips, or even candy-coated chocolates also work well.
How do I keep the chocolate chips from falling off?
Dip the back of each chocolate chip in a tiny amount of peanut butter, yogurt, or cream cheese before placing it on the banana. This acts as edible glue and holds everything in place.
Are these healthy enough for a school snack?
Absolutely. They’re mostly fruit with a small amount of chocolate. They’re naturally gluten-free, dairy-free, and nut-free, making them suitable for most classrooms. Always check with the school about specific allergy policies.
Can I freeze these banana ghosts?
You can freeze the assembled ghosts on a baking sheet for about 30 minutes, then transfer to a freezer bag. They make a great frozen treat, but the texture will be different from fresh. Eat them within a month for best quality.
Pin This Recipe!
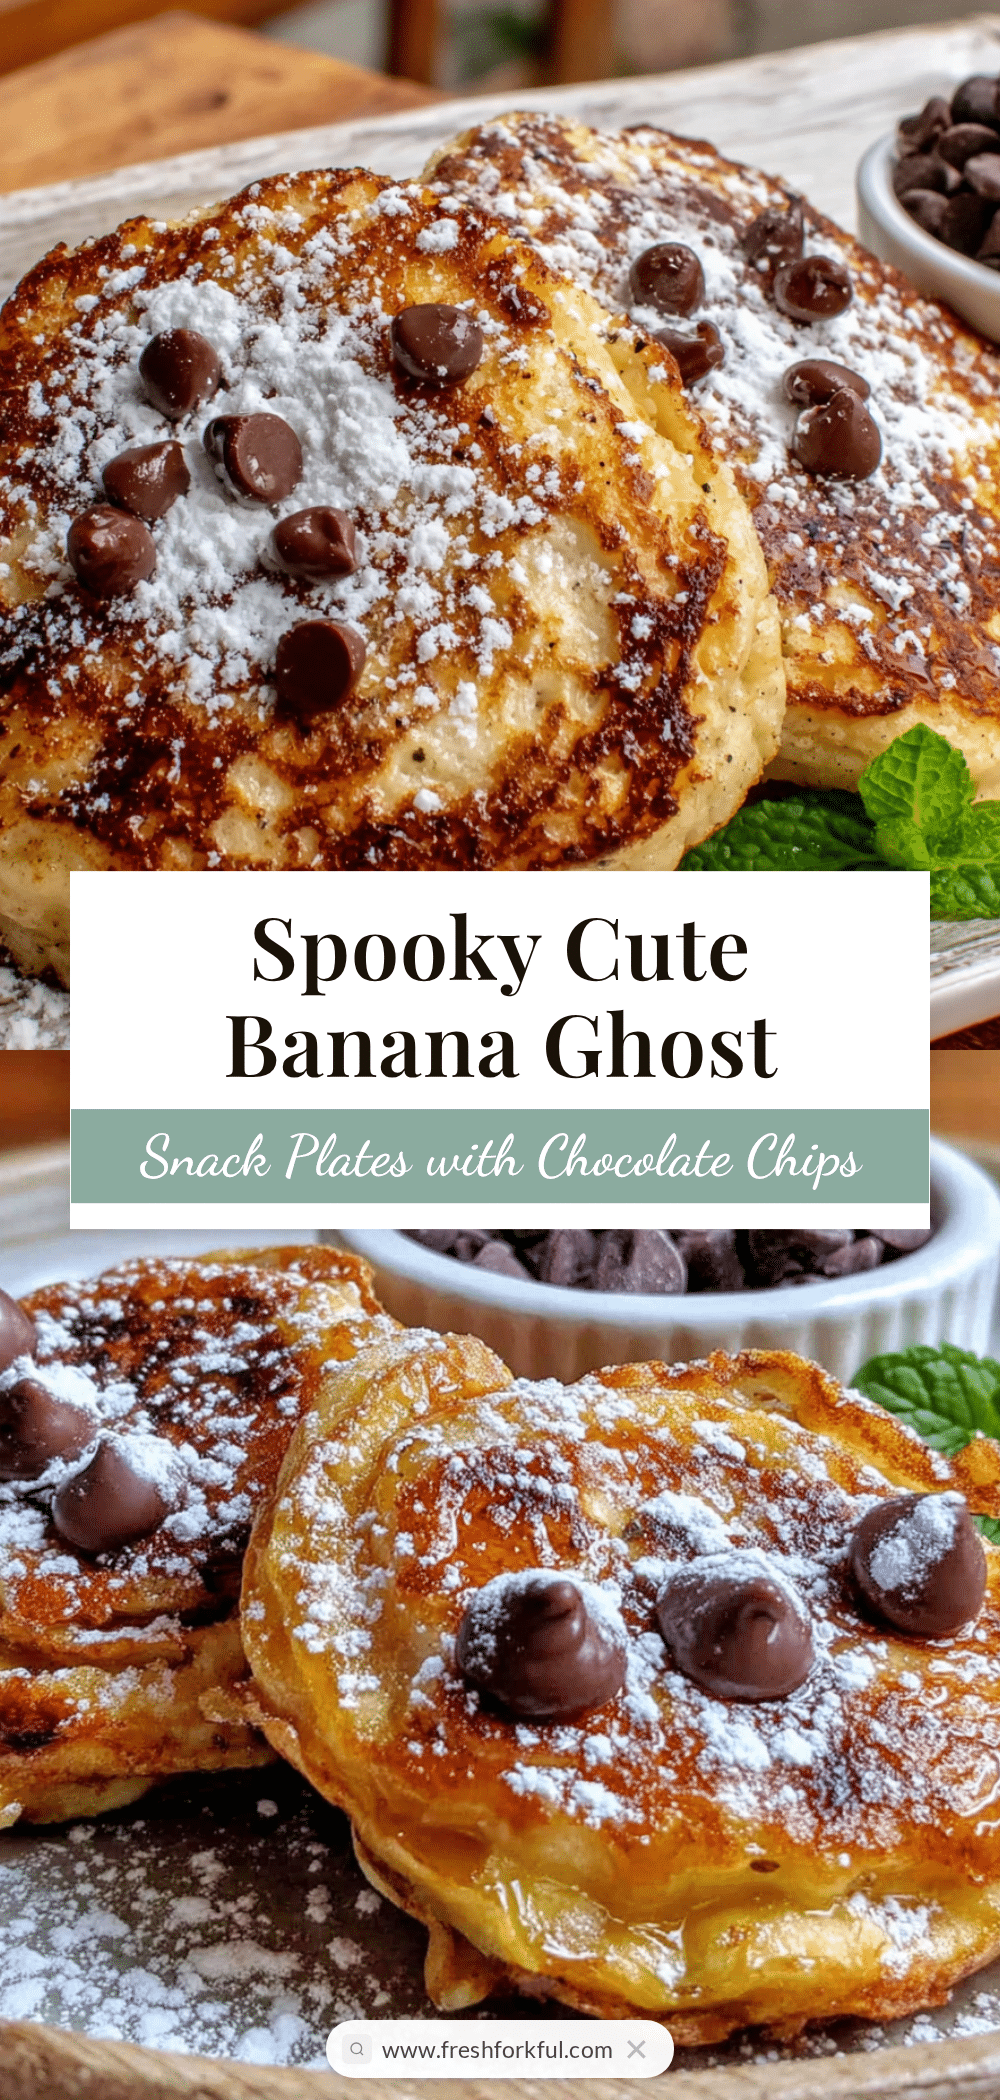
Easy Banana Ghost Snack Plates: Best 5-Minute Halloween Treat
These Easy Banana Ghost Snack Plates with Chocolate Chips are a quick, adorable Halloween treat that takes just 5 minutes to assemble. Made with only bananas and chocolate chips, they’re perfect for parties, school snacks, or a fun after-school treat.
- Prep Time: 5 minutes
- Cook Time: 0 minutes
- Total Time: 5 minutes
- Yield: 4 servings
- Category: Snack
- Cuisine: American
Ingredients
- Bananas (ripe but firm)
- Mini chocolate chips
- Optional: Greek yogurt, cream cheese, peanut butter, or almond butter (to help chips stick)
- Optional garnishes: pretzel sticks, cinnamon, strawberry slices
Instructions
- Peel the bananas gently to avoid bruising.
- Slice each banana into rounds about ½-inch thick.
- Arrange the banana slices on a plate in a single layer, leaving space between each.
- Place two mini chocolate chips for eyes and one for a mouth on each banana slice.
- Press the chips gently so they stick. If needed, dip the back of each chip in a tiny bit of peanut butter or yogurt to help them adhere.
- Repeat until all slices have ghost faces.
- Serve immediately or refrigerate for up to 2 hours. For best appearance, serve right away.
Notes
To prevent browning, brush banana slices lightly with lemon or pineapple juice. For best results, assemble as close to serving time as possible. This recipe is very forgiving and can be adapted with various toppings.
Nutrition
- Serving Size: 5 banana ghosts
- Calories: 135
- Sugar: 18
- Sodium: 1
- Fat: 4
- Saturated Fat: 2
- Carbohydrates: 30
- Fiber: 3
- Protein: 2
Keywords: Halloween, banana ghosts, easy snack, no-bake, kid-friendly, 5-minute recipe, healthy treat


