Love this? Save it for later!
Share the inspiration with your friends
Last Sunday, I was digging through my pantry for something—anything—to bring to my neighbor’s last-minute game-day party. The clock was ticking, the fridge was bare of anything impressive, and I was about to resign myself to showing up with a bag of chips. That’s when my hand brushed against a jar of peanut butter, and my eyes landed on a dusty box of brownie mix in the back corner. And honestly? A little lightbulb went off. I mean, the kind of lightbulb that says, “You don’t have time to bake, but you do have time to get creative.”
I’d been playing around with no-bake desserts for a while, but nothing that felt “game-day worthy.” You know that feeling when you need something that looks like you tried—but secretly took you fifteen minutes? That was this moment. I grabbed the peanut butter, some chocolate chips, and started mashing things together in a bowl like a mad scientist. The result was these Game-Day Peanut Butter Brownie Bites, and let me tell you—they disappeared faster than the wings at the party. Someone actually asked me if I’d spent all morning on them. I just smiled and said, “Something like that.”
These little bites are the kind of recipe that stays with you because they solve a real problem. You want something sweet, chocolatey, and peanut buttery. You want it fast. You want it to impress people without giving you kitchen anxiety. And you definitely don’t want to turn on the oven when the game is about to start. These Game-Day Peanut Butter Brownie Bites check every box. They’re rich, fudgy, and have that perfect salty-sweet thing going on. I’ve made them three times since that Sunday, and each time I tweak them just a little. But the version I’m sharing today? That’s the one that got the most “Can I have the recipe?” texts.
Why You’ll Love This Recipe
Let’s be real for a second. There are a million dessert recipes out there, but not all of them are worth your time. These Game-Day Peanut Butter Brownie Bites? They’re the exception. Here’s why you’ll keep coming back to this one.
- No Oven Required: The game is on, the living room is full, and the last thing you want is to be stuck in the kitchen. These come together on the stovetop or in the microwave. Done and done.
- Just 7 Ingredients: You probably have most of them already. No weird specialty items. No trips to three different stores. Just pantry staples doing their thing.
- Perfect for Game Day: They’re bite-sized, which means no plates or forks needed. People can grab one, keep watching the game, and not miss a single play.
- Crowd-Pleaser Status: I’ve brought these to football parties, poker nights, and even a book club (don’t ask). Every single time, someone asks for the recipe. Kids love them. Adults love them. It’s science.
- Unbelievably Fudgy: The texture is this perfect middle ground between a brownie and a truffle. Dense, rich, and melt-in-your-mouth good. The peanut butter swirl on top just seals the deal.
What makes these different from every other no-bake bite out there? It’s the technique. Most recipes use crushed cookies or graham crackers as a base. Not this one. I use actual brownie mix—cooked just enough to lose the raw flour taste but stay soft and fudgy. It’s a little trick I picked up from a chef friend who makes “emergency desserts” for catering gigs. The result is a texture that tastes baked, even though it never saw the inside of an oven.
These Game-Day Peanut Butter Brownie Bites aren’t just good. They’re the kind of dessert that makes you close your eyes after the first bite. It’s comfort food reimagined—faster, easier, and with the same soul-soothing satisfaction. Perfect for impressing guests without stress, or turning a simple snack into something memorable.
What Ingredients You Will Need
This recipe uses simple, wholesome ingredients to deliver bold flavor and satisfying texture without the fuss. Most of these are pantry staples, which is exactly what you want when game day sneaks up on you.
- Brownie Mix (1 box, about 18 oz / 510 g): Use your favorite brand. I personally recommend Ghirardelli or Duncan Hines for the fudgiest texture. Avoid mixes that call for oil and eggs—you won’t be baking these, so you want a mix that’s already pretty moist on its own.
- Peanut Butter (1 cup / 240 g, creamy): This does double duty. Half goes into the base for richness, and the other half gets swirled on top for that classic peanut butter-chocolate look. I use Skippy or Jif for consistency, but natural peanut butter works too—just stir it really well first.
- Powdered Sugar (1/2 cup / 60 g): Adds sweetness and helps bind everything together without making it grainy. Sift it if you’re feeling fancy, but honestly, I’ve skipped that step plenty of times.
- Butter (1/4 cup / 56 g, melted): Adds richness and helps the brownie mix come together into a dough-like consistency. Use salted butter for that extra little savory kick against the sweet chocolate.
- Milk (2–3 tablespoons / 30–45 ml): Just enough to bring the mixture together. Start with 2 tablespoons and add more if it feels too dry. Whole milk works best, but any milk—or even water—will do in a pinch.
- Vanilla Extract (1 teaspoon / 5 ml): Enhances the chocolate flavor and rounds out the peanut butter. Pure vanilla is ideal, but imitation works fine for this recipe.
- Chocolate Chips (1/2 cup / 90 g, optional but recommended): Fold these into the base for little pockets of melted chocolate. Semi-sweet or dark chocolate chips balance the sweetness of the brownie mix perfectly.
Ingredient Selection Tips: For the best texture, look for a brownie mix that says “fudgy” on the box, not “cake-like.” The fudgier the mix, the better these bites will hold together. If you’re using natural peanut butter (the kind that separates), make sure it’s well-stirred and at room temperature. Cold peanut butter is harder to mix and won’t swirl as nicely on top.
Substitution Guidance: Need a dairy-free version? Use vegan butter and oat milk or almond milk. The texture will be slightly less rich, but still delicious. Want a gluten-free option? Use a gluten-free brownie mix—most of them work perfectly in this no-bake format. And if you’re not a peanut butter fan (are we still friends?), you can swap in almond butter or cookie butter for a completely different flavor profile.
Equipment Needed
You don’t need a fancy kitchen to make these Game-Day Peanut Butter Brownie Bites. In fact, you probably already have everything you need.
- Large Mixing Bowl: For combining the brownie mix, peanut butter, and other ingredients. Glass or stainless steel works best.
- Small Microwave-Safe Bowl: For melting the butter and peanut butter together. You can also use a small saucepan on the stovetop if you prefer.
- Measuring Cups and Spoons: Accuracy matters here, especially with the milk and peanut butter. Too much milk and your bites will be too soft.
- Rubber Spatula or Wooden Spoon: For mixing everything together. A spatula is easier for scraping the sides of the bowl.
- Mini Muffin Tin or Small Silicone Mold: This gives the bites their perfect round shape. If you don’t have a mini muffin tin, you can roll the mixture into balls by hand—just chill them first.
- Parchment Paper or Cooking Spray: To prevent sticking. Even with non-stick pans, a light spray makes removal so much easier.
- Refrigerator: These need at least 30 minutes to set. Patience is key here.
I’ve made these with both a mini muffin tin and a silicone mold, and honestly, the silicone mold wins for me. The bites pop right out with zero effort. But a mini muffin tin lined with parchment squares works beautifully too. If you’re on a budget, just roll the mixture into balls and place them on a parchment-lined baking sheet. No special equipment needed.
One tip I learned the hard way: don’t skip the chilling step. I once tried to rush these to a party and they fell apart in the container. Give them the full 30 minutes, and they’ll hold their shape perfectly.
Preparation Method
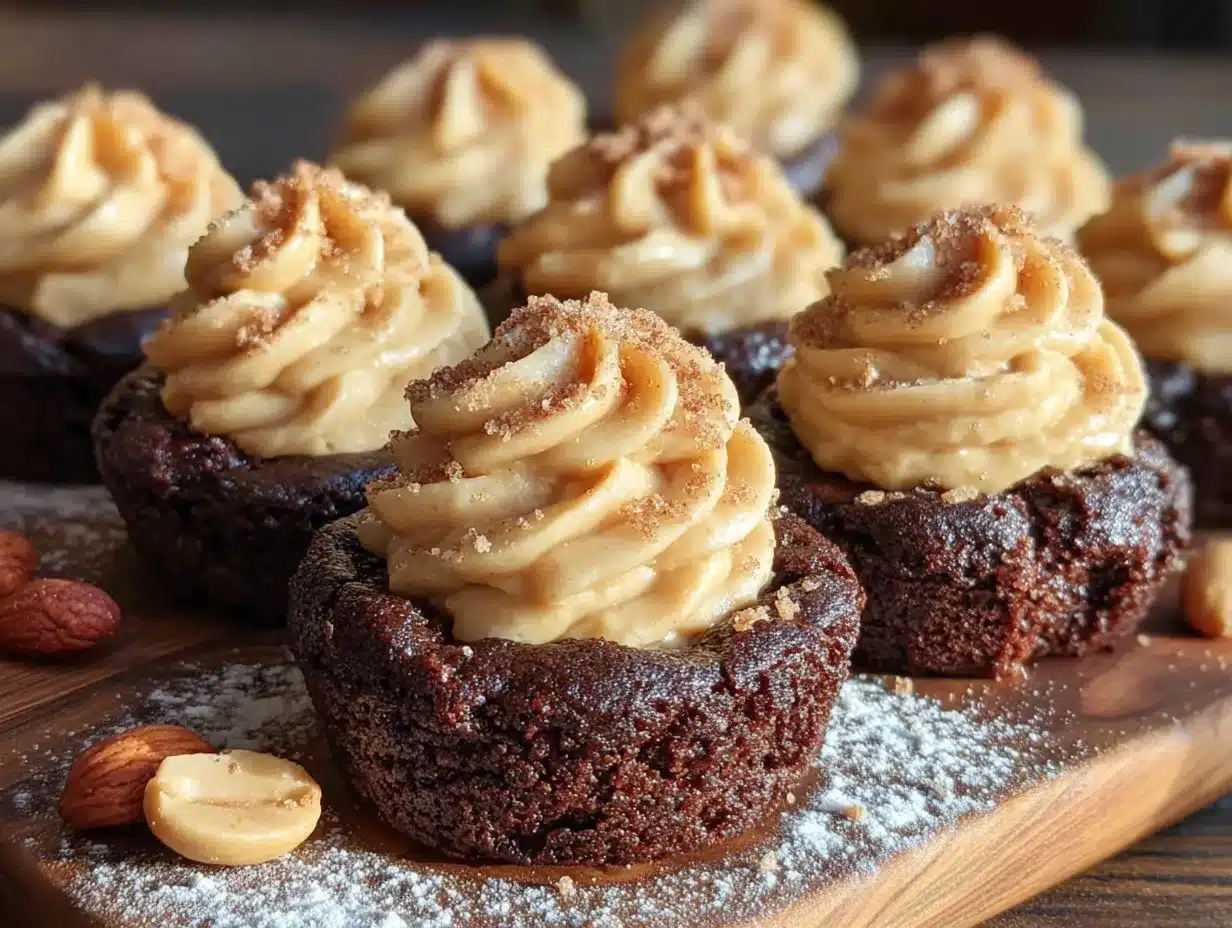
Ready to make these Game-Day Peanut Butter Brownie Bites? Let’s get started. The whole process takes about 15 minutes of active time, plus 30 minutes of chilling. Here’s how to do it.
- Melt the butter and peanut butter (2 minutes): In a small microwave-safe bowl, combine 1/4 cup (56 g) of butter and 1/2 cup (120 g) of peanut butter. Microwave in 30-second intervals, stirring between each, until completely melted and smooth. Alternatively, melt them together in a small saucepan over low heat, stirring constantly. Set aside to cool slightly.
- Mix the dry ingredients (1 minute): In a large mixing bowl, combine the entire box of brownie mix (about 18 oz / 510 g) and the powdered sugar (1/2 cup / 60 g). Whisk them together to break up any lumps. This step is important—nobody wants a pocket of unmixed powdered sugar in their bite.
- Combine wet and dry (2 minutes): Pour the melted butter and peanut butter mixture into the bowl with the dry ingredients. Add 1 teaspoon (5 ml) of vanilla extract and 2 tablespoons (30 ml) of milk. Stir everything together with a rubber spatula until a thick, fudgy dough forms. If the mixture seems too dry, add the remaining tablespoon of milk. If it seems too wet, add a tablespoon more of brownie mix. The dough should be stiff enough to hold its shape when pressed.
- Fold in chocolate chips (1 minute): If you’re using chocolate chips (and I really hope you are), fold in 1/2 cup (90 g) at this point. Distribute them evenly throughout the dough. The chips will add little pockets of melted chocolate in every bite.
- Press into the pan (3 minutes): Line a mini muffin tin with parchment paper squares or lightly spray with cooking spray. Scoop about 1 tablespoon of the dough into each cavity. Press it down firmly with your fingers or the back of a spoon. The dough should be compact—this helps the bites hold their shape after chilling. You should get about 24 bites from this recipe.
- Make the peanut butter swirl (2 minutes): In a small bowl, warm the remaining 1/2 cup (120 g) of peanut butter for about 15 seconds in the microwave until it’s drizzle-able. Using a small spoon or a piping bag (or just a zip-top bag with the corner snipped off), drizzle a small amount over each brownie bite. Use a toothpick to create a swirl pattern if you’re feeling artistic. I usually just let it pool on top—it looks rustic and delicious.
- Chill and set (30 minutes minimum): Place the mini muffin tin in the refrigerator and let the bites chill for at least 30 minutes. This step is non-negotiable. The bites need this time to firm up and become sliceable. If you’re in a hurry, you can pop them in the freezer for 15 minutes, but watch them closely—they can get too hard.
- Remove and serve (2 minutes): Once set, gently lift the bites out of the pan using the parchment paper edges or a small offset spatula. If you used cooking spray, run a knife around the edges to loosen them. Serve immediately or store for later.
Sensory Cues: At step 3, the dough should smell intensely chocolatey and peanut buttery. It should feel like a thick, slightly sticky cookie dough—not wet, not crumbly. At step 5, when you press the dough into the pan, it should hold its shape without cracking. If it cracks, add a tiny splash of milk. If it sticks to your fingers, wet your hands slightly before pressing.
Troubleshooting: If your bites are too soft after chilling, they might have too much milk. Next time, start with less. If they’re too crumbly, add an extra tablespoon of melted butter. And if the peanut butter swirl sinks into the bites instead of sitting on top, your peanut butter might be too warm—let it cool for a minute before drizzling.
Cooking Tips & Techniques
After making these Game-Day Peanut Butter Brownie Bites about a dozen times (seriously, I’ve lost count), I’ve picked up a few tricks that make a real difference.
Use Room Temperature Ingredients: I know, I know—it sounds fussy. But cold peanut butter doesn’t mix as smoothly into the brownie mix, and cold butter won’t incorporate evenly. Let your butter and peanut butter sit out for about 15 minutes before you start. It makes the mixing process so much smoother.
Don’t Overmix: Once you add the wet ingredients to the dry, mix just until everything comes together. Overmixing can make the bites dense and tough instead of fudgy and tender. Think of it like making muffin batter—a few streaks are fine.
Press Firmly: When you’re filling the mini muffin tin, really press the dough down. I use the back of a teaspoon to compact it. This ensures the bites hold their shape when you remove them and don’t fall apart in your hands. The first time I made these, I was too gentle, and they crumbled everywhere. Learn from my mistake.
Chill Completely: I cannot stress this enough. These bites need a full 30 minutes in the fridge to set properly. If you try to remove them too early, they’ll be soft and messy. If you’re making them ahead of time (which I highly recommend), let them chill for at least an hour. They actually get better over time as the flavors meld together.
Make Ahead for the Win: These Game-Day Peanut Butter Brownie Bites are perfect for prepping the night before. Just follow the recipe through step 7, cover the pan with plastic wrap, and refrigerate overnight. The next day, they’ll be perfectly set and ready to serve. This is my go-to strategy for stress-free entertaining.
My Biggest Failure: I once tried to double this recipe and use a 9×13 pan instead of a mini muffin tin. Big mistake. The bites were too thick, the edges were dry, and the center was under-set. Stick to the mini muffin tin or roll them into balls. Trust me on this one.
Variations & Adaptations
One of the best things about these Game-Day Peanut Butter Brownie Bites is how easy they are to customize. Here are some of my favorite variations.
- Chocolate Peanut Butter Cup Bites: Before pressing the dough into the pan, place a mini peanut butter cup in the center of each one. Press the dough around it to encase it completely. When you bite into one, you get a surprise chocolate-peanut butter center. I tried this for a Super Bowl party and they were gone in minutes.
- Cookie Butter Version: Swap the peanut butter for cookie butter (speculoos spread). The result is a spiced, caramel-like flavor that pairs beautifully with the chocolate brownie base. This is my personal favorite for fall gatherings.
- Gluten-Free Adaptation: Use a gluten-free brownie mix. Most brands work perfectly in this no-bake format. Just make sure the mix doesn’t require eggs—some gluten-free mixes are formulated differently. If yours does, add an extra tablespoon of milk to compensate.
- Vegan Option: Use vegan butter, dairy-free chocolate chips, and a plant-based milk like oat or almond. The texture will be slightly less rich, but still delicious. I’ve made these for vegan friends and they always get rave reviews.
- Spicy Chocolate Bites: Add 1/4 teaspoon of cayenne pepper and 1/4 teaspoon of cinnamon to the dry ingredients. The heat sneaks up on you and pairs surprisingly well with the peanut butter. Great for a game-day crowd that likes a little kick.
- White Chocolate Drizzle: Instead of the peanut butter swirl on top, drizzle melted white chocolate over the set bites. The contrast between dark chocolate and white chocolate is stunning, and it adds another layer of sweetness.
Each of these variations changes the flavor profile just enough to keep things interesting. I’ve tried all of them (yes, even the spicy one), and they all work beautifully. Don’t be afraid to experiment—these bites are forgiving.
Serving & Storage Suggestions
These Game-Day Peanut Butter Brownie Bites are best served chilled or at room temperature. I prefer them straight from the fridge—they have a firmer, fudgier texture that I love. But if you’re serving them at a party, let them sit out for about 10 minutes before serving. They’ll soften just enough to be perfectly biteable.
Presentation Ideas: Arrange the bites on a large platter or a wooden board. Sprinkle a little flaky sea salt over the top for a fancy touch—it really brings out the chocolate flavor. You can also dust them with cocoa powder or powdered sugar for a bakery-style look. If you’re feeling extra, place each bite in a mini cupcake liner. It makes them easy to grab and adds a pop of color to your table.
What to Serve With Them: These bites pair beautifully with a cold glass of milk, a hot cup of coffee, or even a scoop of vanilla ice cream. For game day, I like to serve them alongside a cheese board or a bowl of fresh fruit. The salty-sweet combo works with almost anything.
Storage Instructions: Store the bites in an airtight container in the refrigerator for up to 1 week. Place parchment paper between layers to prevent sticking. They actually get better after a day or two—the flavors meld together and the texture becomes even more fudgy.
Freezer Instructions: These freeze beautifully. Arrange the bites in a single layer on a baking sheet and freeze for 1 hour. Transfer to a freezer-safe bag or container, separating layers with parchment paper. They’ll keep for up to 3 months. To serve, let them thaw in the refrigerator for about 30 minutes, or enjoy them frozen—they’re like little brownie ice cream bites.
Reheating Tips: These are meant to be served cold or at room temperature, so no reheating is necessary. But if you want a warm, gooey texture, pop one in the microwave for about 10 seconds. Be careful not to overheat—they can get too soft.
Flavor Development: I’ve noticed that these bites taste even better the next day. The peanut butter and chocolate have time to marry, and the texture becomes more uniform. So if you’re making them for a party, make them the day before. Your future self will thank you.
Nutritional Information & Benefits
Let’s talk numbers. One Game-Day Peanut Butter Brownie Bite (based on 24 servings) contains approximately:
- Calories: 145
- Total Fat: 8g
- Saturated Fat: 3.5g
- Carbohydrates: 17g
- Sugar: 12g
- Protein: 3g
- Fiber: 1g
These values are estimates and will vary based on the specific brands and ingredients you use. If you’re using a sugar-free brownie mix or natural peanut butter, the numbers will be different.
Health Benefits: Despite being a treat, these bites do have some redeeming qualities. Peanut butter is a good source of protein and healthy fats, which help keep you full and satisfied. Dark chocolate (if you use dark chocolate chips) is rich in antioxidants. And because these are bite-sized, it’s easier to practice portion control—though I can’t promise you’ll stop at one.
Dietary Considerations: This recipe is naturally egg-free and can easily be made dairy-free, gluten-free, or vegan with simple substitutions. It’s also nut-free if you swap the peanut butter for sunflower seed butter or cookie butter. Just be aware of cross-contamination if you’re serving someone with severe allergies.
My Wellness Perspective: I believe in balance. These Game-Day Peanut Butter Brownie Bites are a treat, and they should be enjoyed as such. They’re not health food, but they’re made with real ingredients and no artificial preservatives. And honestly, sometimes a little indulgence is exactly what you need. Life is short—eat the brownie bite.
Conclusion
These Game-Day Peanut Butter Brownie Bites have become my secret weapon for entertaining. They’re quick, they’re easy, and they never fail to impress. Whether you’re hosting a Super Bowl party, a poker night, or just a casual get-together with friends, these little bites deliver big flavor without the stress.
What I love most about this recipe is how adaptable it is. You can stick to the classic version or play around with the variations I shared. Add a spicy kick, swap the peanut butter for cookie butter, or hide a mini peanut butter cup in the center—the possibilities are endless. Don’t be afraid to make it your own.
I’d love to hear how these turn out for you! Drop a comment below and let me know if you tried any variations, or share a photo of your bites on Pinterest and tag me. Your feedback helps me create better recipes, and I genuinely love seeing your creations.
So go ahead—skip the oven, grab your ingredients, and whip up a batch of these Game-Day Peanut Butter Brownie Bites. Your taste buds (and your guests) will thank you. Happy snacking!
Frequently Asked Questions
Can I use a different type of nut butter?
Absolutely! Almond butter, cashew butter, or sunflower seed butter all work well. Just keep in mind that different nut butters have different consistencies—you may need to adjust the amount of milk slightly.
Do I have to use a brownie mix, or can I make them from scratch?
You can make these from scratch using a homemade brownie recipe. Just make sure the dry mixture is similar in texture to a boxed mix—about 1 3/4 cups of flour, 1 cup of sugar, 1/3 cup of cocoa powder, and a pinch of salt. The no-bake method works best with a mix, though.
How long do these last at room temperature?
These bites are best stored in the refrigerator, but they can sit out at room temperature for up to 2 hours. If you’re serving them at a party, keep them on a chilled platter or serve them in small batches.
Can I make these without a mini muffin tin?
Yes! Roll the dough into 1-inch balls and place them on a parchment-lined baking sheet. Chill for 30 minutes, then drizzle with the peanut butter swirl. They’ll look like truffles and taste just as good.
Why did my bites turn out too crumbly?
This usually happens when the mixture is too dry. Next time, add an extra tablespoon of milk or melted butter. Also, make sure you’re pressing the dough firmly into the pan—loose packing can cause crumbling.
Pin This Recipe!
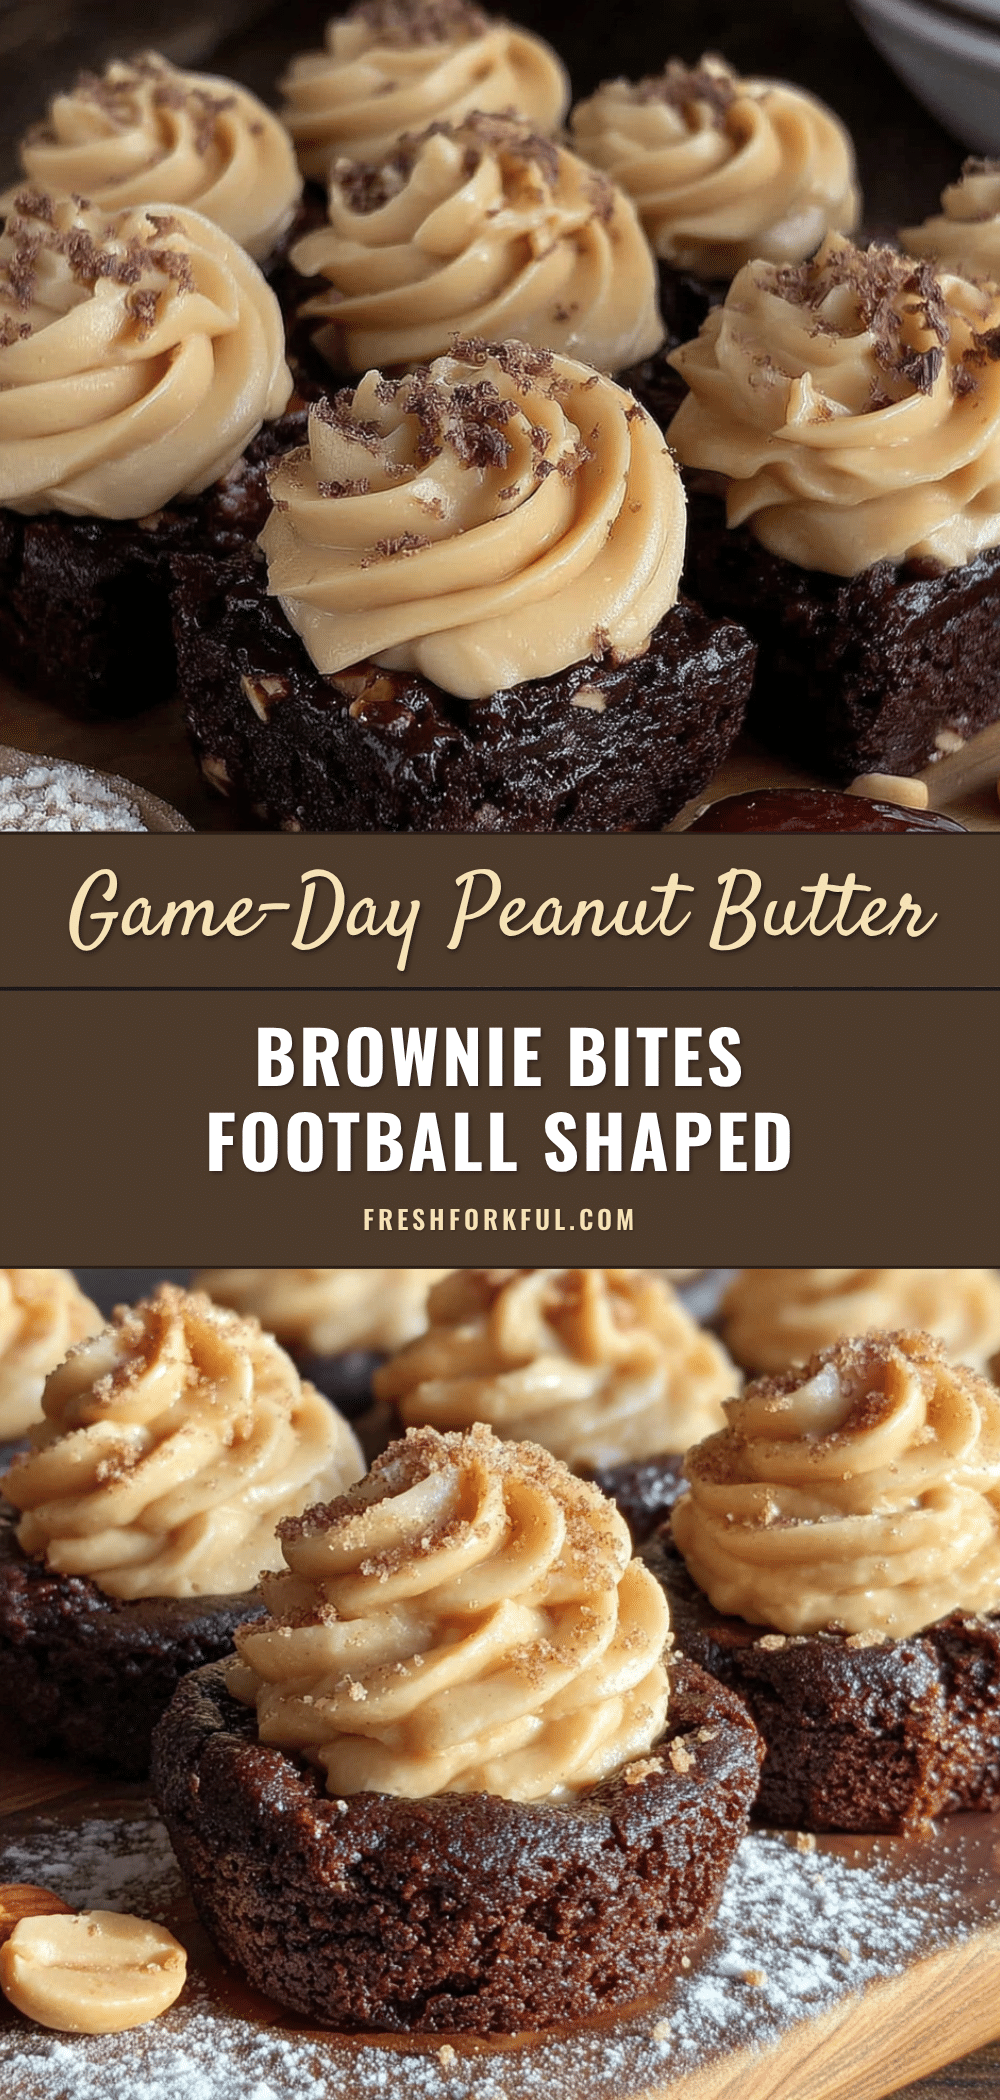
Game-Day Peanut Butter Brownie Bites: Easy No-Bake Dessert

These no-bake peanut butter brownie bites are rich, fudgy, and perfect for game day. Made with just 7 ingredients and ready in 15 minutes, they’re a crowd-pleasing treat that looks like you spent all morning on them.
- Prep Time: 15 minutes
- Cook Time: 0 minutes
- Total Time: 45 minutes (includes 30 minutes chilling)
- Yield: 24 bites 1x
- Category: Dessert
- Cuisine: American
Ingredients
- 1 box (about 18 oz / 510 g) brownie mix (fudgy style recommended)
- 1 cup (240 g) creamy peanut butter, divided
- 1/2 cup (60 g) powdered sugar
- 1/4 cup (56 g) salted butter, melted
- 2–3 tablespoons (30–45 ml) milk (whole milk preferred)
- 1 teaspoon (5 ml) vanilla extract
- 1/2 cup (90 g) semi-sweet or dark chocolate chips (optional but recommended)
Instructions
- Melt the butter and peanut butter: In a small microwave-safe bowl, combine 1/4 cup (56 g) of butter and 1/2 cup (120 g) of peanut butter. Microwave in 30-second intervals, stirring between each, until completely melted and smooth. Alternatively, melt together in a small saucepan over low heat, stirring constantly. Set aside to cool slightly.
- Mix the dry ingredients: In a large mixing bowl, combine the entire box of brownie mix and the powdered sugar. Whisk together to break up any lumps.
- Combine wet and dry: Pour the melted butter and peanut butter mixture into the bowl with the dry ingredients. Add vanilla extract and 2 tablespoons of milk. Stir with a rubber spatula until a thick, fudgy dough forms. If too dry, add the remaining tablespoon of milk; if too wet, add a tablespoon more of brownie mix. The dough should be stiff enough to hold its shape when pressed.
- Fold in chocolate chips: If using, fold in the chocolate chips until evenly distributed.
- Press into the pan: Line a mini muffin tin with parchment paper squares or lightly spray with cooking spray. Scoop about 1 tablespoon of dough into each cavity. Press down firmly with fingers or the back of a spoon. You should get about 24 bites.
- Make the peanut butter swirl: Warm the remaining 1/2 cup (120 g) of peanut butter for about 15 seconds in the microwave until drizzle-able. Drizzle a small amount over each brownie bite. Use a toothpick to create a swirl pattern if desired.
- Chill and set: Place the mini muffin tin in the refrigerator and chill for at least 30 minutes. This step is non-negotiable for proper setting.
- Remove and serve: Once set, gently lift the bites out of the pan using parchment paper edges or a small offset spatula. Serve immediately or store for later.
Notes
For best texture, use a fudgy brownie mix. Do not skip the chilling step—bites need at least 30 minutes to set. If using natural peanut butter, stir well before using. For dairy-free, use vegan butter and oat milk. For gluten-free, use a gluten-free brownie mix. Bites can be stored in an airtight container in the refrigerator for up to 1 week or frozen for up to 3 months.
Nutrition
- Serving Size: 1 bite
- Calories: 145
- Sugar: 12
- Fat: 8
- Saturated Fat: 3.5
- Carbohydrates: 17
- Fiber: 1
- Protein: 3
Keywords: no-bake dessert, peanut butter brownie bites, game day dessert, easy dessert, fudgy brownie bites, chocolate peanut butter bites


