Love this? Save it for later!
Share the inspiration with your friends
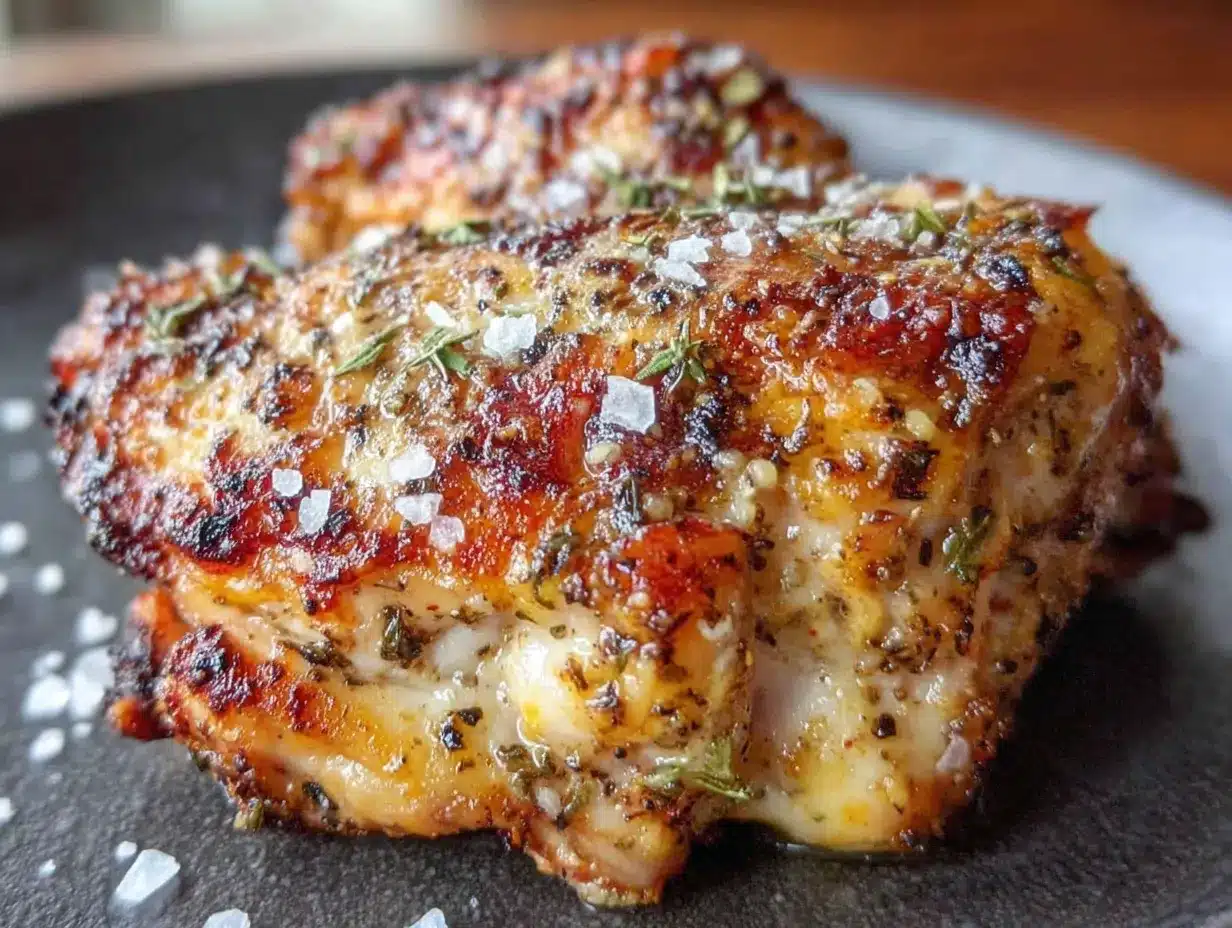
This was supposed to be a simple pan-seared chicken breast—the kind you cook in a hot cast iron skillet with a pat of butter, aiming for that golden-brown crust. But my smoke detector has a vendetta against me, and honestly, I was already running late from a work call that ran over. I grabbed the air fryer basket instead of the skillet, tossed the chicken in, and figured I’d deal with the consequences. What came out was nothing like the plan—and better. The skin was crackling, the inside was juicy, and there wasn’t a single trace of breading in sight.
I stood there, fork in hand, genuinely confused. How did a distracted, slightly panicked weeknight dinner turn into the best chicken breast I’d made in months? I mean, I’d spent years perfecting my stovetop method, and here was a machine doing it better in half the time. Let me tell you, it felt like finding a twenty-dollar bill in a coat pocket you forgot about. That first bite had this unexpected crunch—not from flour or breadcrumbs, but from the chicken’s own rendered fat crisping up under the circulating heat.
Maybe you’ve been there, staring at a pack of chicken breasts with zero energy for a complicated dinner. You know that feeling when you just want something that tastes like you tried, without actually trying that hard? This recipe became my answer. It stayed with me because it proved that sometimes the best dishes come from our most imperfect moments. And honestly, it made me trust my kitchen instincts a little more—even when those instincts are just “throw it in the air fryer and hope for the best.”
Why You’ll Love This Recipe
Let me be honest with you—I’ve tested this recipe more times than I’d like to admit. I burned a few batches, undercooked a couple, and once forgot to pat the chicken dry (disaster). But after all those trials, I landed on a method that works every single time. This isn’t just another air fryer chicken recipe; it’s the one that finally made me stop using my oven for weeknight dinners.
- Quick & Easy: Comes together in under 20 minutes, perfect for those nights when you’re staring at the fridge with zero motivation.
- Simple Ingredients: No fancy grocery trips needed. You likely already have everything in your kitchen right now.
- Perfect for Meal Prep: Great for chopping up into salads, slicing for sandwiches, or serving alongside roasted veggies.
- Crowd-Pleaser: Always gets rave reviews from my picky-eater friends and their kids alike.
- Unbelievably Delicious: The texture and flavor combo is next-level comfort food without the guilt of frying.
What makes this recipe different from the rest? It’s the technique—patting the chicken dry until it’s almost sticky, then letting the air fryer work its magic on the natural fats. You don’t need breading, you don’t need oil sprays, and you definitely don’t need complicated steps. It’s comfort food reimagined—healthier, faster, but with the same soul-soothing satisfaction. Perfect for impressing guests without stress, or turning a simple meal into something memorable.
What Ingredients You Will Need
This recipe uses simple, wholesome ingredients to deliver bold flavor and satisfying texture without the fuss. Most of these are pantry staples you probably already have on hand.
- Boneless, skinless chicken breasts (about 6-8 ounces each) – Look for even thickness so they cook uniformly. I prefer organic when possible, but conventional works just fine.
- Olive oil (1-2 tablespoons) – This helps the seasoning stick and promotes browning. Extra virgin adds flavor, but regular works too.
- Kosher salt (1 teaspoon per breast) – Don’t skimp here. Salt is what draws out moisture and helps create that crispy exterior.
- Black pepper (½ teaspoon, freshly ground) – Adds warmth without overpowering.
- Garlic powder (½ teaspoon) – I prefer garlic powder over fresh here because it doesn’t burn at high heat.
- Paprika (½ teaspoon) – Smoked paprika adds a lovely depth, but sweet paprika works beautifully too.
- Onion powder (¼ teaspoon) – A subtle background note that rounds out the flavor.
- Optional: dried herbs (thyme, rosemary, or oregano) – About ½ teaspoon total. I sometimes add these when I’m feeling fancy.
I recommend Morton’s kosher salt for best texture—it dissolves evenly and doesn’t clump. For the paprika, I’ve had great results with Spice Islands smoked paprika. If you’re watching your sodium, you can reduce the salt slightly, but don’t cut it completely—it’s essential for that crispy skin effect.
For substitutions, you can use avocado oil instead of olive oil (it has a higher smoke point), and any combination of dried herbs works. Just avoid fresh herbs here—they’ll burn in the air fryer’s intense heat.
Equipment Needed
You don’t need a professional kitchen to pull this off. Here’s what I use:
- Air fryer (any size works, but a 5.8-quart or larger is ideal for cooking multiple breasts)
- Paper towels – For patting the chicken dry. This step is non-negotiable.
- Cutting board – Preferably one with a groove to catch juices.
- Sharp knife – For trimming any excess fat or uneven edges.
- Mixing bowl – Just a small one for tossing the chicken with oil and seasonings.
- Tongs – For flipping the chicken halfway through.
- Instant-read thermometer – I cannot stress this enough. It’s the difference between perfect chicken and dry chicken.
If you don’t have an air fryer, you can use a convection oven set to 400°F—just add a few minutes to the cooking time. I’ve also used a toaster oven with convection setting, and it works surprisingly well. My first air fryer was a budget-friendly model from a discount store, and it lasted me three years before I upgraded. You don’t need the expensive one.
Preparation Method
Let me walk you through this step by step. I’ve made every mistake possible, so you don’t have to.
- Pat the chicken dry. This is the most important step. Take your chicken breasts and blot them thoroughly with paper towels until they feel almost tacky to the touch. Any moisture on the surface will steam instead of crisp. I usually go through three or four paper towels per breast.
- Trim and flatten. Check for any uneven thickness—if one end is much thicker than the other, it won’t cook evenly. Use a sharp knife to trim any ragged edges. If the breast is really thick (over 1 inch), I sometimes butterfly it or pound it gently to an even thickness. You want it about ¾ inch thick all around.
- Season generously. In a small bowl, mix your salt, pepper, garlic powder, paprika, and onion powder. Drizzle the chicken with olive oil and rub it all over, then sprinkle the seasoning mixture evenly on both sides. Don’t be shy—the seasoning is what creates that flavorful crust.
- Preheat your air fryer. Set it to 400°F (200°C) and let it run empty for 3-5 minutes. This ensures the chicken hits the hot air immediately, which is key for crispiness.
- Arrange in the basket. Place the chicken breasts in a single layer in the air fryer basket. Make sure they’re not touching—crowding will trap steam and prevent crisping. If you need to cook more than two breasts, do it in batches.
- Cook for 12-15 minutes. Air fry at 400°F for 6 minutes, then flip using tongs and cook for another 6-8 minutes. The internal temperature should reach 165°F (74°C) when measured at the thickest part. I start checking at the 10-minute mark because air fryers vary.
- Rest before cutting. This is where patience pays off. Transfer the chicken to a cutting board and let it rest for 5 minutes. The juices need time to redistribute—cut too soon and they’ll run out, leaving you with dry chicken.
A few sensory cues: The chicken should look golden brown with a slightly pebbled surface. When you flip it, the underside should be sizzling. You’ll hear a faint crackling sound as the hot air circulates—that’s the sound of crispiness happening.
Cooking Tips & Techniques
Over the years, I’ve learned a few things the hard way. Here’s what I wish someone had told me.
Don’t skip the drying step. I once rushed through this and ended up with chicken that had a soggy, rubbery exterior. The moisture creates steam, and steam is the enemy of crispiness. Take your time with the paper towels—it makes all the difference.
Oil is your friend, but don’t overdo it. You need just enough to help the seasoning stick and to promote browning. Too much oil, and you’ll end up with greasy chicken instead of crispy chicken. One to two tablespoons is plenty for two breasts.
Let the chicken come to room temperature. I know it’s tempting to cook cold chicken straight from the fridge, but it cooks unevenly. Let it sit on the counter for 15-20 minutes before seasoning. This helps the inside cook at the same rate as the outside.
Watch for hot spots. Every air fryer has them. I’ve burned the edges of chicken breasts more times than I’d like to admit. If you notice one side browning faster, rotate the basket or rearrange the chicken halfway through.
Trust your thermometer, not the timer. I’ve had chicken that looked perfect on the outside but was still raw in the middle. And I’ve had chicken that looked slightly pale but was perfectly cooked. The instant-read thermometer is your best friend here. 165°F is the magic number.
Variations & Adaptations
This recipe is endlessly adaptable. Here are some of my favorite twists.
Spicy Cajun Version: Replace the paprika with Cajun seasoning and add a pinch of cayenne pepper. I made this version for a game day gathering, and it disappeared in minutes. Serve with a cooling ranch dip.
Lemon Herb Variation: Add the zest of one lemon to your seasoning mix, and swap the dried herbs for a teaspoon of dried thyme. Squeeze fresh lemon juice over the cooked chicken before serving. The brightness cuts through the richness beautifully.
Italian-Inspired: Use Italian seasoning instead of paprika, and add a tablespoon of grated Parmesan cheese to the seasoning mix. The cheese creates an extra-crispy crust that’s absolutely addictive.
For Meal Prep: Double the recipe and store the cooked chicken in the fridge for up to 4 days. It’s fantastic sliced cold over salads or reheated in the air fryer for 2-3 minutes.
Dietary Adaptations: This recipe is naturally gluten-free and low-carb. For a keto-friendly version, increase the fat by brushing with melted butter before cooking. For dairy-free, just skip any cheese variations.
Serving & Storage Suggestions
This chicken is versatile enough for any occasion. Here’s how I like to serve and store it.
Serving Temperature: Serve hot, straight from the air fryer. The crust is at its crispiest within the first 10 minutes. If you’re serving a crowd, keep the cooked chicken on a wire rack in a warm oven (200°F) while you finish the remaining batches.
Presentation Ideas: Slice the chicken against the grain into thick strips and fan them out on a platter. Garnish with fresh herbs like parsley or thyme sprigs. A squeeze of lemon over the top adds a beautiful sheen and brightness.
Complementary Dishes: This chicken pairs beautifully with roasted vegetables like asparagus or Brussels sprouts. I also love it with a simple side salad dressed with lemon vinaigrette. For a heartier meal, serve with mashed potatoes or roasted sweet potatoes.
Storage Instructions: Let the chicken cool completely, then store in an airtight container in the refrigerator for up to 4 days. For longer storage, wrap individually in plastic wrap and freeze for up to 3 months.
Reheating Methods: The air fryer is your best bet for restoring crispiness. Reheat at 350°F for 3-4 minutes, flipping halfway through. The microwave will work in a pinch, but the crust will be softer. I’ve found that reheating in a hot skillet with a tiny bit of oil also works well.
Flavor Development: Honestly, this chicken is best fresh. The crust starts to soften after a day in the fridge. But the flavor actually deepens overnight—the seasoning melds with the meat in a lovely way.
Nutritional Information & Benefits
Here’s the breakdown for one serving (one medium chicken breast, approximately 6 ounces cooked).
- Calories: Approximately 280-320
- Protein: 40-45 grams
- Fat: 12-15 grams
- Carbohydrates: Less than 1 gram
- Sodium: 500-600 mg (varies with seasoning)
Chicken breast is an excellent source of lean protein, which supports muscle repair and keeps you feeling full. The olive oil provides healthy monounsaturated fats, which are good for heart health. This recipe is naturally low in carbohydrates, making it suitable for keto, paleo, and low-carb diets.
One thing I appreciate about this recipe is that it avoids the extra calories and carbs from breading. You get all the satisfaction of crispy chicken without the heaviness. It’s a win-win for anyone watching their intake.
Potential allergens: None, unless you add cheese or other toppings. Always check your seasoning blends for hidden ingredients.
Conclusion
This crispy air fryer chicken breast without breading has become my go-to for busy weeknights, lazy Sundays, and everything in between. It’s proof that you don’t need complicated techniques or fancy ingredients to make something genuinely delicious. Just good chicken, the right seasoning, and a little bit of patience.
I love this recipe because it feels like a secret weapon. When friends ask how I get my chicken so juicy with that perfect crust, I get to shrug and say, “It’s just the air fryer.” But we both know it’s more than that—it’s the technique, the timing, and the little tricks I’ve picked up along the way.
Now I want to hear from you. Have you tried making chicken in the air fryer? What’s your favorite seasoning combination? Drop a comment below and share your version—I love seeing how people make recipes their own. And if you try this one, tag me in your photos. Happy cooking, friends!
Frequently Asked Questions
Can I use frozen chicken breasts?
I don’t recommend it. Frozen chicken releases too much moisture as it thaws, which prevents that crispy exterior. If you’re in a pinch, thaw the chicken completely in the refrigerator overnight, then pat it very dry before seasoning.
Why is my chicken dry?
The most common culprit is overcooking. Chicken breast is lean and dries out quickly. Use an instant-read thermometer and pull the chicken at exactly 165°F. Also, letting it rest for 5 minutes after cooking helps lock in the juices.
Can I use chicken thighs instead?
Absolutely! Boneless, skinless chicken thighs work beautifully in this recipe. They’re more forgiving than breasts because they have a higher fat content. Cook them at the same temperature for about 10-12 minutes, flipping halfway through.
Do I need to flip the chicken halfway through?
Yes, flipping ensures even cooking and browning on both sides. The hot air circulates around the chicken, but the bottom doesn’t get as much direct heat as the top. Flipping gives you that beautiful crust all over.
How do I prevent the chicken from sticking to the basket?
Make sure you’ve coated the chicken with a thin layer of oil before cooking. If your air fryer basket is particularly sticky, you can give it a quick spritz with cooking spray before adding the chicken. Just be careful not to overspray—it can cause smoking.
Pin This Recipe!
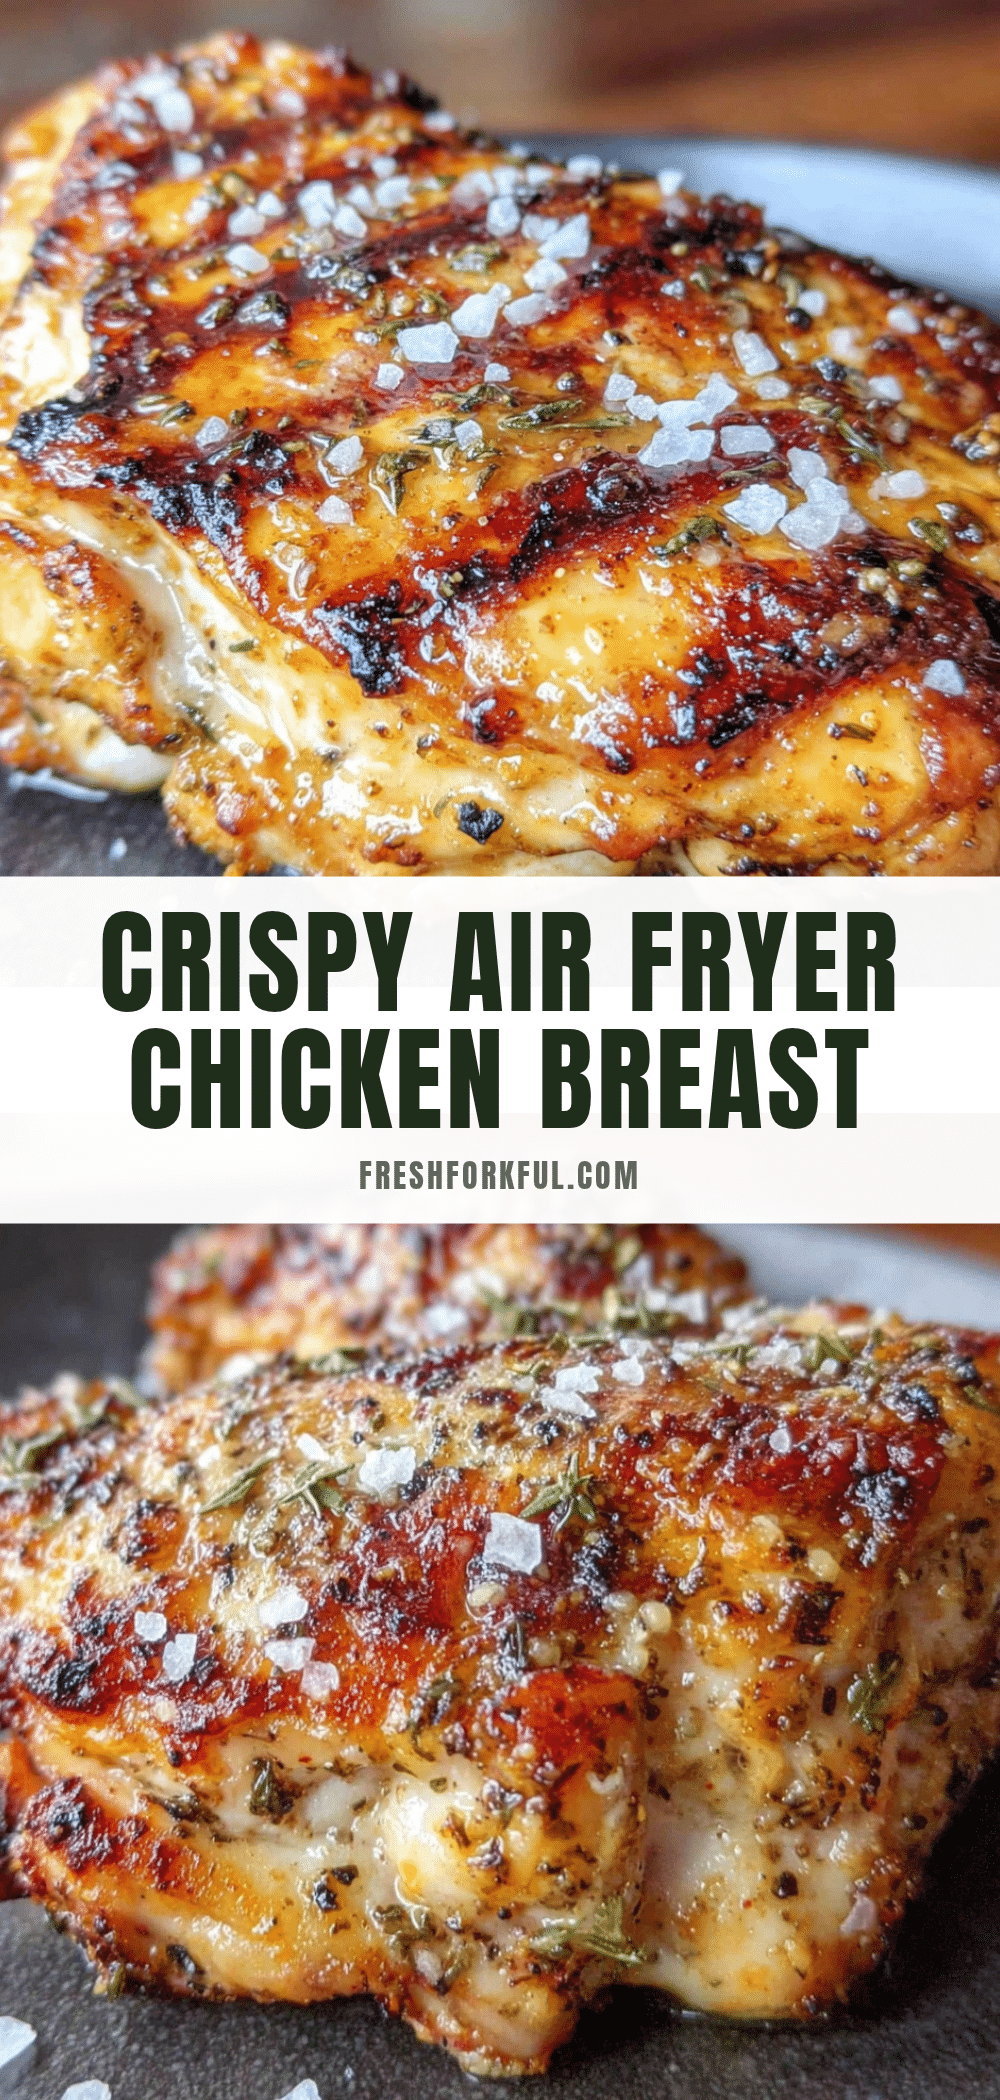
Easy Crispy Air Fryer Chicken Breast Recipe

This crispy air fryer chicken breast without breading is juicy, flavorful, and ready in under 20 minutes. Perfect for busy weeknights, it uses simple ingredients and a foolproof technique for a golden, crackling crust every time.
- Prep Time: 10 minutes
- Cook Time: 12-15 minutes
- Total Time: 22-25 minutes
- Yield: 4 servings
- Category: Main Course
- Cuisine: American
Ingredients
- Boneless, skinless chicken breasts (about 6-8 ounces each)
- Olive oil (1-2 tablespoons)
- Kosher salt (1 teaspoon per breast)
- Black pepper (½ teaspoon, freshly ground)
- Garlic powder (½ teaspoon)
- Paprika (½ teaspoon)
- Onion powder (¼ teaspoon)
- Optional: dried herbs (thyme, rosemary, or oregano) (about ½ teaspoon total)
Instructions
- Pat the chicken dry thoroughly with paper towels until it feels almost tacky.
- Trim any uneven thickness and flatten if needed to about ¾ inch thick.
- In a small bowl, mix salt, pepper, garlic powder, paprika, and onion powder. Drizzle chicken with olive oil, rub all over, then sprinkle seasoning evenly on both sides.
- Preheat air fryer to 400°F (200°C) for 3-5 minutes.
- Place chicken breasts in a single layer in the air fryer basket, not touching.
- Air fry at 400°F for 6 minutes, then flip and cook for another 6-8 minutes until internal temperature reaches 165°F (74°C).
- Let chicken rest on a cutting board for 5 minutes before slicing.
Notes
Patting the chicken dry is crucial for crispiness. Let chicken come to room temperature for 15-20 minutes before cooking for even cooking. Use an instant-read thermometer to avoid overcooking. For best results, serve immediately after resting.
Nutrition
- Serving Size: 1 medium chicken bre
- Calories: 300
- Sodium: 550
- Fat: 13.5
- Saturated Fat: 2.5
- Carbohydrates: 0.5
- Protein: 42.5
Keywords: air fryer chicken breast, crispy chicken, no breading, easy chicken recipe, healthy chicken, gluten-free chicken, low-carb chicken


