Love this? Save it for later!
Share the inspiration with your friends
My sister-in-law, Jen, wasn’t trying to impress me. I’d stopped by on a random Tuesday afternoon to drop off a book I’d borrowed, and the smell of tart berries and honey hit me before I even got through the side door. She was standing at her kitchen counter, a silicone mold in one hand and a small saucepan in the other, looking like she was making a quick after-school snack. Not a big production. Not a health kick announcement. Just… making gummies.
“Oh, these?” she said when I asked, gesturing with the pan. “It’s just for the kids. They’ve been stuffy.” She shrugged like it was nothing, like she hadn’t just created the most beautiful, ruby-red little gummy bears I had ever seen. Honestly, I was a little jealous. My own attempts at anything resembling a healthy treat for my kids usually ended in a sticky mess on the stove. But here was Jen, looking completely unbothered, making what she called “easy no-cook elderberry gummies.”
I watched her pour the mixture into the molds—a deep, jewel-toned liquid that smelled like a cozy winter afternoon. She didn’t even use a thermometer. She just whisked, poured, and popped the tray into the fridge. That was it. The whole process took maybe ten minutes. I mean, I’d spent longer deciding what to watch on TV that morning. I left her house with a little baggie of those gummies and a mission to figure out how she did it. Maybe you’ve been there, staring at a bottle of elderberry syrup in the store, thinking, “I could make that,” but then you get home and realize you have no idea where to start. That was me, until Jen showed me the way. These gummies have been a staple in my house ever since, and I’m pretty sure they’re the reason we’ve had a much calmer cold and flu season. It’s the recipe that stayed with me, not because it was fancy, but because it was so wonderfully, quietly simple.
Why You’ll Love This Recipe
Let’s be real for a second. Getting kids to take anything that’s good for them can feel like a full-time job. You know the struggle—the suspicious looks, the clamped-shut mouths, the dramatic sighs. These easy no-cook elderberry gummies for kids solve that problem completely. They taste like a treat, but they’re packed with immune-supporting goodness. It’s a win-win that makes you feel like a super-parent.
- Quick & Easy: This recipe comes together in under 15 minutes of active time. No stove required (well, maybe a tiny bit of heat for the honey), no complicated steps. Perfect for a busy weekday afternoon when you realize you’re out of your usual immune boosters.
- Simple Ingredients: You will not need to hunt down obscure health food store items. Chances are, you already have the gelatin in your pantry, and the honey is probably in your cupboard. The star of the show, the elderberry concentrate, is easy to find online or at most grocery stores.
- Perfect for Picky Eaters: These are the ultimate crowd-pleaser. Kids see gummy bears, and their brains light up. They have no idea they’re getting a dose of antioxidants and vitamins. They just know they’re getting a chewy, sweet snack.
- No Artificial Junk: You control every single ingredient. No high-fructose corn syrup, no artificial colors, no weird preservatives. Just real food, turned into a fun shape.
- Unbelievably Delicious: The tartness of the elderberry is perfectly balanced by the sweetness of the honey. The texture is bouncy and soft—not too hard for little teeth, but sturdy enough to hold their shape. It’s comfort food for the immune system.
What makes this recipe different from all the others? It’s the “no-cook” part. Most gummy recipes require you to simmer the juice and carefully control the temperature so the gelatin doesn’t seize up. This method is foolproof. You mix everything in a bowl, pour, and chill. It’s my best version because it takes the stress out of homemade gummies. This isn’t just another recipe—it’s the one that will actually get made on a Tuesday night.
What Ingredients You Will Need
This recipe uses a handful of simple, wholesome ingredients to deliver a powerful immune boost and a taste that kids actually beg for. No fancy chemicals or hard-to-say compounds here—just real food, working together.
- 1/2 cup (120 ml) elderberry concentrate or syrup: This is the base of your gummies. I prefer using a concentrated elderberry syrup (like the one from Gaia Herbs or Nature’s Way) because it’s potent and has a deep, rich flavor. If you use a ready-to-drink syrup, your gummies might be a bit softer and less flavorful, so you may need to add a little extra gelatin. Look for a syrup that has no added sugar, just elderberries and maybe a little vitamin C.
- 1/4 cup (60 ml) cold water: This is for “blooming” the gelatin. Cold water is key here—hot water will make the gelatin clump up and create a lumpy, unpleasant texture. I use filtered water, but tap water works just fine.
- 3 tablespoons (45 ml) raw honey or maple syrup: This adds sweetness and helps balance the tartness of the elderberries. Raw honey also has its own immune-boosting properties (just remember: never give honey to children under 1 year old). For a vegan option, pure maple syrup works beautifully, though it will change the flavor slightly. I often use a local wildflower honey for a more complex sweetness.
- 3 tablespoons (about 21 grams) unflavored gelatin powder: This is what gives the gummies their chewy, bouncy texture. I swear by Great Lakes Gelatin (the red can) for its neutral taste and reliable setting power. Do not use Jell-O or any flavored gelatin mix—it has added sugar and artificial flavors. If you need a plant-based option, you can try agar agar powder, but the texture will be much firmer and less gummy-like. You’ll also need to boil the mixture for a minute to activate it.
- 1 tablespoon (15 ml) lemon juice (optional): A little squeeze of fresh lemon juice brightens the flavor and adds a touch of vitamin C. It also helps preserve the color of the gummies. I usually add it because it cuts through the sweetness nicely.
Ingredient Selection Tip: When buying elderberry concentrate, check the label to make sure it’s 100% elderberry, not a blend with other juices. The color should be a deep, dark purple. If it looks thin and watery, it’s probably not concentrated enough for a good gummy texture.
Equipment Needed
You don’t need a professional kitchen to make these easy no-cook elderberry gummies for kids. Most of these tools are probably already in your drawers. Here’s what you’ll need:
- Silicone Gummy Bear Mold: This is the star of the show. I have a few different shapes—bears, dinosaurs, and stars. The silicone makes it incredibly easy to pop the gummies out without any sticking. You can find these on Amazon or at any craft store for under $10. If you don’t have a mold, you can pour the mixture into a small, shallow glass dish (like an 8×8 inch pan), let it set, and then cut it into small squares with a sharp knife. It’s not as cute, but it works!
- Small Mixing Bowl: A glass or ceramic bowl is best. Avoid plastic bowls, as they can sometimes retain odors that might affect the taste of your gummies.
- Whisk or Fork: You’ll need this to mix the gelatin with the water. A small whisk is ideal to prevent lumps, but a fork will do in a pinch.
- Small Saucepan: You only need this to gently warm the honey (if it’s too thick to pour) or the elderberry concentrate. A tiny saucepan is perfect.
- Liquid Measuring Cup: For measuring the elderberry concentrate and water accurately.
- Dropper or Small Pipette (Optional but helpful): Filling the tiny gummy bear cavities can be a bit tedious. A dropper or a small pipette makes it much easier and less messy. I bought a set of 10 for a few dollars, and they’ve been a game-changer.
- Refrigerator Space: You’ll need a flat spot in your fridge where the mold can sit undisturbed for at least 2-3 hours.
Budget-Friendly Tip: If you’re just starting out, skip the fancy pipettes. You can use a small spoon to carefully fill each cavity, or even pour the mixture into a zip-top bag, snip off a tiny corner, and pipe it into the molds. It’s a little messier, but it works just as well.
Preparation Method
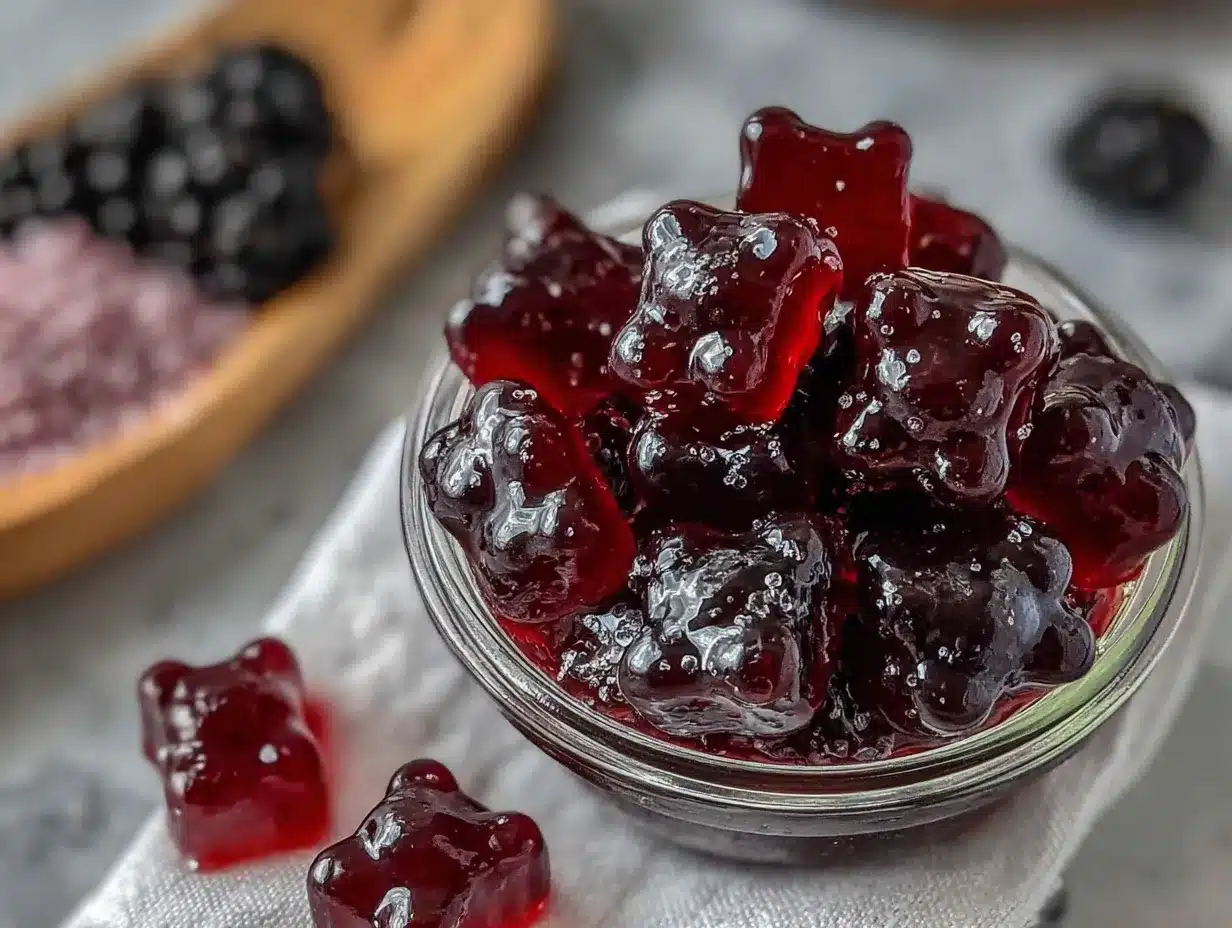
Alright, let’s get to the fun part. Making these gummies is almost as fun as eating them. I promise, if you can make Jell-O, you can make these. The whole process is incredibly forgiving.
- Bloom the Gelatin: Pour the 1/4 cup of cold water into your small mixing bowl. Sprinkle the 3 tablespoons of unflavored gelatin powder evenly over the surface of the water. Do not stir yet! Just let it sit. This is called “blooming,” and it allows the gelatin to absorb the water and dissolve evenly later. Let it sit for about 5-10 minutes. It will look like a thick, bumpy, solid mass. Don’t worry—this is exactly what you want.
- Warm the Liquid Base: While the gelatin is blooming, pour the 1/2 cup of elderberry concentrate into your small saucepan. If your honey is very thick and crystallized, add it to the saucepan now. Turn the heat to low. You are not trying to boil it—just warm it enough to make it thin and easy to mix. You want it to be warm to the touch, not hot. If you can comfortably dip your finger in it, it’s perfect. This should take about 1-2 minutes. Stir it gently with a spoon.
- Combine the Mixtures: Now, pour the warm elderberry and honey mixture into the bowl with the bloomed gelatin. Add the 1 tablespoon of lemon juice if you’re using it. Whisk vigorously for about 1-2 minutes. You want the gelatin to completely dissolve into the liquid. At first, it might look a little stringy, but keep whisking. It will become a smooth, uniform, deep purple liquid. If you see any tiny lumps, keep whisking until they disappear.
- Pour into Molds: Place your silicone mold on a small baking sheet or a flat plate (this makes it easier to move without spilling). Carefully pour the liquid mixture into each cavity of the mold. If you are using a dropper or pipette, this step is super easy. If you are using a spoon, go slowly. Don’t overfill the cavities—leave a tiny bit of space at the top, as the gummies will not expand. If you get any bubbles on the surface, you can pop them with a toothpick.
- Chill to Set: Carefully transfer the baking sheet with the filled mold to the refrigerator. Let it chill, undisturbed, for at least 2-3 hours. For the best, firmest texture, I usually leave them for 4 hours or even overnight. Do not rush this step. If you try to pop them out too early, they will be a sticky mess.
- Unmold and Enjoy: Once the gummies are fully set, they should be firm and bouncy to the touch. Take the mold out of the fridge and gently flex it. The gummies should pop right out. If one is stubborn, you can gently push it from the bottom. Store them in an airtight container in the refrigerator.
Sensory Cue: When you whisk the gelatin and warm liquid together, listen for the sound of the whisk scraping the bottom of the bowl. That smooth, even sound means the gelatin is fully dissolved. If you hear a “thump” or a scraping sound of a solid lump, you need to whisk more. The final mixture should look like a thick, glossy syrup.
Personal Tip: I once forgot to let my gelatin bloom and just dumped everything in the pan at once. The result was a grainy, lumpy mess that never set properly. Trust the process—the bloom is non-negotiable. It’s the secret to that perfect, smooth, squishy texture.
Cooking Tips & Techniques
Over the years, I’ve made a few batches of these gummies that were… less than perfect. Let me save you from my mistakes. Here are the tips I wish I’d known from day one.
- The Temperature Trap: The biggest mistake people make is getting the liquid too hot. Gelatin is a protein, and if you boil it, it will lose its ability to set. It will also develop a weird, off-putting smell. Always keep your heat on low and just warm the liquid until it’s thin. If it feels hot to the touch, let it cool for a minute before adding it to the gelatin.
- Lumpy Gelatin? Fix It: If you end up with lumps in your mixture, don’t panic. You can pour the entire mixture through a fine-mesh sieve into a clean bowl before pouring it into the molds. This will catch any undissolved gelatin bits. It’s a lifesaver.
- Sticky Molds? Blame the Honey: Sometimes, gummies can be a little too sticky to pop out easily. This usually happens if you used too much honey or maple syrup. The sugar makes them tacky. If you have this issue, lightly grease the silicone mold with a tiny drop of coconut oil before you pour in the mixture. Wipe out the excess with a paper towel so it’s just a thin film.
- Multitasking Strategy: While the gelatin is blooming (that 5-10 minute window), use that time to get your mold ready and warm your liquid. This way, the entire process is streamlined. I put the mold on the baking sheet, get my dropper ready, and set a timer for the bloom. It makes the whole thing feel like a 5-minute job.
- Consistency is Key: For a consistent result every time, measure your gelatin by weight if you have a kitchen scale. 3 tablespoons of gelatin can vary in weight depending on how tightly it’s packed. 21 grams is the sweet spot. A scale takes the guesswork out of it.
Variations & Adaptations
One of the best things about this base recipe is how easily you can change it up. Once you master the easy no-cook elderberry gummies for kids, the possibilities are endless. Here are a few of my favorite twists.
- Berry Blast Gummies: Swap half of the elderberry concentrate for 100% pure pomegranate or tart cherry juice. This creates a different flavor profile that’s still packed with antioxidants. My kids love the “red” ones the best.
- Tropical Immune Boost: Replace the elderberry concentrate with a blend of mango and orange juice (no sugar added). Add a teaspoon of fresh grated ginger for a little zing. These are great for summer when you want a lighter, fruitier immune booster.
- Vegan Agar Agar Version: For a plant-based version, replace the gelatin with 2 tablespoons of agar agar powder. The process is different: you must bring the liquid and agar agar to a full boil for 1-2 minutes, whisking constantly, until it’s completely dissolved. Then, pour it into the molds. The texture will be much firmer and less bouncy—more like a firm jelly than a gummy. It sets at room temperature, but I still pop them in the fridge to speed things up.
- Spiced Holiday Gummies: Add a pinch of ground cinnamon, a tiny pinch of ground cloves, and a dash of nutmeg to the liquid mixture before whisking. This turns them into a cozy, holiday-themed treat that tastes like winter in a bite. I made these for a Christmas party, and the adults ate more than the kids!
- Low-Sugar Option: If you are watching your sugar intake, you can use a monk fruit sweetener or stevia-based honey substitute. Just be aware that these can sometimes make the gummies a bit softer. You may need to add an extra teaspoon of gelatin to compensate.
Serving & Storage Suggestions
These gummies are best served cold, right out of the fridge. The texture is perfect—firm but with a satisfying little squish. I like to serve them in a small bowl, almost like you would serve candy. For a fun presentation, you can mix different shapes together.
How to Serve:
- As a daily immune-supporting snack for kids (1-2 gummies per day for younger children, 3-4 for older kids and adults).
- As a quick, healthy treat in a lunchbox. They stay cold until lunchtime if you pack them with an ice pack.
- At a party or playdate. I put a bunch on a plate, and they disappear faster than cookies.
- Pair them with a warm cup of herbal tea for a cozy afternoon snack.
Storage Instructions:
- Refrigerator: Store the gummies in an airtight container in the refrigerator. They will stay fresh and bouncy for up to 2-3 weeks. I use a small glass jar with a tight-fitting lid.
- Freezer: You can freeze these gummies for up to 3 months! Place them in a single layer on a baking sheet lined with parchment paper and freeze for 1 hour. Then, transfer them to a freezer-safe bag or container. To thaw, just leave them in the fridge for a few hours. They will be a little softer after freezing, but still delicious.
- Do Not Leave at Room Temperature: Because these gummies are made with real fruit juice and no preservatives, they will get sticky and start to spoil if left out for more than a few hours. Always keep them chilled.
Flavor Development: Honestly, these gummies taste even better on the second day. The flavors meld together, and the texture firms up perfectly. So, if you can, make them a day ahead of time.
Nutritional Information & Benefits
These easy no-cook elderberry gummies for kids are more than just a tasty snack—they’re a little powerhouse of nutrition. While I’m not a doctor, I can tell you what the ingredients bring to the table.
Estimated Nutritional Values (per serving of 4 gummies):
- Calories: 45-60
- Carbohydrates: 10-12g
- Sugar: 8-10g (natural from honey and elderberries)
- Protein: 4-5g (from the gelatin)
- Vitamin C: 10-15% of the Daily Value
Health Benefits:
- Elderberries: Packed with antioxidants and vitamins A, B, and C. They are traditionally used to support the immune system and help shorten the duration of colds.
- Gelatin: A great source of protein and collagen, which supports healthy skin, joints, and gut health. It’s also what gives the gummies their fun texture.
- Honey: A natural source of energy with antibacterial and antioxidant properties. Local honey can even help with seasonal allergies.
Dietary Considerations: This recipe is naturally gluten-free and dairy-free. To make it vegan, use the agar agar variation. Allergen Note: This recipe contains honey, which is not suitable for infants under 1 year old. Always check your gelatin source—some brands process it with soy.
Conclusion
So, there you have it. A recipe that started as a casual Tuesday afternoon experiment in my sister-in-law’s kitchen has become one of my most-used, most-loved tools for keeping my family healthy. These easy no-cook elderberry gummies for kids are proof that taking care of your family doesn’t have to be complicated or time-consuming. It can be as simple as whisking a few ingredients together and letting the fridge do the work.
I honestly love this recipe because it makes me feel like I’ve got my act together, even on the chaotic days. It’s a small win that pays off big time when the sniffles start. I hope you give them a try and make them your own. Maybe you’ll add a little extra lemon, or swap the honey for maple syrup. That’s the beauty of it—it’s forgiving, flexible, and always delicious.
Now, I’d love to hear from you! Have you made these? Did your kids love them? Do you have a favorite variation? Drop a comment below and tell me all about it. And if you found this helpful, please share it with a friend who could use a little immune support in their life. Happy gummy-making!
Frequently Asked Questions
Can I use dried elderberries instead of concentrate?
You can, but it’s a different process. You would need to make a strong elderberry tea first by simmering the dried berries in water for 20-30 minutes, then straining them. You’d then use that liquid as your base. The concentrate is much easier and more potent, so I always recommend starting with that.
My gummies didn’t set. What went wrong?
This usually happens for one of two reasons: either the liquid was too hot when you added the gelatin (which can damage its setting power), or you didn’t let the gelatin bloom long enough. Make sure your liquid is just warm, not hot, and let the gelatin sit in the cold water for a full 10 minutes.
Can I use flavored gelatin like Jell-O?
I wouldn’t recommend it. Flavored gelatin has added sugar, artificial flavors, and colors. It also sets much softer than unflavored gelatin. You would end up with a very sweet, less healthy gummy that might not hold its shape well. Stick to unflavored gelatin for the best texture and health benefits.
How many gummies can my child have per day?
For younger children (ages 2-6), I recommend 1-2 gummies per day. For older kids and adults, 3-4 gummies is a good serving. They are a supplement, not a candy, so you don’t want to overdo it. Always store them out of reach so little hands don’t help themselves to too many!
Can I make these without a silicone mold?
Absolutely! If you don’t have a mold, you can pour the mixture into a small, greased glass dish (like an 8×4 inch loaf pan) to a depth of about 1/4 inch. Let it set in the fridge, then cut it into small squares with a sharp knife or a small cookie cutter. They won’t be as cute as bears, but they taste exactly the same.
Pin This Recipe!
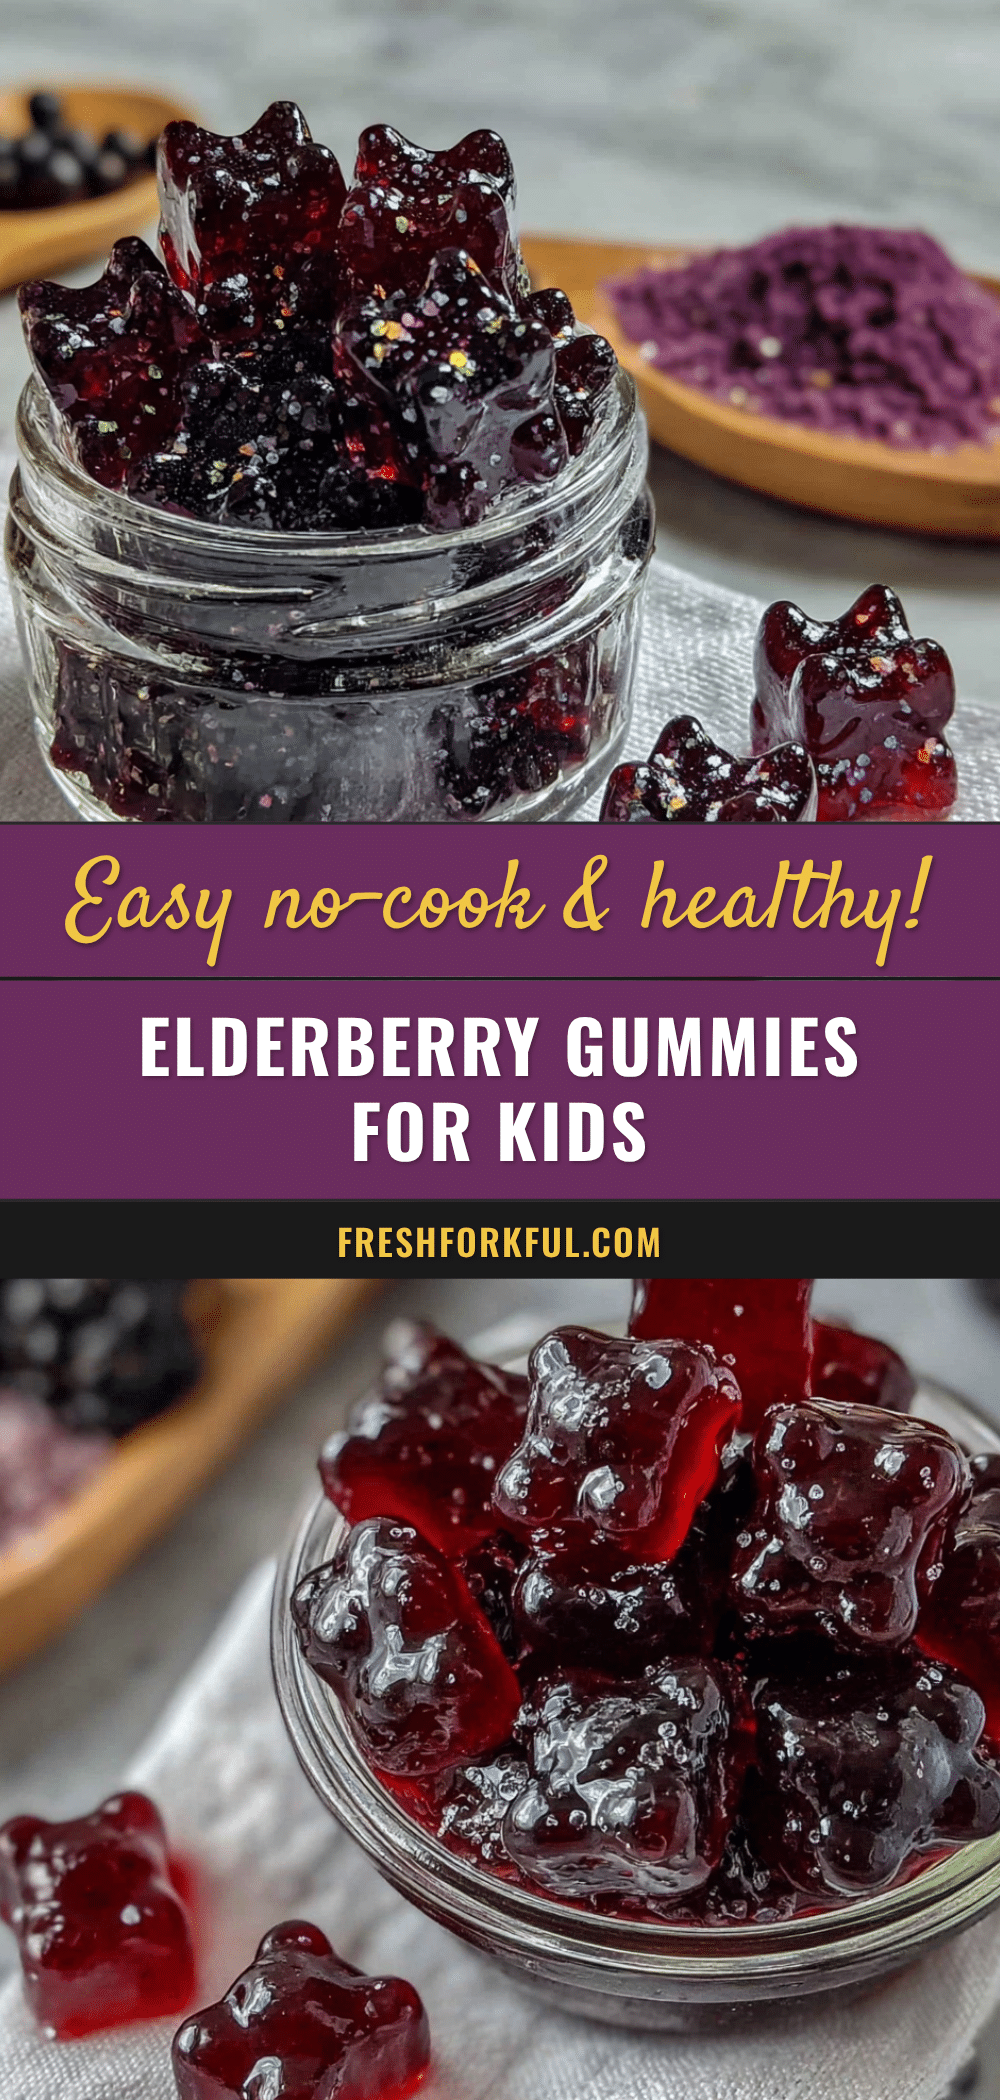
Easy No-Cook Elderberry Gummies: Best & Delicious Kids Recipe
These easy no-cook elderberry gummies are a quick, healthy treat for kids, packed with immune-supporting goodness. Made with simple ingredients like elderberry concentrate, honey, and gelatin, they come together in under 15 minutes and taste like a sweet snack.
- Prep Time: 10 minutes
- Cook Time: 2 minutes
- Total Time: 2 hours 12 minutes (including chilling)
- Yield: 4 servings 1x
- Category: Snack
- Cuisine: American
Ingredients
- 1/2 cup (120 ml) elderberry concentrate or syrup
- 1/4 cup (60 ml) cold water
- 3 tablespoons (45 ml) raw honey or maple syrup
- 3 tablespoons (about 21 grams) unflavored gelatin powder
- 1 tablespoon (15 ml) lemon juice (optional)
Instructions
- Bloom the Gelatin: Pour the 1/4 cup of cold water into a small mixing bowl. Sprinkle the 3 tablespoons of unflavored gelatin powder evenly over the surface. Let it sit for 5-10 minutes without stirring.
- Warm the Liquid Base: While the gelatin blooms, pour the 1/2 cup of elderberry concentrate into a small saucepan. If your honey is thick, add it now. Warm over low heat for 1-2 minutes until thin and warm to the touch (do not boil).
- Combine the Mixtures: Pour the warm elderberry and honey mixture into the bowl with the bloomed gelatin. Add the lemon juice if using. Whisk vigorously for 1-2 minutes until the gelatin is completely dissolved and the mixture is smooth.
- Pour into Molds: Place a silicone mold on a baking sheet. Carefully pour the liquid into each cavity, leaving a tiny space at the top. Pop any bubbles with a toothpick.
- Chill to Set: Transfer the baking sheet to the refrigerator and chill undisturbed for at least 2-3 hours, or overnight for best texture.
- Unmold and Enjoy: Once set, gently flex the silicone mold to pop out the gummies. Store in an airtight container in the refrigerator.
Notes
Do not boil the liquid; gelatin loses its setting power if overheated. Let gelatin bloom for a full 10 minutes for best texture. If gummies are sticky, lightly grease the mold with coconut oil. For vegan version, use agar agar powder and boil for 1-2 minutes.
Nutrition
- Serving Size: 4 gummies
- Calories: 4560
- Sugar: 810
- Sodium: 5
- Carbohydrates: 1012
- Protein: 45
Keywords: elderberry gummies, no-cook gummies, kids recipe, immune support, healthy snack, homemade gummies


