Love this? Save it for later!
Share the inspiration with your friends
This was supposed to be a simple batch of spiced tea syrup for holiday gifts. I had the oranges, the cinnamon sticks, the star anise—everything measured out on my counter like a little spice army ready for duty. But somewhere between answering a text from my sister and trying to remember if I’d already added the ginger, I grabbed the wrong bag of dried berries from my pantry. The bag of elderberries my neighbor had pressed into my hands last fall with a knowing look and the words, “You’ll thank me come January.”
I didn’t realize my mistake until the syrup had been simmering for about twenty minutes. The kitchen smelled… different. Deeper. Almost medicinal in the best way. I stood there, spatula in hand, staring at this dark purple liquid that was definitely not going to become the cheerful spiced tea syrup I had planned. Honestly, I almost poured it down the drain. But something stopped me—maybe the color, maybe the smell, maybe just the stubborn part of my brain that hates wasting ingredients. I let it keep simmering, added a splash more honey, and figured I’d deal with the consequences later.
When I finally tasted it, I actually laughed out loud. It was better than my original plan. Way better. That accidental swap turned into the most comforting, immune-supporting syrup I’ve ever made, and now I can’t imagine cold season without a jar of it in my fridge. You know that feeling when a mistake turns into something you didn’t know you needed? That’s this recipe. It’s the kind of happy kitchen accident that makes you trust your instincts a little more next time.
Why You’ll Love This Recipe
Let me tell you—after making this homemade elderberry syrup with honey and cloves through three flu seasons, two cross-country moves, and one particularly brutal winter where everyone in my house got sick except me (thanks to this stuff), I can confidently say this recipe earns its spot in your kitchen lineup. It’s not just another wellness trend; it’s the real deal.
- Only 3 Ingredients : Dried elderberries, raw honey, and whole cloves. That’s it. No weird additives, no trips to specialty stores, no complicated steps.
- Ready in Under an Hour : The active prep time is maybe ten minutes. The rest is just simmering and waiting—perfect for a lazy Sunday afternoon.
- Budget-Friendly Immune Support : A single batch costs less than one bottle of commercial syrup and makes twice as much. Your wallet will thank you.
- Kid-Approved Taste : My niece calls it “purple honey juice” and asks for it by name. If you can get a five-year-old excited about immune support, you’ve won.
- No Refined Sugar : The honey adds natural sweetness plus its own antibacterial benefits. It’s a double win.
What makes this homemade elderberry syrup different from the store-bought versions? First, you control the quality of every ingredient. Second, the cloves add a warmth that cuts through the berry flavor perfectly—most commercial syrups skip this step entirely. And third, there’s something deeply satisfying about making your own remedies. It feels like taking care of yourself before you even need it.
This is the kind of recipe that makes you feel prepared. Like you’ve got a secret weapon stashed in your fridge when cold season comes knocking. And honestly? That feeling is worth more than any bottle on a pharmacy shelf.
What Ingredients You Will Need
This recipe keeps things beautifully simple. You only need three main ingredients, plus water, to create a syrup that punches way above its weight class. Here’s what to grab and why each one matters.
The Core Ingredients
- Dried elderberries (1 cup) — These tiny dark purple berries are the star of the show. They’re packed with antioxidants and have been used for centuries in traditional immune support remedies. I recommend buying organic dried elderberries from a trusted source like Starwest Botanicals or Frontier Co-op. Look for berries that are deep purple-black, not reddish or faded. The fresher they are, the more potent your syrup will be.
- Raw honey (1 cup) — Not the processed stuff in the plastic bear bottle. You want raw, unfiltered honey for maximum benefits. Local honey is ideal because it contains local pollen that may help with seasonal allergies. The honey does double duty here—it sweetens the syrup naturally and adds its own antimicrobial properties. If you’re vegan, you can substitute maple syrup, though the flavor profile will shift slightly.
- Whole cloves (1 tablespoon) — These little spice nuggets bring warmth and depth to the syrup. They also have mild numbing properties that can soothe a sore throat—a nice bonus when you’re already feeling rough. Use whole cloves, not ground, because they’re easier to strain out and won’t make your syrup gritty.
- Filtered water (4 cups) — Tap water with chlorine or strong minerals can affect the taste. Filtered water lets the elderberries and cloves shine without any off-flavors.
Ingredient Tips and Substitutions
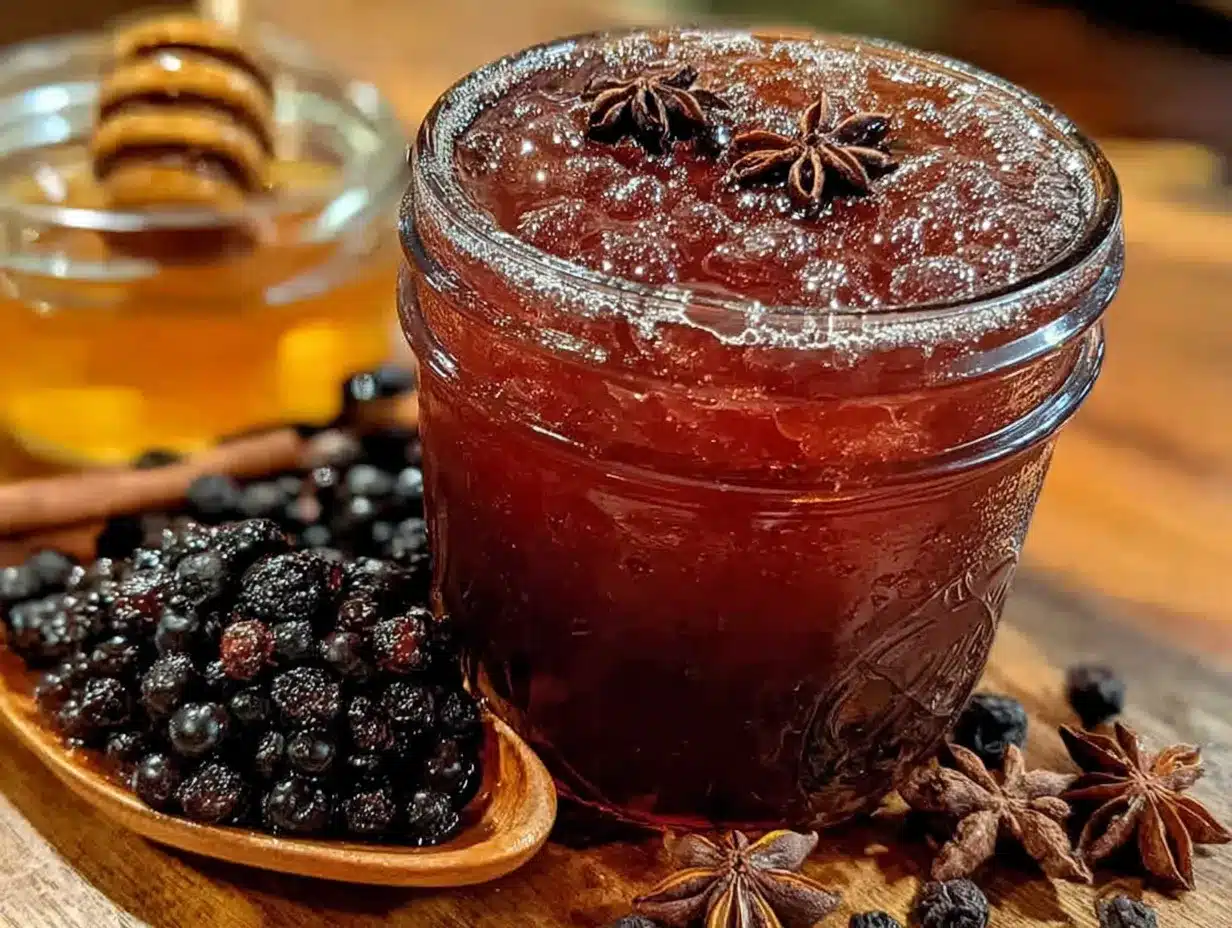
If you can’t find dried elderberries locally, check health food stores or order online. Some people use frozen elderberries, but dried ones concentrate the flavor and make straining much easier. For the honey, avoid anything labeled “ultra-filtered” because the beneficial compounds have been processed out. And if cloves aren’t your thing—though I really think they make this recipe special—you can swap in a cinnamon stick or a few slices of fresh ginger for a different warmth.
One more thing: don’t skip the straining step. Those little berries and cloves need to come out completely, or you’ll end up with bits floating in your syrup. A fine-mesh strainer or cheesecloth works perfectly.
Equipment Needed
You don’t need a fancy kitchen setup for this recipe. Most of these tools you probably already own, which is exactly how I like my recipes to roll.
- Medium saucepan (2-3 quart capacity) — Stainless steel or enameled is best. Avoid aluminum, which can react with the berries and give your syrup a metallic taste.
- Fine-mesh strainer — The finer the mesh, the smoother your syrup will be. If yours has larger holes, line it with a layer of cheesecloth.
- Glass jar or bottle (16-ounce capacity) — A swing-top bottle is ideal for storing and pouring, but a regular mason jar works fine. Make sure it’s thoroughly cleaned and dried before you fill it.
- Wooden spoon — For stirring without scratching your pot.
- Measuring cups and spoons — Nothing fancy, just accurate ones.
- Funnel (optional but helpful) — Makes pouring into narrow-neck bottles much less messy.
I’ve made this syrup in a beat-up old saucepan from a thrift store and it turned out perfectly. Don’t overthink the equipment. The magic is in the ingredients and the patience to let them simmer.
Preparation Method
This process is almost meditative. The berries release their color slowly, turning the water into this gorgeous deep purple that feels like magic every single time. Here’s exactly how to do it.
- Combine the berries, cloves, and water (5 minutes) — Add 1 cup of dried elderberries, 1 tablespoon of whole cloves, and 4 cups of filtered water to your saucepan. Give it a quick stir to make sure nothing is stuck to the bottom. The water will look pale and thin at this point—don’t worry, that changes fast.
- Bring to a boil, then reduce to a simmer (10 minutes) — Turn the heat to medium-high and watch for the first bubbles. Once it reaches a rolling boil, immediately reduce the heat to low. You want a gentle simmer, not a vigorous boil. Small bubbles should barely break the surface. If you boil it too hard, you’ll evaporate too much water and concentrate the flavor in a way that can get bitter.
- Simmer for 30-40 minutes (30-40 minutes) — This is where the patience comes in. Let the mixture bubble away gently, uncovered. The liquid will gradually darken to a rich purple-black. The kitchen will start smelling like a cozy apothecary—earthy, spicy, and sweet all at once. Stir occasionally to prevent the berries from sticking. You’ll know it’s done when the liquid has reduced by about half and the berries look plump and wrinkled.
- Strain the mixture (10 minutes) — Place your fine-mesh strainer over a large bowl or directly over your storage jar. Carefully pour the hot liquid through the strainer. Use the back of a wooden spoon to press gently on the berries and cloves to extract every last drop of goodness. Don’t rush this step—the more you press, the more syrup you get. Discard the solids afterward.
- Cool slightly, then add the honey (15 minutes) — Let the strained liquid cool for about 10-15 minutes. It should be warm but not hot—if it’s too hot, it can damage the beneficial enzymes in the raw honey. Once it’s at a comfortable warm temperature (think hot tea temperature), stir in 1 cup of raw honey until fully dissolved. The syrup will thin out a bit as the honey melts in.
- Bottle and store (5 minutes) — Pour the finished syrup into your clean glass jar or bottle using a funnel if you have one. Seal it tightly and let it cool completely before refrigerating. The syrup will thicken slightly as it chills.
A quick note: if you add the honey while the liquid is still boiling hot, you’ll lose all the good stuff that makes raw honey special. Trust me, I learned this the hard way with my first batch. Let it cool first. Your immune system will thank you.
Cooking Tips & Techniques
I’ve made this homemade elderberry syrup with honey and cloves at least two dozen times by now, and I’ve picked up a few tricks along the way that make the process smoother and the results more consistent.
Don’t rush the simmer. I know it’s tempting to crank up the heat to speed things along, but low and slow is the way to go here. A gentle simmer extracts the beneficial compounds from the elderberries without breaking them down into bitterness. If you see your liquid bubbling aggressively, turn it down. You want the surface to barely tremble.
Strain while it’s still warm. Cold syrup is thicker and harder to strain. Warm syrup flows through the strainer easily and gives you a better yield. Just be careful not to burn yourself—use a pot holder and pour slowly.
Double strain for extra smoothness. If you’re gifting this syrup or just prefer a perfectly clear texture, strain it twice. Once through the fine-mesh strainer, and once through a layer of cheesecloth. This catches any tiny bits of berry skin or clove fragments that might sneak through.
Label your jars. I cannot tell you how many times I’ve pulled a mysterious dark jar out of my fridge and had to sniff-test it to figure out what it was. Write the date and contents on a piece of masking tape and stick it on the jar. Future you will be grateful.
Make a double batch. This syrup freezes beautifully, so I always make at least double when I’m going through the trouble. It takes the same amount of active time but gives you twice the immune support. Just portion it into smaller jars before freezing so you can thaw only what you need.
One mistake I made early on was skimping on the cloves. I thought, “Eh, a few cloves will do.” Wrong. The cloves are what give this syrup its distinctive warmth and depth. Don’t be shy with them. Measure the full tablespoon and trust the process.
Variations & Adaptations
This recipe is wonderfully flexible. Here are some ways to make it your own.
Spiced Elderberry Syrup — Add a cinnamon stick, 3 slices of fresh ginger, and a star anise along with the cloves. This version tastes like winter in a bottle and is especially comforting when you’re already feeling under the weather. I made this variation last December and gave jars to my neighbors—they still ask me when I’m making more.
Low-Sugar Version — If you’re watching your sugar intake, reduce the honey to half a cup and add a few drops of stevia or monk fruit sweetener to taste. The texture will be thinner, but the immune benefits are still there. Just note that honey acts as a natural preservative, so this version won’t keep as long in the fridge.
Vegan Version — Swap the honey for maple syrup or agave nectar. The flavor will be different—maple adds a woodsy sweetness that actually pairs beautifully with the cloves—but it works. Keep in mind that maple syrup doesn’t have the same antimicrobial properties as raw honey, so use this version within 2-3 weeks.
Alcohol-Based Tincture — If you want something shelf-stable that doesn’t need refrigeration, replace the water with vodka or brandy and skip the honey. This isn’t technically a syrup anymore, but it’s a potent immune tonic that lasts for months. Just take it by the dropperful rather than by the spoonful.
Citrus Twist — Add the zest of one orange and one lemon along with the berries. The citrus brightens the flavor and adds extra vitamin C. I tried this on a whim when I had leftover citrus on my counter, and it’s become my go-to summer version.
Serving & Storage Suggestions
This homemade elderberry syrup is incredibly versatile in how you use it and store it.
How to take it — Adults can take 1 tablespoon daily for maintenance or 1 tablespoon every 2-3 hours at the first sign of a cold. For kids over age 1, give 1 teaspoon daily. I like to take mine straight from a spoon first thing in the morning, but you can also stir it into warm tea, drizzle it over yogurt, or mix it into sparkling water for a fancy immune-boosting drink.
Serving temperature — The syrup is best served at room temperature or slightly warm. Cold syrup straight from the fridge is thick and takes a moment to pour. Let your jar sit out for 10 minutes before using, or stir it into a warm beverage.
Refrigerator storage — Store your syrup in a sealed glass jar in the refrigerator. It will keep for 2-3 months. The honey acts as a natural preservative, which helps extend the shelf life. If you see any mold or fermentation bubbles, toss it immediately—that means something went wrong.
Freezer storage — Pour the syrup into ice cube trays and freeze. Once solid, pop the cubes into a freezer bag. Each cube is roughly 1 tablespoon, making it easy to thaw exactly what you need. Frozen syrup keeps for up to 6 months.
Flavor development — The flavors actually mellow and meld after about a week in the fridge. The cloves become less sharp, and the honey rounds everything out. So if it tastes a little intense at first, give it time. It gets better.
Nutritional Information & Benefits
I’m not a doctor or a nutritionist, so take this as general information rather than medical advice. But here’s what the research says about the key ingredients in this syrup.
Estimated nutritional values per tablespoon (15ml) : Calories: 45, Carbohydrates: 12g, Sugar: 11g (from honey), Vitamin C: 2mg, Iron: 0.3mg. These values are approximate and will vary based on your specific ingredients.
Elderberries are rich in antioxidants called anthocyanins, which give them their deep purple color. Some studies suggest they may help reduce the duration and severity of cold and flu symptoms. They’re also a good source of vitamin C and dietary fiber.
Raw honey contains natural enzymes, antioxidants, and antibacterial compounds. It’s been used for centuries to soothe sore throats and coughs. Local raw honey may also help with seasonal allergies by exposing your system to local pollen in small amounts.
Cloves contain eugenol, a compound with mild numbing and anti-inflammatory properties. They’re also packed with antioxidants and have been used traditionally for toothaches and digestive issues.
Dietary considerations : This recipe is gluten-free, dairy-free, and refined sugar-free. It’s not suitable for infants under 1 year due to the honey (risk of botulism). If you have diabetes or are monitoring your blood sugar, be mindful of the honey content and consider the low-sugar variation.
Personally, I love knowing exactly what’s going into my body when I take this syrup. No mystery ingredients, no preservatives, no high-fructose corn syrup. Just three simple ingredients that have been used for generations.
Conclusion
This homemade elderberry syrup with honey and cloves has become a staple in my kitchen for good reason. It’s simple enough to make on a whim, affordable enough to keep stocked year-round, and effective enough that I genuinely notice a difference during cold season. That accidental swap that started it all turned out to be one of the best kitchen mistakes I’ve ever made.
I hope you give this recipe a try and make it your own. Maybe you’ll add a cinnamon stick, or swap the cloves for ginger, or double the batch and share it with friends. That’s the beauty of simple recipes—they leave room for your creativity. And if you come up with a variation I haven’t tried, I’d love to hear about it. Drop a comment below and tell me how yours turned out, or tag me in your photos if you share them online.
Here’s to staying healthy, one spoonful of purple goodness at a time. You’ve got this.
Frequently Asked Questions
Can I use fresh elderberries instead of dried?
Technically yes, but I don’t recommend it. Fresh elderberries are more watery, which dilutes the flavor, and they’re harder to strain. Dried elderberries concentrate the flavor and make the process much simpler. Plus, fresh elderberries are only available for a short window in late summer, while dried ones are available year-round.
How long does homemade elderberry syrup last?
Stored in a sealed glass jar in the refrigerator, it will keep for 2-3 months. If you freeze it in ice cube trays, it lasts up to 6 months. Always check for signs of mold or fermentation before using, especially if it’s been sitting for a while.
Can I give this syrup to my kids?
Yes, for children over 1 year old. The honey in this recipe makes it unsafe for infants under 1 due to the risk of botulism. For kids ages 1-6, give 1 teaspoon daily for maintenance. For older kids, 1 tablespoon daily is fine. Always check with your pediatrician before starting any new supplement routine.
Can I make this syrup without honey?
Absolutely. You can substitute maple syrup, agave nectar, or even skip the sweetener entirely. Without honey, the syrup will be thinner and won’t last as long in the fridge—plan to use it within 2-3 weeks. You can also add a few drops of stevia if you want sweetness without the sugar.
Does this syrup really help prevent colds?
I can’t make medical claims, but I can tell you my personal experience. I’ve been making this syrup for three years, and I’ve noticed that I get sick less often and recover faster when I do get sick. Some studies suggest elderberries may help reduce cold duration and severity. It’s not a substitute for medical care, but it’s a wonderful addition to a healthy lifestyle.
Pin This Recipe!
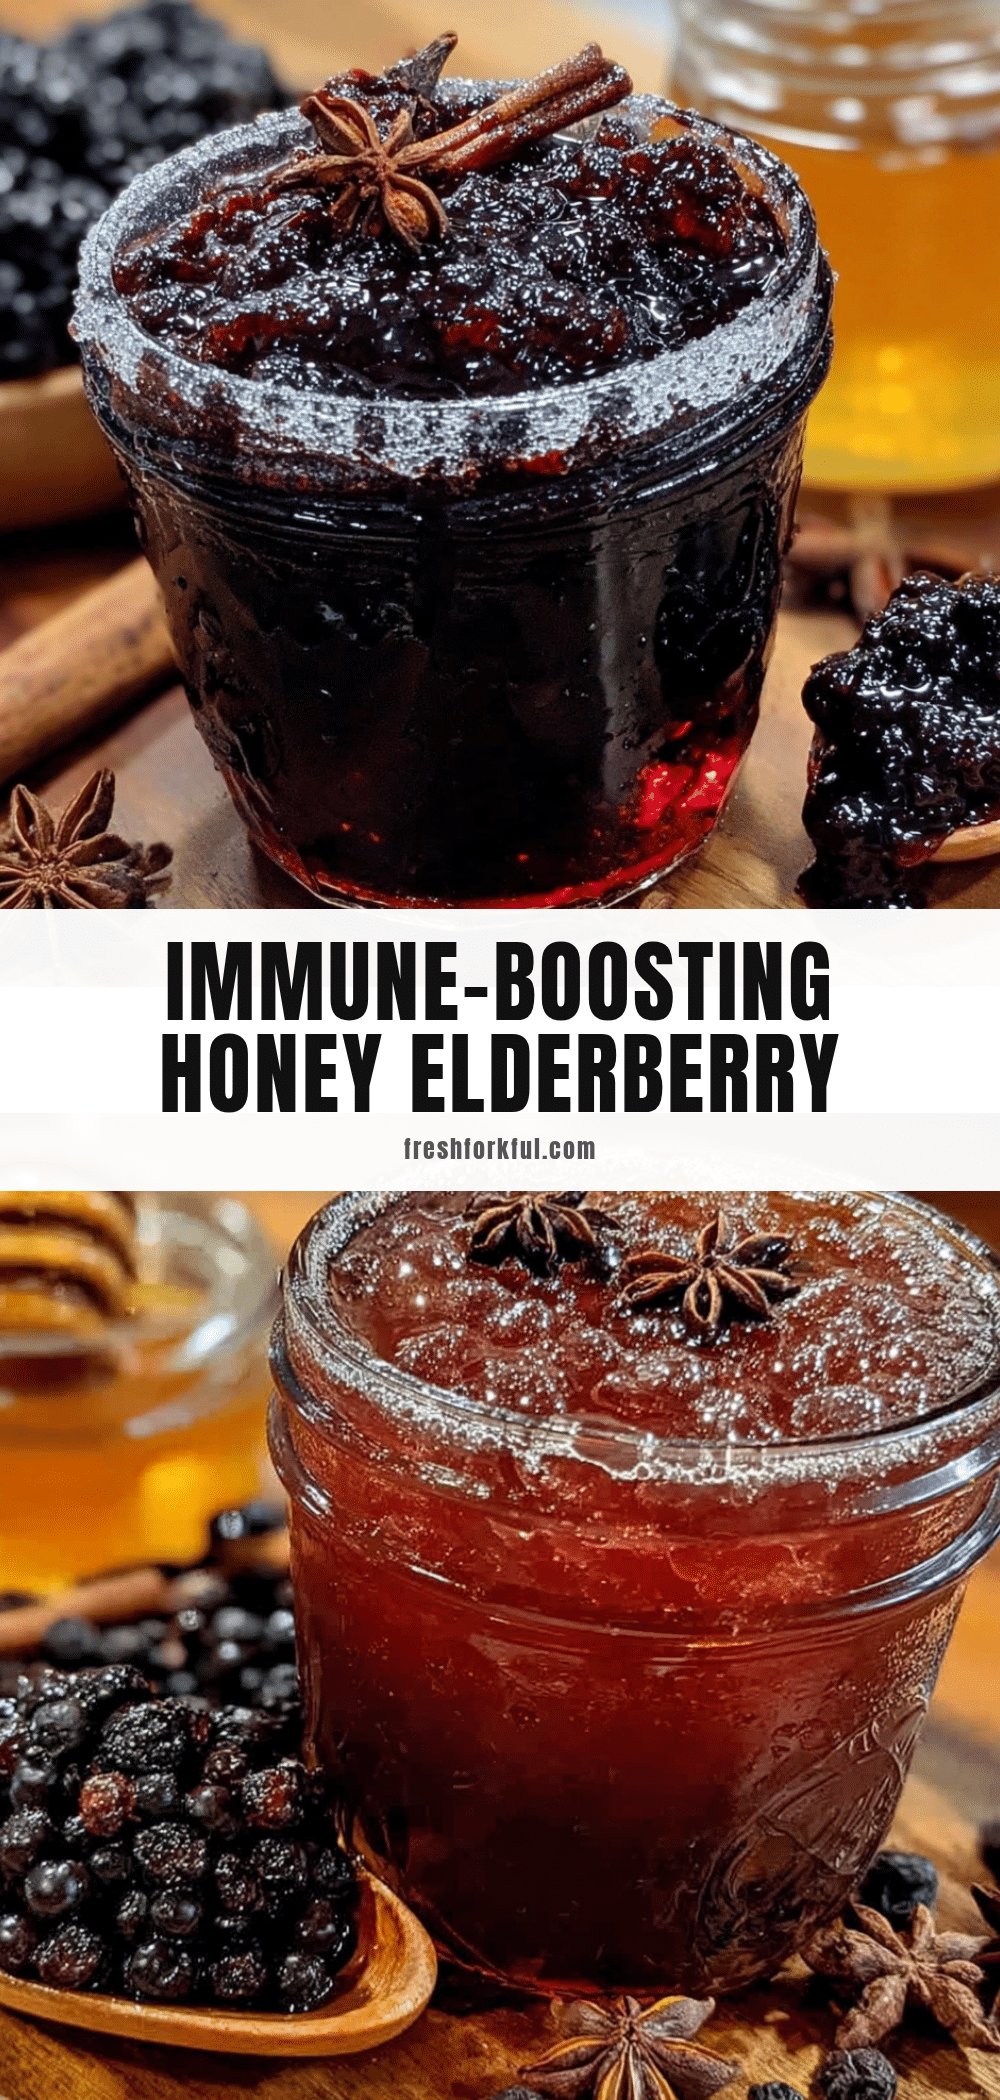
Homemade Elderberry Syrup: 3-Ingredient Cold Remedy
This homemade elderberry syrup with honey and cloves is a simple, budget-friendly immune support remedy made with just three ingredients. Ready in under an hour, it’s a comforting and effective way to stay healthy during cold season.
- Prep Time: 10 minutes
- Cook Time: 40 minutes
- Total Time: 50 minutes
- Yield: 16 servings 1x
- Category: Remedy
- Cuisine: American
Ingredients
- 1 cup dried elderberries
- 1 cup raw honey
- 1 tablespoon whole cloves
- 4 cups filtered water
Instructions
- Combine the berries, cloves, and water: Add 1 cup of dried elderberries, 1 tablespoon of whole cloves, and 4 cups of filtered water to your saucepan. Give it a quick stir.
- Bring to a boil, then reduce to a simmer: Turn the heat to medium-high and watch for the first bubbles. Once it reaches a rolling boil, immediately reduce the heat to low. You want a gentle simmer, not a vigorous boil.
- Simmer for 30-40 minutes: Let the mixture bubble away gently, uncovered. The liquid will gradually darken to a rich purple-black. Stir occasionally to prevent the berries from sticking. It’s done when the liquid has reduced by about half and the berries look plump and wrinkled.
- Strain the mixture: Place your fine-mesh strainer over a large bowl or directly over your storage jar. Carefully pour the hot liquid through the strainer. Use the back of a wooden spoon to press gently on the berries and cloves to extract every last drop. Discard the solids.
- Cool slightly, then add the honey: Let the strained liquid cool for about 10-15 minutes. It should be warm but not hot. Once it’s at a comfortable warm temperature, stir in 1 cup of raw honey until fully dissolved.
- Bottle and store: Pour the finished syrup into your clean glass jar or bottle using a funnel if you have one. Seal it tightly and let it cool completely before refrigerating.
Notes
Don’t rush the simmer; low and slow extracts beneficial compounds without bitterness. Strain while warm for better yield. Double strain for extra smoothness if gifting. Label jars with date and contents. Make a double batch to freeze for later. Do not add honey while liquid is boiling hot to preserve raw honey’s beneficial enzymes.
Nutrition
- Serving Size: 1 tablespoon (15 ml)
- Calories: 45
- Sugar: 11
- Carbohydrates: 12
Keywords: elderberry syrup, homemade elderberry syrup, immune support, cold remedy, honey, cloves, natural remedy


