Love this? Save it for later!
Share the inspiration with your friends
I was knee-deep in a pile of vintage linens at an estate sale—the kind where you have to dig through someone’s entire life, box by box—when the woman running the sale started talking about pears. She was probably in her late seventies, wearing a floral apron over a sweater, and she was carefully wrapping a glass jar in newspaper. “That’s my last one,” she said, holding it up. “Cinnamon pear preserves. I make them every fall, but my hands don’t work like they used to.” I asked her what made them so special, and she just smiled, finished wrapping the jar, and handed it to me. “You figure it out.” Honest to goodness, I bought a chipped ceramic rooster just so she’d keep talking.
That jar sat on my counter for two weeks before I worked up the courage to open it. And when I did—wow. It wasn’t like any jam I’d ever had. The pears were soft but still had a little texture, the cinnamon was warm without being pushy, and there was this tiny hint of something else I couldn’t place. Maybe vanilla? Maybe lemon? It was the kind of preserve that made you want to eat it straight from the spoon, and honestly, I did that more than once. I mean, who was going to stop me?
So I did what any reasonable person would do: I called every estate sale company in town trying to find her again. No luck. But I did spend the next six weeks in my kitchen, working through batch after batch of pears, trying to recreate that exact flavor. This homemade small-batch cinnamon pear preserves recipe is the result of all that trial and error—and a little bit of luck. It’s the kind of preserve that tastes like fall in a jar, and I think she’d approve. Maybe you’ve been there, chasing a flavor from a memory? That’s exactly what this is.
Why You’ll Love This Recipe
Let me tell you why this recipe is different. I’ve tested this batch at least a dozen times—seriously, my neighbors have started hiding when they see me coming with another jar—and every single time, it delivers. Here’s what makes it special:
- Small-Batch Perfection: This recipe makes just about 3-4 half-pint jars. No massive canning operation required. You can make it on a Tuesday afternoon without committing your whole weekend.
- Simple Ingredients: You need pears, sugar, cinnamon, lemon juice, and maybe vanilla. That’s it. No pectin, no weird additives, nothing you have to special-order.
- Beginner-Friendly: If you’ve never made preserves before, this is the one to start with. The process is forgiving, and the results are impressive enough to make you feel like a pro.
- Incredible Flavor: The cinnamon and pear combination is pure comfort. It’s not too sweet, not too spicy—just perfectly balanced. The kind of preserve that makes you close your eyes after the first bite.
- Perfect for Gifting: Homemade preserves are the ultimate hostess gift, holiday present, or just-because surprise. Tie a ribbon around the jar and you look like you have your life together.
What sets this apart from other pear preserves? It’s the technique. Most recipes rush the process or rely on too much sugar to compensate for underripe fruit. This one lets the pears shine, using a gentle simmer that concentrates their natural sweetness. The cinnamon isn’t just sprinkled in—it’s infused, so every spoonful has that warm, cozy depth. This isn’t just another recipe; it’s the one I’d grab if my kitchen was on fire and I could only save one jar.
What Ingredients You Will Need
This recipe uses simple, wholesome ingredients to deliver bold flavor and satisfying texture without the fuss. Most of these are probably in your kitchen right now, which is exactly how preserves should be.
- Pears (2 pounds, about 4-5 medium): You want firm but ripe pears. Bosc or Anjou work beautifully—they hold their shape during cooking and have that classic pear sweetness. Bartlett pears are fine too, but they get a bit softer. I prefer Bosc for their texture. Look for pears that yield slightly when you press near the stem but aren’t mushy.
- Granulated Sugar (1½ cups): This is your preservative and sweetener. I’ve tested this with less sugar, and it works, but the texture changes and it doesn’t keep as long. For the best results, stick with standard white sugar. (Adds sweetness and helps with preservation)
- Fresh Lemon Juice (2 tablespoons): This brightens everything up and helps balance the sweetness. It also keeps the pears from browning while you’re prepping them. Always use fresh—bottled lemon juice has a flat taste that you’ll notice in the final product.
- Ground Cinnamon (1½ teaspoons): This is where the magic happens. I recommend Saigon cinnamon if you can find it—it’s warmer and more aromatic than standard cassia cinnamon. But honestly, any good-quality cinnamon will work. (Use Ceylon cinnamon for a milder, more floral flavor)
- Vanilla Extract (1 teaspoon, optional but recommended): That mystery flavor I couldn’t place in the original? Pretty sure it was vanilla. It rounds out the cinnamon and adds a little depth. Pure vanilla extract is worth the splurge here.
- Water (¼ cup): Just enough to get things started. The pears will release their own juice as they cook, but this initial water prevents sticking.
- Pinch of Salt: Don’t skip this. Salt doesn’t make it salty—it makes everything else taste more like itself. It balances the sweetness and brightens the fruit flavor.
Substitution Notes: If you want a low-sugar version, you can reduce the sugar to 1 cup and add a tablespoon of honey or maple syrup for complexity. The texture will be slightly looser, and it won’t keep as long in the pantry, but it’s delicious. For a sugar-free option, use a granulated monk fruit sweetener—though the texture will be different, and you’ll need to add a little pectin to help it set.
Equipment Needed
You don’t need a fancy kitchen to make this recipe. Here’s what you’ll actually use:
- Large Heavy-Bottomed Pot or Dutch Oven: A 4-5 quart pot works perfectly. The heavy bottom distributes heat evenly and prevents scorching. I use my enameled cast iron Dutch oven—it’s my workhorse.
- Sharp Knife and Cutting Board: For prepping the pears. A good chef’s knife makes quick work of peeling and coring.
- Vegetable Peeler: A standard Y-peeler or swivel peeler. I prefer the Y-style—it’s faster and gives you more control.
- Wooden Spoon or Silicone Spatula: For stirring. Metal can react with the acid in the fruit and leave a metallic taste.
- Half-Pint Mason Jars (3-4): Standard canning jars with new lids and bands. You can reuse the bands, but always use new lids for a proper seal.
- Canning Funnel (optional but helpful): Makes filling jars much less messy. Worth the few dollars.
- Large Pot for Water Bath (if canning): You need a pot deep enough to cover the jars by at least an inch of water. A stockpot works fine.
- Jar Lifter: For safely removing hot jars from the water bath. Trust me, tongs don’t work as well.
- Kitchen Towels: For clean-up and for setting hot jars on. You’ll make a mess—it’s part of the fun.
Budget-Friendly Tip: If you don’t have canning equipment, you can absolutely skip the water bath and store these preserves in the refrigerator for up to 3 months. Just use clean jars with tight-fitting lids.
Preparation Method
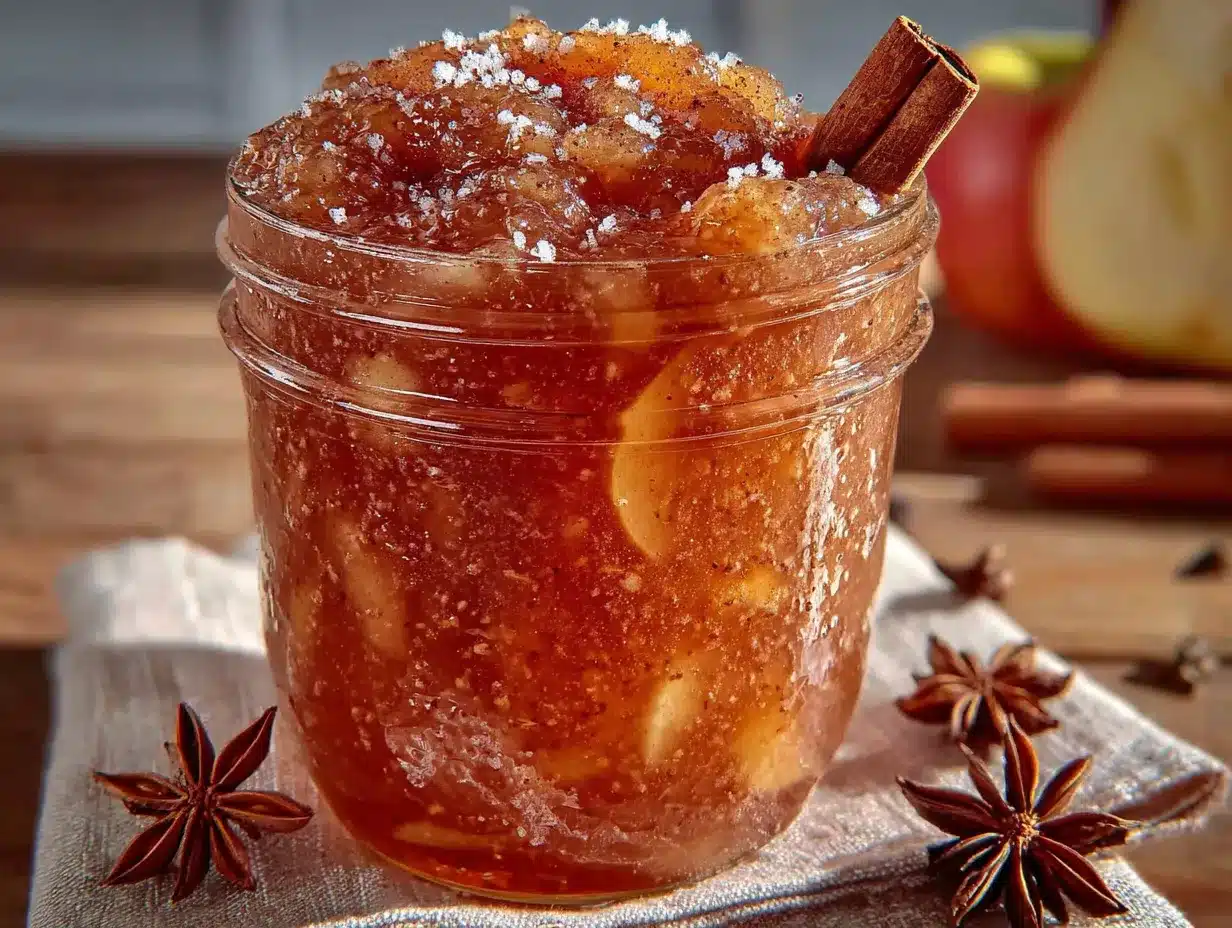
Let’s make some preserves. This process takes about 45 minutes of active time and another 30-40 minutes of simmering. Put on some music, pour yourself a cup of tea, and settle in.
- Prepare your jars and lids (10 minutes): Wash your jars, lids, and bands in hot, soapy water. Rinse thoroughly. Place the jars in a large pot, cover with water, and bring to a boil. Boil for 10 minutes to sterilize. Turn off the heat and let them sit in the hot water until you’re ready to fill them. Place the lids in a small bowl and cover with hot water (not boiling—just hot from the tap). This softens the sealing compound.
- Prep the pears (15 minutes): Peel the pears using your vegetable peeler. Cut them in half lengthwise and use a melon baller or small spoon to scoop out the core and seeds. Cut the pears into ½-inch chunks. Don’t stress about uniformity, but try to keep them roughly the same size so they cook evenly. You should have about 4-5 cups of chopped pears. As you work, toss the pear chunks with the lemon juice to prevent browning.
- Combine ingredients in the pot (5 minutes): Place the chopped pears, sugar, water, cinnamon, and salt in your heavy-bottomed pot. Stir gently to combine. Let it sit for 10-15 minutes if you have time—this helps the sugar draw out the pear juices, which gives you a better start.
- Bring to a simmer (5-10 minutes): Place the pot over medium heat and stir occasionally. You’ll see the sugar dissolve and the pears start to release their liquid. Once the mixture is bubbling gently, reduce the heat to medium-low. Don’t rush this—if the heat is too high, the sugar can burn before the pears have a chance to soften.
- Simmer and stir (25-35 minutes): This is the main event. Let the preserves simmer gently, stirring every 5 minutes or so. You’re looking for the pears to soften and the liquid to thicken. At first, it will look thin and watery—that’s normal. As it cooks, the liquid will reduce and become syrupy. The pears will turn translucent and tender. Around the 20-minute mark, stir in the vanilla extract if you’re using it.
- Test for doneness (2 minutes): There’s a simple test: place a small plate in the freezer before you start cooking. When you think the preserves are ready, spoon a small amount onto the cold plate. Let it sit for 30 seconds, then run your finger through it. If the preserves hold their shape and don’t immediately run back together, they’re done. If they’re still runny, cook for another 5 minutes and test again.
- Fill the jars (10 minutes): Carefully remove the hot jars from the water bath using your jar lifter. Place them on a clean kitchen towel. Ladle the hot preserves into the jars, leaving about ¼ inch of headspace at the top. Wipe the rims with a clean, damp paper towel to remove any sticky residue. Place the lids on top and screw on the bands until they’re fingertip-tight—not too tight, just snug.
- Process in a water bath (10 minutes): Return the filled jars to the pot of boiling water. Make sure the water covers the jars by at least an inch. Boil for 10 minutes (adjust for altitude if needed—add 5 minutes for every 1,000 feet above sea level). Carefully remove the jars and place them on a towel. Let them cool completely, undisturbed, for 12-24 hours.
Sensory Cue: When the preserves are ready, the kitchen will smell like a fall candle—warm cinnamon, sweet pears, and a hint of vanilla. The liquid will coat the back of a spoon like thin syrup, and the pears will look like golden gems suspended in amber.
Troubleshooting: If your preserves seem too thin after the recommended cooking time, don’t panic. They will thicken more as they cool. If they’re still too thin after cooling, you can return them to the pot and simmer for another 10-15 minutes. Just be careful not to overcook—they can turn into pear candy if you go too far.
Cooking Tips & Techniques
I’ve made this recipe at least fifteen times, and I’ve learned a few things the hard way. Let me save you some trouble.
Don’t rush the simmer. Low and slow is your friend. High heat will break down the pears into mush before the liquid has a chance to thicken properly. You want gentle bubbles, not a rolling boil. I learned this when I was in a hurry one afternoon and cranked the heat—ended up with pear soup and a burnt bottom.
Use a wide pot. A wider surface area means faster evaporation, which means thicker preserves in less time. My first batch used a tall, narrow pot, and it took forever to reduce. Switching to a Dutch oven cut the cooking time by almost half.
Skim the foam. About 15 minutes into cooking, you’ll see foam forming on the surface. This is just air bubbles and impurities. Skim it off with a spoon for a clearer, more beautiful final product. It’s not strictly necessary, but it makes the preserves look prettier in the jar.
Test early and often. The first time I made this, I trusted the timer instead of my eyes. Big mistake. Every batch is different because pears vary in water content and ripeness. Start testing at the 20-minute mark and check every 5 minutes after that. Your senses are more reliable than any timer.
Keep a spoon handy. I always keep a small spoon next to the pot for tasting. The flavor changes as the preserves cook—the cinnamon becomes more pronounced, the sweetness concentrates. Tasting throughout helps you know when it’s just right.
Multitasking tip: While the preserves are simmering, wash your dishes and prep your jars. It makes the final step much smoother. I’ve learned that having everything ready before the preserves are done reduces the chaos factor significantly.
Variations & Adaptations
One of the best things about this recipe is how flexible it is. Here are some variations I’ve tried and loved:
- Spiced Pear Preserves: Add ¼ teaspoon each of ground ginger, nutmeg, and cardamom along with the cinnamon. It gives the preserves a chai-like warmth that’s incredible on scones. I made this version for a holiday brunch, and people asked for the recipe before they even finished eating.
- Vanilla-Bourbon Pear Preserves: Replace the water with 2 tablespoons of bourbon and add an extra teaspoon of vanilla extract. The bourbon adds a subtle smokiness that pairs beautifully with the pears. Cook it a little longer to burn off the alcohol. This one is my go-to for gift giving—it feels fancy without being fussy.
- Low-Sugar Version: Reduce the sugar to 1 cup and add 1 tablespoon of honey or maple syrup. The texture will be slightly looser, and the preserves won’t keep as long at room temperature, but they’re still delicious. Store this version in the refrigerator and use within 2 months.
- Apple-Pear Hybrid: Swap half the pears for firm apples like Granny Smith or Honeycrisp. The apples add a little tartness and a firmer texture. This is a great way to use up odds and ends from your fruit bowl.
- No-Cinnamon Version: Believe it or not, the pears are delicious on their own. Skip the cinnamon and add an extra teaspoon of vanilla and a split vanilla bean. The result is a pure, unadulterated pear preserve that’s perfect for pairing with cheese.
Dietary Note: This recipe is naturally gluten-free, dairy-free, and vegan. It’s also nut-free, making it safe for most dietary restrictions.
Serving & Storage Suggestions
These preserves are incredibly versatile. Here’s how I use them:
Serving Ideas: Spread on warm buttermilk biscuits or toast for the perfect breakfast. Dollop on Greek yogurt with a sprinkle of granola for a quick and satisfying snack. Serve alongside a cheese board—pear preserves are incredible with sharp cheddar, creamy brie, or tangy goat cheese. Use as a glaze for roasted pork or chicken—just brush it on during the last 10 minutes of cooking. Swirl into oatmeal or spoon over vanilla ice cream for an easy dessert.
Storage Instructions: If you processed the jars in a water bath, they’ll keep in a cool, dark pantry for up to 12 months. Once opened, store in the refrigerator and use within 3 months. If you skipped the water bath, store the preserves directly in the refrigerator—they’ll keep for up to 3 months. You can also freeze the preserves in freezer-safe containers for up to 6 months. Thaw in the refrigerator overnight before using.
Reheating Tip: If the preserves crystallize or become too thick in the refrigerator, simply microwave a small amount for 10-15 seconds or stir it into warm dishes. The texture will smooth right out.
Flavor Development: Here’s something interesting—the flavor actually improves after a few weeks. The cinnamon and vanilla meld with the pears, and the sweetness becomes more rounded. I always try to save at least one jar for a month or two to see how it develops. Patience pays off.
Nutritional Information & Benefits
This recipe is a treat, so I won’t pretend it’s health food. But there are some genuine benefits to making your own preserves.
Estimated Nutrition (per 2-tablespoon serving):
- Calories: 45
- Total Fat: 0g
- Sodium: 1mg
- Total Carbohydrates: 12g
- Sugars: 11g
- Fiber: 1g
- Protein: 0g
Health Benefits: Pears are a good source of dietary fiber, which supports digestive health. They also contain vitamin C and antioxidants, which help support your immune system. Cinnamon has anti-inflammatory properties and may help regulate blood sugar. By making your own preserves, you control exactly what goes in—no high-fructose corn syrup, no artificial preservatives, no mystery ingredients. That alone is a win in my book.
Dietary Considerations: This recipe is naturally gluten-free, dairy-free, vegan, and nut-free. It contains no common allergens. If you’re watching your sugar intake, the low-sugar variation is a good option.
Personal Note: I don’t believe in labeling food as “good” or “bad.” This is a recipe for joy, plain and simple. Spread it on toast, share it with friends, and don’t stress about the sugar content. Life is too short for guilt over preserves.
Conclusion
This homemade small-batch cinnamon pear preserves recipe is more than just a way to use up fruit—it’s a little jar of fall, captured at its peak. The process is simple enough for a weekday afternoon, but the results are special enough for holiday gifting. I’ve made this recipe more times than I can count, and it never gets old. There’s something deeply satisfying about watching those pears transform into something golden and beautiful.
I hope you’ll give it a try. Maybe you’ll make it exactly as written, or maybe you’ll add your own twist—a little extra cinnamon, a splash of bourbon, a handful of dried cranberries. That’s the beauty of homemade preserves. They’re yours to make your own.
When you make this recipe—and I hope you do—I’d love to hear about it. Drop a comment below and tell me how it turned out. Did you add something unexpected? Did you give it as a gift? Did you eat it straight from the jar with a spoon? (No judgment here.) Share your photos and stories, and let’s keep this little tradition going. After all, every jar of preserves has a story. This one started at an estate sale with a woman in a floral apron. I can’t wait to hear where yours begins.
Happy preserving, friends.
Frequently Asked Questions
Can I use canned pears for this recipe?
Technically yes, but I wouldn’t recommend it. Canned pears are already cooked and packed in syrup, which throws off the sugar-to-fruit ratio and makes the preserves too sweet and mushy. Fresh pears give you much better texture and flavor. If you’re in a pinch, drain canned pears thoroughly and reduce the sugar to 1 cup.
Why didn’t my preserves set?
This usually happens for one of three reasons: the pears were too ripe and released too much water, you didn’t cook them long enough, or you used too much sugar. Next time, try cooking them a little longer and testing more frequently. You can also add a tablespoon of lemon juice, which helps with setting.
Do I have to peel the pears?
You don’t have to, but I recommend it. Pear skins can be tough and fibrous, and they don’t break down during cooking. Leaving them on gives the preserves a chewy texture that most people don’t love. If you’re feeling adventurous, try leaving the skins on half the pears for a more rustic texture.
Can I double this recipe?
Absolutely. Just keep in mind that a larger batch will take longer to cook and reduce. Don’t double the cooking time—start checking at the 30-minute mark and go from there. You’ll also need a larger pot to prevent boiling over. A 6-8 quart Dutch oven works well for a double batch.
How do I know if my jars are properly sealed?
After the jars have cooled completely, press down on the center of each lid. If it doesn’t pop back up, it’s sealed. You can also remove the band and gently lift the jar by the lid—if it holds, you’re good. If a jar didn’t seal, store it in the refrigerator and use it within a few weeks.
Pin This Recipe!
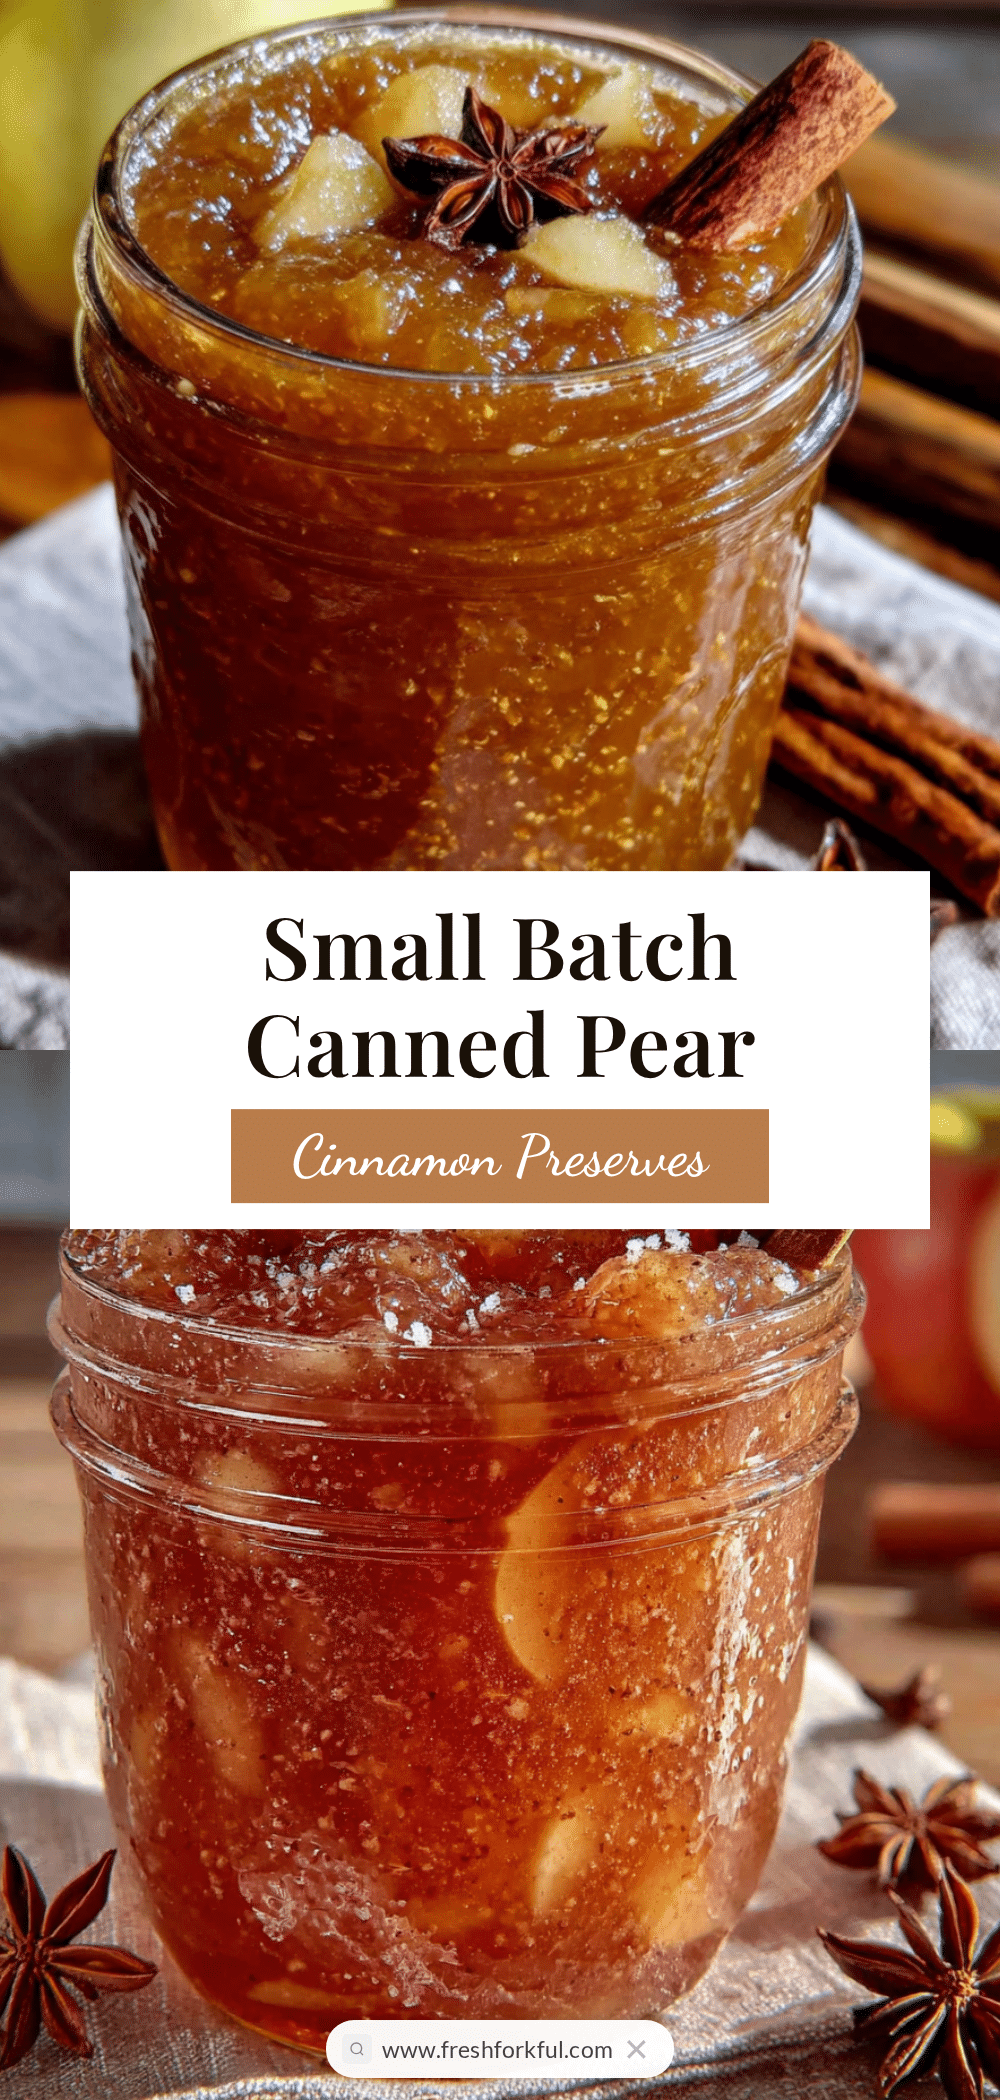
Homemade Small-Batch Cinnamon Pear Preserves Recipe
This homemade small-batch cinnamon pear preserves recipe is the result of weeks of trial and error, capturing the warm, cozy flavor of fall in a jar. Made with simple ingredients and no pectin, it’s perfect for beginners and yields about 3-4 half-pint jars of incredible, gift-worthy preserves.
- Prep Time: 15 minutes
- Cook Time: 35 minutes
- Total Time: 50 minutes
- Yield: 3-4 half-pint jars 1x
- Category: Preserves
- Cuisine: American
Ingredients
- 2 pounds firm but ripe pears (about 4–5 medium, preferably Bosc or Anjou)
- 1½ cups granulated sugar
- 2 tablespoons fresh lemon juice
- 1½ teaspoons ground cinnamon (Saigon cinnamon recommended)
- 1 teaspoon vanilla extract (optional but recommended)
- ¼ cup water
- Pinch of salt
Instructions
- Prepare your jars and lids: Wash jars, lids, and bands in hot, soapy water. Rinse thoroughly. Place jars in a large pot, cover with water, and bring to a boil. Boil for 10 minutes to sterilize. Turn off heat and let jars sit in hot water until ready to fill. Place lids in a small bowl and cover with hot water (not boiling) to soften the sealing compound.
- Prep the pears: Peel pears using a vegetable peeler. Cut in half lengthwise and scoop out core and seeds. Cut pears into ½-inch chunks (about 4-5 cups). Toss with lemon juice to prevent browning.
- Combine ingredients: Place chopped pears, sugar, water, cinnamon, and salt in a large heavy-bottomed pot or Dutch oven. Stir gently to combine. Let sit for 10-15 minutes to allow sugar to draw out pear juices.
- Bring to a simmer: Place pot over medium heat and stir occasionally until sugar dissolves and mixture begins to bubble gently. Reduce heat to medium-low.
- Simmer and stir: Let preserves simmer gently, stirring every 5 minutes, for 25-35 minutes. The liquid will thicken and pears will become translucent. Stir in vanilla extract around the 20-minute mark if using.
- Test for doneness: Place a small plate in the freezer before starting. Spoon a small amount of preserves onto the cold plate. Let sit for 30 seconds, then run your finger through it. If it holds its shape and doesn’t run back together, it’s done. If still runny, cook 5 more minutes and test again.
- Fill the jars: Carefully remove hot jars from water bath using a jar lifter. Place on a clean kitchen towel. Ladle hot preserves into jars, leaving ¼ inch headspace. Wipe rims with a clean, damp paper towel. Place lids on top and screw on bands until fingertip-tight.
- Process in a water bath: Return filled jars to pot of boiling water, ensuring water covers jars by at least 1 inch. Boil for 10 minutes (adjust for altitude: add 5 minutes for every 1,000 feet above sea level). Carefully remove jars and place on a towel. Let cool completely, undisturbed, for 12-24 hours.
Notes
If you don’t have canning equipment, you can skip the water bath and store preserves in the refrigerator for up to 3 months. The flavor improves after a few weeks. For a low-sugar version, reduce sugar to 1 cup and add 1 tablespoon honey or maple syrup; store in refrigerator and use within 2 months. If preserves are too thin after cooling, return to pot and simmer another 10-15 minutes.
Nutrition
- Serving Size: 2 tablespoons
- Calories: 45
- Sugar: 11
- Sodium: 1
- Carbohydrates: 12
- Fiber: 1
Keywords: cinnamon pear preserves, small batch preserves, homemade jam, pear preserves recipe, fall preserves, easy preserves, no pectin preserves


