Love this? Save it for later!
Share the inspiration with your friends
Introduction
My friend Claire had insisted for nearly a decade that plum jam was just “too tart” for her taste. Ten years. Then one rainy Saturday afternoon, I whipped up this version of flavorful plum jam with vanilla bean and cinnamon, mostly just to use up an overripe batch from the farmers market. I wasn’t expecting much, honestly—jam making isn’t exactly my usual weekend hobby, and I almost forgot to stir the pot a couple times. But there she was, caught red-handed with a spoon in the jar, eyes wide and a reluctant smile breaking through. That moment—Claire, the eternal skeptic, savoring bite after bite—reminded me how a little patience and a thoughtful twist can rewrite food stories.
You know that feeling when something you thought you disliked suddenly tastes like a revelation? That’s this plum jam. The warmth of cinnamon and the subtle, comforting presence of vanilla bean soften the sharpness of the plums, turning what once felt like a challenge into a cozy, spoon-licking delight. Maybe you’ve been there, doubting you’d ever warm up to a particular flavor until a recipe comes along and changes the game. This jam stuck with me because it’s not just about preserving fruit; it’s about preserving moments, conversations, and unexpected joys in a jar.
Let me tell you, once I saw Claire secretly enjoying this jam, I knew this recipe wasn’t going anywhere. It’s the kind of jar you’ll want to keep on your counter, ready for toast mornings or an impromptu dessert drizzle. And if you’ve ever hesitated with plum jam, this recipe just might change your mind, too.
Why You’ll Love This Recipe
After testing countless plum jam recipes, this one stands out for so many reasons. It’s been a kitchen favorite for friends and family, and I’m confident it’ll win you over, too.
- Quick & Easy: Comes together in under 45 minutes, perfect for busy weekends or last-minute preserving urges.
- Simple Ingredients: No fancy items here—just fresh plums, sugar, a vanilla bean, and cinnamon stick. You probably already have these in your pantry.
- Perfect for Gifts & Gatherings: Its warm, inviting aroma makes it an ideal homemade gift or a charming addition to brunch spreads.
- Crowd-Pleaser: Even those who usually shy away from tart jams find themselves reaching for seconds.
- Unique Flavor Profile: The vanilla bean adds a luxurious note, while cinnamon brings a gentle spice that rounds out the fruitiness beautifully.
This isn’t just any plum jam. The slow infusion of vanilla bean during cooking gives it a silky depth, and the cinnamon stick imparts a cozy warmth that transforms the jam into something memorable. It’s comfort food in a jar—perfect for cozy mornings or an unexpected spread at your next gathering. Honestly, it’s the kind of recipe I keep coming back to when I want something that feels both classic and a little special.
What Ingredients You Will Need
This recipe uses simple, wholesome ingredients to deliver bold flavor and a satisfying texture without fuss. Most of these are pantry staples or easy to find at local markets during plum season.
- Fresh plums (about 3 pounds / 1.4 kg, ripe but firm) – I recommend using a mix of red and yellow plums for a balanced sweetness and color.
- Granulated sugar (2 cups / 400 g) – you can adjust slightly based on plum sweetness.
- Vanilla bean (1 whole bean, split lengthwise) – this adds a subtle yet luxurious flavor that’s hard to replicate with extracts.
- Cinnamon stick (1 large stick) – infuses the jam with just the right hint of warm spice.
- Lemon juice (2 tablespoons / 30 ml, freshly squeezed) – balances the sweetness and helps with setting the jam.
If you’re thinking about substitutions: you can swap the vanilla bean for 1 teaspoon of pure vanilla extract added at the end of cooking, but the bean really does make a difference. For a lower-sugar version, reduce sugar to 1 1/2 cups, but expect a softer set. If you want to try a vegan-friendly sweetener, coconut sugar works well but will darken the jam slightly.
Equipment Needed
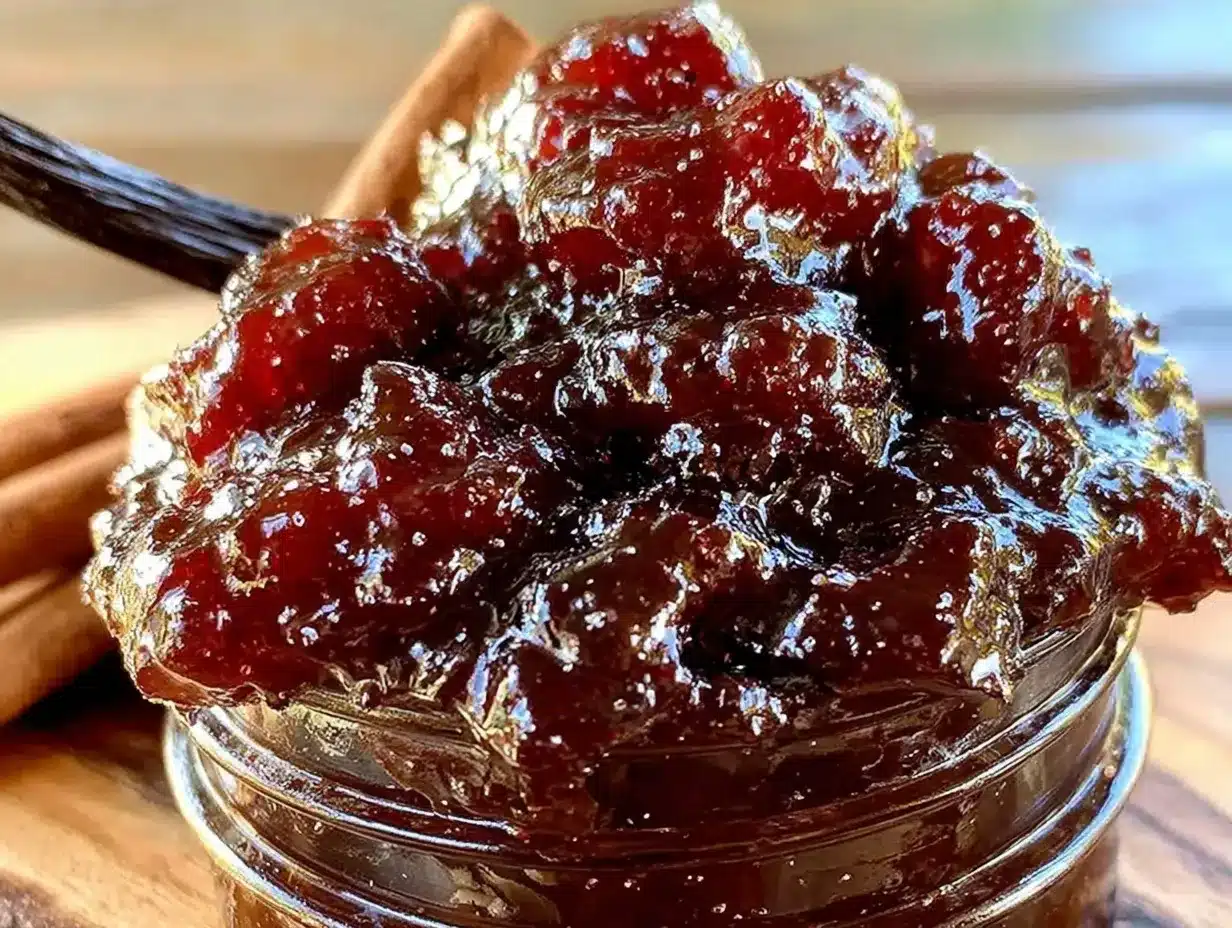
- Large heavy-bottomed saucepan or jam pot: A wide pot helps the plums cook evenly and reduces faster.
- Wooden spoon or heatproof spatula: For stirring the jam gently to prevent sticking.
- Sharp knife and cutting board: For prepping the plums.
- Fine mesh strainer or food mill (optional): If you prefer a smoother jam texture without skins.
- Glass jars with lids: Sterilized and ready for storing your jam.
I’ve found that using a heavy-bottomed pot really helps avoid burning, especially when cooking down fruit with sugar. If you don’t have a dedicated jam pot, a thick stainless steel saucepan works just fine. For stirring, a wooden spoon is gentler on the pot’s surface and helps you feel the jam’s texture as it thickens. I usually sterilize my jars in the oven while the jam cooks to save time. If you don’t have a food mill, no worries—chunkier jam is delicious too!
Preparation Method
- Prepare the plums: Wash the plums thoroughly. Cut each plum in half and remove the pits. Then roughly chop the plum flesh into bite-sized pieces (about 1-inch / 2.5 cm chunks). This will help them break down evenly while cooking. Estimated time: 10 minutes.
- Combine ingredients in the pot: Place the chopped plums, granulated sugar, and lemon juice into your jam pot. Scrape the vanilla bean seeds from the split pod with the back of a knife and add both seeds and pod to the pot. Add the cinnamon stick too. Stir gently to combine all ingredients.
- Cook the jam: Turn the heat to medium-high and bring the mixture to a boil, stirring occasionally to prevent scorching. Once boiling, reduce heat to a steady simmer. Allow the jam to cook uncovered for 30-40 minutes, stirring every few minutes. The plums will soften and release juices, and the mixture will thicken. You’ll notice the jam starting to coat the back of your spoon—a classic sign it’s nearing readiness.
- Check jam consistency: To test, place a small spoonful on a chilled plate and let it cool for a minute. Run your finger through it; if the jam wrinkles and doesn’t flood back, it’s ready. If not, continue simmering for 5-10 more minutes, then test again. This step is crucial—too runny, and your jam won’t set properly.
- Remove flavorings and jar: Once your jam has reached the desired thickness, fish out the vanilla pod and cinnamon stick. Give the jam a final stir, then carefully ladle it into sterilized jars while hot. Leave about 1/4 inch (0.6 cm) headspace. Seal the jars immediately.
- Cool and store: Let the jars cool at room temperature. You’ll hear a satisfying pop as they seal. Store in a cool, dark place for up to a year. Refrigerate after opening.
A little note: I once forgot to remove the cinnamon stick early on, and it made the jam overly spicy. So, trust me, don’t skip step 5! Also, stirring regularly keeps the jam from sticking and burning—especially important near the end.
Cooking Tips & Techniques
Jam making sounds fancy but really, it’s about patience and paying attention.
- Don’t rush the simmer: Letting the jam cook low and slow helps the flavors meld and the texture thicken without burning.
- Use fresh, ripe plums: Overripe plums can make the jam too mushy, while underripe ones add unwanted tartness.
- Stir gently but often: You want to prevent the sugar from catching on the pot, which can create bitter burnt bits.
- Test the set: The chilled plate test is your best friend. Skip it, and you risk a runny or overly stiff jam.
- Be cautious with cinnamon: One stick is enough to add warmth without overpowering. I learned this the hard way after a too-spicy batch!
One trick I picked up is to let the jam rest overnight once cooled; the flavors deepen overnight, making the jam taste even better the next day. Also, if you want a smoother texture, use a food mill before cooking, but I enjoy the little plum chunks—it feels a bit more homemade that way.
Variations & Adaptations
Feel free to put your own spin on this jam—it’s surprisingly versatile.
- Spice it up: Add a pinch of ground cloves or star anise for a more complex spice profile.
- Low sugar version: Use 1 1/2 cups of sugar and add 1 tablespoon of chia seeds at the end to help thicken naturally.
- Seasonal twist: In late summer, swap half the plums for fresh blackberries or raspberries for a mixed berry plum jam.
- Vanilla extract substitution: If you don’t have a vanilla bean, stir in 1 teaspoon of pure vanilla extract after cooking.
Personally, I once tried adding a splash of balsamic vinegar for a subtle tang—it was surprisingly good with savory cheeses! For a less sweet but still flavorful jam, reducing sugar and adding a bit of lemon zest helped balance things nicely. If you’re after gluten-free preserves, this jam fits perfectly as is.
Serving & Storage Suggestions
This flavorful plum jam really shines when served at room temperature. Spread it generously over warm buttered toast or swirl it into plain yogurt for a quick breakfast upgrade. It also pairs beautifully with sharp cheeses like aged cheddar or creamy brie—perfect for a simple but impressive snack.
Store your sealed jars in a cool, dark pantry for up to a year. Once opened, keep refrigerated and use within a month for the best taste. Reheat gently in a saucepan or microwave before serving if you prefer it warm. Over time, the flavors deepen and the vanilla-cinnamon notes become more pronounced, so don’t rush to finish the jar too quickly!
Nutritional Information & Benefits
Here’s a rough estimate per 2-tablespoon (40g) serving:
| Calories | 80 |
|---|---|
| Carbohydrates | 20g |
| Fiber | 1g |
| Sugar | 18g |
| Protein | 0g |
Plums provide antioxidants and vitamin C, while cinnamon has anti-inflammatory properties. This jam is naturally gluten-free and can be adapted for vegan diets. Just keep in mind it’s still a sugary preserve, so moderation is key. I love that it’s a way to enjoy fruit’s benefits year-round without artificial additives.
Conclusion
If you’re on the fence about plum jam, this flavorful plum jam with vanilla bean and cinnamon will likely surprise you. It’s a cozy, approachable recipe that turns humble ingredients into something special without fuss or fancy techniques. Plus, it’s flexible enough for you to tweak to your taste.
I keep returning to this recipe because it captures the warmth of fall and the simple joy of homemade preserves. Give it a try, and let your kitchen fill with that sweet-spicy aroma that makes jam-making worth every minute.
Have you tried making plum jam before? Feel free to share your twists or questions below—I love hearing how recipes find new life in your homes!
Frequently Asked Questions
Can I use frozen plums for this jam?
Yes, frozen plums work well. Just thaw them completely and drain excess liquid before cooking to avoid overly watery jam.
How long does homemade plum jam last?
Unopened and properly sealed jars last up to one year in a cool, dark place. Once opened, refrigerate and consume within one month.
Can I skip the vanilla bean and cinnamon?
You can, but those ingredients add unique warmth and depth. Without them, the jam will be more straightforward plum flavor and a bit tarter.
Do I need to sterilize jars before filling?
Yes, sterilizing jars helps prevent spoilage and extends shelf life. You can boil jars or heat them in the oven before use.
How do I know when the jam has set properly?
Use the chilled plate test: spoon a little jam onto a cold plate, let it sit for a minute, then run your finger through it. If it wrinkles and holds, it’s ready.
Pin This Recipe!
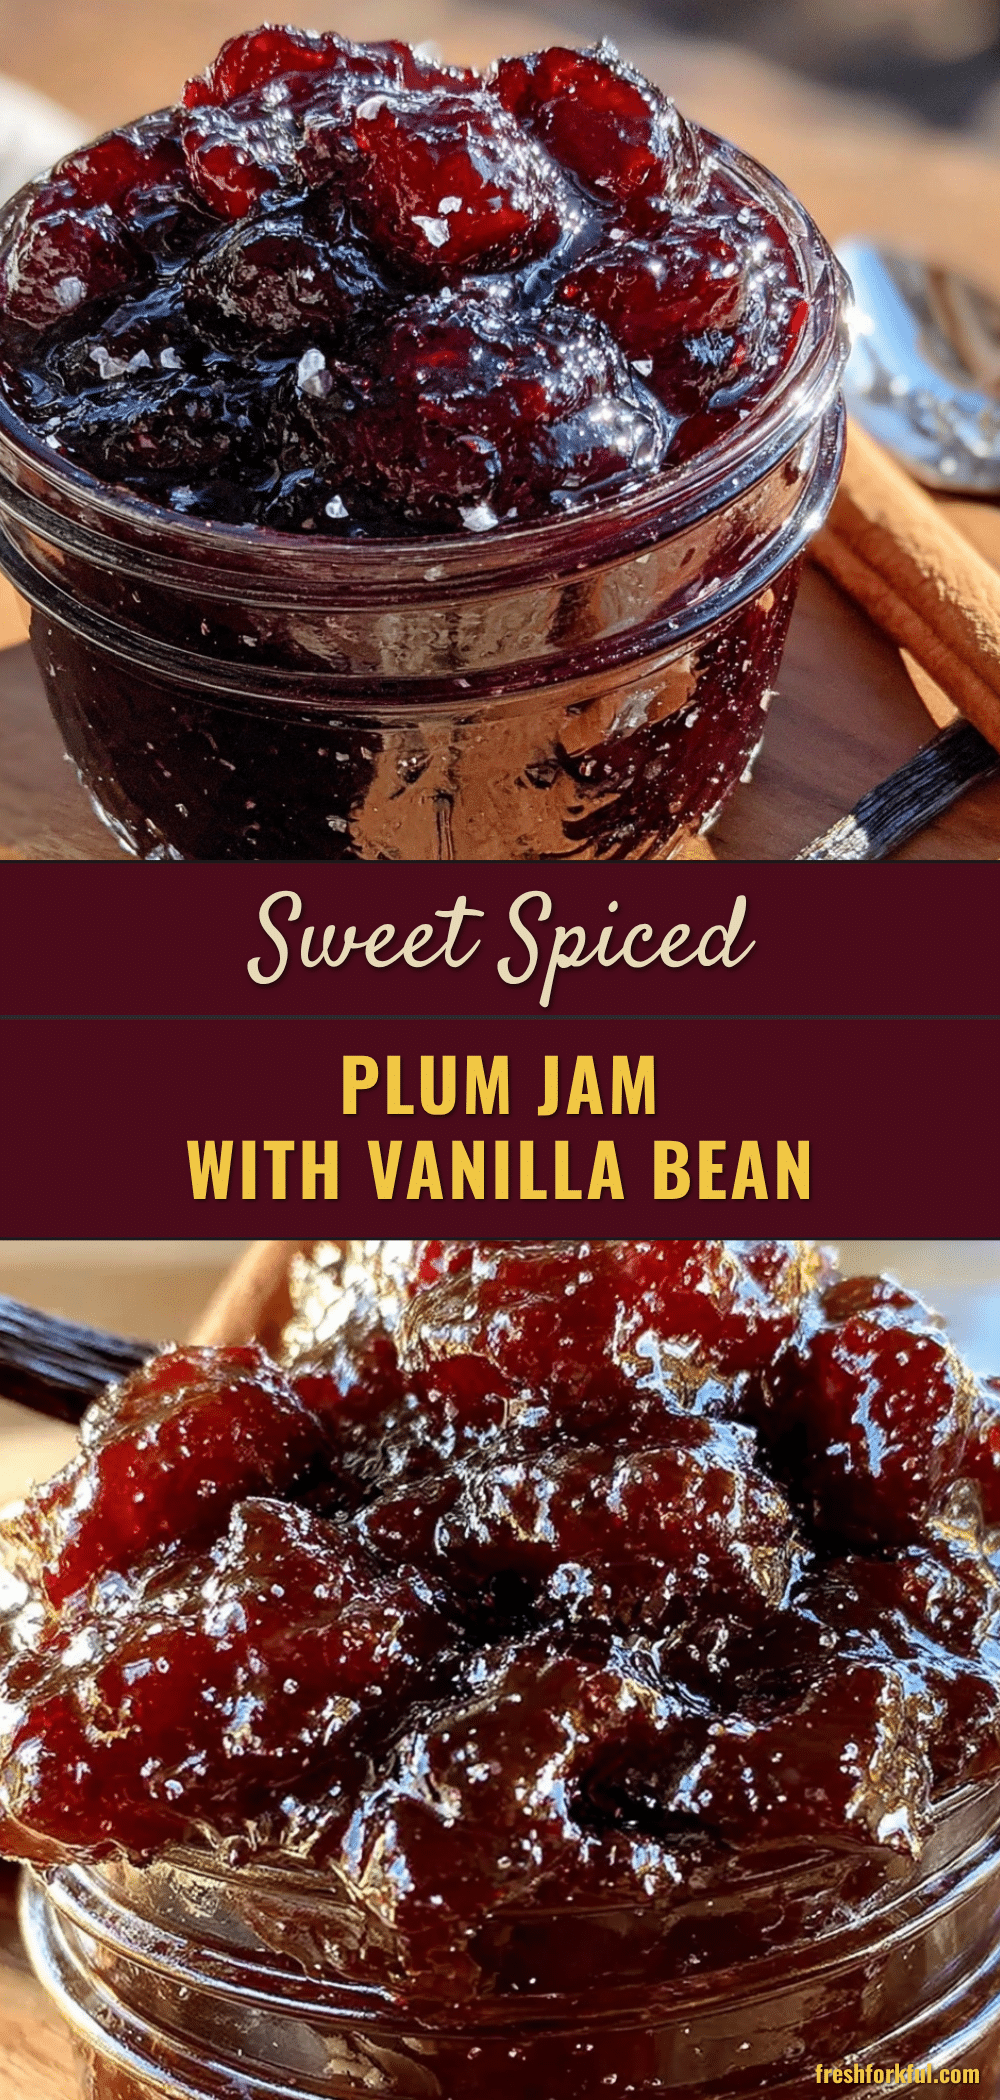
Flavorful Plum Jam Recipe with Vanilla Bean and Cinnamon
A cozy and approachable plum jam recipe featuring vanilla bean and cinnamon to soften tartness and add warmth. Perfect for toast, gifts, and gatherings.
- Prep Time: 10 minutes
- Cook Time: 35 minutes
- Total Time: 45 minutes
- Yield: About 4 cups (approximately 8 servings of 2 tablespoons each) 1x
- Category: Preserves
- Cuisine: American
Ingredients
- 3 pounds fresh plums (ripe but firm, mix of red and yellow recommended)
- 2 cups granulated sugar (adjust based on plum sweetness)
- 1 whole vanilla bean, split lengthwise
- 1 large cinnamon stick
- 2 tablespoons freshly squeezed lemon juice
Instructions
- Wash the plums thoroughly. Cut each plum in half and remove the pits. Roughly chop the plum flesh into 1-inch chunks.
- Place chopped plums, sugar, and lemon juice into a large heavy-bottomed saucepan or jam pot. Scrape the vanilla bean seeds from the pod and add both seeds and pod to the pot. Add the cinnamon stick. Stir gently to combine.
- Bring the mixture to a boil over medium-high heat, stirring occasionally to prevent scorching. Reduce heat to a steady simmer and cook uncovered for 30-40 minutes, stirring every few minutes until the jam thickens and coats the back of a spoon.
- Test jam consistency by placing a spoonful on a chilled plate. Let cool for a minute, then run your finger through it. If it wrinkles and does not flood back, the jam is ready. If not, simmer for 5-10 more minutes and test again.
- Remove the vanilla pod and cinnamon stick. Stir the jam once more and ladle it into sterilized glass jars, leaving about 1/4 inch headspace. Seal jars immediately.
- Let jars cool at room temperature until sealed with a popping sound. Store in a cool, dark place for up to one year. Refrigerate after opening.
Notes
Do not skip removing the cinnamon stick early to avoid overly spicy jam. Stir regularly to prevent sticking and burning. Use the chilled plate test to check jam set. Let jam rest overnight for deeper flavor. Vanilla bean adds superior flavor compared to extract. Frozen plums can be used if thawed and drained well.
Nutrition
- Serving Size: 2 tablespoons (40g)
- Calories: 80
- Sugar: 18
- Carbohydrates: 20
- Fiber: 1
Keywords: plum jam, vanilla bean jam, cinnamon jam, homemade jam, fruit preserves, easy jam recipe, plum preserves


