Love this? Save it for later!
Share the inspiration with your friends
“Mom, can we make gifts for everyone this year?” That’s what my niece asked one chilly Saturday afternoon as we sat around the kitchen table covered in flour and sprinkles. Honestly, I wasn’t expecting a serious craft session to turn into a full-on baking adventure, but there we were—laughing and rolling dough, turning simple sugar cookies into colorful, edible cards. The idea for these fun kid-decorated sugar cookie cards came about when I realized that store-bought gifts didn’t capture the spirit of the holidays like homemade treats made with a little imagination and a lot of love.
It all started when my niece, who usually shies away from the kitchen, begged to decorate cookies that could double as greeting cards. I was skeptical at first—how practical could edible cards be? But as she carefully piped icing onto each cookie, creating hearts, stars, and smiley faces, I noticed her excitement growing. Maybe you’ve been there—trying to find a gift that’s personal, festive, and actually fun to make with kids. Well, this recipe is just that.
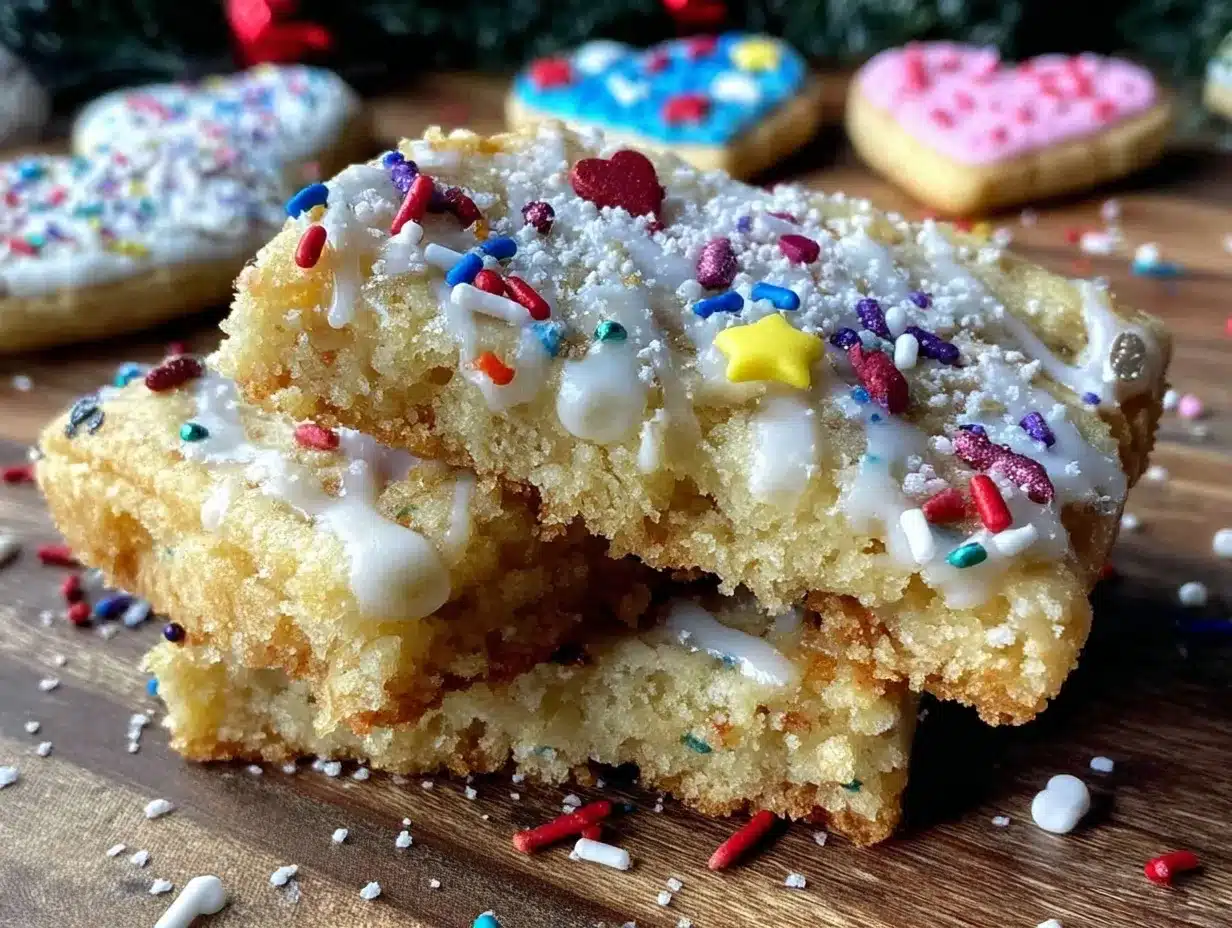
These sugar cookie cards aren’t just sweet treats; they’re little canvases for creativity, perfect for gifting to teachers, neighbors, or friends. Plus, the best part? You get to eat your message! I’ll tell you, between the mess and the giggles, these cookies have become a holiday tradition in our house. And trust me, once you try this recipe, you’ll be making them year after year, too.
Why You’ll Love This Recipe
Let me tell you, I’ve tested plenty of sugar cookie recipes, but these kid-decorated sugar cookie cards have a charm all their own. They’re not just about baking; they’re about making memories. Here’s why this recipe stands out:
- Quick & Easy: The dough comes together in under 20 minutes, which means less waiting and more decorating time—perfect when little hands are eager to help.
- Simple Ingredients: You probably have everything in your pantry already—nothing fancy needed, just classic baking staples.
- Perfect for Holidays & Gifts: Whether it’s Christmas, Valentine’s Day, or just a special occasion, these edible cards make heartfelt, personalized gifts.
- Crowd-Pleaser: Kids love decorating them, and adults can’t resist nibbling on these festive treats.
- Unbelievably Delicious: The cookies are crisp on the edges, tender in the center, and have just the right sweetness to pair beautifully with colorful royal icing.
What really sets this recipe apart is the balance between a sturdy cookie base that holds detailed decorations and a forgiving dough that’s easy for little bakers to handle. Plus, the icing recipe I include is smooth and perfect for piping—no clumps, no frustration. Honestly, it’s been tried and tweaked after many holiday seasons of messy kitchens and joyful chaos. This isn’t just another sugar cookie recipe; it’s a chance to make gifting fun, edible, and memorable.
What Ingredients You Will Need
This recipe uses simple, wholesome ingredients to deliver bold flavor and a satisfying texture without fuss. You’ll find everything is pretty straightforward, with options to swap or upgrade depending on your pantry and preferences.
- Unsalted butter, softened (adds richness and tenderness; I like using Land O Lakes for consistent quality)
- Granulated sugar (for sweetness and a little crunch on the edges)
- Large eggs, room temperature (helps bind the dough)
- Pure vanilla extract (for that classic warm flavor)
- All-purpose flour (you can swap half with almond flour for a slightly nutty twist)
- Baking powder (just a touch, to keep cookies light)
- Salt (balances sweetness)
- Powdered sugar (for the royal icing; use a fine, clump-free brand like Domino)
- Egg whites or meringue powder (for stable, glossy royal icing)
- Lemon juice or water (to thin the icing; lemon adds a subtle tang)
- Food coloring gels (choose kid-friendly, vibrant colors for decorating)
- Optional sprinkles and edible decorations (for extra fun and texture)
If you want to keep this recipe dairy-free, swap the butter for a plant-based margarine and use aquafaba or a vegan egg replacer for the royal icing. For gluten-free, a 1:1 gluten-free baking flour blend works well—just handle the dough gently.
Equipment Needed
Nothing too fancy here—just the basics most home kitchens have, but a few extras can make decorating easier and more fun.
- Mixing bowls: At least two—one for the dough, one for the icing
- Electric mixer or stand mixer: Makes creaming butter and sugar a breeze, but you can hand-mix if you prefer
- Rolling pin: Essential for rolling out dough evenly (I’ve found a silicone rolling pin easier for sticky dough)
- Cookie cutters: Card-shaped cutters (or rectangles and squares) to create your edible “cards”
- Baking sheets: Lined with parchment paper or silicone mats
- Piping bags and tips: For detailed icing work (small round tips like #1 or #2 work best for writing and fine lines)
- Spatula: For mixing and transferring dough
On a budget? You can substitute parchment paper with lightly greased baking sheets and use ziplock bags with a small hole cut in the corner instead of piping bags. Also, a simple plastic cup can hold your icing while you double-dip your spatula for decorating.
Preparation Method
- Cream the butter and sugar: In a large bowl, beat 1 cup (227 g) softened unsalted butter and 1 cup (200 g) granulated sugar until fluffy and pale, about 3-4 minutes. If you don’t beat it enough, cookies may turn dense.
- Add eggs and vanilla: Mix in 1 large egg and 1 teaspoon pure vanilla extract until combined. The dough will start to come together here.
- Combine dry ingredients: In a separate bowl, whisk 3 cups (375 g) all-purpose flour, 1 teaspoon baking powder, and ½ teaspoon salt.
- Mix dry into wet: Gradually add the flour mixture to the butter mixture, stirring gently until a soft dough forms. Don’t overmix—stop as soon as the flour disappears.
- Chill the dough: Wrap the dough in plastic wrap and chill in the fridge for at least 1 hour. This step is key for rolling out smooth cookies that hold their shape.
- Preheat the oven: to 350°F (175°C). Line baking sheets with parchment paper.
- Roll out dough: On a floured surface, roll dough to about ¼ inch (6 mm) thickness. If the dough is sticky, sprinkle a little flour—but not too much or cookies get tough.
- Cut shapes: Use rectangular or card-shaped cookie cutters to cut out your edible cards. Transfer carefully to baking sheets using a spatula.
- Bake: Bake for 8–10 minutes or until edges are just turning golden. Watch closely—cookies can burn quickly. Let cool completely on wire racks before decorating.
- Prepare royal icing: Beat 3 cups (360 g) powdered sugar with 2 large egg whites (or 2 tablespoons meringue powder rehydrated) and 1 tablespoon lemon juice or water until smooth and glossy. Thin with a little more liquid if needed for piping.
- Color and decorate: Divide icing into small bowls, add food coloring gels, and fill piping bags. Let kids create their designs—words, pictures, shapes. Add sprinkles before icing dries for extra fun.
- Dry and store: Let decorated cookies dry at room temperature for several hours or overnight. Store in airtight containers to keep fresh.
If your dough feels too soft while cutting, pop it back in the fridge for 10-15 minutes. Also, if royal icing thickens during decorating, add a drop of water to loosen it back up. Trust me, patience here pays off with cleaner designs.
Cooking Tips & Techniques
Getting these sugar cookie cards just right takes a little practice, but here’s what I’ve learned after many holiday baking marathons.
- Don’t skip chilling: Chilling the dough helps prevent spreading during baking, so your cards keep their shape—especially important for detailed decorations.
- Roll evenly: Use guide sticks or rolling pin rings to keep dough thickness consistent, which ensures even baking and avoids burnt edges.
- Use gel food coloring: They provide vibrant colors without thinning your icing, unlike liquid dyes.
- Pipe slowly and steadily: Teach kids to squeeze gently and move the piping tip smoothly for neater designs.
- Practice patience: Let each layer of icing dry before adding details on top. It helps prevent colors from bleeding.
- Common mistake: Overbaking cookies makes them too hard to bite into. Pull them from the oven as soon as the edges turn light golden.
- Multitasking tip: While cookies bake and cool, prep your icing and color batches so decorating flows without waiting.
Honestly, my first attempts looked like a colorful mess, but the kids loved every minute. Now, it’s a joyful, creative chaos that fills the house with holiday cheer.
Variations & Adaptations
Want to switch things up? Here are some fun ways to personalize your sugar cookie cards:
- Dietary swaps: Use coconut oil instead of butter for dairy-free cookies, and try aquafaba-based royal icing for vegan decorating.
- Seasonal flavors: Add ½ teaspoon almond extract or citrus zest to the dough for a unique twist. For fall, mix in cinnamon and nutmeg.
- Different shapes and themes: Instead of cards, use cookie cutters shaped like mittens, stars, or hearts depending on the holiday.
- Decorating styles: Try simple sugar glaze instead of royal icing for a softer finish, or use edible markers for a quick decorating option.
- My personal favorite: I once swapped out traditional sprinkles for crushed peppermint candies to add a festive crunch and fresh flavor.
Serving & Storage Suggestions
These sugar cookie cards are best served at room temperature, which keeps the icing firm but not brittle. Arrange them on a festive platter or wrap individually in clear cellophane with a ribbon for charming edible gifts.
They pair wonderfully with hot chocolate, tea, or even a cold glass of milk—the classic combo no one ever tires of. For holiday gatherings, they make great table place settings that guests can enjoy afterward.
To store, place cookies in an airtight container layered with parchment paper between them to avoid sticking. They keep well for up to a week at room temperature, or freeze for up to 2 months. When reheating, let frozen cookies thaw naturally to avoid condensation ruining the icing.
Over time, the flavors mellow and the texture softens slightly, which some folks prefer. Either way, these sugar cookie cards hold their charm—and taste—throughout the holiday season.
Nutritional Information & Benefits
Each sugar cookie card contains approximately 150-180 calories, depending on size and decoration. While they’re definitely a treat, the ingredients are straightforward and free from preservatives or artificial flavors.
Butter provides a good dose of vitamin A, and eggs add protein and essential nutrients. Using real vanilla and fresh lemon juice gives a natural flavor boost without additives.
For those with dietary needs, this recipe is adaptable to gluten-free, dairy-free, and vegan diets with simple ingredient swaps. Just keep in mind that texture might vary slightly.
Honestly, these cookies are about joy and connection more than nutrition—but the best kind of wellness is sharing smiles around the kitchen and the table.
Conclusion
Fun kid-decorated sugar cookie cards are more than just a recipe—they’re a way to create meaningful moments with the people you care about. Whether you’re crafting with little helpers or surprising friends with a thoughtful, edible message, these cookies bring joy and sweetness to any occasion.
I love this recipe because it combines simplicity and creativity in a way that feels fresh every time we make it. Plus, the smiles when someone receives a cookie card they helped decorate? Priceless.
Give it a try, make it your own, and don’t forget to share your cookie card stories—I’d love to hear how your kitchen filled with flour and laughter! Happy baking and gifting!
FAQs
Can I make the sugar cookie dough ahead of time?
Absolutely! The dough can be made up to 3 days in advance and kept wrapped in the fridge. Just let it soften slightly before rolling out.
What if I don’t have piping bags or tips?
No worries! You can use a ziplock bag with a tiny corner snipped off for piping or even a clean paintbrush for spreading icing creatively.
How do I prevent my royal icing from cracking?
Make sure to keep the icing covered with plastic wrap when not in use and avoid adding too much powdered sugar, which can dry it out. Also, let cookies dry completely at room temperature.
Can these cookies be frozen after baking and decorating?
Yes, but it’s best to freeze them before decorating. If freezing decorated cookies, wrap them well and thaw slowly to protect the icing.
What’s the best way to get kids involved without making too much mess?
Set up a decorating station with small bowls of icing and decorations, provide aprons, and keep wet wipes handy. Encourage creativity and embrace a little mess—it’s part of the fun!
Pin This Recipe!
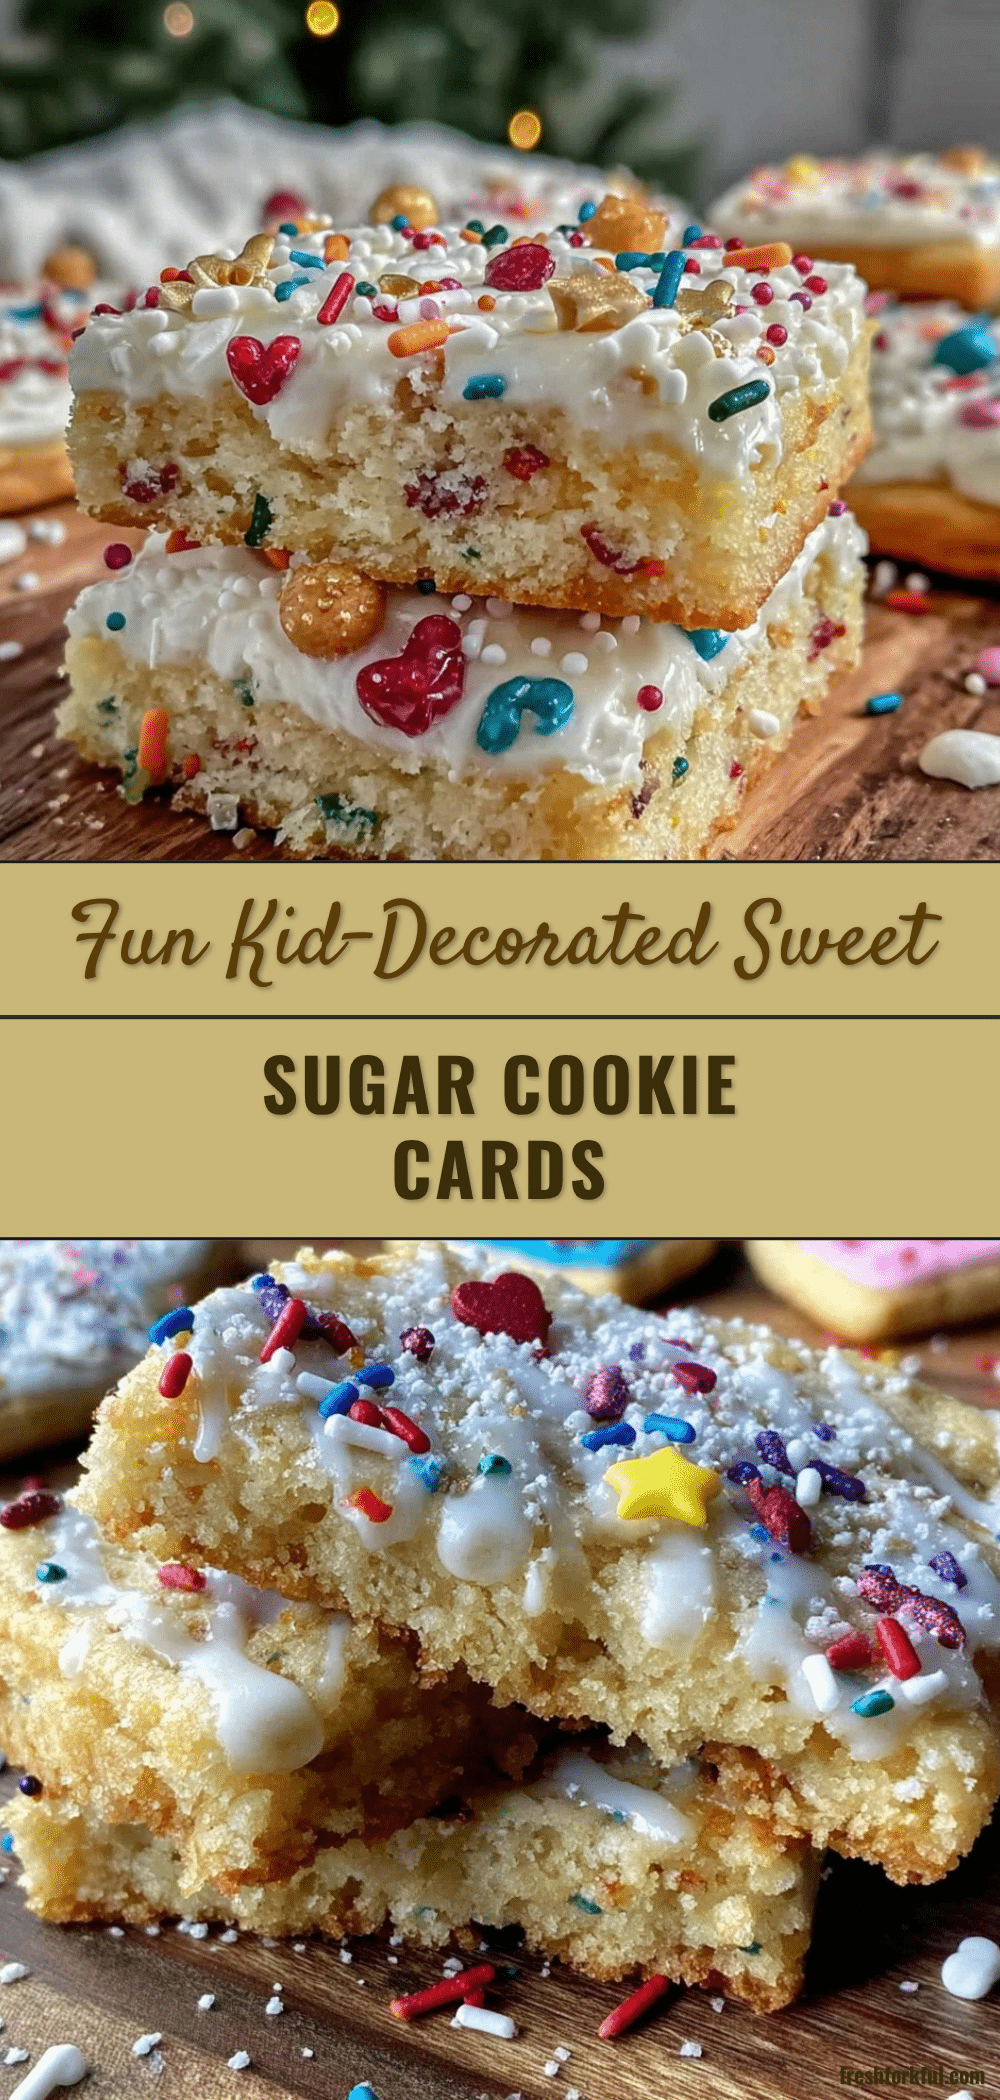
Fun Kid-Decorated Sugar Cookie Cards Easy Edible Gift Ideas for Holidays
These kid-decorated sugar cookie cards are festive, easy to make, and perfect for gifting during holidays. They combine a sturdy cookie base with smooth royal icing for creative, edible messages.
- Prep Time: 20 minutes
- Cook Time: 10 minutes
- Total Time: 1 hour 30 minutes
- Yield: 24 cookies 1x
- Category: Dessert
- Cuisine: American
Ingredients
- 1 cup (227 g) unsalted butter, softened
- 1 cup (200 g) granulated sugar
- 1 large egg, room temperature
- 1 teaspoon pure vanilla extract
- 3 cups (375 g) all-purpose flour
- 1 teaspoon baking powder
- ½ teaspoon salt
- 3 cups (360 g) powdered sugar (for royal icing)
- 2 large egg whites or 2 tablespoons meringue powder (for royal icing)
- 1 tablespoon lemon juice or water (to thin icing)
- Food coloring gels (kid-friendly, vibrant colors)
- Optional sprinkles and edible decorations
Instructions
- Cream the butter and sugar: In a large bowl, beat 1 cup softened unsalted butter and 1 cup granulated sugar until fluffy and pale, about 3-4 minutes.
- Add eggs and vanilla: Mix in 1 large egg and 1 teaspoon pure vanilla extract until combined.
- Combine dry ingredients: In a separate bowl, whisk 3 cups all-purpose flour, 1 teaspoon baking powder, and ½ teaspoon salt.
- Mix dry into wet: Gradually add the flour mixture to the butter mixture, stirring gently until a soft dough forms. Do not overmix.
- Chill the dough: Wrap the dough in plastic wrap and chill in the fridge for at least 1 hour.
- Preheat the oven to 350°F (175°C). Line baking sheets with parchment paper.
- Roll out dough: On a floured surface, roll dough to about ¼ inch (6 mm) thickness.
- Cut shapes: Use rectangular or card-shaped cookie cutters to cut out your edible cards. Transfer carefully to baking sheets using a spatula.
- Bake: Bake for 8–10 minutes or until edges are just turning golden. Let cool completely on wire racks before decorating.
- Prepare royal icing: Beat 3 cups powdered sugar with 2 large egg whites (or 2 tablespoons meringue powder rehydrated) and 1 tablespoon lemon juice or water until smooth and glossy. Thin with more liquid if needed.
- Color and decorate: Divide icing into small bowls, add food coloring gels, and fill piping bags. Decorate cookies with kids, adding sprinkles before icing dries.
- Dry and store: Let decorated cookies dry at room temperature for several hours or overnight. Store in airtight containers.
Notes
Chill dough for at least 1 hour to prevent spreading and keep shapes. Use gel food coloring for vibrant colors without thinning icing. Pipe slowly and let each icing layer dry before adding details. If dough is too soft while cutting, chill again for 10-15 minutes. Add a drop of water to royal icing if it thickens during decorating.
Nutrition
- Serving Size: 1 cookie
- Calories: 165
- Sugar: 14
- Sodium: 90
- Fat: 8
- Saturated Fat: 5
- Carbohydrates: 22
- Fiber: 0.3
- Protein: 2
Keywords: sugar cookies, kid-decorated cookies, edible cards, holiday gifts, easy sugar cookies, royal icing, cookie decorating, festive treats