Love this? Save it for later!
Share the inspiration with your friends
I swore I didn’t need another apple dessert. Honestly, I was done. After a decade of developing recipes, I’d made every variation imaginable—pies, crisps, crumbles, tarts, even one disastrous attempt at apple soufflé that I’d rather forget. When my neighbor Margot asked if I had a small-batch apple recipe, I almost laughed. “Just make a regular pie,” I said. “Freeze the extra.” But she persisted, explaining that her husband was away for work and she didn’t want to stare down a whole pie alone for a week. So I told her I’d think about it. Then, a few days later, I found myself in the kitchen at 10 PM on a Tuesday, half-watching some true crime documentary, and I started fiddling. I wasn’t trying to prove anything. I just wanted to see if I could capture that cozy, spiced, buttery apple pie feeling in a single, manageable slab. And that’s how these apple pie bars happened—completely by accident, in my pajamas, while a detective on TV was solving a cold case. Margot got the first batch, and I got a text at 7 AM the next morning that just said, “These are dangerous.” And you know what? She was right. There’s something about having just enough—not a mountain of leftovers, not a freezer full of regret—but exactly the right amount for two people to share. Maybe you’ve been there, standing in the grocery store, wanting to bake something special but not wanting to commit to a whole pie. These bars are for that moment. They’re the quiet, unassuming hero of small-batch baking, and I keep making them because they prove you don’t need a crowd to create a moment worth savoring.
Why You’ll Love This Recipe
Let me tell you, these apple pie bars aren’t just another dessert—they’re a revelation for anyone who’s ever wanted a slice of comfort without the commitment. I’ve tested this recipe six times to get the crust-to-filling ratio exactly right, and I can confidently say it’s the best small-batch apple dessert I’ve ever made. Here’s what makes it stand out:
- Perfect for Two : This recipe makes exactly four bars, which is ideal for a cozy night in, a weekend brunch for two, or even just treating yourself without the guilt of a whole pie.
- Simple Ingredients : No fancy grocery trips. You probably have most of these pantry staples already—flour, butter, sugar, cinnamon, and a couple of apples.
- Quick & Easy : From start to finish, you’re looking at about an hour. The active prep time is only 20 minutes, so you can whip these up on a whim.
- Unbelievably Delicious : The buttery shortbread crust, the tender cinnamon-spiced apples, and that optional crumble topping—it’s everything you love about apple pie, but in a more forgiving, less fussy form.
- Crowd-Pleaser : I’ve brought these to small gatherings and they always disappear first. Even people who claim they’re “not dessert people” go back for seconds.
What makes these bars different from every other apple bar recipe out there? It’s the technique. Instead of a traditional pie crust that can be finicky, I use a press-in shortbread base that’s practically foolproof. And the filling? I pre-cook the apples just enough to concentrate their flavor and prevent that dreaded watery layer that ruins so many apple bars. This isn’t just another version—it’s the version I’ve perfected through trial and error, burnt fingers, and one particularly sad batch that turned into apple soup. Trust me, this one works.
What Ingredients You Will Need
This recipe uses simple, wholesome ingredients to deliver bold flavor and satisfying texture without the fuss. Most of these are pantry staples, and I’ve included notes on substitutions where they work well.
For the Shortbread Crust
- 1/2 cup (113g) unsalted butter, cold and cut into small cubes (I use Kerrygold for its rich flavor, but any good-quality butter works)
- 1 cup (125g) all-purpose flour (spooned and leveled—don’t scoop directly from the bag)
- 2 tablespoons (25g) granulated sugar
- 1/4 teaspoon salt
- 1-2 tablespoons ice water (only if needed to bring the dough together)
For the Apple Filling
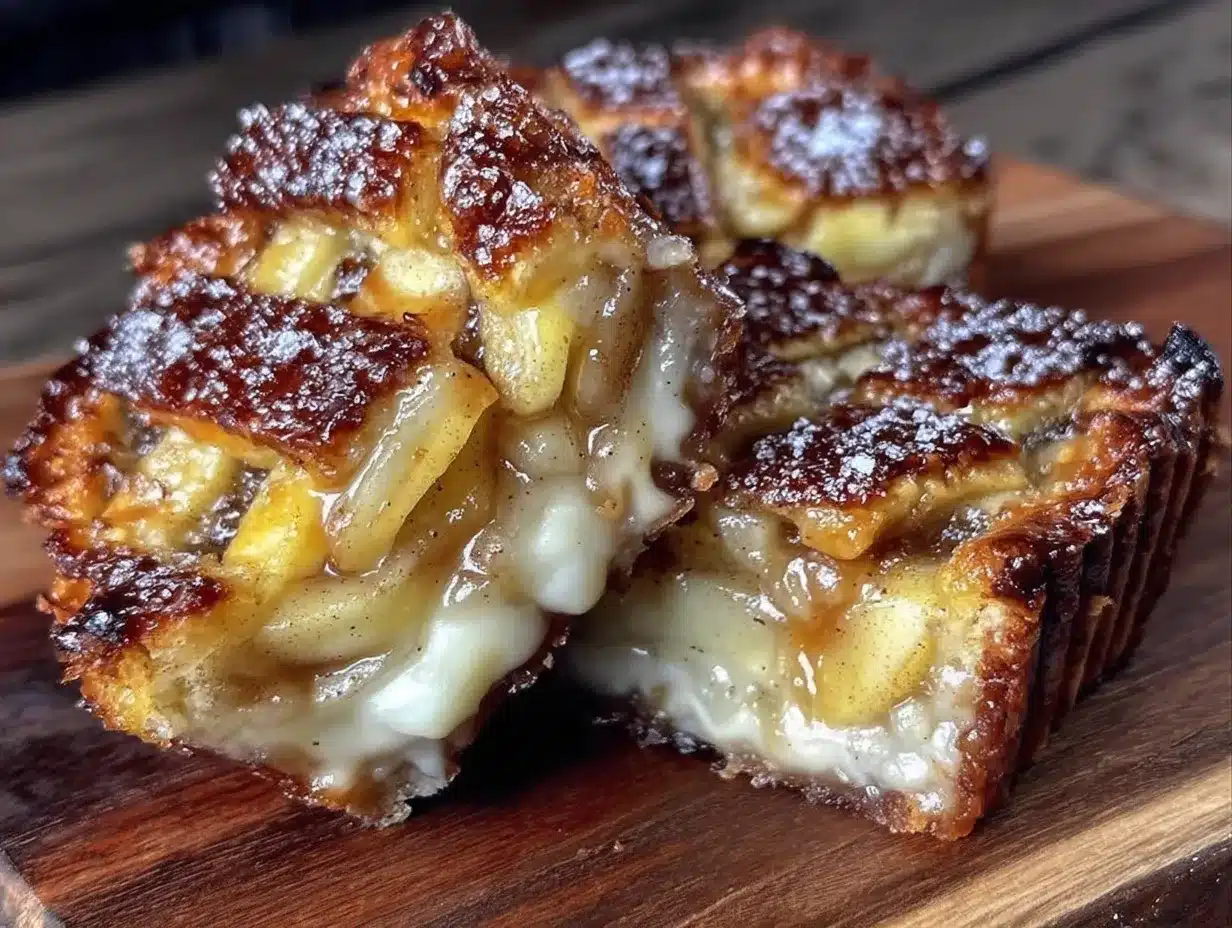
- 2 medium apples (about 300g total), peeled, cored, and diced into 1/4-inch pieces (I recommend Honeycrisp or Granny Smith for the best balance of sweetness and tartness)
- 3 tablespoons (40g) brown sugar, packed (light or dark both work; dark gives a deeper molasses flavor)
- 1 tablespoon (8g) all-purpose flour (to thicken the filling)
- 1 teaspoon ground cinnamon
- 1/4 teaspoon ground nutmeg (freshly grated if you have it—it makes a difference)
- 1 tablespoon (15ml) lemon juice (fresh squeezed, not bottled)
- 1/2 teaspoon vanilla extract
For the Crumble Topping (Optional but Highly Recommended)
- 1/4 cup (31g) all-purpose flour
- 2 tablespoons (25g) brown sugar, packed
- 2 tablespoons (28g) unsalted butter, cold and cut into small cubes
- 1/4 teaspoon cinnamon
- Pinch of salt
Ingredient Selection Tips: For the apples, look for firm, crisp apples that hold their shape during baking. Avoid mealy or overly soft varieties like Red Delicious. I’ve found that using a mix of sweet and tart apples gives the most complex flavor. If you only have one type, add an extra tablespoon of brown sugar if using tart apples, or a squeeze more lemon juice if using sweet ones.
Substitution Guidance: For a gluten-free version, use a 1:1 gluten-free all-purpose flour blend in both the crust and the filling. For a dairy-free option, substitute the butter with a high-quality vegan butter stick (not the spreadable kind from a tub). Coconut oil works in a pinch but will change the flavor slightly.
Equipment Needed
You don’t need a fancy kitchen to make these bars, which is part of their charm. Here’s what you’ll need:
- 8×8-inch baking pan (the key to the perfect bar thickness—don’t use a 9×9 or the bars will be too thin)
- Parchment paper (for easy removal—I’ve learned this the hard way)
- Mixing bowls (one medium, one small)
- Pastry cutter or two forks (for cutting butter into flour; your hands work too, but they warm the butter)
- Chef’s knife and cutting board (for dicing apples)
- Measuring cups and spoons
- Small saucepan (for pre-cooking the apples)
- Spatula or wooden spoon
If you don’t have an 8×8 pan, you can use a 9×9, but the bars will be thinner and may need slightly less baking time. A glass or ceramic pan works fine, though metal pans tend to give a crisper crust. I personally prefer a light-colored metal pan because dark pans can over-brown the bottom.
Preparation Method
Let’s get baking! I’ve broken this down into clear steps with all the little details I wish someone had told me the first time.
Step 1: Preheat and Prep
Preheat your oven to 350°F (175°C). Line your 8×8 baking pan with parchment paper, leaving a 2-inch overhang on two opposite sides. This creates “handles” that make lifting the bars out later so much easier. Trust me on this one—I once had to dig a batch out with a spatula, and they came out in pieces.
Step 2: Make the Crust
In a medium mixing bowl, whisk together the flour, sugar, and salt. Add the cold butter cubes. Using a pastry cutter or two forks, cut the butter into the flour until the mixture resembles coarse meal with pea-sized butter pieces. You want some visible butter bits—they create flakiness. Add 1 tablespoon of ice water and stir with a fork. If the dough doesn’t hold together when squeezed, add another tablespoon. Press the dough evenly into the bottom of your prepared pan. Use the bottom of a measuring cup to get it really flat and even. Prick the crust all over with a fork (this prevents air bubbles). Bake for 15 minutes, until the edges are just starting to turn golden. Set aside to cool slightly while you make the filling.
Step 3: Cook the Apple Filling
In a small saucepan over medium heat, combine the diced apples, brown sugar, flour, cinnamon, nutmeg, and lemon juice. Cook, stirring occasionally, for about 5-7 minutes. The apples should soften slightly but still hold their shape—they’ll finish cooking in the oven. You’ll know it’s ready when the mixture is bubbly and the liquid has thickened slightly. Remove from heat and stir in the vanilla extract. Let it cool for 5 minutes. This pre-cooking step is the secret to avoiding a soggy bottom. I learned this after making a batch where the apples released so much liquid that the crust turned into mush. Never again!
Step 4: Make the Crumble Topping
In a small bowl, combine the flour, brown sugar, cinnamon, and salt. Add the cold butter cubes. Using your fingers or a pastry cutter, work the butter into the dry ingredients until the mixture forms clumps of various sizes. Don’t overmix—you want some bigger clumps for texture. Pop this in the fridge while you assemble the bars.
Step 5: Assemble the Bars
Spoon the cooked apple filling over the pre-baked crust, spreading it into an even layer. Sprinkle the crumble topping evenly over the apples. Don’t press it down—let it sit loosely on top for maximum crunch.
Step 6: Bake
Bake at 350°F (175°C) for 25-30 minutes, until the topping is golden brown and the filling is bubbly around the edges. If the topping is browning too quickly, tent loosely with foil for the last 10 minutes. My oven runs hot, so I usually check at 22 minutes.
Step 7: Cool and Slice
Let the bars cool in the pan on a wire rack for at least 20 minutes. This is crucial—if you try to cut them while they’re hot, they’ll fall apart. Use the parchment handles to lift the entire slab out of the pan. Transfer to a cutting board and slice into 4 equal bars. For clean cuts, use a sharp knife and wipe it clean between cuts.
Cooking Tips & Techniques
After making these bars more times than I care to count, I’ve collected a few hard-won lessons. Let me save you some trouble.
Don’t skip the pre-baking of the crust. I know it’s tempting to just press it in and pour the filling on top, but that extra 15 minutes makes the difference between a crisp, buttery base and a soggy, sad one. The crust needs a head start because it won’t get enough direct heat once the filling is on top.
Keep your butter cold. This is the golden rule of any good pastry. If the butter warms up before it hits the oven, your crust will be dense instead of flaky. I actually stick my butter in the freezer for 10 minutes before I start. And when I’m making the crumble, I pop it in the fridge while I work on the filling.
Watch your apple dice size. I learned this one the messy way. If you cut the apples too large, they won’t cook through properly and the bars will be chunky and uneven. If you cut them too small, they turn into applesauce. Aim for 1/4-inch dice—about the size of a pencil eraser. Consistent size means even cooking.
One mistake I made early on? I used a glass pan and didn’t adjust the temperature. Glass pans hold heat differently than metal, so if you’re using one, reduce the oven temperature by 25°F (about 15°C) and check for doneness a few minutes earlier. My first glass-pan batch had a burnt bottom and undercooked top. Not my finest moment.
For the best texture, let the bars cool completely. I know the smell is intoxicating and you want to dig in immediately, but these bars really do benefit from a full cool-down. The filling sets as it cools, and the flavors meld together. If you can wait an hour, you’ll be rewarded with a much cleaner slice.
Variations & Adaptations
One of the best things about this recipe is how adaptable it is. Here are some variations I’ve tried and loved:
Spiced Pear Variation: Swap the apples for ripe but firm pears (Bosc or Anjou work great). Add 1/4 teaspoon of ground ginger along with the cinnamon. The pears are a bit more delicate, so reduce the pre-cooking time to 3-4 minutes. This version feels a little more elegant, perfect for a fall dinner party.
Vegan Adaptation: Use vegan butter sticks in both the crust and the crumble. For the filling, the recipe is naturally vegan as written. I’ve tested this with Miyoko’s European-style cultured vegan butter and it worked beautifully—the crust was still flaky and the crumble was perfectly crunchy. Just make sure your butter is very cold.
Caramel Drizzle Version: After the bars have cooled, drizzle them with a simple caramel sauce. You can use store-bought to keep it easy, or make your own by melting 1/4 cup of brown sugar with 2 tablespoons of butter and 2 tablespoons of heavy cream. This turns the bars into a total indulgence—perfect for when you want something extra special.
Gluten-Free Option: As I mentioned earlier, a 1:1 gluten-free flour blend works well. I prefer Bob’s Red Mill Gluten-Free 1-to-1 Baking Flour. The texture is slightly more tender than the original, but honestly, it’s still delicious. Just be careful not to overmix the crust dough, as gluten-free flours can become gummy if overworked.
Seasonal Spice Twist: In the fall, I sometimes add a pinch of cardamom and a tiny pinch of cloves to the filling. In winter, a tablespoon of bourbon or dark rum adds a lovely warmth. And in spring, try adding a handful of fresh or frozen cranberries to the apple mixture for a tart pop of color.
Serving & Storage Suggestions
These bars are incredibly versatile when it comes to serving. Here’s how I like to enjoy them:
Serving: These are best served warm, but they’re also fantastic at room temperature. For an extra-special treat, serve with a scoop of vanilla ice cream or a dollop of lightly sweetened whipped cream. The contrast between the warm, spiced apples and the cold, creamy ice cream is absolutely dreamy. If you’re feeling fancy, a drizzle of warm caramel sauce takes it over the top.
Presentation: I like to serve these on a small wooden board or a simple white plate. A light dusting of powdered sugar and a few fresh thyme or rosemary sprigs on the side add a lovely visual touch. For a cozy presentation, serve in a small cast-iron skillet with two forks—perfect for sharing.
Storage: Store leftover bars in an airtight container at room temperature for up to 2 days, or in the refrigerator for up to 5 days. The crust will soften slightly in the fridge, so if you prefer a crisper texture, store them at room temperature. I’ve found that the flavors actually deepen and improve after a day in the fridge.
Reheating: To reheat, pop a bar in a 300°F (150°C) oven for 5-7 minutes, or microwave for 15-20 seconds. The oven method is better for restoring some crispness to the crust, while the microwave is quicker and keeps the apples soft and warm.
Freezing: These bars freeze beautifully! Wrap each bar individually in plastic wrap, then place them in a freezer-safe bag or container. They’ll keep for up to 3 months. To thaw, let them sit at room temperature for about 30 minutes, then reheat as desired. I often make a double batch and freeze half for a rainy day.
Nutritional Information & Benefits
While these bars are definitely a treat, they do have some redeeming qualities. Here’s the estimated nutritional breakdown per bar (based on 4 bars per batch):
| Nutrient | Amount Per Bar |
|---|---|
| Calories | 385 |
| Total Fat | 20g |
| Saturated Fat | 12g |
| Carbohydrates | 48g |
| Fiber | 3g |
| Sugar | 28g |
| Protein | 4g |
Health Benefits: Apples are a great source of dietary fiber and vitamin C. The fiber helps with digestion and keeps you feeling full, while the antioxidants in apples (especially in the skin, which we’ve peeled here but the nutrients still remain in the flesh) support overall health. Cinnamon has anti-inflammatory properties and can help regulate blood sugar levels. And while butter gets a bad rap, it does contain butyrate, a fatty acid that supports gut health.
Dietary Considerations: This recipe can be made gluten-free and dairy-free with the substitutions mentioned above. It is not suitable for low-carb or keto diets due to the flour and sugar content. If you’re watching your sugar intake, you can reduce the brown sugar in the filling by 1 tablespoon, but the bars will be less sweet and the texture slightly different.
Conclusion
Honestly, these cozy small-batch apple pie bars have become my go-to for so many occasions. They’re the dessert I make when I want something special without the fuss of a full pie. They’re the recipe I share with friends who are intimidated by pastry. And they’re the treat I turn to when I just need a little bit of comfort on a quiet evening.
I hope you give these a try and make them your own. Maybe you’ll add extra cinnamon, or skip the crumble, or serve them with a scoop of your favorite ice cream. That’s the beauty of baking—it’s meant to be personalized. These bars are forgiving, adaptable, and above all, delicious. They’re proof that you don’t need a crowd or a complicated technique to create something truly special.
So go ahead, grab two apples, preheat your oven, and treat yourself and someone you love to a little slice of cozy. And when you do, I’d love to hear about it! Leave a comment below and let me know how your bars turned out, or tag me in your photos if you share them online. Happy baking, friends!
Frequently Asked Questions
Can I use a different type of apple?
Absolutely! While I recommend Honeycrisp or Granny Smith for their balance of sweetness and tartness, you can use any firm apple variety. Fuji, Braeburn, or Pink Lady all work well. Avoid Red Delicious or McIntosh, as they tend to break down too much during cooking.
Can I make these bars ahead of time?
Yes! These bars actually taste even better the next day as the flavors meld together. You can make them a day in advance, store them in an airtight container at room temperature, and reheat them gently before serving. They also freeze well for up to 3 months.
Why did my crust turn out soggy?
A soggy crust is usually caused by one of two things: either the apples weren’t pre-cooked long enough to release their excess moisture, or the crust wasn’t pre-baked sufficiently. Make sure you cook the apples until the liquid has thickened, and pre-bake the crust until it’s just starting to turn golden. Also, let the bars cool completely before slicing.
Can I double this recipe?
Definitely! To double the recipe, use a 9×13-inch baking pan and increase the baking time by about 5-10 minutes. Keep an eye on the crust during pre-baking—it may need an extra 2-3 minutes. The filling and crumble amounts can simply be doubled.
Do I need to peel the apples?
I recommend peeling the apples for the best texture in these bars. The peels can become tough and chewy during baking, and they can also prevent the apples from softening evenly. However, if you don’t mind a bit of texture, you can leave the peels on—just make sure to wash the apples thoroughly first.
Pin This Recipe!
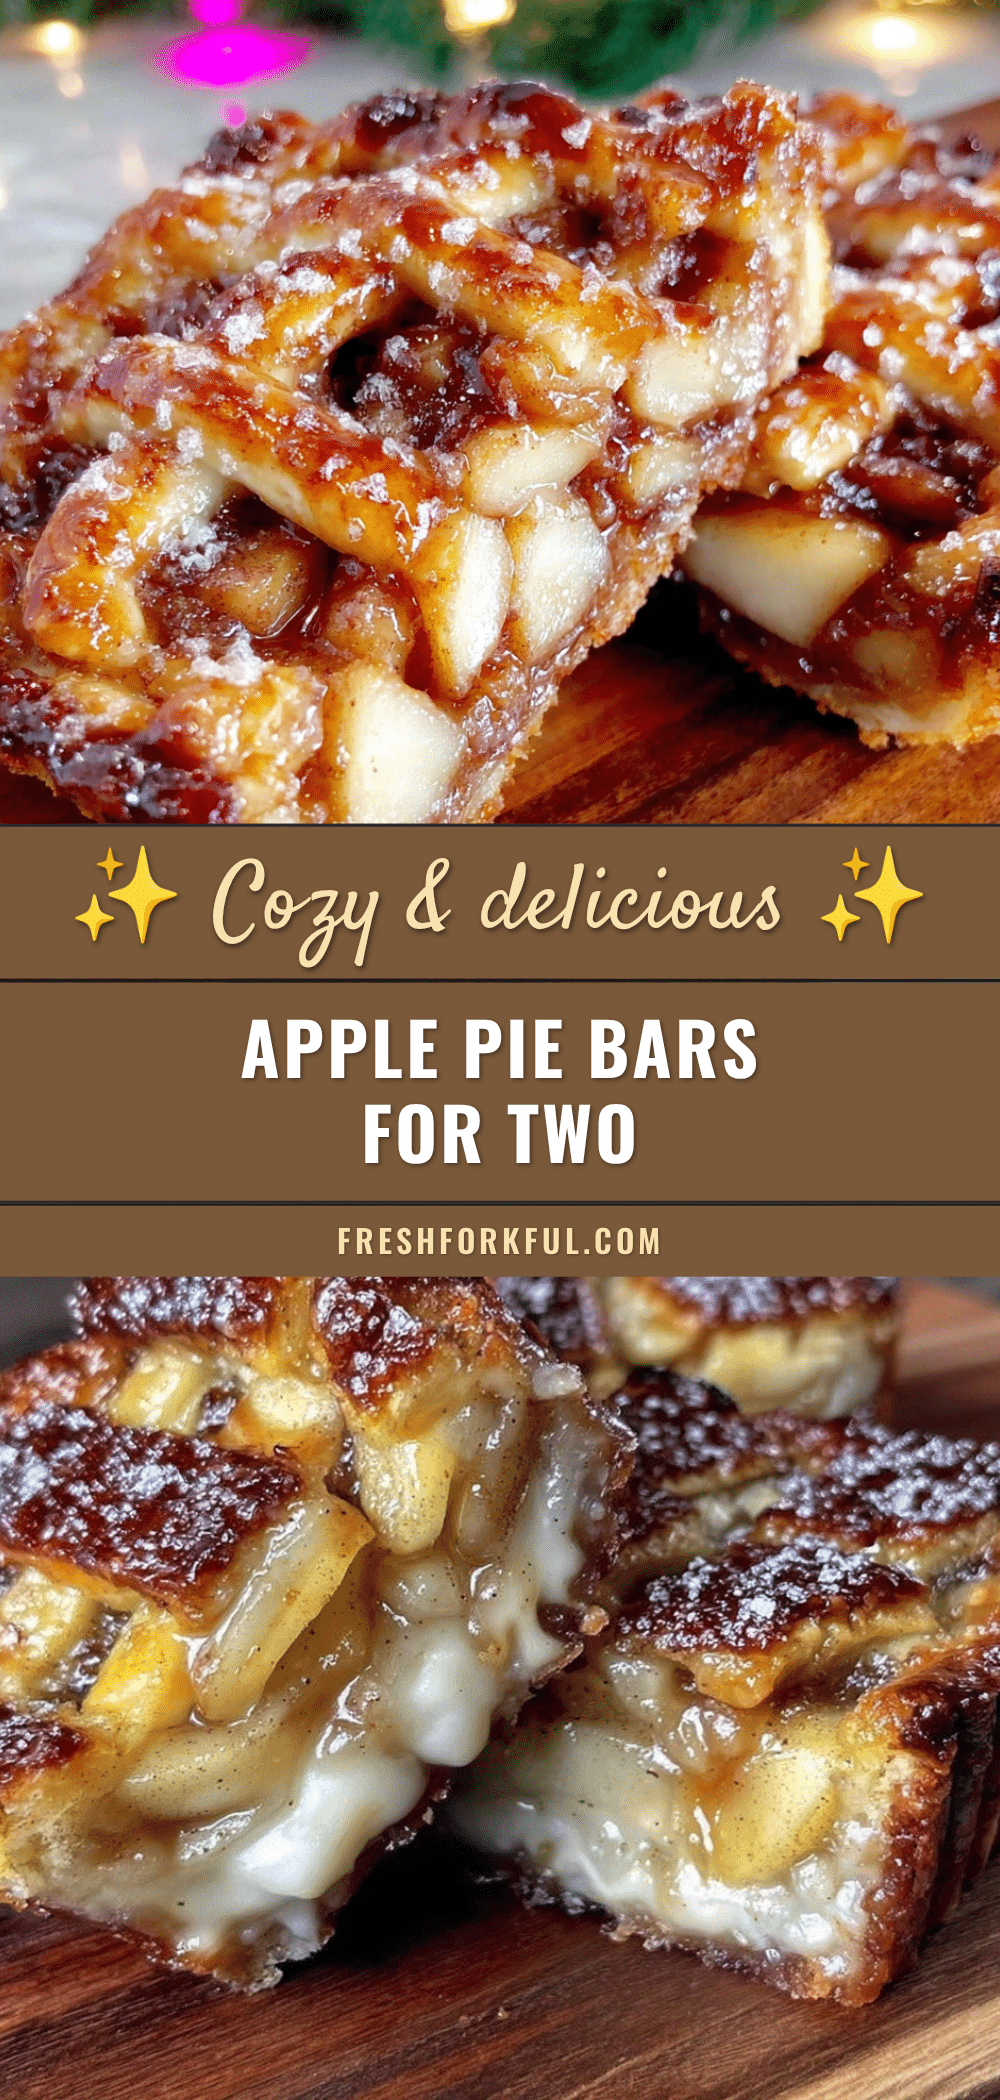
Cozy Small-Batch Apple Pie Bars for Two
These apple pie bars are the perfect small-batch dessert for two, featuring a buttery shortbread crust, tender cinnamon-spiced apples, and an optional crumble topping. They’re quick, easy, and deliver all the cozy comfort of apple pie without the fuss.
- Prep Time: 20 minutes
- Cook Time: 30 minutes
- Total Time: 50 minutes
- Yield: 4 bars 1x
- Category: Dessert
- Cuisine: American
Ingredients
- 1/2 cup (113g) unsalted butter, cold and cut into small cubes
- 1 cup (125g) all-purpose flour
- 2 tablespoons (25g) granulated sugar
- 1/4 teaspoon salt
- 1–2 tablespoons ice water
- 2 medium apples (about 300g total), peeled, cored, and diced into 1/4-inch pieces
- 3 tablespoons (40g) brown sugar, packed
- 1 tablespoon (8g) all-purpose flour
- 1 teaspoon ground cinnamon
- 1/4 teaspoon ground nutmeg
- 1 tablespoon (15ml) lemon juice
- 1/2 teaspoon vanilla extract
- 1/4 cup (31g) all-purpose flour
- 2 tablespoons (25g) brown sugar, packed
- 2 tablespoons (28g) unsalted butter, cold and cut into small cubes
- 1/4 teaspoon cinnamon
- Pinch of salt
Instructions
- Preheat your oven to 350°F (175°C). Line an 8×8-inch baking pan with parchment paper, leaving a 2-inch overhang on two opposite sides.
- In a medium mixing bowl, whisk together 1 cup flour, 2 tablespoons granulated sugar, and 1/4 teaspoon salt. Add 1/2 cup cold butter cubes. Using a pastry cutter or two forks, cut the butter into the flour until the mixture resembles coarse meal with pea-sized butter pieces. Add 1 tablespoon ice water and stir with a fork. If the dough doesn’t hold together when squeezed, add another tablespoon. Press the dough evenly into the bottom of the prepared pan. Prick the crust all over with a fork. Bake…
- In a small saucepan over medium heat, combine the diced apples, 3 tablespoons brown sugar, 1 tablespoon flour, 1 teaspoon cinnamon, 1/4 teaspoon nutmeg, and 1 tablespoon lemon juice. Cook, stirring occasionally, for about 5-7 minutes, until the apples soften slightly and the mixture is bubbly and thickened. Remove from heat and stir in 1/2 teaspoon vanilla extract. Let cool for 5 minutes.
- In a small bowl, combine 1/4 cup flour, 2 tablespoons brown sugar, 1/4 teaspoon cinnamon, and a pinch of salt. Add 2 tablespoons cold butter cubes. Using your fingers or a pastry cutter, work the butter into the dry ingredients until the mixture forms clumps of various sizes. Refrigerate while assembling the bars.
- Spoon the cooked apple filling over the pre-baked crust, spreading it into an even layer. Sprinkle the crumble topping evenly over the apples.
- Bake at 350°F (175°C) for 25-30 minutes, until the topping is golden brown and the filling is bubbly around the edges. If the topping is browning too quickly, tent loosely with foil for the last 10 minutes.
- Let the bars cool in the pan on a wire rack for at least 20 minutes. Use the parchment handles to lift the entire slab out of the pan. Transfer to a cutting board and slice into 4 equal bars.
Notes
For best results, keep butter cold. Pre-baking the crust prevents sogginess. Let bars cool completely before slicing for clean cuts. Can be stored at room temperature for up to 2 days or refrigerated for up to 5 days. Freezes well for up to 3 months.
Nutrition
- Serving Size: 1 bar
- Calories: 385
- Sugar: 28
- Sodium: 150
- Fat: 20
- Saturated Fat: 12
- Carbohydrates: 48
- Fiber: 3
- Protein: 4
Keywords: apple pie bars, small batch, for two, apple dessert, shortbread crust, crumble topping, fall baking