Love this? Save it for later!
Share the inspiration with your friends
Introduction
“I used to think bread baking was this intimidating, all-day affair,” my colleague said as she glanced over my cluttered kitchen counter. I was mid-mess, juggling flour dust clouds, a cracked ceramic bowl, and a timer that just beeped for the third time. She didn’t say much at first, just handed me a lidded Dutch oven from her car and mentioned, “Try this—no stress, just magic.” That unexpected exchange led me to this crispy no-knead Dutch oven artisan bread recipe, which I’ve since made countless times, often after long workdays or impromptu dinner invites.
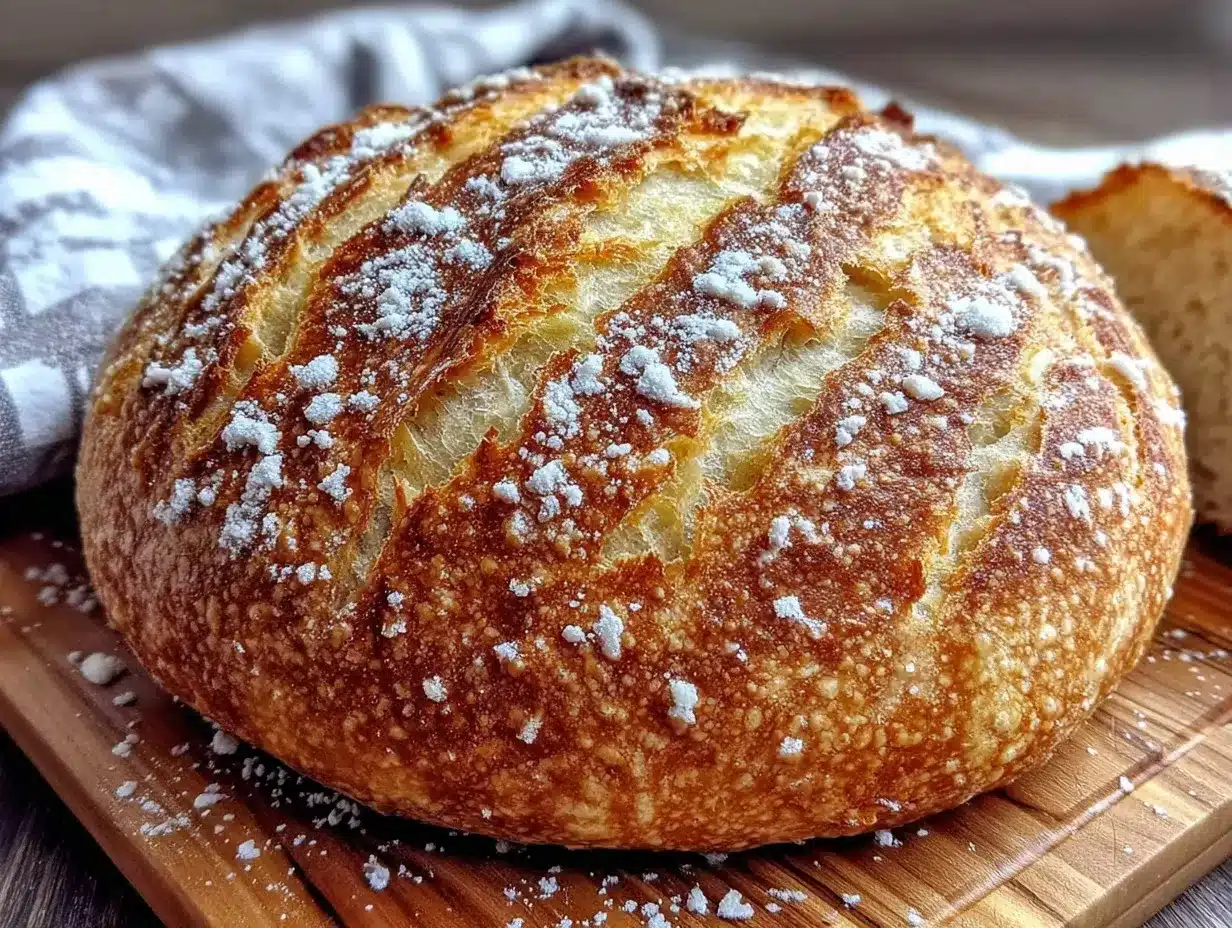
Honestly, the way the crust crackles when you slice through it, sending that warm, yeasty aroma into the room, is something you don’t forget. Maybe you’ve been there—standing in your kitchen, anxious about making bread, thinking it’s too complicated. This recipe changed all that for me. It’s a quiet conversation between simplicity and flavor, passed on without fuss, just like a neighbor sharing a loaf on a sleepy Sunday morning. And, I’ll admit, I once forgot to set the timer properly and ended up with slightly darker crust than intended—but hey, that crunch? Totally worth it.
What’s stuck with me is how this recipe respects the old-school artisan bread tradition without demanding a baking degree. It’s a friendly nudge to try something new that feels both familiar and a little bit adventurous. So, let me tell you why this crispy no-knead Dutch oven artisan bread recipe has become a kitchen staple for me, and why I think you’ll keep coming back to it, too.
Why You’ll Love This Recipe
After many trials (and a few burnt edges), this crispy no-knead Dutch oven artisan bread recipe has proven itself as a reliable, delicious go-to. Here’s why I think it’ll win your bread-loving heart:
- Quick & Easy: Comes together in under 5 minutes of active prep, then does its thing overnight. Perfect for busy weeknights or relaxed weekend mornings.
- Simple Ingredients: No fancy or hard-to-find items—just flour, yeast, salt, and water. You probably already have everything in your pantry.
- Perfect for Any Occasion: Whether you’re making sandwiches, hosting brunch, or just craving fresh bread, this recipe fits seamlessly.
- Crowd-Pleaser: The crunchy crust and soft crumb always get compliments—from kids to seasoned bakers.
- Unbelievably Delicious: The texture is what sets it apart—crispy on the outside, tender and airy inside, with a subtle tang from the slow fermentation.
What makes this recipe different? It’s the magic of the Dutch oven combined with the no-knead technique. The heavy lid traps steam, creating that bakery-style crust without the need for fancy equipment or complicated steps. Plus, the long, slow rise develops flavor deeply without any extra effort.
This bread isn’t just food; it’s a comforting ritual. I find myself closing my eyes after the first bite, savoring the warmth and texture. It’s the kind of recipe that turns simple ingredients into something memorable—something that invites you to slow down and appreciate the little things. Honestly, I’m thrilled to share this with you.
What Ingredients You Will Need
This crispy no-knead Dutch oven artisan bread recipe uses simple, wholesome ingredients that work together to create bold flavor and that satisfying texture without any fuss. These pantry staples are easy to find and forgiving to work with.
- All-Purpose Flour – 3 cups (360g) (I prefer King Arthur for consistent results)
- Instant Yeast – 1/4 teaspoon (you can use active dry yeast but increase proofing time slightly)
- Coarse Sea Salt – 1 1/2 teaspoons (balances flavor and strengthens gluten)
- Lukewarm Water – 1 1/2 cups (350ml) (about 80°F/27°C, not hot—too warm kills yeast)
That’s it! No sugar, no oil, just the basics. If you want to experiment, here are some tips:
- Flour Variations: Swap up to half the all-purpose flour with bread flour for more chew or whole wheat for a nuttier taste.
- Salt Types: Fine salt works fine too but adjust quantity slightly to taste.
- Water Options: Tap water is usually fine, but filtered water can improve flavor subtly.
For those with dietary restrictions, almond flour isn’t recommended here because it won’t develop gluten, but you can try gluten-free flour blends specially made for bread baking, keeping in mind the texture will differ.
Equipment Needed
To make this crispy no-knead Dutch oven artisan bread, you’ll need some basic kitchen tools. Nothing too fancy, but a few items do help the process go smoothly.
- Large Mixing Bowl: For combining ingredients. Glass or ceramic is best for easier monitoring of dough rise.
- Dutch Oven: A 5 to 6-quart heavy Dutch oven with a lid is ideal. The heavy lid traps steam, creating that crispy crust. I’ve used both cast iron and enameled versions—both work well. If you don’t have one, a heavy oven-safe pot with a lid can substitute, but results may vary.
- Kitchen Scale (Optional): For precise measurements, but measuring cups work fine if you don’t have one.
- Wooden Spoon or Dough Scraper: To mix and handle the sticky dough.
- Kitchen Towel or Plastic Wrap: For covering the dough during the rise.
From personal experience, casting a glance at my old Dutch oven, I can say a well-seasoned cast iron pot adds a lovely depth to the crust. Just remember to clean and dry it properly to avoid rust. If you’re on a budget, secondhand stores often have great Dutch ovens for less.
Preparation Method
- Mix the Dough (10 minutes): In your large bowl, combine 3 cups (360g) all-purpose flour, 1/4 teaspoon instant yeast, and 1 1/2 teaspoons coarse sea salt. Pour in 1 1/2 cups (350ml) lukewarm water and stir with a wooden spoon or dough scraper until a shaggy, sticky dough forms. It’ll look rough and a bit wet—that’s perfect. No kneading needed here, so don’t worry if it feels messy.
- First Rise (12 to 18 hours): Cover the bowl tightly with plastic wrap or a damp kitchen towel. Leave it at room temperature (around 70°F/21°C) overnight or for about 12 to 18 hours. The dough will bubble and double in size, smelling slightly tangy and yeasty. If it looks flat or inactive after 18 hours, your yeast might be old—consider trying again with fresh yeast.
- Preheat Dutch Oven (30 minutes before baking): About 30 minutes before baking, place your empty Dutch oven with the lid inside your oven and preheat to 450°F (230°C). This step is key for that crispy crust—don’t skip it.
- Shape the Dough (5 minutes): Lightly flour a clean surface and your hands. Gently scrape the dough onto the surface. It’ll be sticky but try to fold it over itself a few times to shape it roughly into a ball. Avoid pressing or deflating it too much. Let it rest for 15 minutes.
- Second Rise (30 to 45 minutes): Cover the dough loosely with a towel and let it rise again until puffy. Meanwhile, carefully remove the hot Dutch oven from the oven.
- Bake the Bread (45 minutes total): Place the dough ball carefully into the hot Dutch oven (be cautious—it’s very hot!). Cover with the lid and bake for 30 minutes. After 30 minutes, remove the lid and bake for an additional 15 minutes to brown the crust.
- Cool Down (At least 1 hour): Transfer the bread onto a wire rack and let it cool completely before slicing. This step helps the interior set properly; I know it’s tempting to cut in right away, but patience pays off.
During baking, you’ll notice the dough rise spectacularly and the crust turn an irresistible golden brown. If your bread cracks unevenly, it might mean the dough wasn’t shaped tightly enough—something I learned the hard way.
Cooking Tips & Techniques
Mastering this crispy no-knead Dutch oven artisan bread means paying attention to a few key details I’ve picked up over time:
- Water Temperature Matters: Too hot and the yeast dies; too cold and it won’t activate well. Lukewarm water (around 80°F/27°C) is just right.
- Don’t Skip the Rest: The long fermentation is what builds flavor and texture without kneading. Resist the urge to rush this step.
- Flour Your Hands Generously: The dough is sticky, and a well-floured surface prevents frustration during shaping.
- Preheat Your Dutch Oven Thoroughly: This creates steam inside, which is essential for the crust’s crispness. I learned this after a few flat-crust failures.
- Handle the Hot Dutch Oven with Care: Use oven mitts and place it on a heatproof surface—accidents happen when you’re in a rush.
One time, I forgot to remove the lid halfway through baking (talk about a soggy crust). It taught me that removing the lid for the last 15 minutes is non-negotiable to get that perfect crunch.
Variations & Adaptations
This recipe is flexible and welcoming to tweaks, making it easy to suit your taste, dietary needs, or season.
- Garlic Herb Bread: Add 1 tablespoon finely chopped rosemary or thyme and 2 minced garlic cloves to the dry ingredients for a savory twist.
- Whole Wheat Version: Replace 1 1/2 cups (180g) of all-purpose flour with whole wheat flour for a heartier loaf. You might need to add a bit more water as whole wheat absorbs more.
- Gluten-Free Adaptation: Use a gluten-free flour blend designed for bread baking, but expect a denser crumb. Add 1 teaspoon xanthan gum if your blend doesn’t include it.
- Oven Alternatives: If you don’t own a Dutch oven, try baking the dough on a preheated baking stone with a pan of water underneath to create steam. Results won’t be quite the same but still tasty.
- Sweet Variations: Stir in 1/4 cup honey or maple syrup and a handful of dried fruit (raisins, chopped apricots) for a sweeter loaf.
Personally, I’ve made this bread with sun-dried tomatoes and olives for a Mediterranean flair, which was a hit at a casual dinner party.
Serving & Storage Suggestions
This artisan bread is best enjoyed fresh and warm, sliced thick with a smear of butter or dipped in olive oil. Letting it cool fully before slicing helps maintain the crumb’s integrity.
For a simple meal, pair it with a bowl of soup or alongside a crisp salad. It also makes a fantastic base for bruschetta or grilled sandwiches.
To store, keep the bread wrapped loosely in a clean kitchen towel or paper bag at room temperature for up to 2 days. Avoid plastic wrap or airtight containers, as they soften the crust.
If you want to save it longer, slice and freeze the bread in a resealable bag. Toast slices directly from frozen for a fresh-baked taste.
Flavors deepen a bit the next day, making it even more enjoyable toasted with a touch of jam. I often save a bit for the next morning’s breakfast—it’s a quiet little pleasure.
Nutritional Information & Benefits
This crispy no-knead Dutch oven artisan bread is made from basic ingredients with no added fats or sugars, making it a relatively wholesome choice.
| Per Serving (1 slice ~60g) | Approximate Values |
|---|---|
| Calories | 160 |
| Carbohydrates | 33g |
| Protein | 5g |
| Fat | 0.5g |
| Fiber | 1g |
| Sodium | 300mg |
Key ingredients like flour provide energy-rich carbohydrates, while the fermentation process may make the bread more digestible for some. This recipe is naturally dairy-free and vegan.
People with gluten intolerance should avoid this bread or try the gluten-free variation with caution. As a bread lover, I appreciate that this recipe balances simplicity with satisfying nutrition, making it a wholesome addition to many meals.
Conclusion
This crispy no-knead Dutch oven artisan bread recipe is a humble but rewarding baking adventure. It strips bread down to its essentials, showing that with just a little patience and minimal effort, you can create something truly special.
Feel free to customize it—whether adding herbs, trying whole wheat, or making it gluten-free—and make it your own. I love this recipe because it reminds me that baking can be approachable, even on hectic days.
Give it a try, share your results, and let me know how you make it yours. After all, the best bread is the one baked with a bit of your own story inside. Happy baking!
FAQs About Crispy No-Knead Dutch Oven Artisan Bread
Can I use active dry yeast instead of instant yeast?
Yes, but proof the yeast in warm water with a pinch of sugar first, and allow a longer rise time—about 18 to 24 hours for best results.
What if I don’t have a Dutch oven?
You can bake the dough on a preheated baking stone or heavy pan and place a tray of water in the oven to create steam, though the crust won’t be quite as crisp.
How do I know when the bread is fully baked?
The bread should be deep golden brown with a hollow sound when tapped on the bottom. An internal temperature of 200°F (93°C) also indicates doneness.
Can I add seeds or nuts to the dough?
Absolutely! Fold in your favorite seeds or nuts during shaping for extra texture and flavor, but avoid adding too much or it may affect the rise.
How long can I store the bread?
Store at room temperature up to 2 days wrapped in a towel or paper bag. For longer storage, slice and freeze, then toast slices when ready to eat.
For a complementary baking experience, you might enjoy my crispy garlic chicken recipe as a hearty meal pairing or check out my homemade Italian pasta for a full artisan-inspired dinner.
Pin This Recipe!
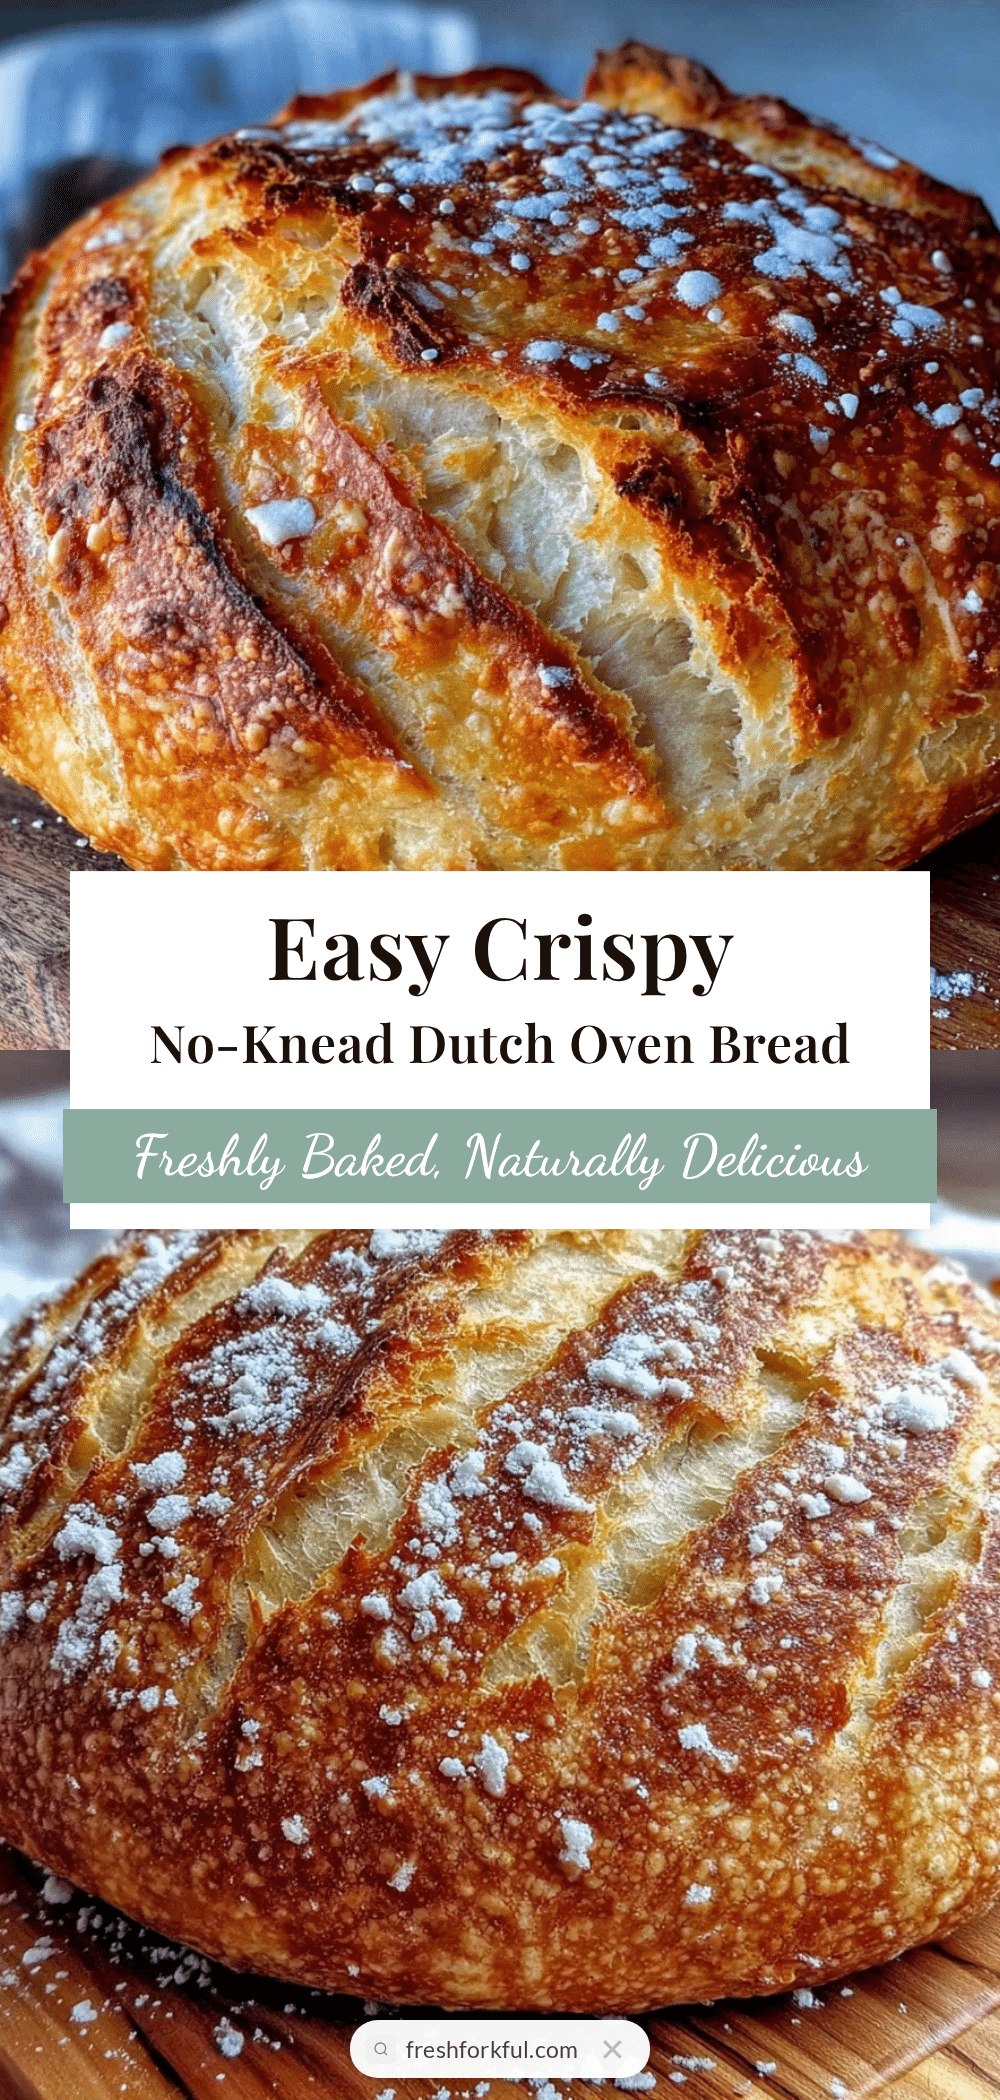
Crispy No-Knead Dutch Oven Artisan Bread

A simple, no-knead artisan bread recipe baked in a Dutch oven for a crispy crust and tender crumb. Perfect for busy days and beginner bakers.
- Prep Time: 15 minutes
- Cook Time: 45 minutes
- Total Time: 13 hours
- Yield: 1 loaf (about 8 servings) 1x
- Category: Bread
- Cuisine: Artisan
Ingredients
- 3 cups (360g) all-purpose flour
- 1/4 teaspoon instant yeast
- 1 1/2 teaspoons coarse sea salt
- 1 1/2 cups (350ml) lukewarm water (about 80°F/27°C)
Instructions
- Mix the Dough (10 minutes): In a large bowl, combine flour, yeast, and salt. Pour in lukewarm water and stir until a shaggy, sticky dough forms. No kneading needed.
- First Rise (12 to 18 hours): Cover the bowl tightly and leave at room temperature (around 70°F/21°C) overnight or for 12 to 18 hours until doubled in size and bubbly.
- Preheat Dutch Oven (30 minutes before baking): Place empty Dutch oven with lid inside oven and preheat to 450°F (230°C).
- Shape the Dough (5 minutes): Lightly flour surface and hands. Scrape dough onto surface and fold over itself a few times to form a rough ball. Let rest for 15 minutes.
- Second Rise (30 to 45 minutes): Cover dough loosely and let rise until puffy. Remove hot Dutch oven from oven carefully.
- Bake the Bread (45 minutes total): Place dough ball into hot Dutch oven, cover with lid, and bake for 30 minutes. Remove lid and bake an additional 15 minutes to brown crust.
- Cool Down (At least 1 hour): Transfer bread to wire rack and cool completely before slicing.
Notes
Use lukewarm water (around 80°F/27°C) to activate yeast properly. Do not skip the long fermentation for flavor and texture. Preheat Dutch oven thoroughly for a crispy crust. Remove lid halfway through baking to avoid soggy crust. Cool bread completely before slicing to set crumb.
Nutrition
- Serving Size: 1 slice (~60g)
- Calories: 160
- Sodium: 300
- Fat: 0.5
- Carbohydrates: 33
- Fiber: 1
- Protein: 5
Keywords: no-knead bread, Dutch oven bread, artisan bread, easy bread recipe, crispy crust bread, homemade bread