Love this? Save it for later!
Share the inspiration with your friends
Introduction
“I wasn’t expecting to reinvent the classic Lunchables, but there I was, standing in the kitchen with a cracked mixing bowl, a half-empty jar of tomato sauce, and a pile of whole-grain crackers,” I remember saying to myself last Thursday afternoon. It started as a simple attempt to find a quick, healthier snack option for my busy afternoons when the usual store-bought Lunchables just didn’t feel right anymore. You know that feeling when you want something fun, easy, and satisfying but also want to skip all the added preservatives and mystery ingredients? Yeah, that was me.
Honestly, this Healthy DIY Lunchables Pizza came together almost by accident. I was fiddling with the ingredients, trying to get the perfect balance between convenience and nutrition while keeping it kid-approved (and adult-approved, too). The warmth of melted cheese, the tang of fresh tomato, and that little crunch from the whole-grain base made something simple feel special. Maybe you’ve been there too—scrambling to pack something wholesome but fun in your snack stash.
Let me tell you: this recipe stuck with me because it’s more than just a snack; it’s a mini celebration of flavors you can customize and trust. Plus, it’s way easier to make than you’d imagine, and you don’t need a fancy kitchen or expensive ingredients. So, if you’re ready to make your own Healthy DIY Lunchables Pizza for a wholesome snack, I promise this recipe will have you coming back again and again.
Why You’ll Love This Recipe
From my many kitchen tests and snack-time experiments, here’s why this Healthy DIY Lunchables Pizza stands apart and why it’s quickly become a favorite:
- Quick & Easy: Comes together in under 20 minutes, perfect for busy afternoons or last-minute cravings.
- Simple Ingredients: No complicated shopping trips—just wholesome pantry staples and fresh basics.
- Perfect for Snacking: Ideal for school lunches, after-school snacks, or even a light dinner.
- Crowd-Pleaser: Kids and adults both love the hands-on, build-your-own aspect.
- Unbelievably Delicious: The combo of savory tomato sauce, melty cheese, and crunchy base hits all the right notes.
This isn’t just another pizza snack. The magic here is in the DIY format that lets you customize toppings, control portions, and sneak in whole grains and veggies without fuss. I especially love that it feels like a treat but is packed with nourishing ingredients—comfort food with a clear conscience. Whether you’re packing for picky eaters or just want a quicker wholesome snack, this recipe has your back.
Honestly, every time I make this, I get a little smile knowing I’m offering something nutritious and tasty without the stress. It’s a snack that makes everyone close their eyes and savor that first bite.
What Ingredients You Will Need
This recipe uses uncomplicated, nourishing ingredients to deliver a tasty, satisfying lunch or snack without any fuss. Most are pantry staples or easy to find, and you can swap a few things to fit your preferences or dietary needs.
- Whole-grain crackers or mini pita rounds: The base for your mini pizzas (I usually grab Triscuit crackers for their hearty texture, but any sturdy whole-grain cracker works).
- Tomato sauce: About ½ cup (120 ml) of your favorite low-sugar marinara or pizza sauce (I prefer Muir Glen for its fresh flavor).
- Shredded mozzarella cheese: 1 cup (100 g), fresh shredded is best for melting.
- Mini pepperoni slices or turkey pepperoni: ½ cup (50 g), optional but adds a nice savory kick.
- Vegetable toppings: Small diced bell peppers, black olives, or mushrooms work great (about ½ cup combined).
- Fresh basil or oregano: A few leaves for garnish to brighten the flavor.
- Olive oil spray or brushed olive oil: To lightly crisp the crackers before topping.
- Salt and pepper: Just a pinch to season your toppings.
For gluten-free options, I recommend switching to gluten-free crackers or sliced cucumbers if you want a raw base. You can also swap mozzarella for dairy-free cheese if needed, and use homemade tomato sauce for an even fresher touch. In the summer, fresh cherry tomatoes diced on top are a lovely seasonal twist!
Equipment Needed
- Baking sheet: To arrange your mini pizzas for baking. A rimmed sheet helps catch any drips.
- Parchment paper or silicone baking mat: For easy cleanup and to prevent sticking.
- Small mixing bowl: To toss your vegetable toppings or mix seasoning.
- Measuring cups and spoons: For accurate sauce and cheese portions.
- Oven or toaster oven: For melting the cheese and warming the pizzas. A toaster oven works great for smaller batches.
If you don’t have parchment paper, lightly oiling the baking sheet can help prevent sticking, but I find parchment is worth the small investment. A handheld cheese grater can make shredding mozzarella easier, but pre-shredded works fine too. I usually grab a budget-friendly baking sheet from the local store, and it’s held up well over time.
Preparation Method
- Preheat your oven to 375°F (190°C). This temperature crisps the cracker base just right without burning.
- Prepare your base: Arrange the whole-grain crackers or mini pita rounds in a single layer on the baking sheet lined with parchment paper.
- Lightly brush or spray each cracker with olive oil. This helps them crisp up and keeps toppings from making them soggy. If you forget this step, don’t worry—just watch your baking time closely.
- Spread about 1 teaspoon of tomato sauce on each cracker. Be careful not to overload—the sauce should cover but not drown the base. The smell of fresh tomato sauce spreading is honestly the best start to these mini pizzas.
- Sprinkle shredded mozzarella cheese evenly over the sauce. Use just enough to cover the sauce but avoid piling it on too thickly; this helps everything melt evenly.
- Add your toppings: Place mini pepperoni slices, diced veggies, or olives on top of the cheese. Season lightly with salt and pepper.
- Bake in the preheated oven for 8-10 minutes or until the cheese is melted and bubbly and the edges of the crackers turn golden. Watch closely after 7 minutes to avoid burning.
- Remove from the oven and let cool for a couple of minutes. Garnish with fresh basil or oregano for a pop of flavor and color.
- Serve warm or at room temperature. These pizzas are great fresh but also pack well for snacks on the go.
Pro tip: If you want to speed things up, prepping your toppings the night before makes assembly a breeze. Also, if you notice your crackers getting soggy, try crisping them a bit longer before adding toppings next time.
Cooking Tips & Techniques
When making these Healthy DIY Lunchables Pizzas, a few tricks can make all the difference between “just okay” and “wow.” From my kitchen trials, here’s what I’ve learned:
- Use whole-grain crackers sturdy enough to hold toppings. Thin crackers can get soggy quickly, so thicker ones or mini pita rounds are better.
- Don’t overload the sauce or cheese. Too much moisture can lead to a soggy base. A light spread is just right.
- Watch your oven carefully. Cheese melts quickly, and crackers can burn if you step away. Setting a timer helps avoid surprises.
- Try broiling for the last minute. If your cheese isn’t bubbly or browned enough, a quick broil (30 seconds to 1 minute) can add that perfect finish—just keep a close eye!
- Prep toppings uniformly. Small, even pieces ensure everything cooks evenly and fits nicely on the cracker.
- For extra crispness, bake crackers for 2-3 minutes before adding toppings. This little step helps lock in crunchiness.
I once forgot to spray olive oil and ended up with soggy crackers—lesson learned! Also, I find multitasking by prepping toppings while the oven preheats saves valuable time.
Variations & Adaptations
This recipe is like a blank canvas, ready for your creative touch. Here are some ways I’ve tweaked it, and you can too:
- Vegetarian option: Skip the pepperoni and load up on veggies like spinach, cherry tomatoes, or artichoke hearts.
- Gluten-free base: Use gluten-free crackers or even thick cucumber slices for a fresh, crunchy twist.
- Spicy kick: Add a sprinkle of crushed red pepper flakes or swap regular pepperoni for spicy chorizo slices.
- Dairy-free: Use plant-based cheese shreds and check your sauce for hidden dairy ingredients.
- Seasonal topping swap: In fall, try roasted butternut squash cubes or sautéed mushrooms for a cozy flavor.
Personally, I once swapped mozzarella for ricotta dollops and fresh basil for a summer picnic—it was a total hit! Feel free to experiment with what you have on hand or what your taste buds crave.
Serving & Storage Suggestions
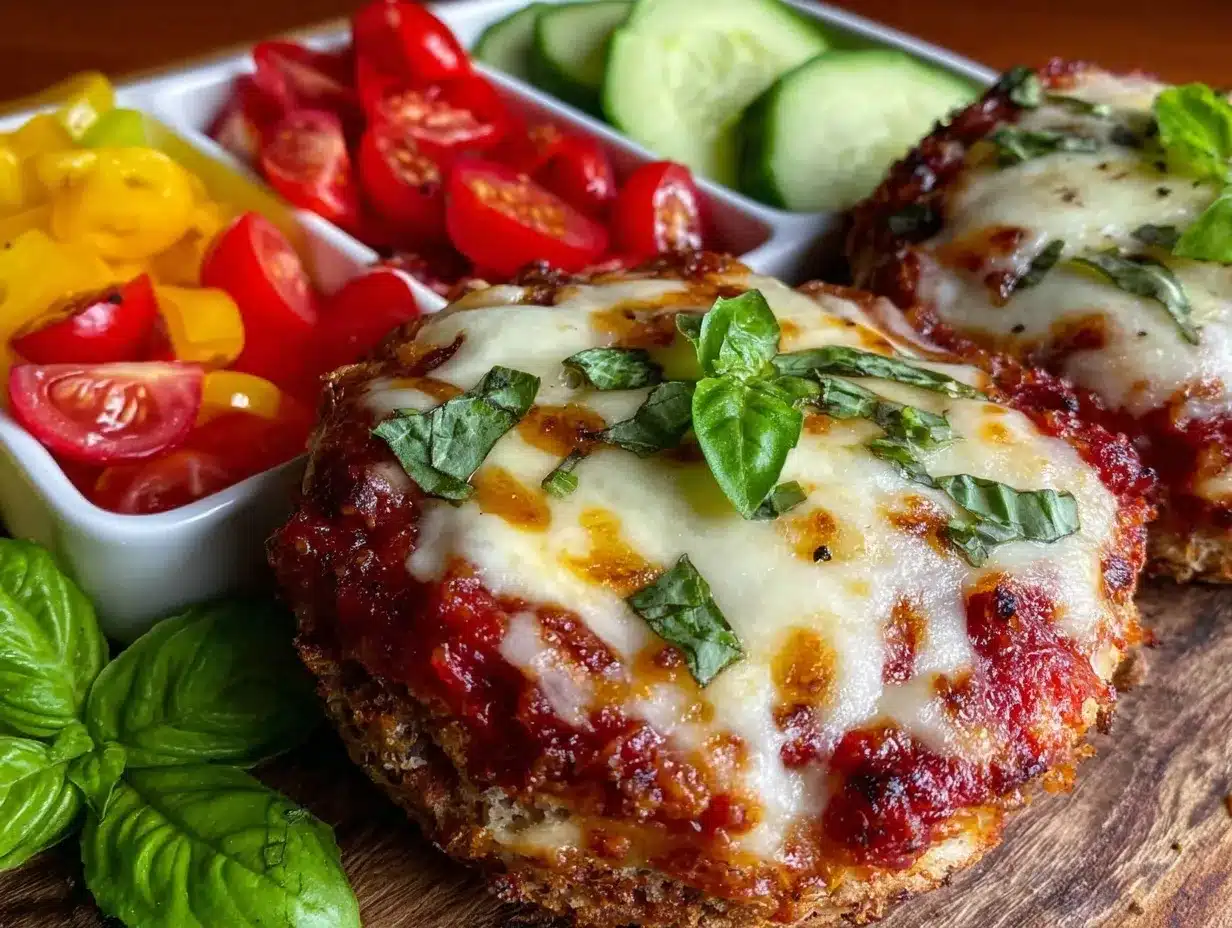
These mini pizzas shine best when served warm, straight out of the oven, so the cheese is gooey and the base is perfectly crisp. But they’re also great at room temperature, making them convenient for packed lunches or snacks.
Pair them with a light side like carrot sticks, cucumber slices, or a fresh green salad to round out your meal. For drinks, a sparkling water with lemon or a chilled iced tea complements the flavors nicely.
If you have leftovers (though rare in my house!), store them in an airtight container in the refrigerator for up to 2 days. To reheat, pop them in a toaster oven or regular oven at 350°F (175°C) for 5-7 minutes to bring back some crispness. Avoid microwaving if you want to keep that crunchy bite.
Flavors tend to meld nicely if you prep these a bit in advance, especially if you take care to keep the base crisp before topping. Just don’t let them sit too long assembled before baking.
Nutritional Information & Benefits
Each serving of this Healthy DIY Lunchables Pizza recipe provides a balanced mix of whole grains, protein, and veggies, making it a nourishing snack choice. The whole-grain cracker base offers fiber, while the mozzarella cheese contributes calcium and protein.
Choosing low-sugar tomato sauce keeps added sugars in check, and adding veggies boosts vitamins and antioxidants. Opting for turkey pepperoni reduces saturated fat compared to traditional options.
This recipe is naturally gluten-free if you select gluten-free crackers and can be dairy-free with suitable cheese alternatives. It’s a wholesome option for anyone aiming for a tasty snack without guilt or compromise.
From a wellness perspective, I appreciate that this snack keeps energy steady and hunger satisfied between meals without the crash that often comes from processed snacks.
Conclusion
So there you have it—a simple, straightforward recipe for Healthy DIY Lunchables Pizza that’s as fun to make as it is to eat. It’s a snack that respects your time, your health, and your taste buds all at once. Whether you’re packing it for your kids, treating yourself, or hosting a casual get-together, this recipe fits right in.
Feel free to play around with the toppings and bases to make it your own. I love how this recipe brings a little homemade magic to the classic Lunchables idea—but with way better ingredients and flavor. Honestly, it’s one of those go-to recipes I keep in my back pocket for quick snacks that feel special.
If you try it out, I’d love to hear about your favorite toppings or any twists you put on it—drop a comment below or share your version with friends. Here’s to making snacking wholesome and happy!
FAQs
Can I make these Healthy DIY Lunchables Pizzas ahead of time?
You can prep toppings and assemble pizzas in advance but bake them just before eating to keep the base crisp. Assembled but unbaked pizzas can be stored in the fridge for a few hours.
What’s the best way to keep the crackers from getting soggy?
Lightly brushing crackers with olive oil and pre-baking them for 2-3 minutes before adding toppings helps maintain crispness.
Can I freeze these mini pizzas?
Yes! Bake them first, cool completely, then freeze in a single layer. Reheat in the oven directly from frozen for about 8-10 minutes.
What are some good vegetarian toppings?
Try bell peppers, mushrooms, olives, spinach, artichokes, or cherry tomatoes for tasty vegetarian options.
Is this recipe suitable for kids’ lunchboxes?
Absolutely. It’s a fun, customizable snack that’s wholesome and travels well when packed in an airtight container.
Pin This Recipe!
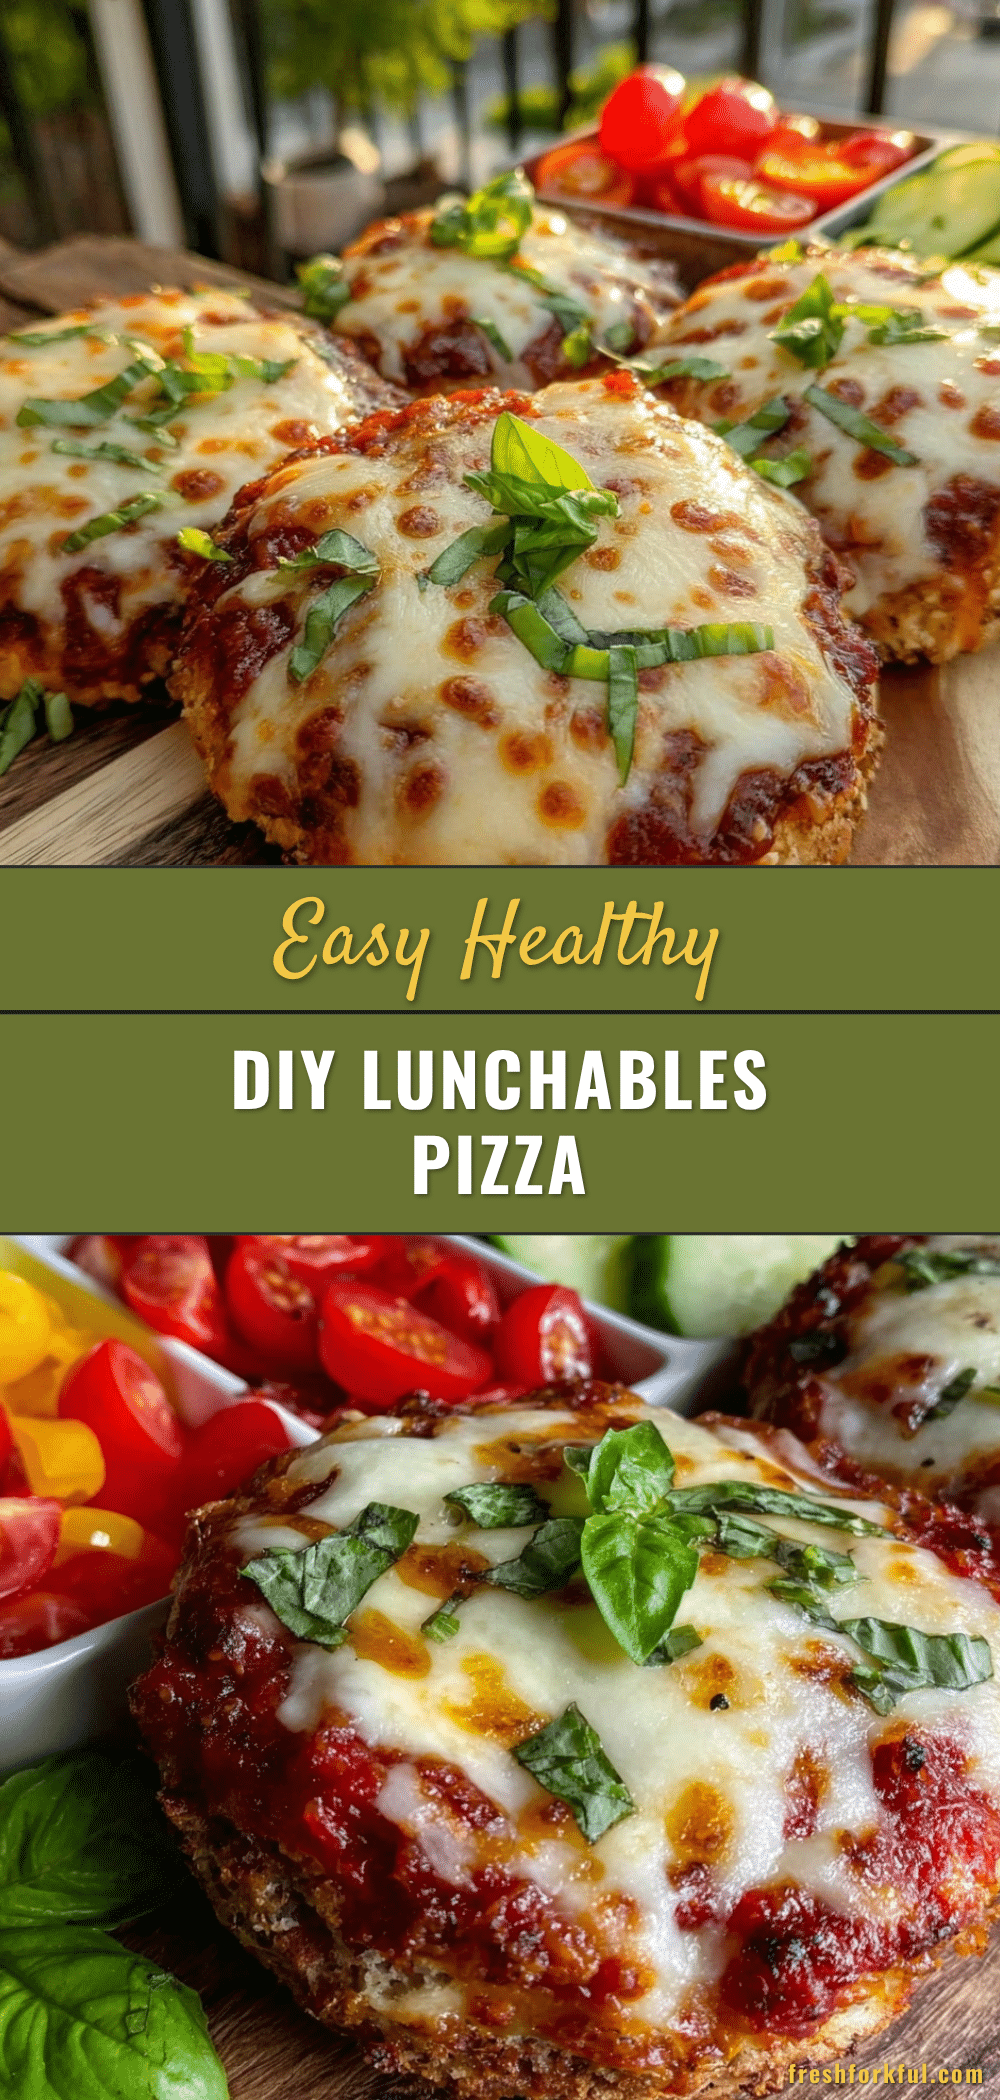
Healthy DIY Lunchables Pizza Recipe

A quick and wholesome snack featuring mini pizzas on whole-grain crackers with tomato sauce, melted mozzarella, and customizable toppings. Perfect for kids’ lunches or a light snack.
- Prep Time: 10 minutes
- Cook Time: 10 minutes
- Total Time: 20 minutes
- Yield: 20 mini pizzas 1x
- Category: Snack
- Cuisine: American
Ingredients
- Whole-grain crackers or mini pita rounds (about 20 pieces)
- 1/2 cup (120 ml) low-sugar tomato sauce or marinara
- 1 cup (100 g) shredded mozzarella cheese
- 1/2 cup (50 g) mini pepperoni slices or turkey pepperoni (optional)
- 1/2 cup combined diced bell peppers, black olives, or mushrooms
- Fresh basil or oregano leaves for garnish
- Olive oil spray or brushed olive oil
- Pinch of salt and pepper
Instructions
- Preheat your oven to 375°F (190°C).
- Arrange the whole-grain crackers or mini pita rounds in a single layer on a baking sheet lined with parchment paper.
- Lightly brush or spray each cracker with olive oil to help crisp them and prevent sogginess.
- Spread about 1 teaspoon of tomato sauce on each cracker, covering but not drowning the base.
- Sprinkle shredded mozzarella cheese evenly over the sauce.
- Add your toppings such as mini pepperoni slices, diced veggies, or olives. Season lightly with salt and pepper.
- Bake in the preheated oven for 8-10 minutes or until the cheese is melted and bubbly and the cracker edges turn golden. Watch closely after 7 minutes to avoid burning.
- Remove from the oven and let cool for a couple of minutes.
- Garnish with fresh basil or oregano leaves.
- Serve warm or at room temperature.
Notes
Use sturdy whole-grain crackers or mini pita rounds to avoid sogginess. Lightly brush crackers with olive oil and optionally pre-bake for 2-3 minutes before adding toppings for extra crispness. Watch oven carefully to prevent burning. Broil for 30 seconds to 1 minute at the end if cheese isn’t bubbly enough. Prep toppings in advance to save time. For gluten-free, use gluten-free crackers or cucumber slices. For dairy-free, substitute mozzarella with plant-based cheese.
Nutrition
- Serving Size: 1 mini pizza
- Calories: 70
- Sugar: 1
- Sodium: 150
- Fat: 3
- Saturated Fat: 1.5
- Carbohydrates: 8
- Fiber: 1
- Protein: 4
Keywords: healthy snack, DIY Lunchables, mini pizzas, whole-grain crackers, kid-friendly snack, quick snack, homemade pizza, nutritious snack