Love this? Save it for later!
Share the inspiration with your friends
Introduction
“Mom, can we make something fun and colorful for snack time?” my neighbor’s daughter asked one bright Saturday afternoon. I wasn’t expecting a full fruit arrangement lesson that day, but there we were, surrounded by bowls of fresh strawberries, kiwi slices, and pineapple chunks. The idea of an easy simple fruit bouquet was born from that spontaneous moment—no fancy tools, no complicated steps, just pure joy in creating something beautiful and tasty. Honestly, watching the kids’ faces light up as they stuck fruit pieces onto skewers was a reminder that sometimes the simplest recipes bring the biggest smiles.
Maybe you’ve been there too—looking for a creative snack that’s healthy, fun, and a little different from the usual sliced fruit plate. This fruit bouquet recipe is exactly that. It’s a perfect weekend project, a colorful centerpiece for parties, or just a way to sneak more fresh fruit into little hands. And yes, the occasional dropped skewer or sticky fingers just add to the charm.
Let me tell you, this recipe stayed with me because it’s not just about the fruit—it’s about making memories, sharing laughs, and creating something together. Plus, the burst of colors on the table is enough to brighten any day.
Why You’ll Love This Recipe
- Quick & Easy: Comes together in under 30 minutes, perfect for busy parents and eager kids.
- Simple Ingredients: Uses fresh, everyday fruits that you probably already have or can find easily at the store.
- Perfect for Parties and Snacks: Great for birthday parties, playdates, or just a cheerful afternoon treat.
- Crowd-Pleaser: Kids love assembling it themselves, making it a hit with both little hands and adults.
- Unbelievably Delicious: The natural sweetness of the fruit combined with the fun presentation makes it irresistible.
What makes this fruit bouquet stand out is the freedom it gives kids to arrange colors and shapes however they want, turning cooking into playtime. I’ve tested this with groups of kids, and the results are always vibrant and unique—no two bouquets look the same! The trick is choosing fruit that’s firm enough to skewer but soft enough to bite easily. This isn’t just another fruit platter; it’s a hands-on experience that brings a smile before the first bite.
Honestly, if you want an easy way to encourage kids in the kitchen while sneaking in a healthy snack, this recipe hits the spot every time.
What Ingredients You Will Need
This recipe uses simple, wholesome ingredients to deliver bold flavor and satisfying texture without any fuss. Most of these are pantry staples or fresh fruits you can find year-round. Feel free to swap in seasonal favorites to keep it fresh and exciting!
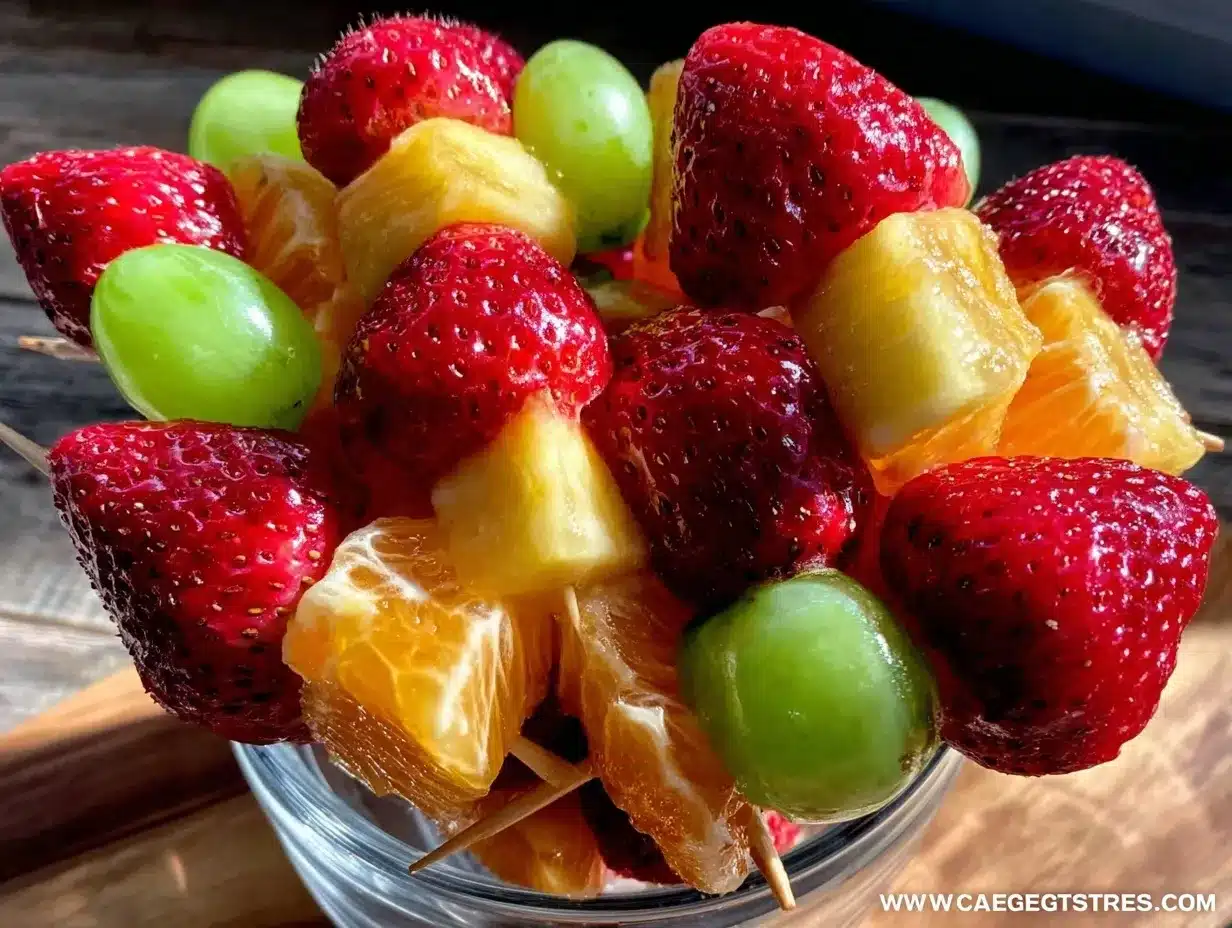
- Strawberries: Fresh, hulled, and halved or sliced. (I prefer organic when possible for better flavor.)
- Green grapes: Seedless, washed, and dried. (Great for little “berry” pops on the bouquet.)
- Kiwi: Peeled and sliced into rounds or half-moons. (Adds a bright, tangy contrast.)
- Pineapple chunks: Fresh or canned in juice (not syrup) works well. (Sweet and juicy bursts.)
- Apple slices: Thinly sliced and tossed in a little lemon juice to prevent browning. (Crunchy and colorful.)
- Melon balls or cubes: Cantaloupe or honeydew, scooped or chopped. (Soft and mellow flavor.)
- Wooden skewers: Standard size, about 6 to 8 inches long. (Safe and easy for kids to handle.)
- Optional: fresh mint leaves for garnish and a pop of green.
Substitutions are easy: swap strawberries for raspberries or blueberries, or use mango chunks instead of pineapple for a tropical twist. If allergies are a concern, avoid nuts or sticky glazes and keep it fresh and simple. I usually pick up fruits from local markets when in season—there’s nothing like the flavor of fresh-picked produce!
Equipment Needed
- Wooden skewers (the main tool for assembly)
- Cutting board and a small paring knife (kid-safe versions are great if children are helping)
- Fruit peeler or paring knife for kiwi and apples
- Melon baller (optional, but fun for making uniform melon balls)
- A large vase, jar, or foam block to hold the bouquet upright
If you don’t have a melon baller, no worries—just cube the melon with a knife. For holding the bouquet, a sturdy glass jar or even a small flower pot works perfectly. I once improvised with a clean coffee tin and some floral foam; it held everything steady and made cleanup a breeze. You don’t need fancy gadgets here—just a little creativity!
Preparation Method
- Prepare the fruit: Wash all fruit thoroughly. Hull strawberries and slice them in halves or quarters depending on size. Peel and slice kiwi into rounds or half-moons. Cut pineapple into bite-sized chunks. Slice apples thinly and toss with a few drops of lemon juice to keep them from turning brown. If you have a melon baller, scoop melon into balls; otherwise, cube them evenly. (Prep time: 15 minutes)
- Assemble the skewers: Starting with larger pieces like pineapple chunks or melon cubes at the bottom for stability, thread fruits onto each skewer. Alternate colors and shapes to make a vibrant “flower” look. For example, a grape followed by a kiwi slice, then a strawberry half creates lovely contrast. (Tip: don’t overcrowd skewers; leave a little space for easy handling.) (Assembly time: 10-15 minutes)
- Prepare the bouquet base: Place your vase, jar, or foam block on the table. If using foam, soak it in water briefly to keep the fruit fresh longer. Arrange skewers upright, starting from the center and working outwards, layering colors to mimic a floral arrangement. (Setup time: 5 minutes)
- Garnish and final touches: Tuck fresh mint leaves between skewers for a refreshing aroma and extra color. Step back and adjust any skewers that look uneven or sparse. (Finishing time: 5 minutes)
Quick note: If the kids get distracted or drop a skewer mid-assembly, don’t stress—these little moments make the process fun and authentic. Sometimes, a stray grape rolling off the table becomes a mini “taste test” and a giggle.
Cooking Tips & Techniques
Honestly, the key to a successful fruit bouquet is picking the right fruit and keeping it fresh. One mistake I made early on was using overripe fruit that got mushy too fast—lesson learned! Choose fruit that’s ripe but still firm enough to hold its shape on a skewer.
Here are a few tips I swear by:
- Keep fruit dry: Pat fruit dry after washing to prevent slipping off skewers and sogginess.
- Use lemon juice on apples: This little trick keeps slices bright and appealing.
- Alternate colors and shapes: This not only looks beautiful but also keeps the bouquet stable and interesting.
- Mind the skewer length: Use skewers that are long enough to hold several fruit pieces but not too long to be unsafe for kids.
- Supervise kids with knives: If children are slicing fruit, use kid-safe knives and assist when needed.
Feel free to multitask by prepping fruit while chatting or playing music to make it a lively kitchen event. This recipe is forgiving, so don’t stress the little imperfections—sometimes that’s what makes it memorable.
Variations & Adaptations
You can easily customize this fruit bouquet recipe to suit different tastes, seasons, or dietary needs.
- Seasonal twists: Swap in fresh berries during summer or citrus segments in winter for brightness.
- Dairy-free option: Add a small bowl of coconut yogurt or honey yogurt dip on the side for extra flavor without dairy concerns.
- Allergy-friendly: Keep it nut-free and avoid sticky glazes; the fresh fruit speaks for itself.
- Chocolate drizzle: For a sweet treat, drizzle melted dark chocolate over the assembled bouquet right before serving.
- Personal twist: I once added small cubes of cheese like mozzarella to the skewers, which surprisingly paired well with the fruit and was a hit at a kids’ picnic.
Serving & Storage Suggestions
Serve the fruit bouquet fresh at room temperature or slightly chilled—both work well. It makes a stunning centerpiece for any kids’ party or family gathering. Pair it with a glass of chilled lemonade or herbal iced tea for a refreshing combo.
If you need to store leftovers, cover the bouquet loosely with plastic wrap and refrigerate for up to 24 hours. The fruit might release some juice, so place a plate underneath to catch drips. When reheating (or rather re-serving), let it sit at room temperature for 10-15 minutes to soften the chill and bring out the natural sweetness.
Over time, the flavors meld nicely, but the bouquet is best enjoyed fresh for that crisp bite and vibrant look. I’ve noticed that mint leaves stay fresh longer if added just before serving, so keep those ready to go.
Nutritional Information & Benefits
This fruit bouquet is a powerhouse of vitamins, fiber, and hydration. A typical serving provides a generous dose of vitamin C from strawberries and kiwi, potassium from melon and pineapple, and natural sugars for quick energy. It’s naturally gluten-free, dairy-free, and low in calories—perfect for health-conscious families.
Because the recipe uses whole fruits, it offers a great source of antioxidants and dietary fiber, helping digestion and supporting immune health. If you’re watching sugar intake, this is a wholesome sweet treat without added sugars or preservatives.
From my nutritionist-reviewed experience, encouraging kids to handle and assemble the fruit also helps them connect with healthy eating in a fun way, making this not just a snack but a little wellness lesson.
Conclusion
If you’re looking for an easy simple fruit bouquet kids love to make at home, this recipe is a winner. It’s fun, colorful, and brings the family together around the kitchen table. Honestly, it’s one of those recipes that’s as much about the process as the product—perfect for making memories while sneaking in healthy snacks.
Feel free to tweak the fruits, add your own twists, or invite friends over for a fruit bouquet party. I love this recipe because it never gets old—there’s always a new combination or color pattern to try. So grab some fresh fruit, wooden skewers, and let the creativity flow!
Don’t forget to share your fruit bouquet stories or variations in the comments below—I’d love to hear how your kids put their own spin on it!
FAQs
What fruits work best for a fruit bouquet?
Firm yet juicy fruits like strawberries, grapes, kiwi, pineapple, melon, and apples work best. Avoid overly soft fruits that might fall apart on skewers.
Can toddlers help make this fruit bouquet?
Yes, with supervision. Toddlers can help thread larger fruit pieces onto skewers, but adult assistance is needed for cutting and handling sharp tools.
How long will the fruit bouquet stay fresh?
It’s best enjoyed within 24 hours when stored in the refrigerator. Fruit may release juice and soften over time, so fresh is always tastier.
Can I prepare this fruit bouquet in advance for a party?
Yes, prepare the skewers and store them covered in the fridge. Assemble the bouquet base just before serving to keep it fresh and vibrant.
Is this recipe suitable for kids with fruit allergies?
Substitute or omit any fruits that trigger allergies. You can customize the bouquet with safe fruit options to accommodate dietary needs.
By the way, if you enjoy hands-on kids’ recipes like this, you might find the crispy garlic chicken or the veggie-packed mac and cheese just as fun and family-friendly!
Pin This Recipe!
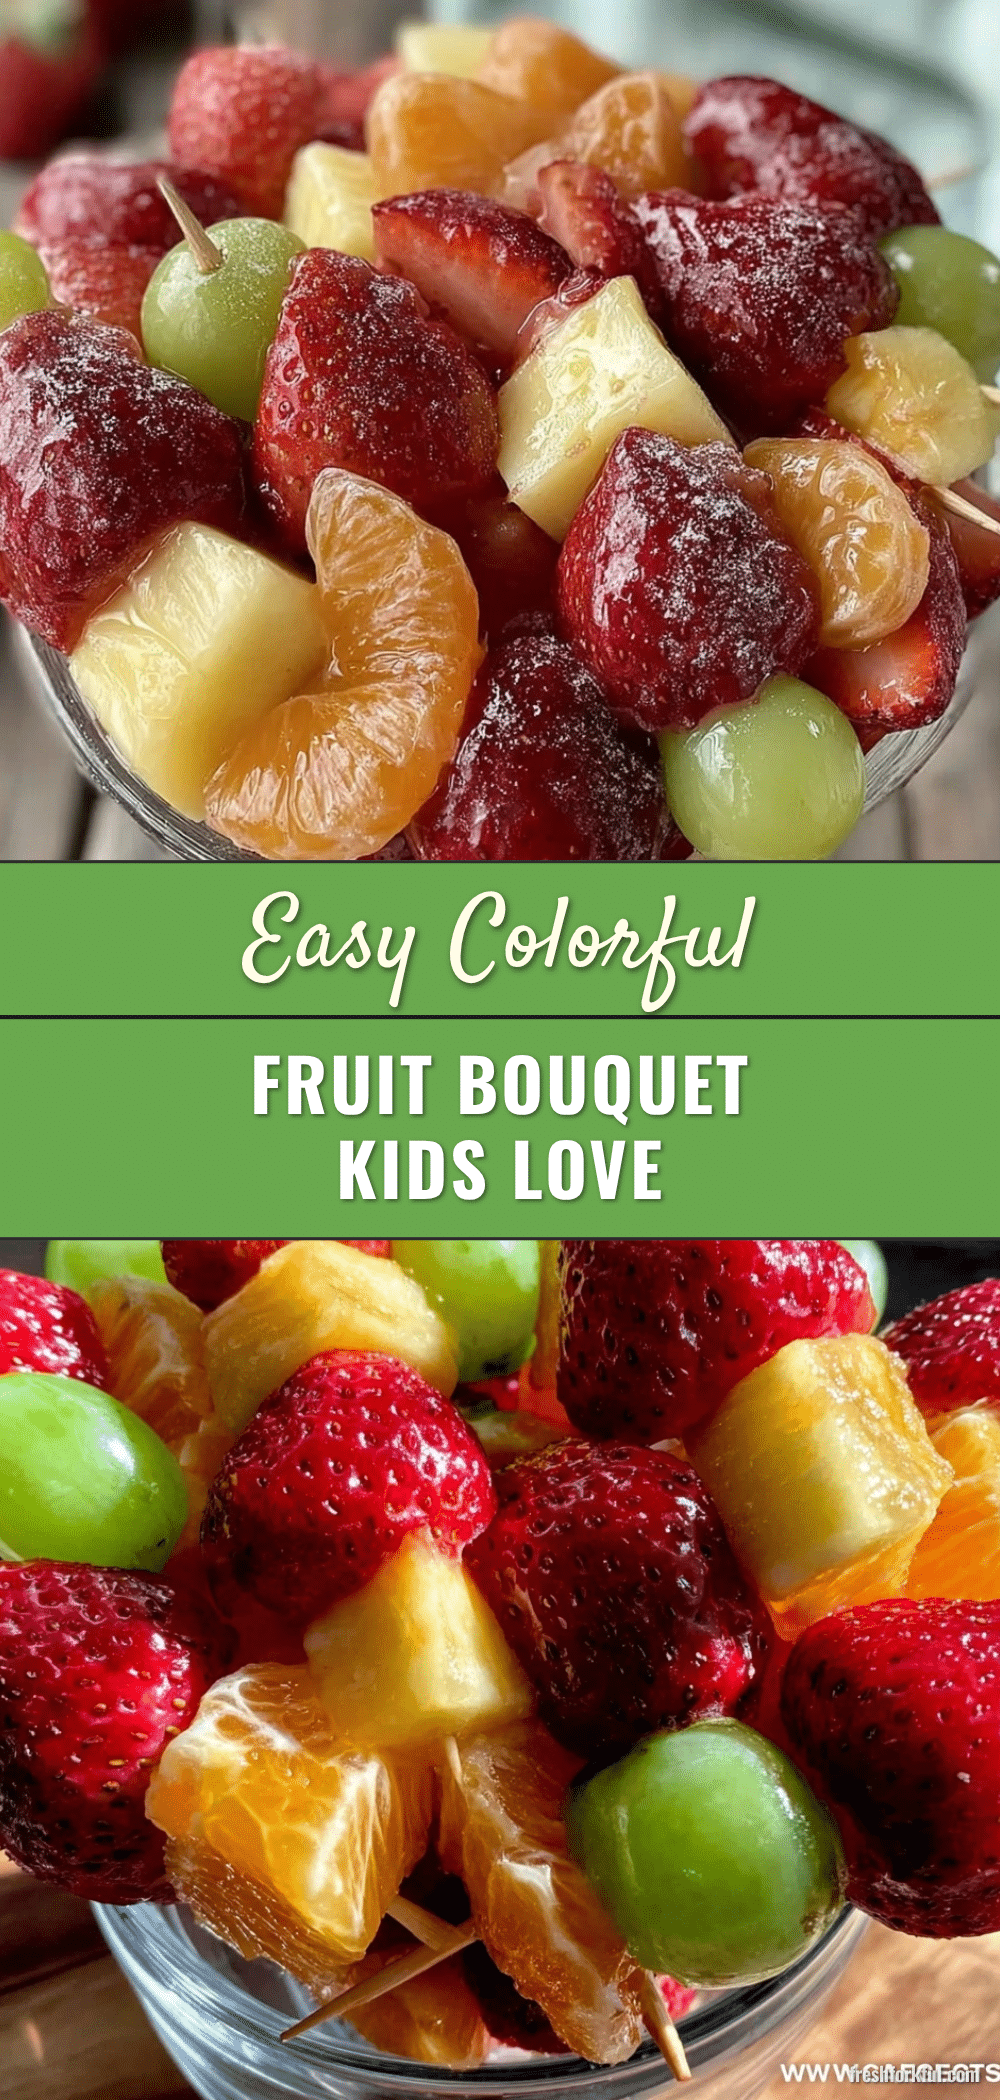
Easy Simple Fruit Bouquet Recipe Kids Love to Make at Home

A fun and colorful fruit bouquet recipe perfect for kids to assemble, making snack time creative, healthy, and enjoyable. This easy recipe uses fresh fruits and simple tools to create a vibrant edible arrangement.
- Prep Time: 15 minutes
- Cook Time: 0 minutes
- Total Time: 30 minutes
- Yield: 6 servings
- Category: Snack
- Cuisine: American
Ingredients
- Fresh strawberries, hulled and halved or sliced
- Seedless green grapes, washed and dried
- Kiwi, peeled and sliced into rounds or half-moons
- Pineapple chunks, fresh or canned in juice (not syrup)
- Apple slices, thinly sliced and tossed in lemon juice
- Melon balls or cubes (cantaloupe or honeydew)
- Wooden skewers, 6 to 8 inches long
- Optional: fresh mint leaves for garnish
Instructions
- Wash all fruit thoroughly. Hull strawberries and slice them in halves or quarters depending on size. Peel and slice kiwi into rounds or half-moons. Cut pineapple into bite-sized chunks. Slice apples thinly and toss with a few drops of lemon juice to prevent browning. Scoop melon into balls with a melon baller or cube evenly.
- Starting with larger pieces like pineapple chunks or melon cubes at the bottom for stability, thread fruits onto each skewer. Alternate colors and shapes to create a vibrant flower look. Avoid overcrowding skewers to leave space for easy handling.
- Place a vase, jar, or foam block on the table to hold the bouquet upright. If using foam, soak it in water briefly to keep fruit fresh longer. Arrange skewers upright starting from the center and working outwards, layering colors to mimic a floral arrangement.
- Tuck fresh mint leaves between skewers for aroma and extra color. Adjust skewers as needed for an even and full bouquet.
Notes
Use firm but ripe fruit to prevent mushiness. Pat fruit dry after washing to avoid slipping off skewers. Toss apple slices in lemon juice to prevent browning. Supervise children when using knives. Store bouquet covered in refrigerator for up to 24 hours and bring to room temperature before serving. Optional additions include a yogurt dip or chocolate drizzle.
Nutrition
- Serving Size: One fruit skewer bou
- Calories: 70
- Sugar: 14
- Sodium: 2
- Fat: 0.2
- Carbohydrates: 18
- Fiber: 2
- Protein: 1
Keywords: fruit bouquet, kids snack, healthy snack, easy fruit recipe, party centerpiece, fresh fruit, fruit skewers